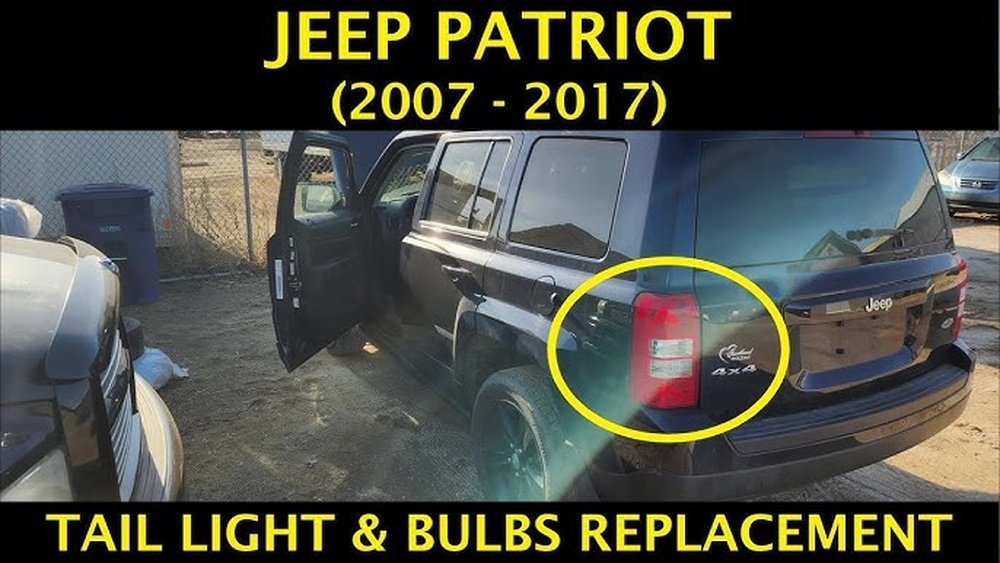
Removing the tail lights from your 2017 Jeep Patriot is a practical job, whether you need to replace a broken light, upgrade to LEDs, or access wiring. Many owners think this task needs a mechanic, but with a few simple tools and some patience, you can do it yourself. Understanding each step makes the process faster and helps you avoid damaging your vehicle.
Tools And Safety Preparation
Before you start, gather these tools:
- Phillips screwdriver
- Flat-head screwdriver
- Socket wrench (10mm)
- Protective gloves
Turn off your Jeep and remove the key from the ignition. If possible, disconnect the negative battery terminal to avoid any electrical accidents. Always work in a well-lit space and set the parking brake for extra safety.
Accessing The Tail Light Assembly
The tail light assembly on the 2017 Jeep Patriot is held in place by screws hidden behind the rear hatch. Open the hatch fully to reach the screws.
- Open the rear hatch.
- Locate the two Phillips-head screws on the side of each tail light (one at the top, one at the bottom).
- Use your screwdriver to remove both screws. Keep them in a safe spot for reinstallation.
A common mistake is using the wrong screwdriver size, which can strip the screws. Double-check your tool before applying force.
Detaching The Tail Light
Once the screws are out, the assembly is still held by clips. This is where most beginners struggle.
Pulling too hard or at the wrong angle can crack the plastic.
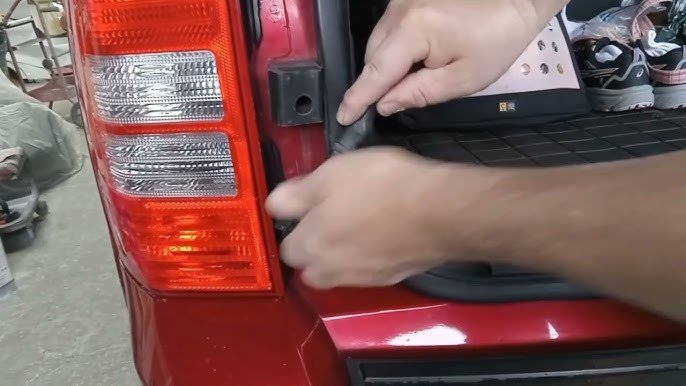
- Place your hand on the outer edge of the tail light.
- Gently rock the assembly side-to-side while pulling straight out from the body.
- Do not twist or pry with tools, as this can break the housing.
You may hear a pop as the clips release. If the light doesn’t come out easily, check for any missed screws or clips.
Disconnecting The Wiring Harness
Behind the assembly, you’ll find the wiring harness attached to the bulbs. It’s important to disconnect these without damaging the connectors.
- Locate the main harness plug.
- Press the tab and gently pull the plug apart.
- If changing bulbs, twist the bulb holders counterclockwise to remove them.
Never pull on the wires themselves always handle the plug or socket.
Comparing Bulb Types For Replacement
If you’re removing the tail light to change bulbs, it’s useful to compare options:
| Bulb Type | Brightness (Lumens) | Average Lifespan | Energy Use |
|---|---|---|---|
| Halogen | 400 | 500-1,000 hrs | Moderate |
| LED | 800 | 20,000+ hrs | Low |
| Incandescent | 300 | 1,000 hrs | High |
LED bulbs are brighter, last longer, and use less power, but cost more up front.
Common Issues And Solutions
Many first-timers face these problems:
- Stuck assembly: Sometimes, dirt or weather can make the clips stubborn. Try wiggling the light gently or using a plastic trim tool to loosen the edges.
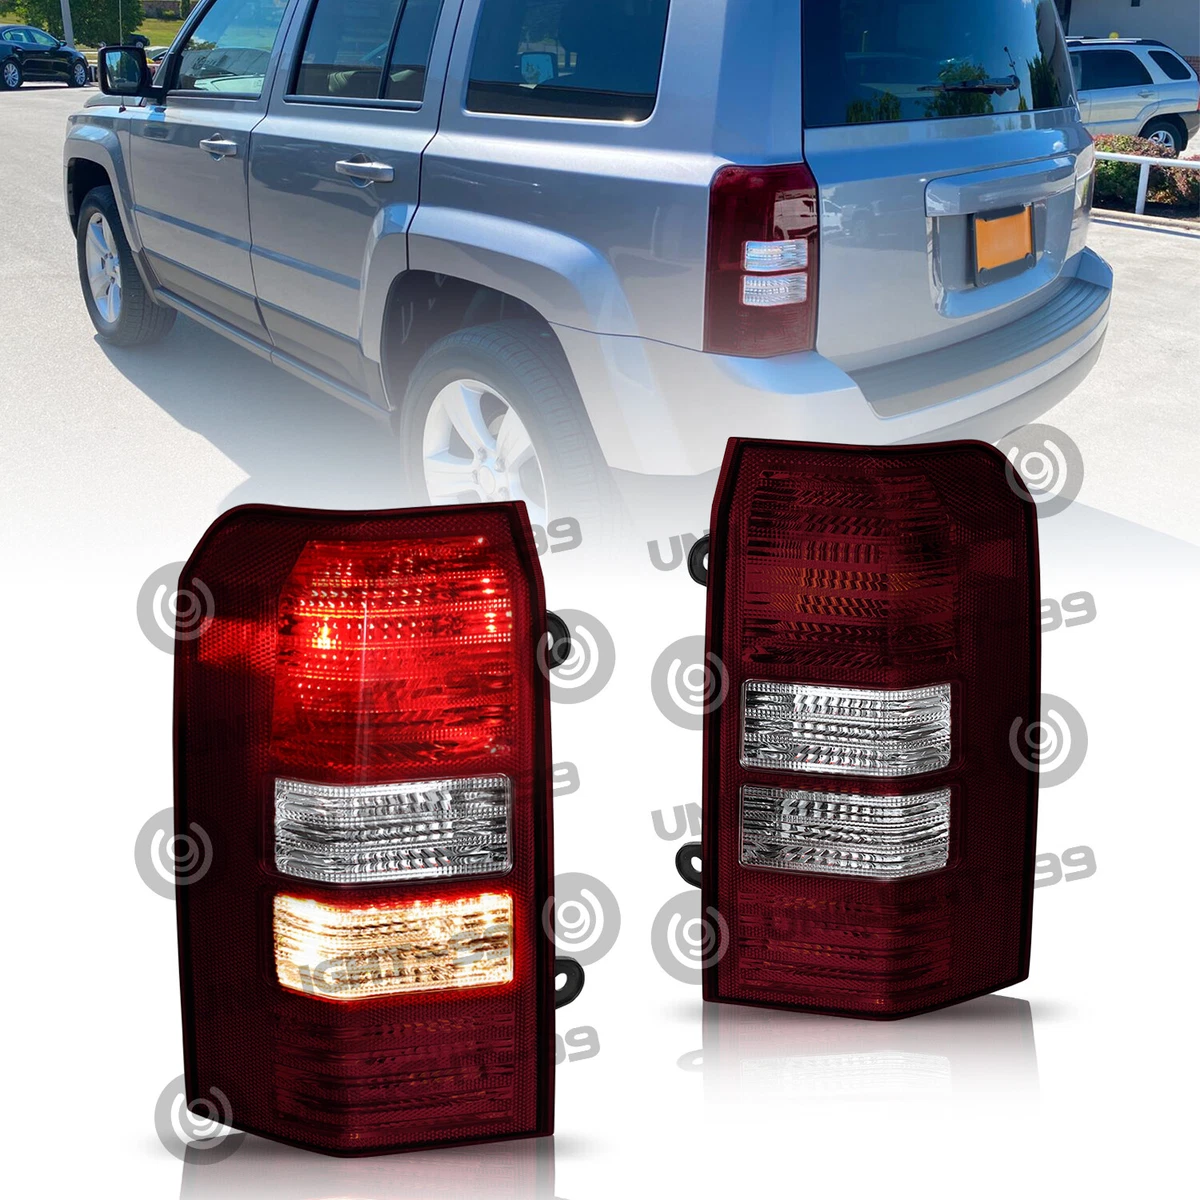
- Broken clips: If a clip snaps, replacement clips are available online or at auto parts stores.
- Misplaced screws: Always keep removed screws in a cup or small bag.
Reinstalling The Tail Light
After maintenance, it’s time to put everything back:
- Reconnect the wiring harness, ensuring it clicks securely.
- Align the assembly with the vehicle’s body.
- Press the light into place so the clips snap in.
- Reinstall the two screws and tighten them—do not overtighten, as this can crack the plastic.
Double-check the tail lights by turning on your headlights and pressing the brake pedal. Make sure all lights work before closing the hatch.
Cost And Time Comparison
Here’s a quick comparison for DIY vs. professional service:
| Method | Average Cost | Time Needed | Skill Level |
|---|---|---|---|
| DIY | $0–$10 (tools only) | 15–30 min | Beginner |
| Mechanic | $50–$120 (labor) | 30–60 min | Professional |
Most owners can finish the job in under half an hour with basic tools.
Practical Tips For Best Results
- Work during the day or use a bright lamp.
- Take photos of each step if you’re unsure about reassembly.
- Don’t rush. Forcing parts can cause expensive damage.
- If the assembly feels stuck, check for hidden fasteners before pulling harder.
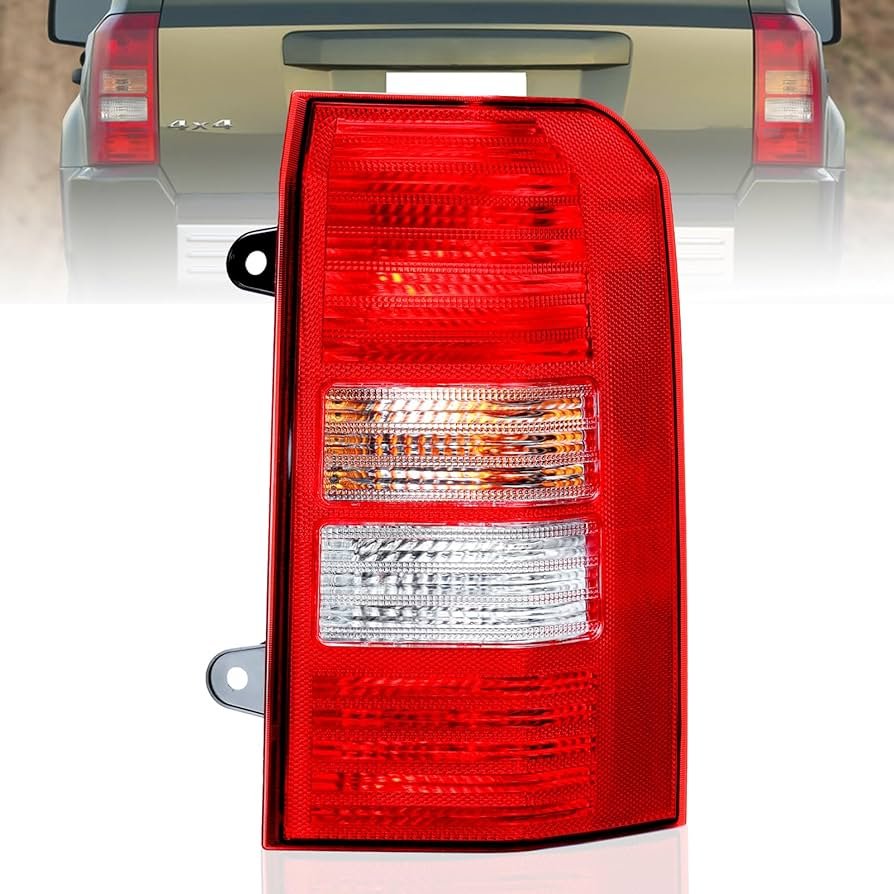
A less obvious tip: check the tail light gasket for cracks or wear while it’s out. This rubber seal keeps water out. Replace it if it’s damaged to prevent leaks and electrical problems later.
When To Seek Professional Help
If you notice broken wiring, melted connectors, or moisture inside the light, a mechanic’s help may be wise. Some electrical issues require special tools and knowledge. Also, if your state requires inspections, ensure the new tail lights meet DOT regulations.
For more information on car lighting laws, check the Wikipedia automotive lighting page.
Frequently Asked Questions
How Long Does It Take To Remove 2017 Jeep Patriot Tail Lights?
Most people need 15 to 30 minutes for this task. Beginners may take a bit longer if they’re careful.
Do I Need Special Tools To Remove The Tail Lights?
No. A standard Phillips screwdriver and a socket wrench are enough for most jobs. A plastic trim tool can help if the assembly is stuck.
Can I Upgrade To Led Tail Lights On My 2017 Jeep Patriot?
Yes, you can use LED bulbs as long as they fit the original socket. Make sure the LEDs are compatible with your Jeep’s electrical system to avoid error codes.
Why Won’t My Tail Light Assembly Come Off?
The most common reason is stuck clips or hidden screws. Check carefully and use gentle force. Do not pry with metal tools, as this can damage the paint or plastic.
Is It Safe To Drive With One Tail Light Removed?
No. Driving without all tail lights working is illegal and unsafe. Always finish repairs before using your Jeep on public roads.
Taking time to remove your 2017 Jeep Patriot tail lights the right way saves money and gives you confidence for future car tasks. With these steps, you’ll be ready for repairs, upgrades, or inspections without stress.


















