If you drive a Jeep Grand Cherokee, you know it’s more than just a vehicle—it’s an adventure partner. Whether you’re hitting off-road trails, camping in the wild, or simply want better visibility at night, pod lights can transform your Jeep’s lighting.
Mounting pod lights might look difficult at first, but with the right guidance, anyone can do it safely and neatly. This article will show you exactly how to mount pod lights on a Jeep Grand Cherokee, step by step, with practical advice and clear explanations.
You’ll learn what tools you need, where to place the lights, how to wire them, and what mistakes to avoid. By the end, your Jeep will be ready to light up any road—or trail—you choose.
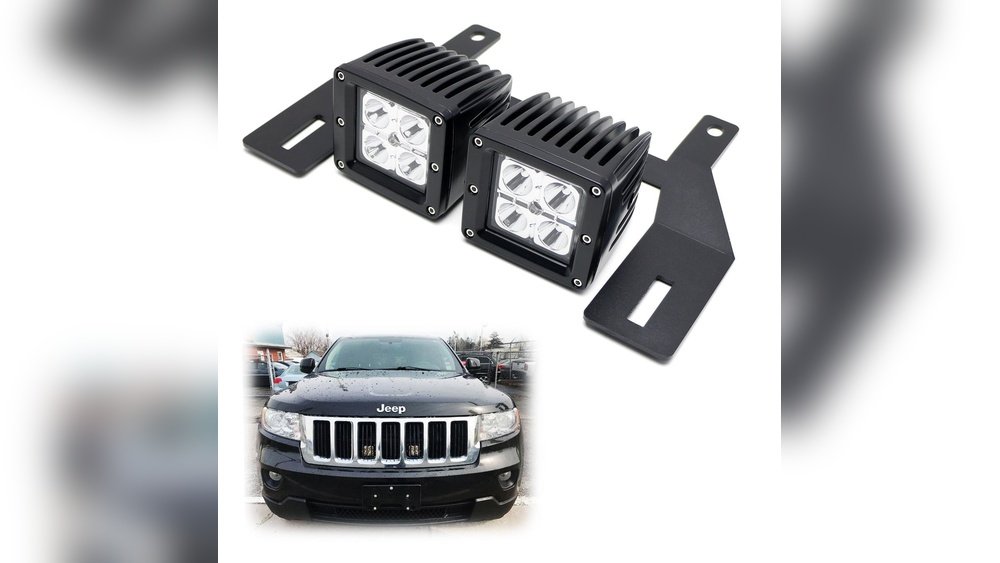
Why Add Pod Lights To Your Jeep Grand Cherokee?
Pod lights are small, powerful LED lights. They help you see better when driving at night, in fog, or off-road. Here’s why many Jeep owners choose to mount pod lights:
- Improved Visibility: Pod lights give extra light where you need it—on dark trails or in bad weather.
- Better Safety: Extra lighting helps spot obstacles, animals, and other vehicles.
- Custom Look: Pod lights add a rugged, unique style to your Jeep.
- Flexible Use: You can aim pod lights for side lighting, front lighting, or even as work lights for camping.
Choosing The Right Pod Lights
Before you start, pick the pod lights that best fit your needs. Not all pod lights are equal. Here’s what to consider:
| Feature | Why It Matters | Typical Range |
|---|---|---|
| Brightness (Lumens) | Higher lumens mean more light output | 1,000–7,000 lumens |
| Beam Pattern | Spot for distance, flood for wide area | Spot / Flood / Combo |
| Water Resistance | Needed for off-road and rainy conditions | IP67 / IP68 |
| Size | Must fit your Jeep’s mounting location | 2”–4” square or round |
| Color Temperature | Affects visibility; cool white is common | 5,000–6,500K |
Non-obvious tip: Don’t just buy the brightest pod lights. Too much light can cause glare and make it harder to see at night. Also, check your state’s regulations—some places restrict extra lights on vehicles.
Tools And Parts You’ll Need
Gather all your tools and parts before starting. This saves time and keeps you organized.
- Pod light kits (with mounting brackets, wiring harness, and switch)
- Drill with metal bits
- Socket wrench set
- Screwdrivers (Phillips and flathead)
- Electrical tape
- Wire strippers/cutters
- Zip ties
- Measuring tape
- Marker or pencil
- Silicone sealant (optional for waterproofing)
- Safety glasses and gloves
Beginner insight: Make sure your pod light kit includes a relay and fuse. These protect your Jeep’s electrical system from overload.
Deciding Where To Mount Your Pod Lights
You have a few options for mounting pod lights on the Jeep Grand Cherokee:
- A-Pillar/Mirror Mounts: Beside the windshield, on the side pillars.
- Front Bumper: On or under the bumper for forward lighting.
- Roof Rack: Great for wide area lighting, but can cause roof glare.
- Grille: Hidden look, but harder to install and maintain.
Each location has pros and cons. Here’s a simple comparison:
| Mount Location | Visibility | Ease of Installation | Style | Notes |
|---|---|---|---|---|
| A-Pillar | Side & forward | Easy | Off-road look | Minimal drilling |
| Bumper | Forward | Moderate | Clean | May block license plate |
| Roof Rack | Wide area | Difficult | Aggressive | Some wind noise |
| Grille | Hidden | Hard | Stealth | Limited space |
Non-obvious insight: A-pillar mounts are popular because they avoid blocking your view and don’t interfere with other parts like the license plate or airbag sensors.
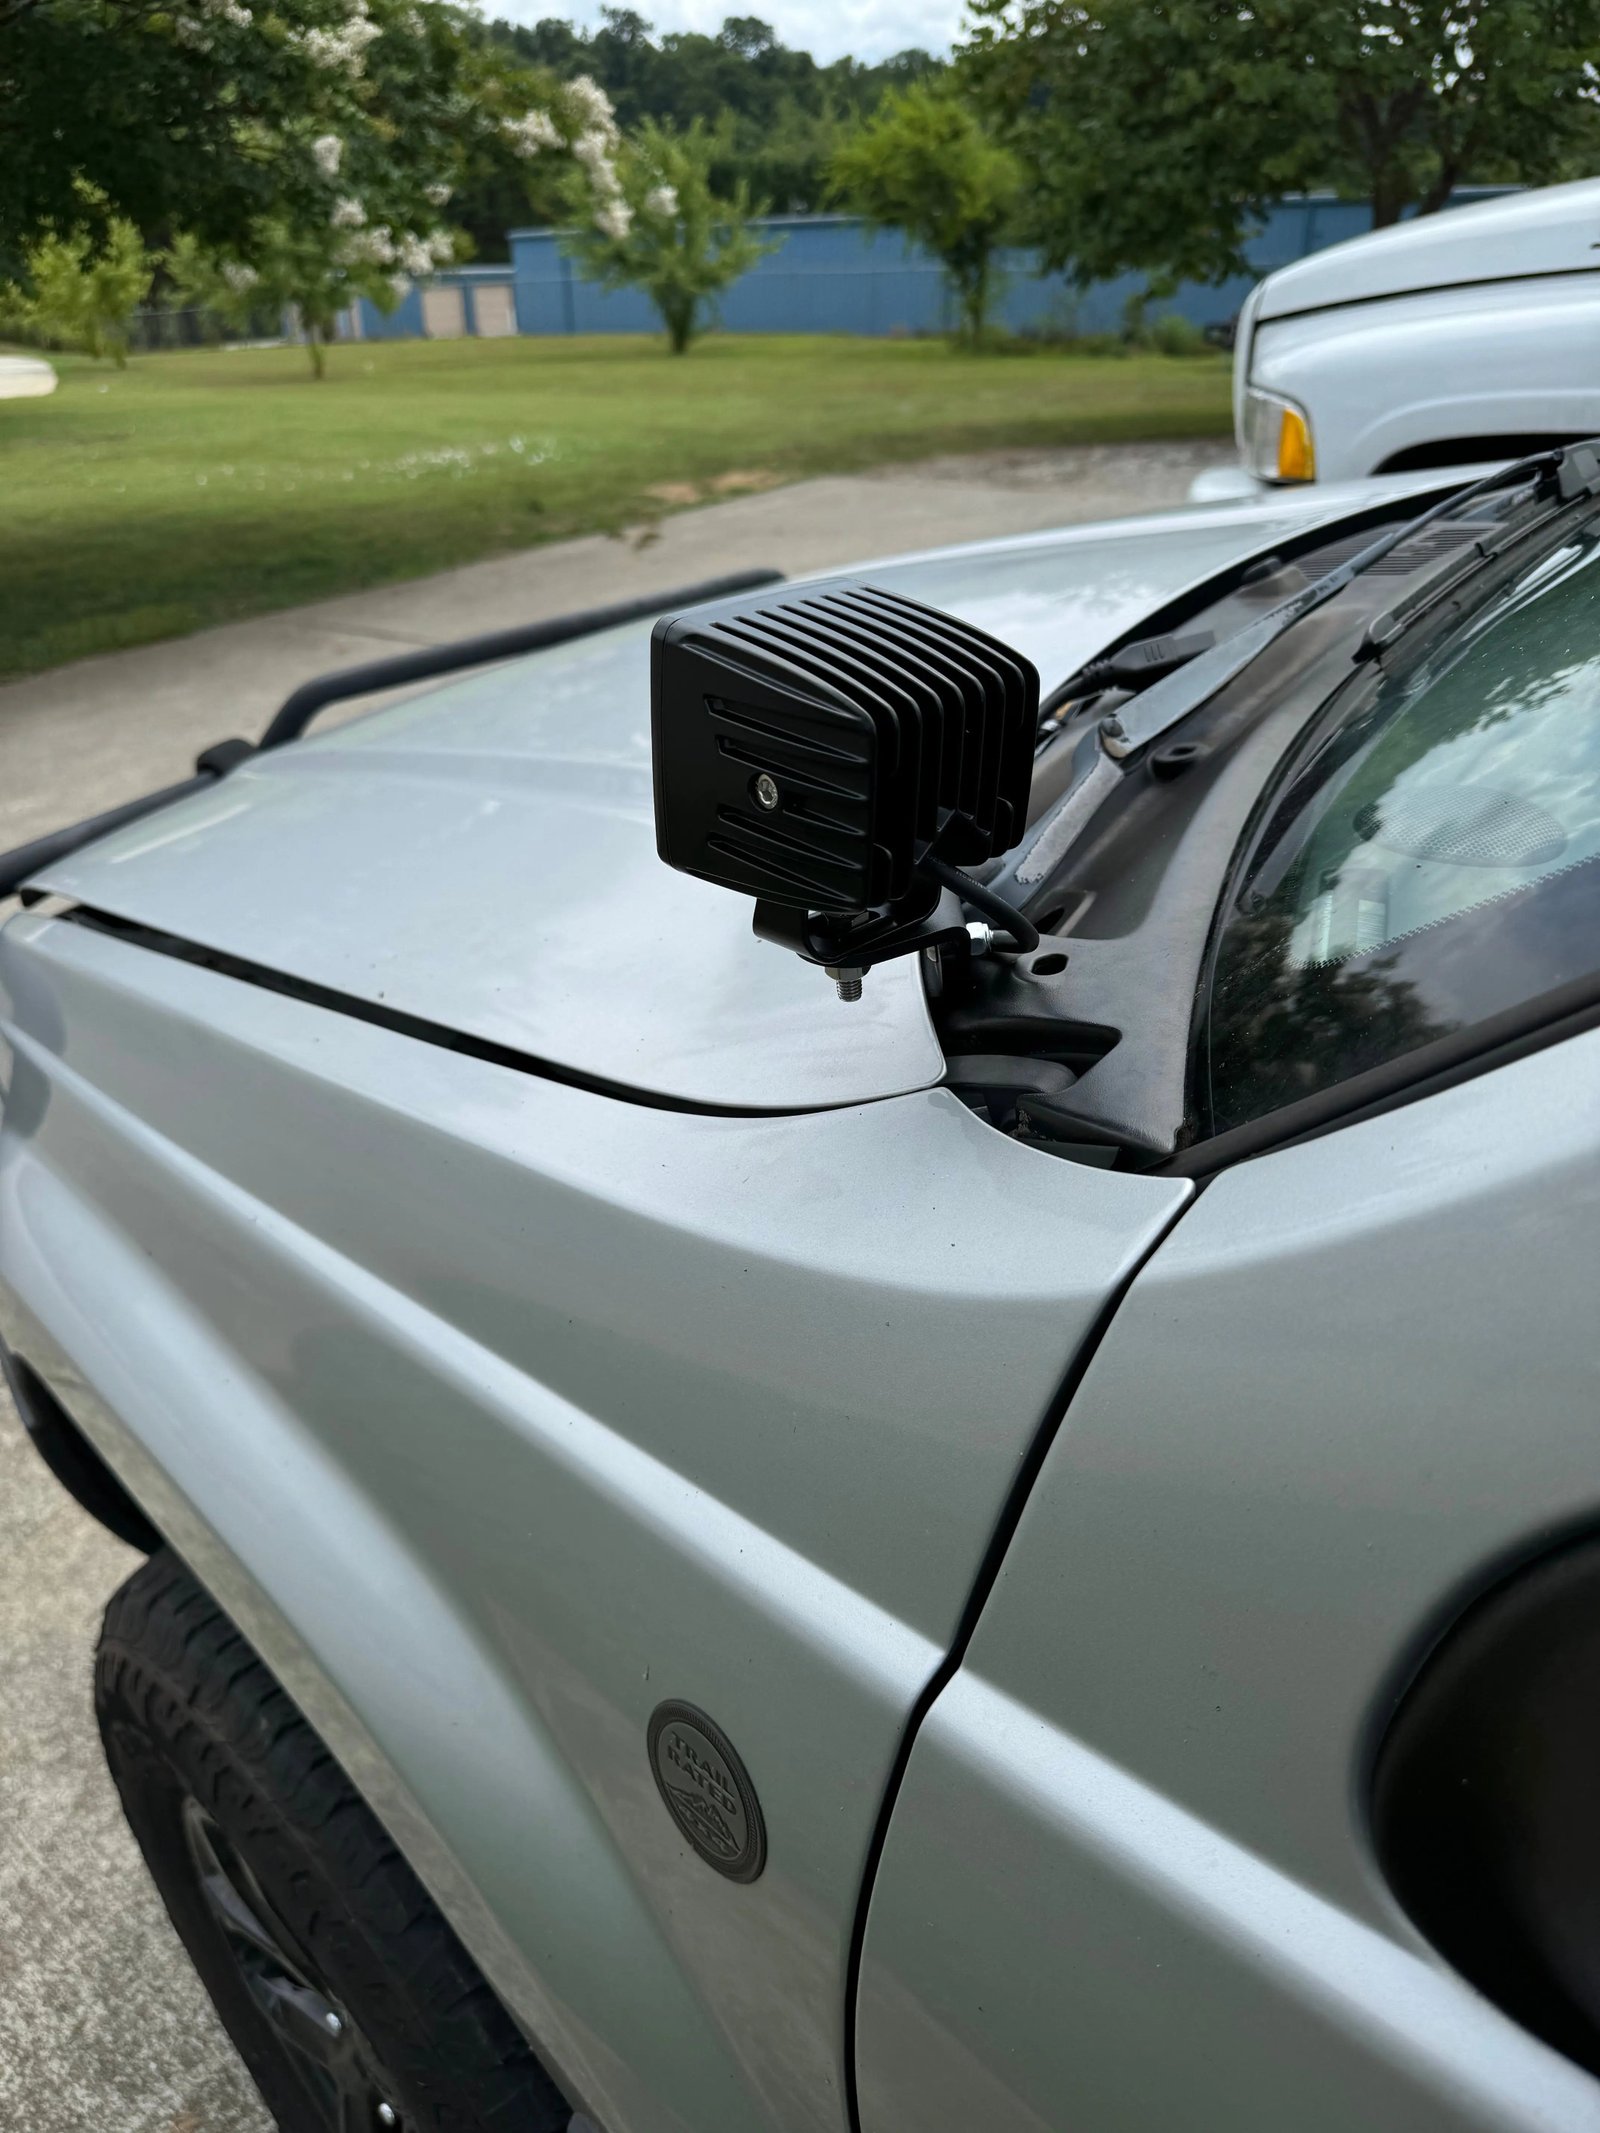
Step-by-step: Mounting Pod Lights On Your Jeep Grand Cherokee
Here’s a clear guide to installing pod lights, with each step explained. This method focuses on A-pillar mounting—the most common option for Grand Cherokees.
1. Test-fit The Pod Lights
Before drilling, hold the pod lights and brackets against the A-pillar. Use a measuring tape to check symmetry on both sides. Mark the spots for drilling with a marker.
Tip: Double-check that the lights won’t hit the windshield or block your view.
2. Drill Mounting Holes
Put on safety glasses and gloves. Using a drill with a metal bit, carefully make holes where you marked. Start with a small bit, then move to the size needed for your mounting bolts.
Beginner insight: Place masking tape over the drill spot to prevent paint chipping.
3. Attach The Mounting Brackets
Line up the brackets with the holes. Use a socket wrench to tighten the bolts. Make sure the brackets are stable and don’t wiggle.
Tip: If you’re worried about water leaks, apply silicone sealant around the bolts.
4. Mount The Pod Lights
Place the pod lights onto the brackets. Adjust their angle so they point where you want (forward or slightly outward).
Tighten the bolts but don’t overtighten this can crack the housing.
5. Route The Wiring
Most pod light kits come with a wiring harness, including a relay, fuse, and switch. Start routing the wires from the pod lights toward the engine bay.
- Use zip ties to hold wires in place.
- Avoid sharp edges and moving parts (like the hood hinge).
- Route wires through the firewall (look for a rubber grommet).
Non-obvious tip: Always leave extra wire for movement, especially if you might adjust the lights later.
6. Connect To Power
Find your Jeep’s battery. Connect the relay’s power wire to the positive terminal, and the ground wire to a clean metal surface (like a bolt on the frame).
Install the fuse in line with the power wire.
Tip: If your kit includes a switch, mount it inside the cabin. Most people put it near the dashboard for easy access.
7. Test The Pod Lights
Before finishing, turn on the switch to test the lights. Check for:
- Brightness
- Correct angle
- No flickering
- No error messages on dashboard
If all works, secure all wires, and trim extra zip ties.
8. Final Adjustments
After testing, adjust the lights for best coverage. Aim them so they light up the road or trail ahead, but don’t blind other drivers.
Beginner mistake: Forgetting to check the lights at night. Always test after dark to see real results.
Pod Light Maintenance And Care
Mounted pod lights need regular checks to stay bright and safe:
- Clean the lenses every few weeks. Dirt and bugs reduce brightness.
- Check bolts for tightness after off-road trips.
- Inspect wires for cuts or wear.
- Replace blown fuses quickly.
Non-obvious tip: Use a mild glass cleaner for the lenses. Strong chemicals can damage the plastic and cause clouding.
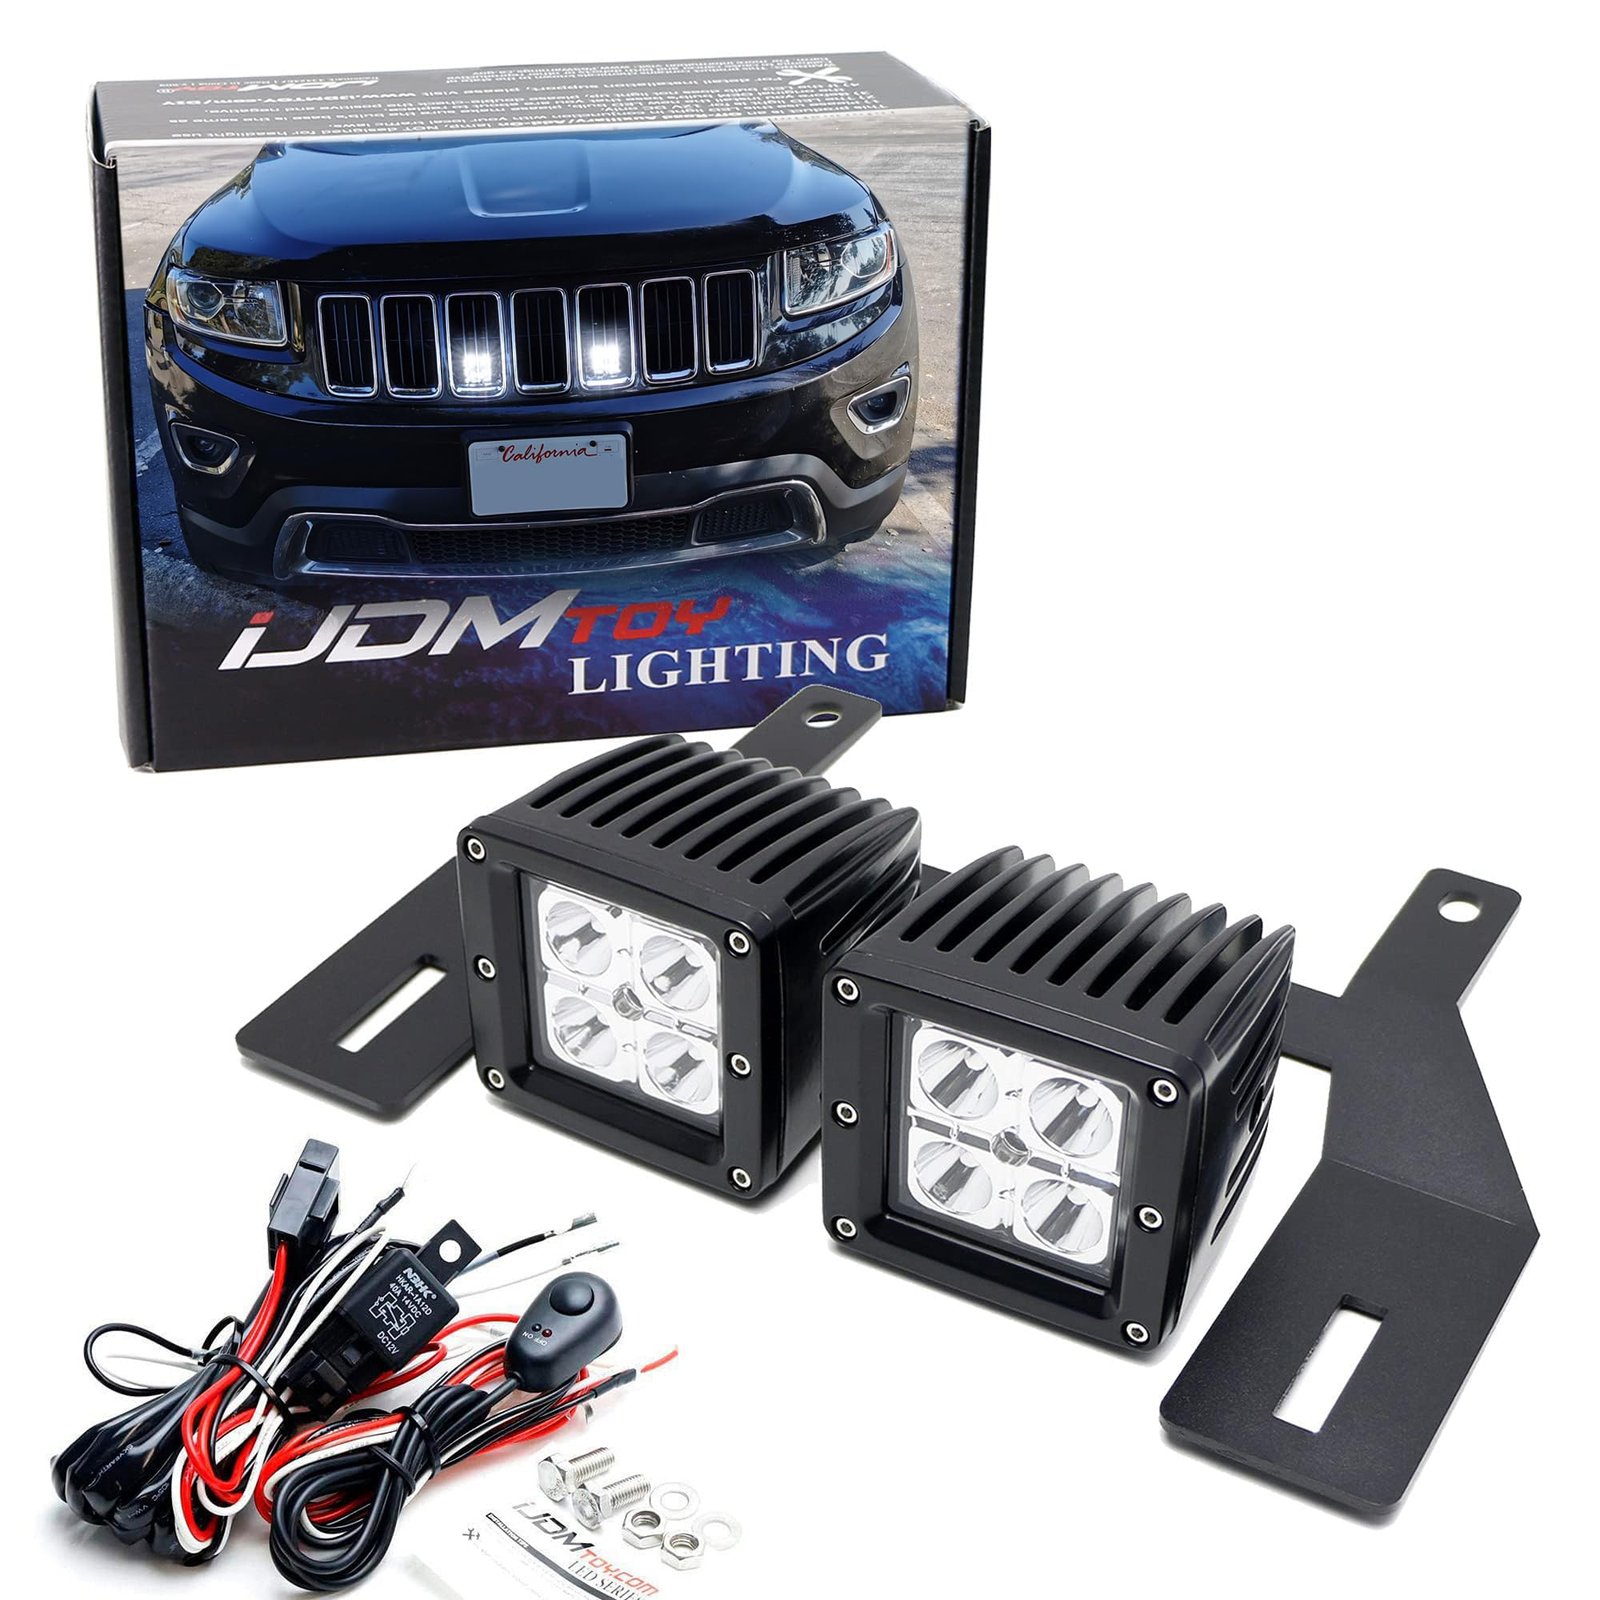
Common Mistakes To Avoid
Installing pod lights isn’t hard, but some mistakes can cause trouble. Here are five mistakes and how to avoid them:
- Drilling in the wrong spot: Always measure and mark carefully before drilling.
- Skipping the relay: Without a relay, your lights might overload the electrical system.
- Poor waterproofing: Use silicone sealant if you drive in wet conditions.
- Loose wiring: Secure wires with zip ties—loose wires can get caught or damaged.
- Ignoring regulations: Some states restrict extra lights. Check local laws before installing.
Comparing Pod Light Brands
If you’re shopping for pod lights, compare brands based on quality, price, and warranty:
| Brand | Price (Pair) | Warranty | Brightness | Waterproof Rating |
|---|---|---|---|---|
| Rigid Industries | $220 | Limited Lifetime | 6,000 lumens | IP68 |
| Baja Designs | $190 | Limited Lifetime | 4,900 lumens | IP67 |
| Auxbeam | $80 | 2 Years | 3,000 lumens | IP67 |
| Nilight | $50 | 1 Year | 2,500 lumens | IP67 |
If you want long-lasting pod lights, choose a brand with a good warranty and high waterproof rating.
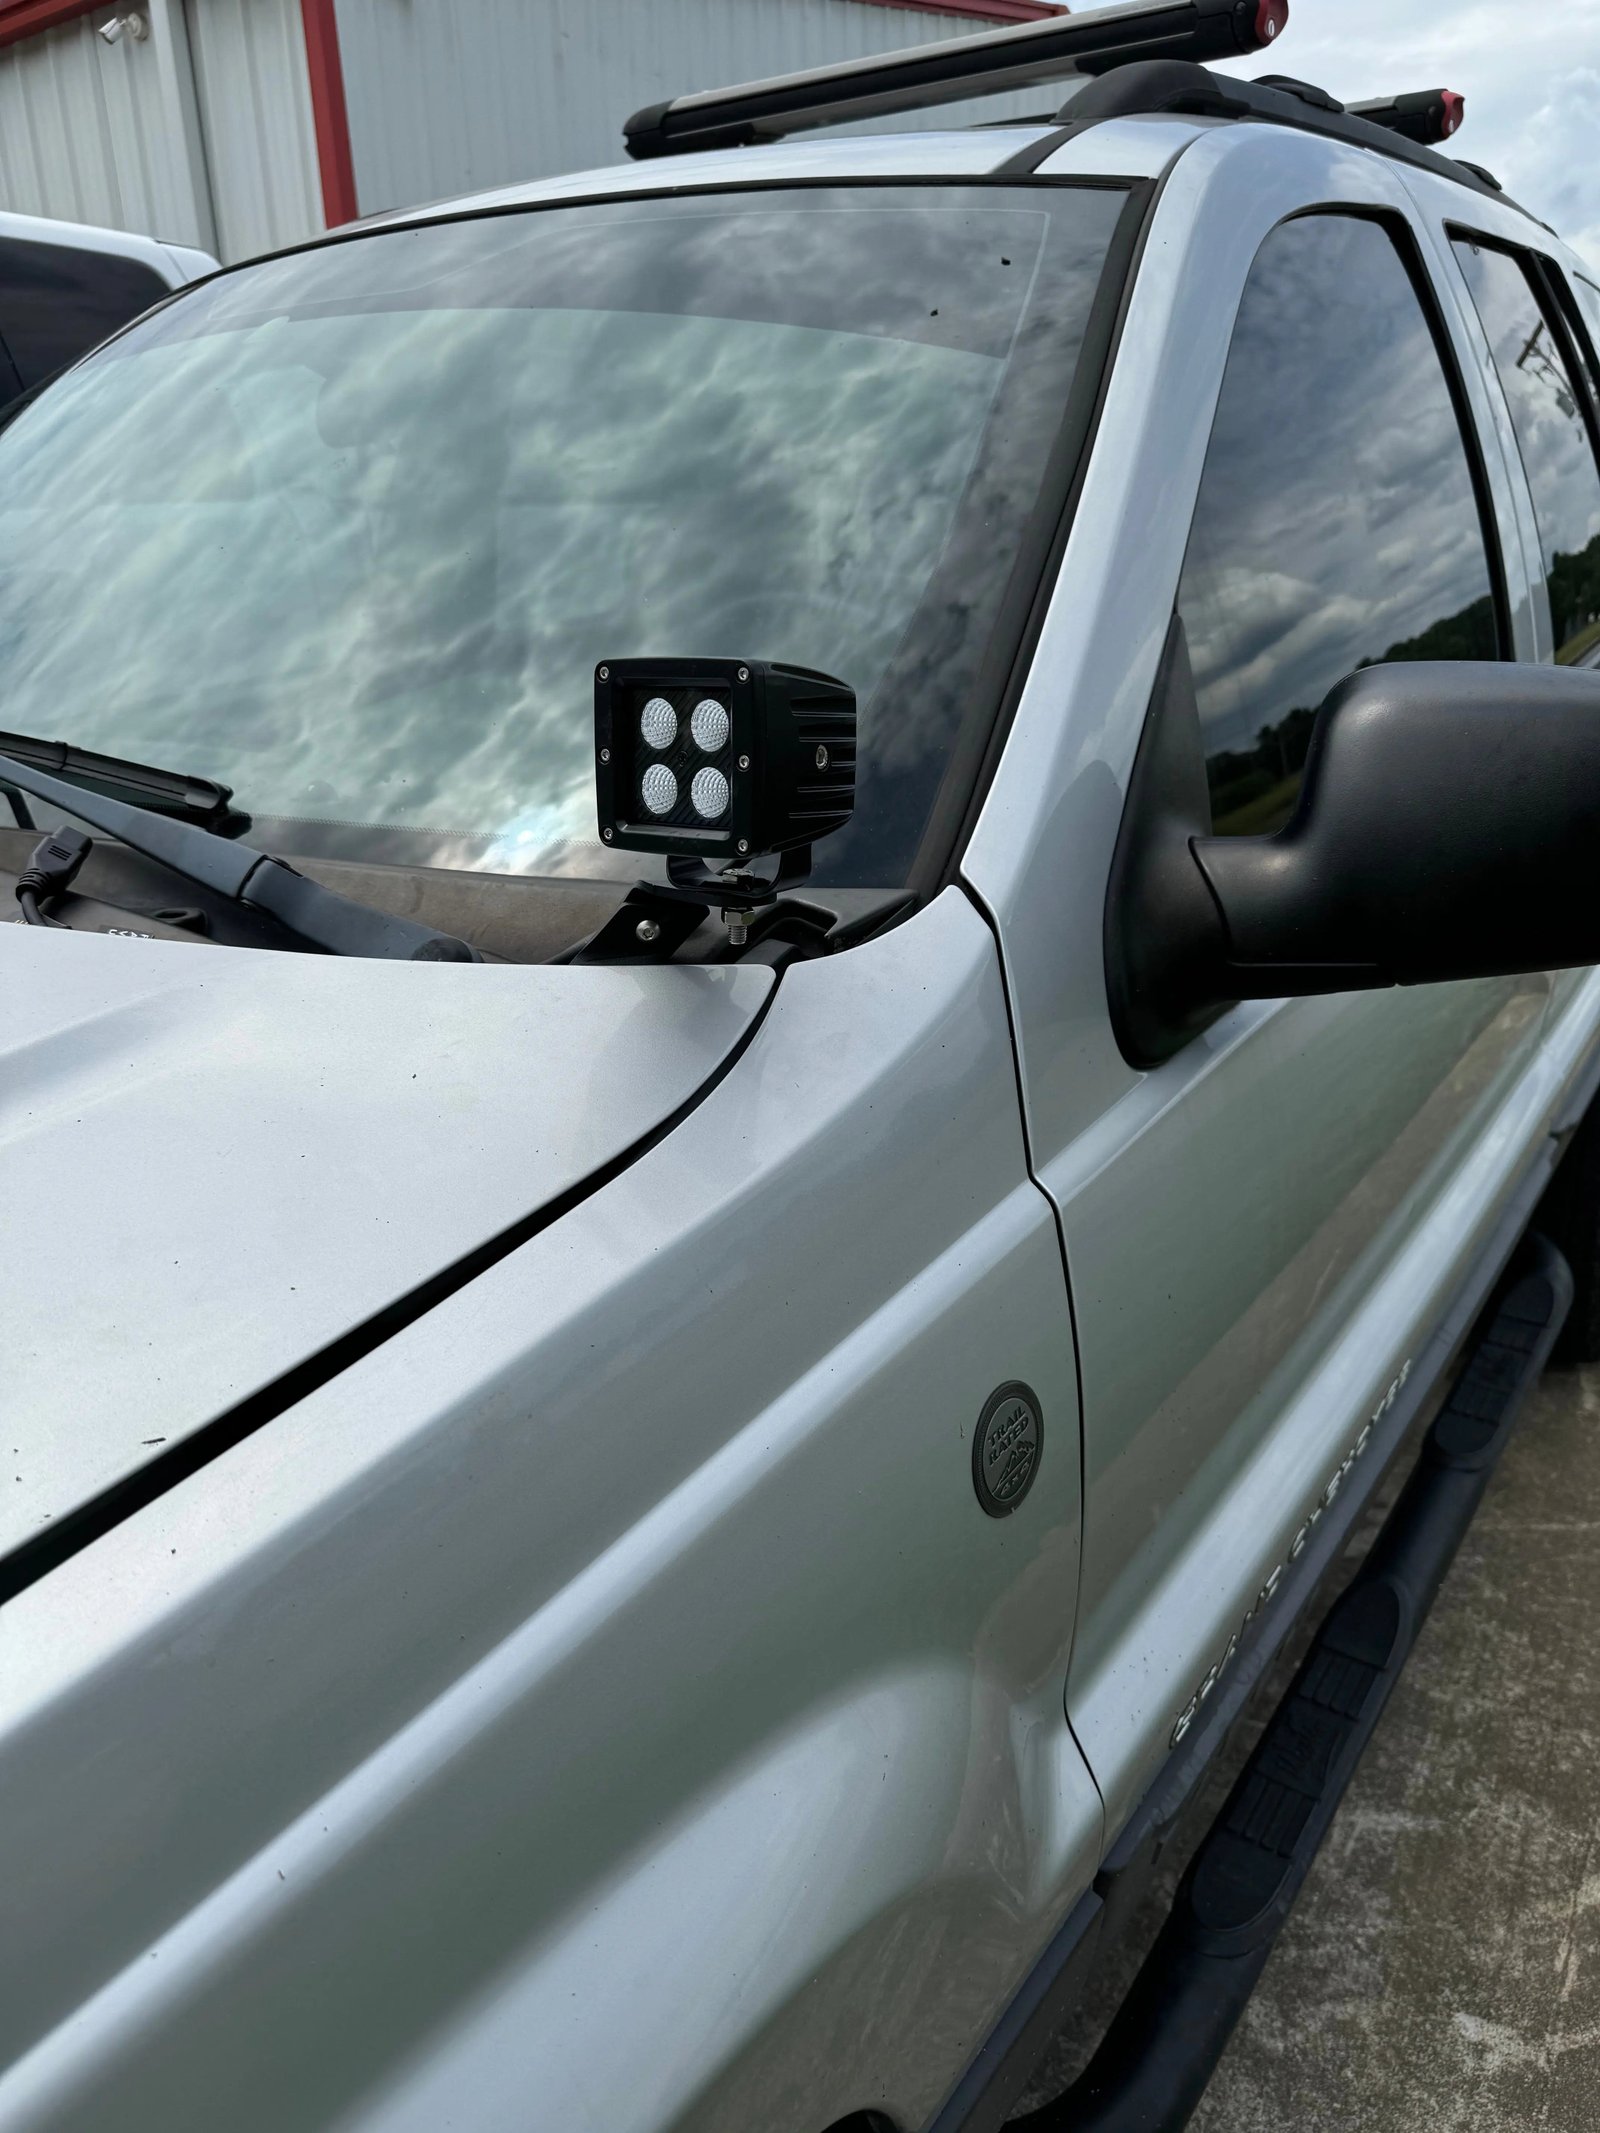
Real-world Example
Joe, a Jeep Grand Cherokee owner from Colorado, installed A-pillar pod lights for his weekend trail trips. He picked a combo beam pattern—spot and flood—for both distance and wide coverage. Joe used silicone sealant on the bolts and zip ties for the wiring. After installation, he noticed much better visibility in foggy mountain conditions. He also avoided glare by aiming the lights slightly down. Joe’s advice: “Test the lights at night before final tightening, and check your state’s rules.”
Where To Find More Information
For deeper technical details or specific Jeep Grand Cherokee models, visit Jeep’s official website. It has guides, manuals, and information about your vehicle’s electrical system.
Frequently Asked Questions
Can I Mount Pod Lights Without Drilling?
Most Jeep Grand Cherokee pod light kits require some drilling for a strong mount. However, there are clamp-on brackets that fit the A-pillar or roof rack, but these may not be as stable. Always check for movement after installation.
How Many Pod Lights Can I Install Safely?
It depends on your Jeep’s electrical system. Most Grand Cherokees can handle two to four pod lights if you use a relay and fuse.
Too many lights may overload the battery or alternator. Check the total wattage and compare it to your vehicle’s specs.
Are Pod Lights Street Legal?
Pod lights are legal in many states for off-road use, but some states restrict extra lights on public roads. If your pod lights are bright or aimed forward, cover or turn them off when driving on highways. Always check your local laws.
What Is The Best Beam Pattern For Pod Lights?
For most Jeep owners, a combo beam is best. It mixes spot and flood patterns for both distance and wide area lighting. If you drive mainly off-road, flood beams help see the sides. For highway use, spot beams are better.
Can I Wire Pod Lights To My High Beam Switch?
Yes, you can wire pod lights to activate with your high beams. This takes more wiring skill use a relay and tap into the high beam circuit.
Some pod light kits come with instructions for this setup, but always check your Jeep’s wiring diagram.
Mounting pod lights on your Jeep Grand Cherokee is one of the best upgrades for off-road adventures and safer nighttime driving. With the right lights, careful installation, and regular maintenance, you’ll enjoy clear visibility and a rugged look for years.
Remember, measure twice, drill once, and always double-check the wiring for safety. Your Jeep is ready for brighter journeys ahead.


















