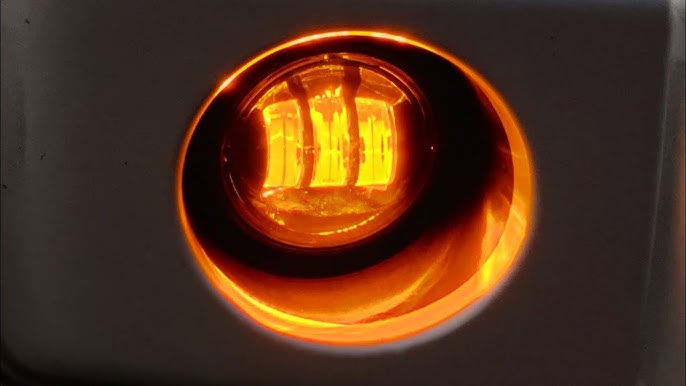
Mounting LED pods in the fog lights of a Jeep Commander can transform both the look and function of your SUV. Many owners want brighter, sharper lighting for off-road adventures or safer night driving.
But the process can feel confusing, especially if you haven’t worked much with vehicle lighting before. This guide breaks down every step, using simple language, so you can upgrade your Jeep’s fog lights with confidence—even if you’re a beginner.
Why Upgrade To Led Pods In Your Jeep Commander’s Fog Lights?
The factory fog lights in the Jeep Commander are often halogen bulbs. While these work for basic road use, they have several drawbacks:

- Dim output compared to modern lighting
- Shorter lifespan (halogen bulbs burn out faster)
- Yellowish color that doesn’t cut through fog well
LED pods offer clear advantages:
- Brighter, whiter light for better visibility
- Lower power use—less strain on your battery
- Longer lifespan (often 30,000+ hours)
- Modern style that refreshes your Jeep’s appearance
If you drive on country roads, off-road trails, or just want a safer night drive, upgrading to LED pods is a smart move.
Choosing The Right Led Pods For Your Jeep Commander
Before you buy, understand what matters most for LED pod selection:
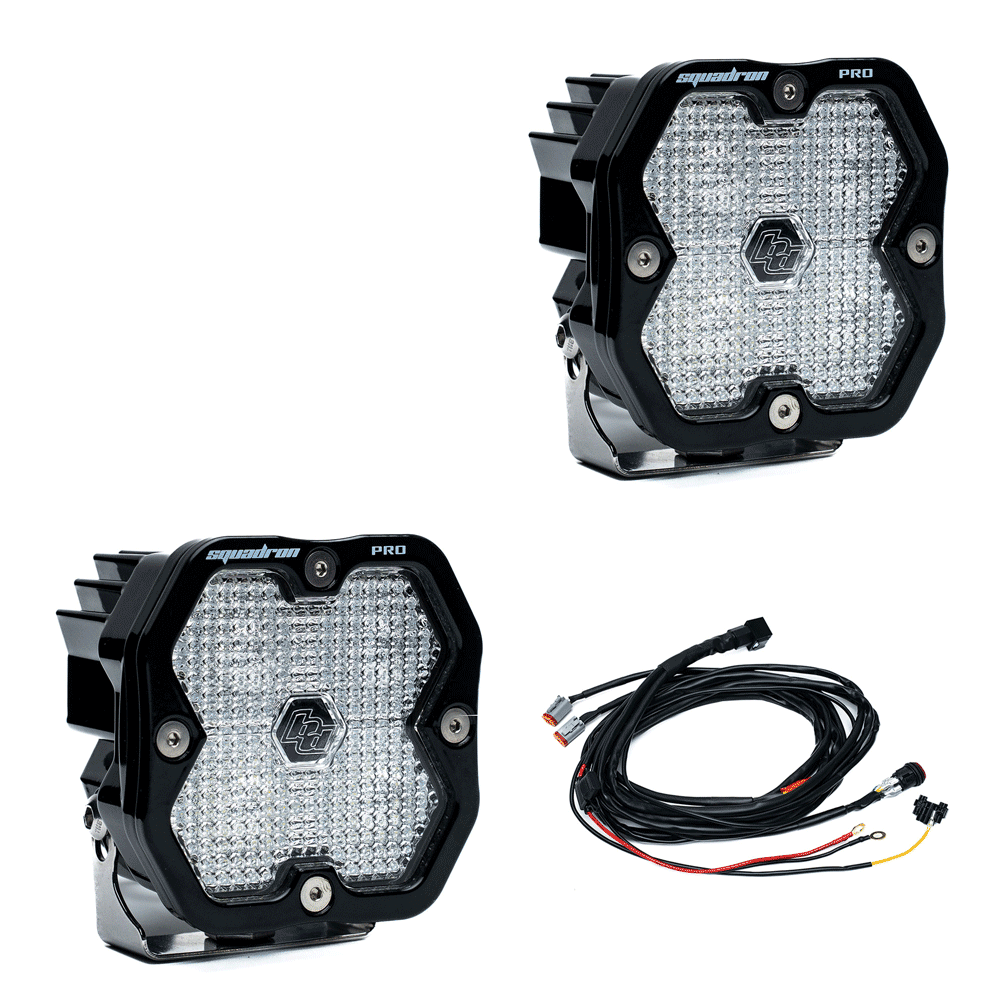
- Size and fit: The pods need to fit in the fog light location. Measure your fog light opening—most Jeep Commanders use a 3 to 4-inch pod, but check your year/model.
- Beam pattern: Flood beam spreads light wide (good for fog), while spot beam goes far (for long-range). For fog lights, flood or combo beams work best.
- Wattage and lumens: Higher wattage usually means brighter light, but too much can blind other drivers. 2,000-4,000 lumens per pod is ideal for fog lights.
- Color temperature: 5,000-6,500K gives a crisp white light. Some pods offer yellow (selective yellow) for even better fog penetration.
- Waterproof rating: Look for IP67 or IP68—these ratings mean the pods can handle rain, mud, and water crossings.
Quick Comparison: Halogen Vs. Led Pods
Here’s how LED pods compare to stock halogen bulbs:
| Feature | Halogen Bulbs | LED Pods |
|---|---|---|
| Brightness | 1,000 lumens | 2,500-4,000 lumens |
| Lifespan | 500-1,000 hours | 30,000+ hours |
| Color | Yellowish (3,000K) | White/Yellow (5,000-6,500K) |
| Energy Use | Higher | Lower |
| Durability | Fragile | Waterproof, tough |
Tools And Materials You’ll Need
Gather these tools and materials before starting:
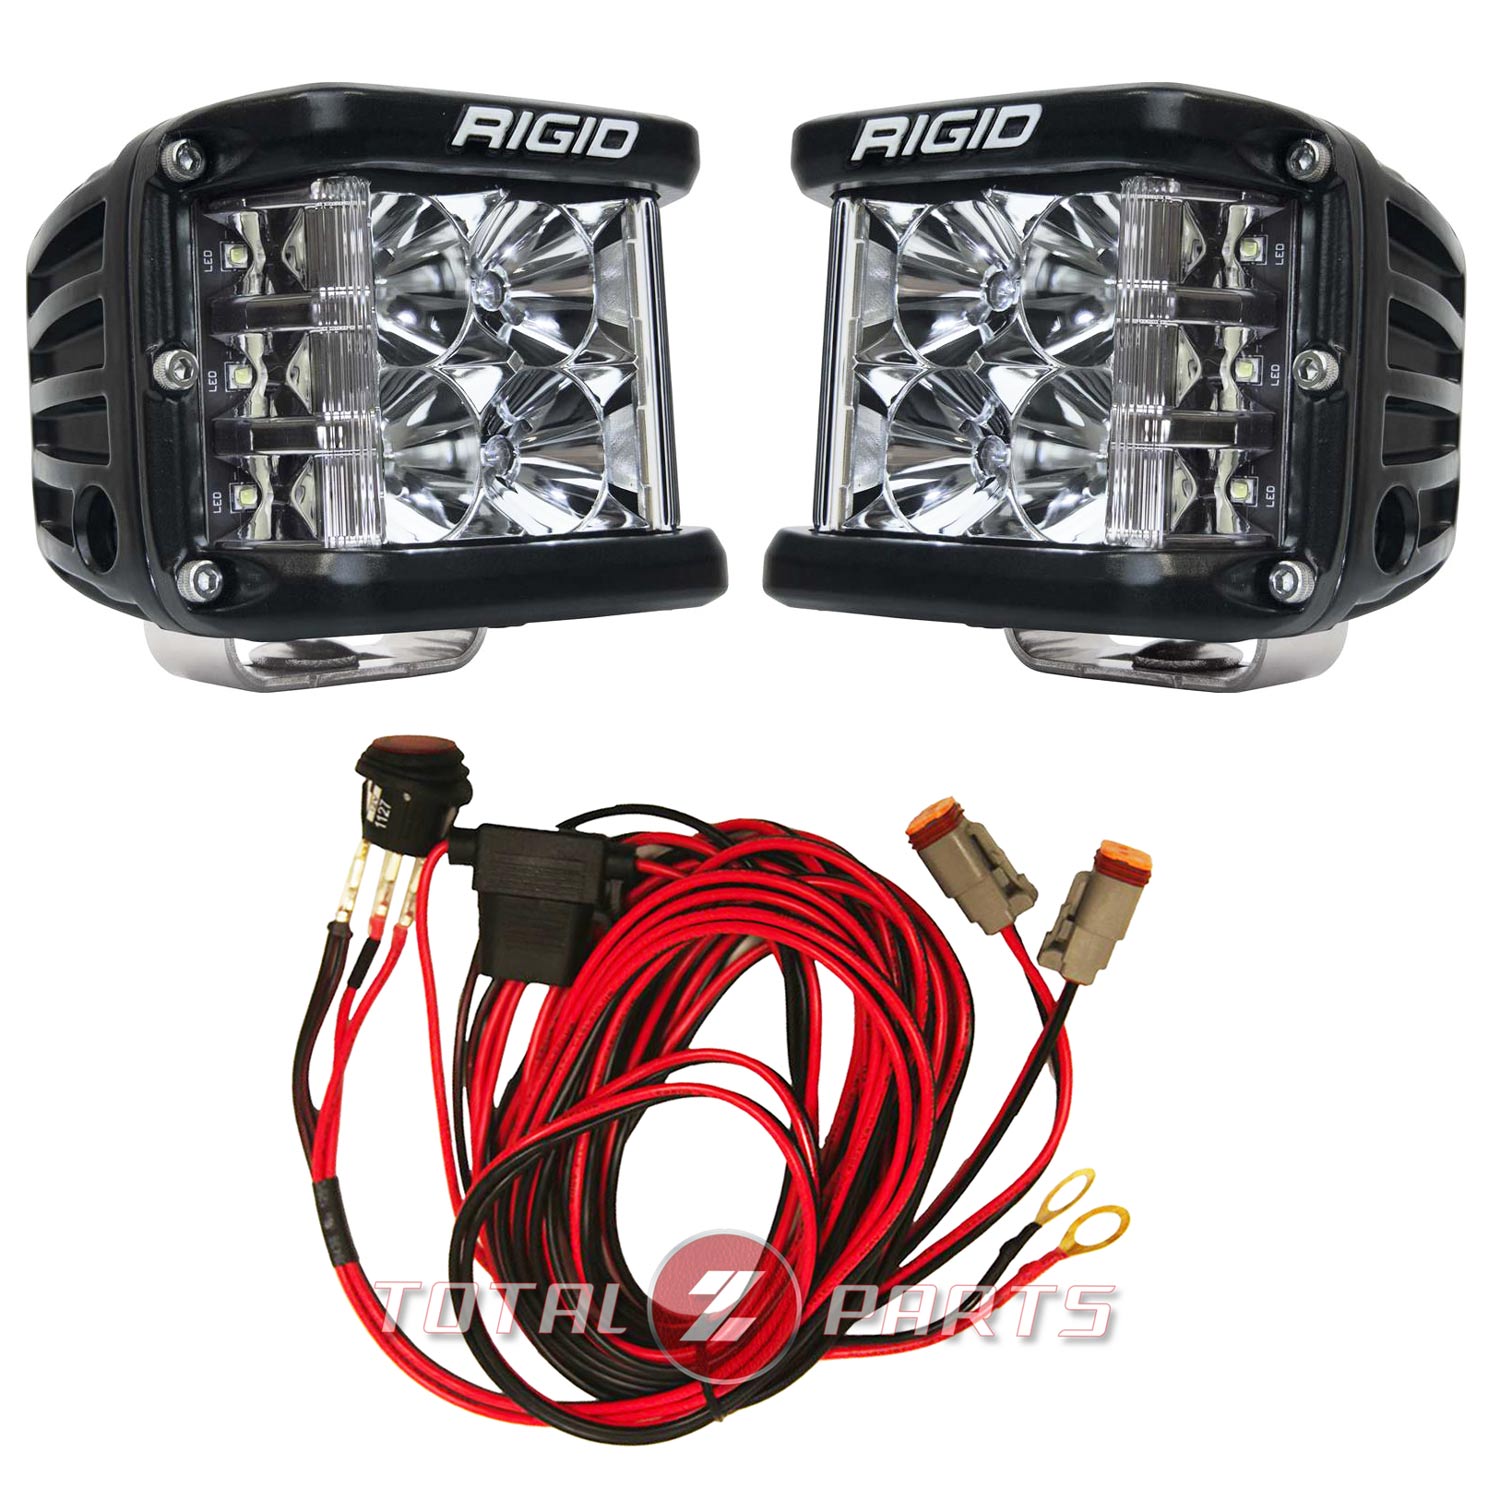
- Your selected LED pods (2 for both fog lights)
- Mounting brackets (if not included with pods)
- Wiring harness (with relay and switch, if needed)
- Screwdrivers (Phillips and flathead)
- Socket wrench set
- Wire cutters/strippers
- Electrical tape or heat-shrink tubing
- Zip ties
- 10-12 gauge wire (if extending wiring)
- Multimeter (for checking voltage)
- Safety gloves and glasses
A common beginner mistake is not checking if the pods come with brackets or a harness. Many kits do not! Double-check your purchase to avoid delays.
Removing The Stock Fog Lights
Start by safely removing the factory fog lights. Here’s how:
- Park on a level surface and disconnect the negative battery terminal to avoid short circuits.
- Locate the fog light housing under the front bumper. Most Jeep Commanders have an access panel or you may need to remove a few plastic clips.
- Use a screwdriver or socket wrench to remove the screws/bolts holding the fog light assembly.
- Disconnect the wiring plug from the back of the fog light. Gently wiggle it free—don’t pull on the wires.
- Remove the old fog light housing from the bumper.
If the bolts are rusty or stuck, spray them with penetrating oil and let it sit for a few minutes.
Test-fitting And Mounting The Led Pods
Step 1: Test Fit The Pods
Before drilling or wiring anything, test fit your LED pods:
- Slide the pod into the fog light opening.
- Check for any interference with the bumper or trim.
- Make sure the lens faces straight ahead (not tilted up or down).
If it doesn’t fit, you may need to use a universal bracket or trim some plastic. Most LED pods are designed for easy adaptation.
Step 2: Mark And Drill Mounting Holes
If your LED pods come with brackets:
- Hold the bracket in place inside the opening.
- Use a marker to note where the screws will go.
- Drill small pilot holes for the screws. Be careful not to hit wires or other parts behind the bumper.
Step 3: Secure The Led Pods
- Attach the bracket to the Jeep using the screws/bolts.
- Mount the LED pod to the bracket, adjusting the angle as needed.
- Tighten all hardware, but don’t overtighten (to avoid cracking plastic).
Tip: Use stainless steel hardware if possible. It resists rust better than standard bolts.
Mounting Methods Compared
Here’s a quick look at common mounting setups:
| Mount Type | Pros | Cons |
|---|---|---|
| Direct Bolt-On (factory bracket) | Simple, no drilling | Requires exact fit |
| Universal Bracket | Flexible, fits most pods | May need drilling |
| Bumper Cutout | Custom fit, clean look | More work, permanent |
Wiring The Led Pods Safely
Now, connect your new LED pods to power. There are two main ways:
Option 1: Plug-and-play (uses Stock Wiring)
If the LED pods use the same connector as your factory fog lights:
- Plug the pods directly into the factory harness.
- Test the lights—if they work, you’re done!
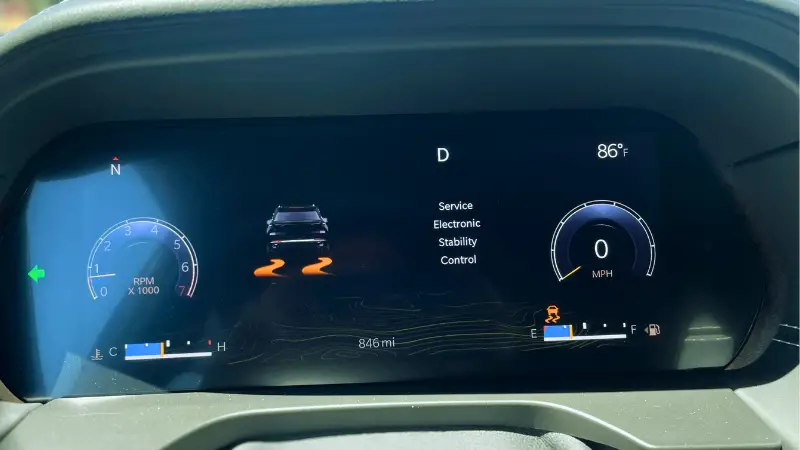
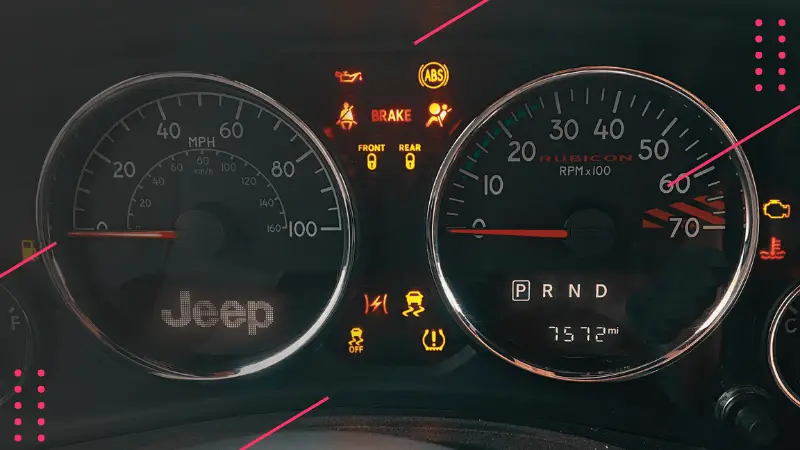
Sometimes, LED pods draw less power than halogen bulbs. This can cause a “bulb out” warning or flickering. If this happens, add a CANBUS decoder or resistor to fix it.
Option 2: Custom Wiring Harness
If your pods use a different connector or you want a separate switch:
- Connect the relay harness to your battery (red to positive, black to negative).
- Run the wiring from the relay to each LED pod. Use heat-shrink tubing on connections for weather protection.
- Route the switch wire into the cabin (through a rubber grommet in the firewall).
- Mount the switch in a safe spot—on the dash or near the steering wheel.
- Use zip ties to secure all wiring away from moving parts and hot surfaces.
Always use a fuse (20A is typical) close to the battery for safety.
Led Pod Wiring Diagram Example
Here’s a simple diagram to help you plan:
| Connection | Wire Color | Destination |
|---|---|---|
| Power | Red | Battery (+) |
| Ground | Black | Chassis or Battery (-) |
| Switch | Blue/White | Cabin Switch |
| Output | Yellow | LED Pod (+) |
Many beginners forget to seal their wiring connections. Use dielectric grease or heat-shrink tubing to keep water out and avoid shorts.
Adjusting And Aiming The Led Pods
- With the pods mounted and wired, park your Jeep on a flat surface facing a wall 25 feet away.
- Turn on the fog lights. The beam should hit the wall about 2-3 feet above the ground.
- Adjust the angle using the pod brackets. Aim the pods slightly downward to avoid blinding other drivers.
Test the lights in different weather conditions. If you drive off-road, check the mounting hardware after your first trip rough roads can loosen bolts.
Safety Tips And Legal Considerations
- Check local laws. Some states have limits on how bright or what color auxiliary lights can be. Make sure your setup is street-legal.
- Don’t use LED pods as high beams on public roads—they are for fog or off-road use.
- Always disconnect the battery before wiring to avoid shocks or short circuits.
- Wear safety glasses when drilling or working under your Jeep.
Some Jeep owners forget to aim their pods after installation. Misaligned pods can annoy other drivers and reduce your safety.
Common Mistakes To Avoid
- Buying oversized pods. Measure carefully or they won’t fit the fog light opening.
- Skipping the relay. Direct wiring without a relay can overheat switches and wires.
- Loose wiring. Use zip ties and route wires away from exhaust or moving parts.
- Forgetting a fuse. This is a fire hazard—always protect your circuit.
- Not testing before final mounting. Power up the pods before securing everything, so you know they work.
Real-world Example: Jeep Commander Owner’s Experience
Jake, a 2008 Jeep Commander owner, installed 3-inch LED pods in his fog lights. He chose a 6,000K combo beam for better trail vision. After using a universal bracket and relay harness, he noticed:
- Night driving became much easier—deer and road hazards were visible sooner.
- He needed to add a resistor to stop the dashboard warning light.
- Rainy and foggy mornings were much safer, thanks to the wide light spread.
- The install took about 2 hours, with basic tools.
Learning from other owners’ experiences can help you avoid surprises.
Taking Your Jeep Commander Lighting To The Next Level
LED pods are just the start. Some Jeep owners add amber covers for better fog performance or wire their pods to a dedicated off-road switch panel. Always upgrade step-by-step—don’t rush multiple changes at once. This helps you troubleshoot if something doesn’t work.
If you’re interested in even more lighting upgrades, the Jeep official accessories page has more ideas and inspiration.
Upgrading your Jeep Commander’s fog lights with LED pods is a rewarding project that doesn’t require expert skills. Take your time, double-check your wiring, and enjoy a big boost in both style and safety.
Frequently Asked Questions
How Do I Know If An Led Pod Will Fit My Jeep Commander?
Measure your fog light opening before buying. Most Jeep Commanders use a 3 to 4-inch pod. Check product specs for “vehicle compatibility” and look for kits that mention the Jeep Commander directly.
Do I Need To Wire Led Pods To A Relay?
A relay is strongly recommended. LED pods draw more current than stock bulbs, and a relay keeps your factory switch and wiring safe. Many wiring harnesses include a relay for this reason.
Can I Use My Factory Fog Light Switch?
In most cases, yes if your LED pods use the same connector and wattage. If not, use the included switch with your wiring harness, or wire the relay trigger to your factory switch’s output.
Will Installing Led Pods Void My Jeep’s Warranty?
Upgrading fog lights usually does not void your warranty, but damaging factory wiring or electronics during install could. If your Jeep is under warranty, check your owner’s manual or ask your dealer.
What If My Led Pods Flicker Or Cause A Dashboard Warning?
This happens because LEDs draw less current than halogen bulbs. Add a CANBUS decoder or resistor to the wiring to solve flicker or warning lights. Many pod kits include these, but you can buy them separately if needed.
Upgrading your Jeep Commander’s fog lights with LED pods is one of the most practical and impactful changes you can make. With patience and careful planning, you’ll get a professional look and much better night vision no shop visit required.