Mounting auxiliary lights on your Jeep XJ is a popular upgrade for off-road enthusiasts and daily drivers alike. Whether you want better visibility on dark trails or need extra light for nighttime work, adding auxiliary lights can transform your driving experience.
Many Jeep XJ owners feel overwhelmed by the choices and the installation process. But with the right tools, clear steps, and some practical tips, you can mount auxiliary lights confidently—even if you’re new to vehicle modifications.
Why Install Auxiliary Lights On A Jeep Xj?
The Jeep Cherokee XJ is known for its rugged build, but its factory headlights are often not bright enough for off-road or rural night driving. Auxiliary lights provide several important benefits:
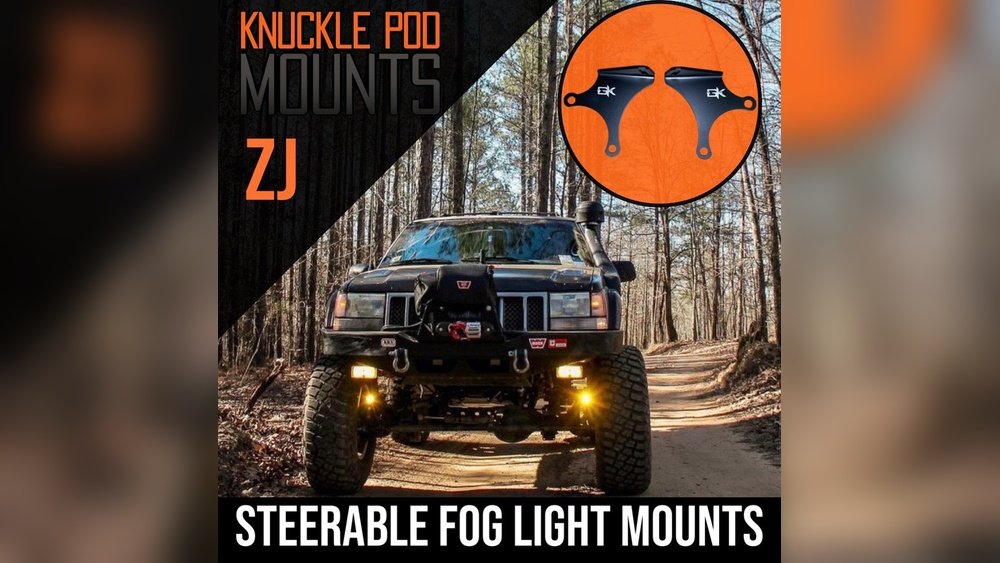
- Increased Visibility: You can see obstacles, animals, and road conditions much better.
- Safety: Better lighting means safer driving in poor weather or darkness.
- Versatility: Spotlights, floodlights, and fog lights can be used for different situations.
- Improved Appearance: Well-placed lights give your Jeep a more aggressive, custom look.
For example, many XJ owners who participate in trail rides report 60% fewer incidents after installing high-quality auxiliary lighting.
Types Of Auxiliary Lights For Jeep Xj
Auxiliary lights come in different types, each with a specific use. Choosing the right type makes your upgrade more effective.
| Light Type | Best For | Common Placement |
|---|---|---|
| Spotlights | Long-distance vision | Roof, bumper |
| Floodlights | Wide area illumination | Bumper, A-pillars |
| Fog Lights | Low visibility (fog, rain) | Lower bumper, grille |
| Light Bars | Maximum coverage | Roof, bumper |
Spotlights throw a narrow beam far ahead—great for fast off-roading. Floodlights spread light to the sides, helping on tight trails. Fog lights cut through mist and rain. Light bars combine features for all-around use.
Planning Your Installation
Before buying or installing auxiliary lights, consider these key points:
- Legal restrictions: Some states limit the number or brightness of aftermarket lights.
- Battery and alternator: Extra lights draw more power. Make sure your electrical system can handle it.
- Mounting location: Choose spots that don’t block your view or airflow.
- Wiring path: Plan how wires will run safely from the battery to the lights.
- Switch placement: The switch should be easy to reach but not distract you while driving.
A common mistake is mounting lights without checking the hood or door clearance, which can damage both the lights and your Jeep.
Tools And Parts You’ll Need
For a smooth installation, gather all the necessary tools and hardware first. Here’s a typical list:
- Auxiliary lights: Choose the type and size that fits your needs.
- Mounting brackets: Some lights include brackets; others need custom mounts.
- Wiring harness: Preferably with a relay and fuse.
- Switch: On/off or three-way, depending on your setup.
- Wire connectors and terminals
- Drill and bits: For making mounting holes.
- Wrenches and screwdrivers
- Electrical tape and zip ties
Some kits include almost everything, but double-check to avoid last-minute trips to the hardware store.
Choosing The Best Mounting Location
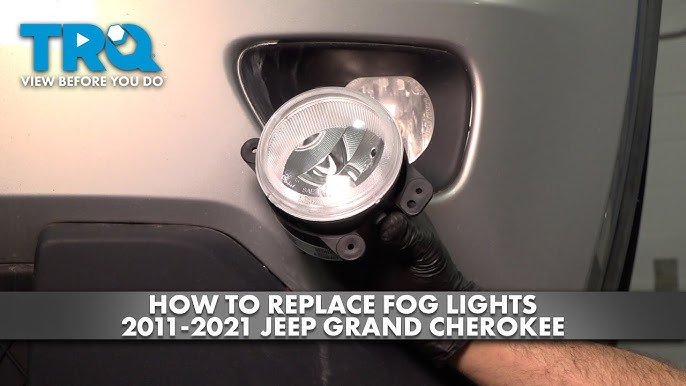
Where you mount your auxiliary lights affects both performance and safety. The three most common locations for Jeep XJ owners are the front bumper, roof, and A-pillars.
Front Bumper
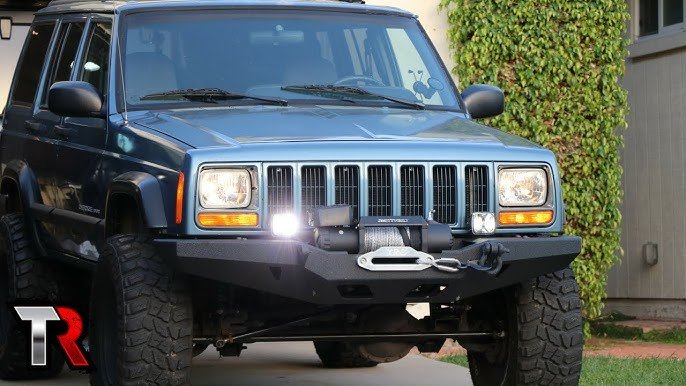
Mounting on the bumper is popular because it’s sturdy and keeps the lights low for fog or floodlights.
Pros:
- Easy wiring to the battery
- Less wind resistance
Cons:
- Can block airflow if poorly placed
Roof Mount
Roof mounting is best for spotlights or large light bars. You get the widest, longest-range coverage.
Pros:
- Maximum visibility
- Dramatic look
Cons:
- More wind noise
- Slightly reduced fuel efficiency
A-pillar Mounts
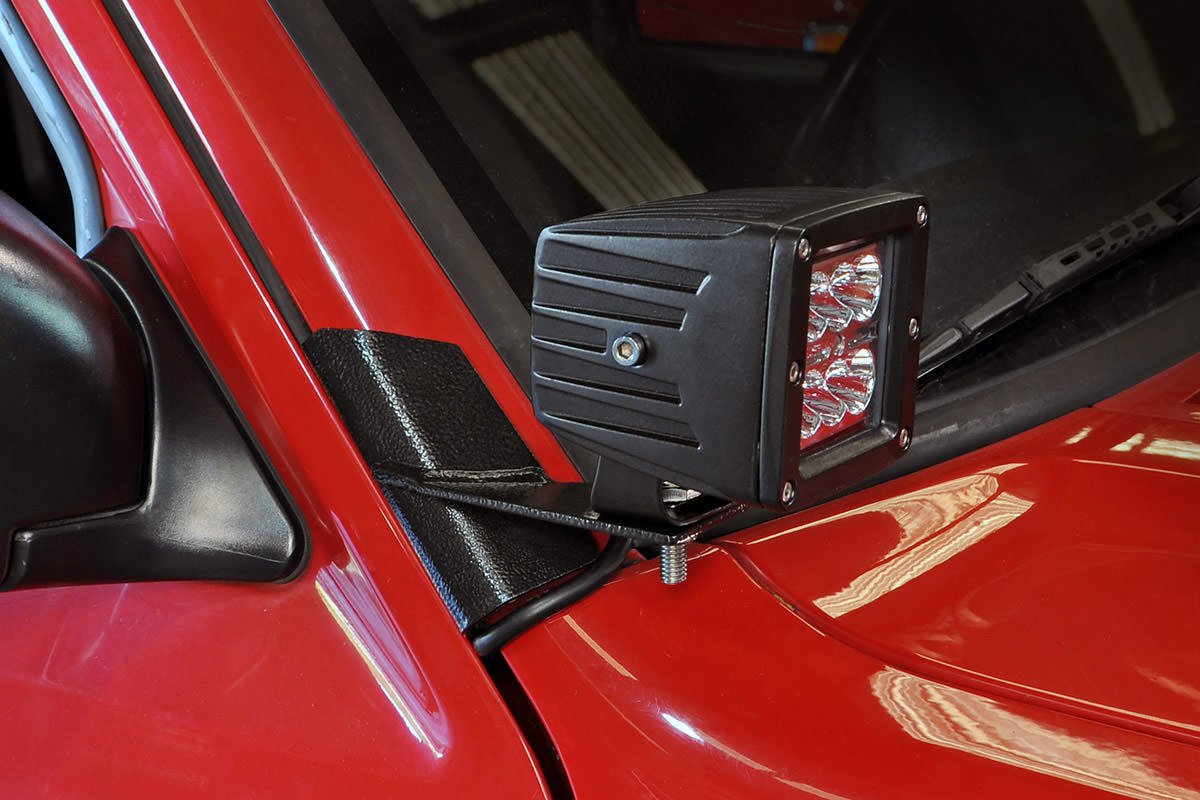
A-pillar mounts (beside the windshield) are a favorite for trail driving.
Pros:
- Good side and front coverage
- Minimal glare
Cons:
- Needs custom brackets
Compare these options below:
| Mount Location | Visibility | Difficulty | Common Use |
|---|---|---|---|
| Bumper | Medium | Easy | Fog, Flood |
| Roof | High | Moderate | Spot, Light Bar |
| A-Pillar | Medium | Hard | Flood, Spot |
Step-by-step: How To Mount Jeep Xj Auxiliary Lights
Mounting auxiliary lights on your Jeep XJ is a project you can do in a few hours with basic tools. The process may change a little depending on your light type and location, but these are the main steps.
1. Prepare The Vehicle
Park your Jeep on a flat surface. Disconnect the negative battery terminal.
This prevents accidental shorts or shocks. Clean the mounting area with alcohol or soap and water for good adhesion.
2. Position And Mark The Lights
Hold the lights in the desired spot. Use masking tape to temporarily hold them.
Sit in the driver’s seat and check the position make sure the lights won’t block your view or hood movement.
Mark the hole locations with a pencil or marker. Double-check spacing for symmetrical mounting.
3. Install The Mounting Brackets
Drill holes at the marks. Use a bit slightly smaller than your mounting bolts for a tight fit.
If using self-tapping screws, you may not need to pre-drill.
Bolt the brackets securely. For roof or A-pillar mounts, use silicone sealant around holes to prevent water leaks.
Pro tip: Use rubber washers to reduce vibration and noise.
4. Attach The Auxiliary Lights
Mount the lights onto the brackets. Adjust the angle so the beam points where you want it.
Tighten the bolts, but don’t over-torque this can crack plastic housings.
5. Run The Wiring
Route the wiring harness from the lights to the engine bay. Avoid sharp edges and moving parts.
Use zip ties to keep wires neat and safe from heat.
- Connect the power wire to the battery positive terminal.
- Ground the negative wire to a bare metal spot on the chassis.
- Attach the relay and fuse close to the battery for safety.
Most kits include a switch wire. Route this through a firewall grommet into the cabin. Mount the switch within easy reach.
Non-obvious tip: Always leave a little extra wire slack to allow for engine movement and future adjustments.
6. Test The Lights
Reconnect the battery. Turn on your new lights.
Check for proper operation and adjust the aim if needed. If nothing happens, check the fuse and all connections.
Pro tip: Test each light individually before final mounting to spot wiring mistakes early.
Common Installation Mistakes (and How To Avoid Them)
Even experienced DIYers make errors when mounting auxiliary lights. Here are some frequent problems and how to prevent them:
- Insufficient grounding: Poor ground connections cause flickering or weak lights. Always sand paint off the ground point.
- Overloading the battery: Adding too many lights can drain your battery. Upgrade the alternator if using high-wattage lights.
- Improper sealing: Roof or A-pillar holes can leak water inside. Use silicone and check for leaks after the first rain.
- Blocking airflow: Don’t mount large lights in front of the radiator.
- Loose wiring: Secure all wires to avoid rubbing and short circuits.
One insight many beginners overlook: relays are essential for safety. They prevent your dash switch from handling too much current, which can cause fires.
Aiming And Adjusting Your Auxiliary Lights
Proper aiming is just as important as mounting. Misaligned lights can blind other drivers or leave you in the dark where you need light most.
- Spotlights: Aim just above the main headlights for maximum distance.
- Floodlights: Spread the beam to cover the road edges.
- Fog lights: Point slightly down to avoid glare in mist.
A simple way to check: Park 25 feet from a wall at night. The brightest part of the beam should hit just below the headlight line.
Maintenance Tips For Long-lasting Lights
Auxiliary lights can last years if you take care of them:
- Clean lenses regularly: Dirt and mud reduce brightness.
- Check mounts: Tighten bolts every few months, especially after rough trails.
- Inspect wiring: Look for cracks or wear, especially near moving parts.
- Replace bulbs as a set: For even light color and brightness.
- Protect with covers: Use light covers when not in use to prevent rock chips.
A little maintenance goes a long way. Many XJ owners report their lights last over five years with simple care.
Upgrading Your Jeep Xj’s Electrical System
If you plan to run multiple lights or high-power LEDs, consider upgrading your electrical system. The XJ’s stock alternator is only 90-120 amps, which can be overloaded by several auxiliary lights, winches, and accessories.
You can:
- Install a higher-output alternator (up to 170 amps)
- Add a second battery for heavy off-road use
- Use LED lights instead of halogens, as they draw less power
This prevents dimming, stalling, or electrical failures on the trail.
Legal And Safety Considerations
Check your state and local laws before installing auxiliary lights. Some places require covers on lights when driving on public roads, or limit the total number allowed.
Always aim lights properly to avoid blinding other drivers misuse can lead to tickets or accidents.
For more info on vehicle lighting laws, see this NHTSA guide.
Frequently Asked Questions
What Size Auxiliary Lights Fit Best On A Jeep Xj?
Most XJ owners use 6-inch round or 12-20 inch light bars. These sizes fit well on the bumper or roof without blocking your view or looking oversized.
Is It Safe To Drill Into My Roof Or A-pillars?
Drilling is safe if you seal the holes with silicone or rubber grommets. Always double-check for wires or airbags before drilling. Poor sealing is the main cause of water leaks after installation.
Can I Use Factory Wiring For Auxiliary Lights?
No. Factory wiring is not designed for high-power accessories. Always run a separate harness with a relay and fuse. This protects your Jeep’s electrical system and prevents fires.
Do Auxiliary Lights Drain The Battery Fast?
High-wattage halogen lights can drain the battery if used with the engine off. LED lights use less power and are better for long-term use. Upgrade your alternator if running multiple lights.
What’s The Best Way To Aim My Auxiliary Lights?
Park 25 feet from a wall, turn on the lights, and adjust so the beam hits just below the headlight level. For fog lights, point slightly downward. Always check for glare and avoid aiming into other drivers’ eyes.
Mounting auxiliary lights on your Jeep XJ is a smart upgrade that boosts both performance and safety. With careful planning, the right tools, and these practical steps, you’ll enjoy brighter nights on and off the road without worry.
Whether you’re a weekend adventurer or daily driver, the extra light pays off every time you turn it on.


















