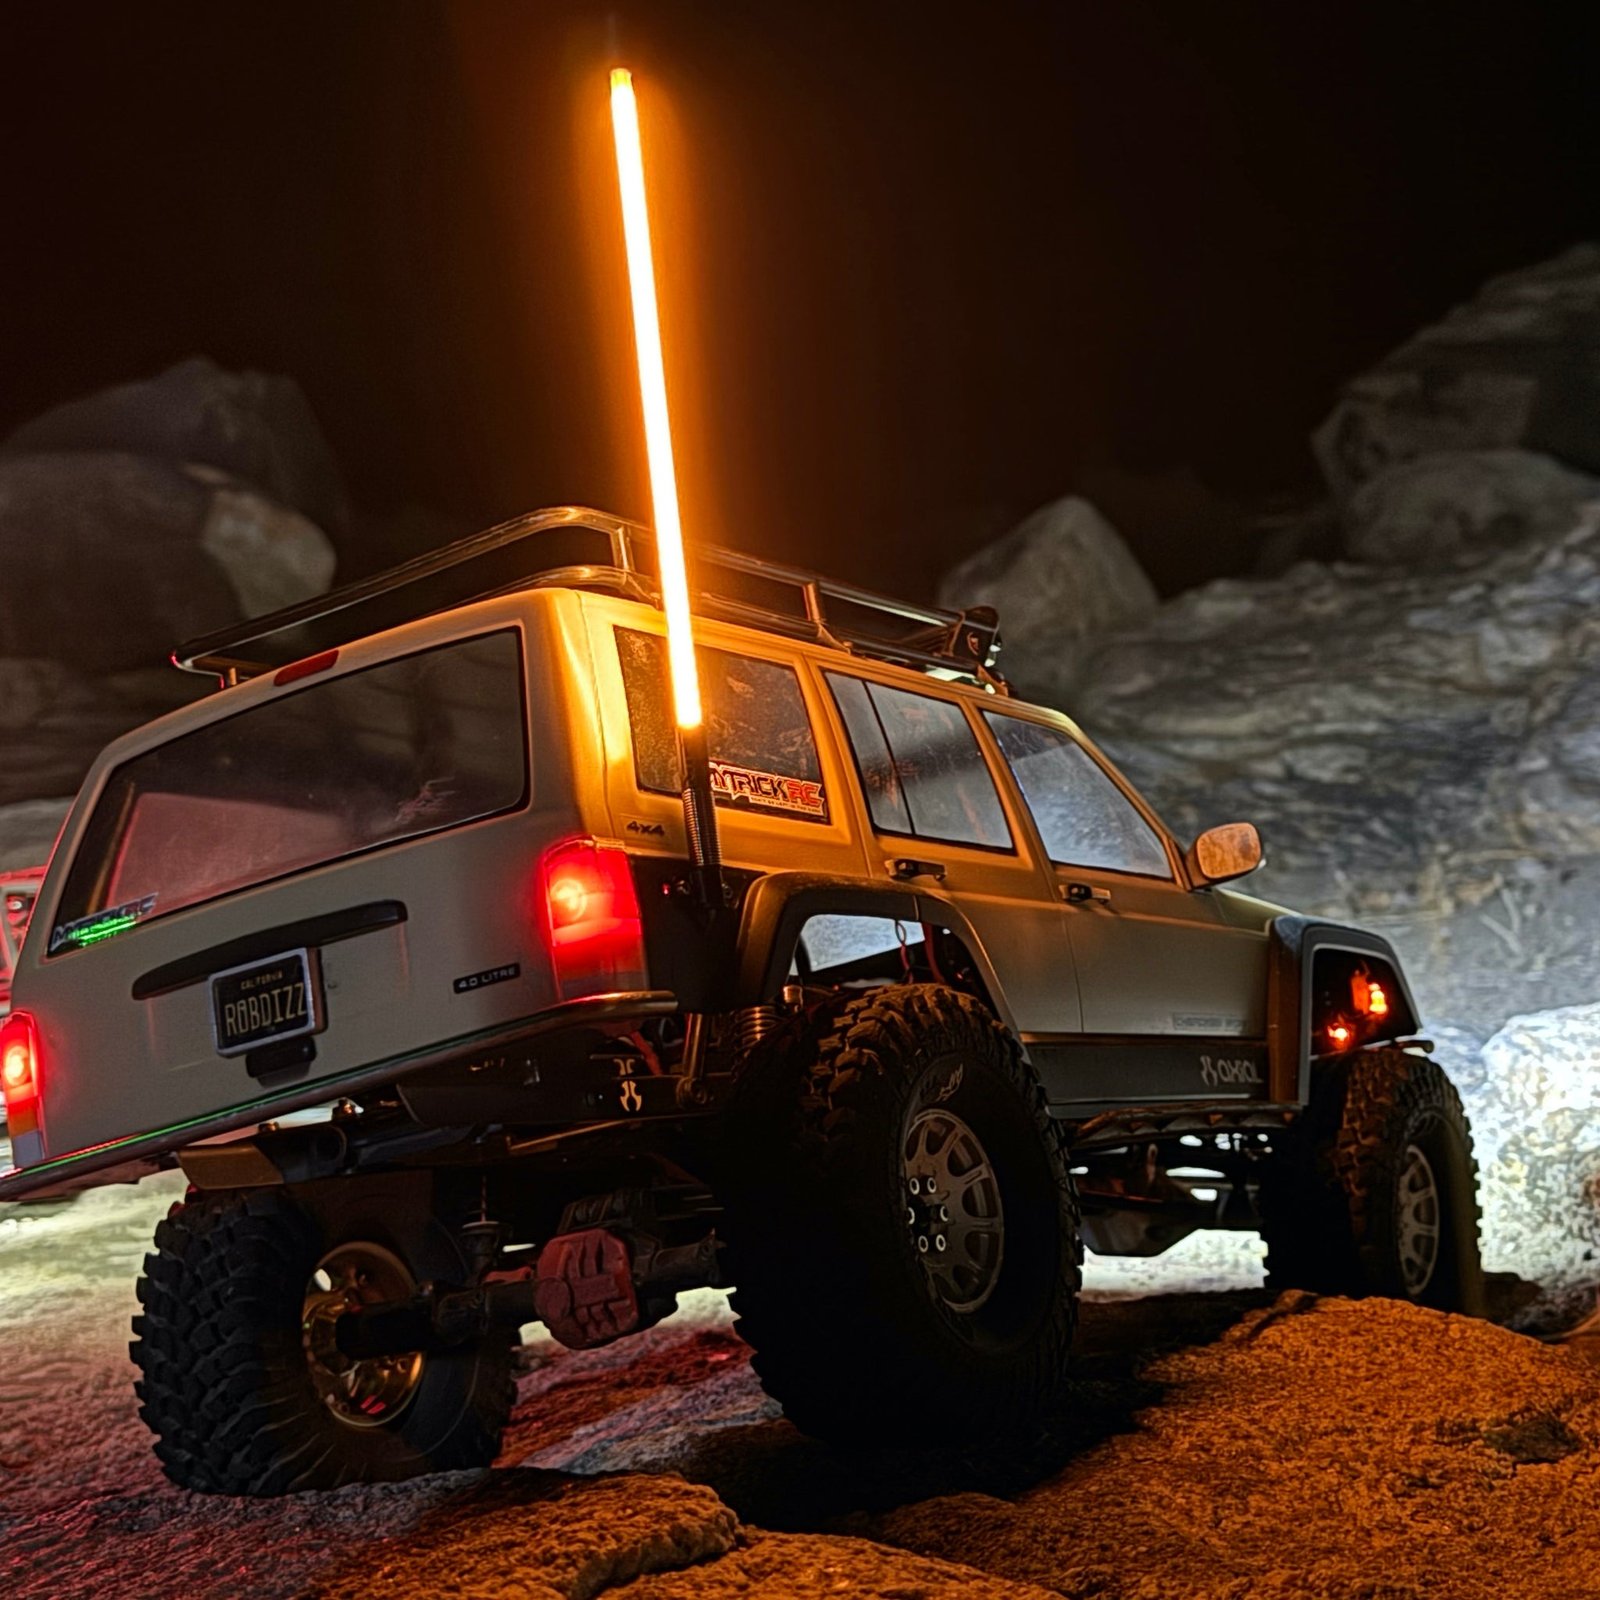
Mounting a buggy whip light on your Jeep is more than just a style upgrade. It’s a smart choice for off-road safety, visibility, and communication.
Whether you’re driving in sand dunes, rocky trails, or night events, a whip light helps others spot your vehicle from far away. But installing one isn’t always straightforward.
There are choices to make, tools to gather, and steps to follow. This guide walks you through everything—so you get it right the first time.
Why Jeep Owners Choose Buggy Whip Lights
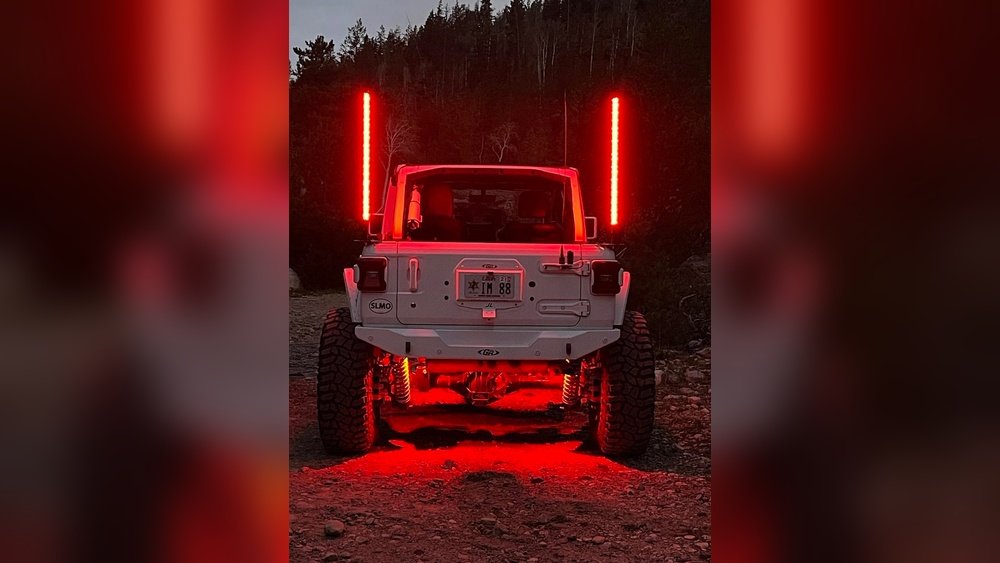
Buggy whip lights are tall, flexible poles with a bright LED or colored light at the top. They’re designed to stand above your Jeep, making it visible even in tall grass, dust, or darkness. Here’s why they’re popular:
- Safety: High visibility prevents collisions, especially in crowded off-road areas.
- Communication: Different colors or flashing patterns signal group members or warn others.
- Style: Many whip lights offer color-changing effects and patterns, adding personality.
According to the Off-Road Safety Association, visibility enhancements like whip lights reduce accident risk by up to 43% in busy trail settings. Still, many beginners make mistakes like improper mounting, weak wiring, or choosing the wrong location.
Choosing The Right Buggy Whip Light
Not every whip light suits every Jeep. Before you buy, consider these factors:
Height And Flexibility
Typical heights range from 4 feet to 8 feet. Taller lights offer more visibility but can snag on branches. Flexible poles withstand impacts better.
Light Type
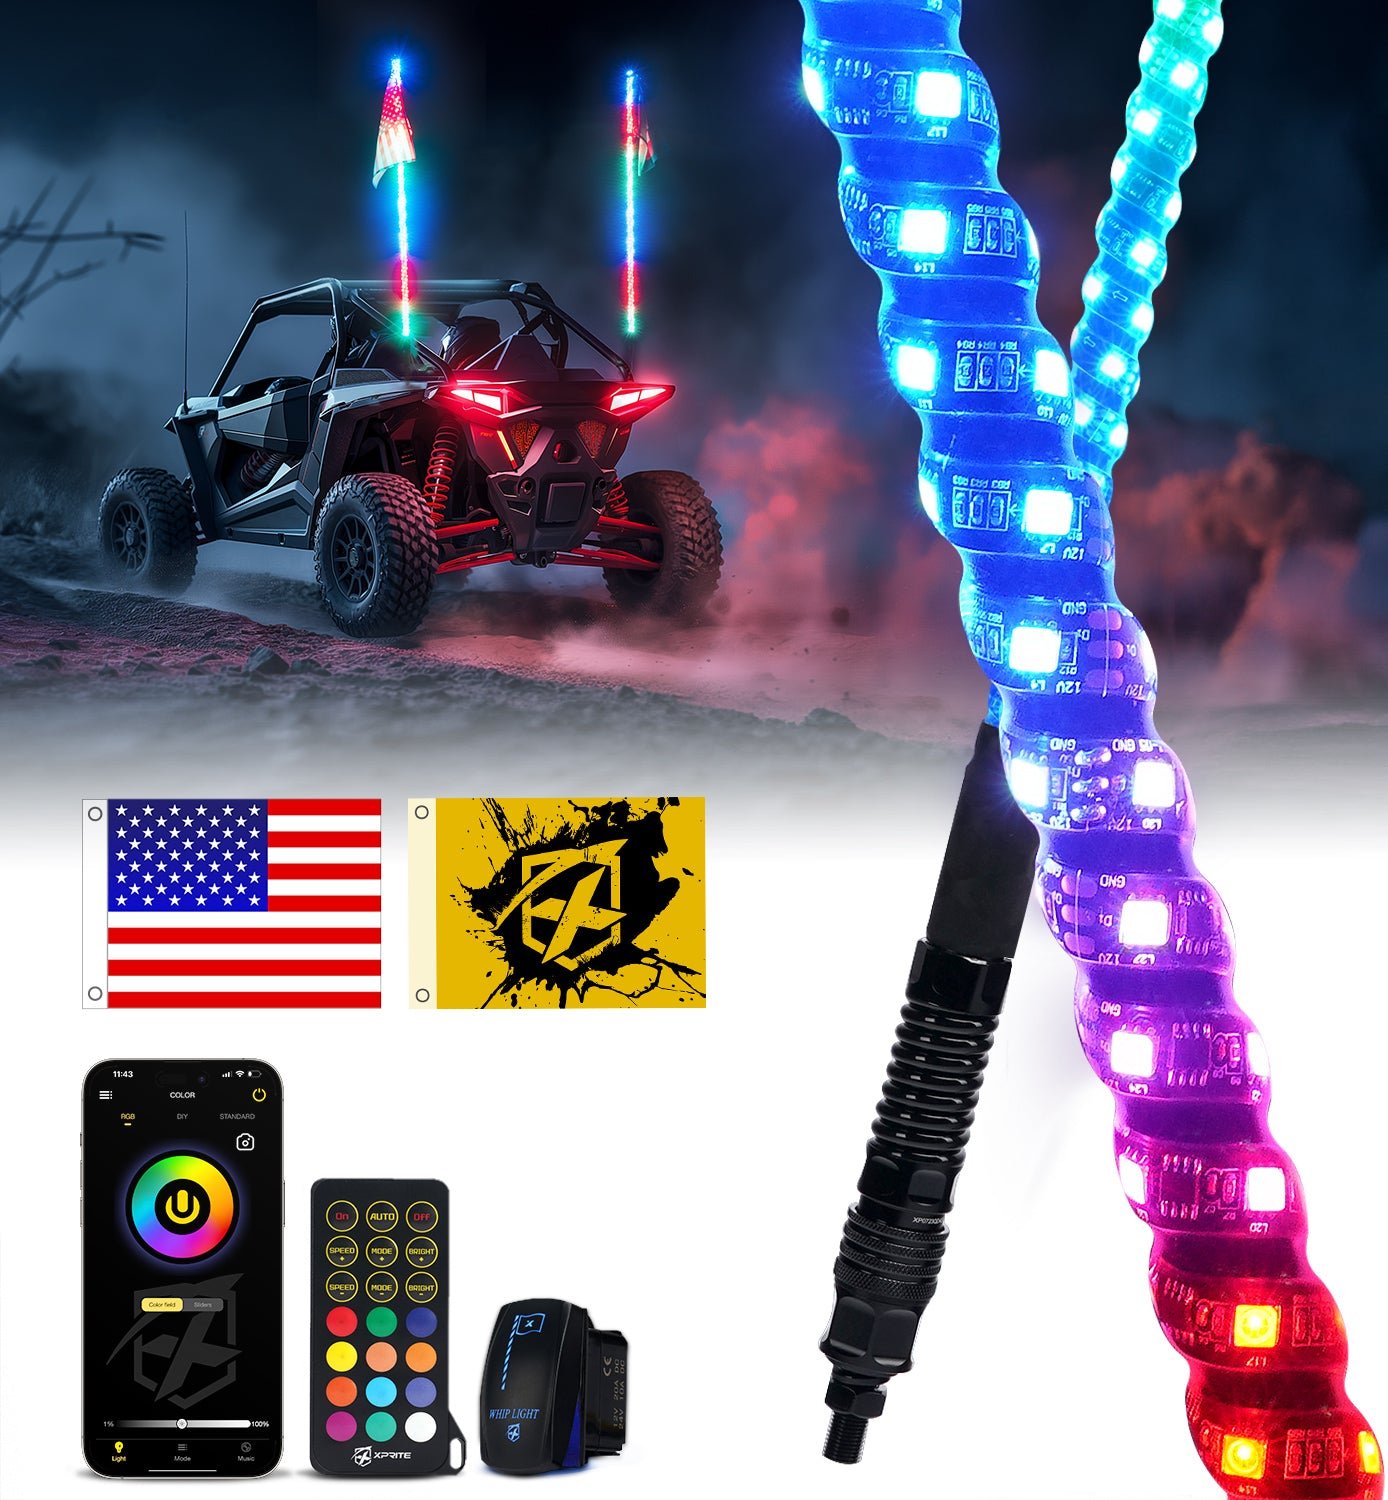
Most modern whip lights use LEDs for brightness and efficiency. Some have remote controls, multiple colors, or patterns. Decide if you want a single color or a multi-color option.
Mounting Base
Look for a quick-release mount if you want to remove the light easily. Some bases are magnetic, while others use bolts.
Weather Resistance
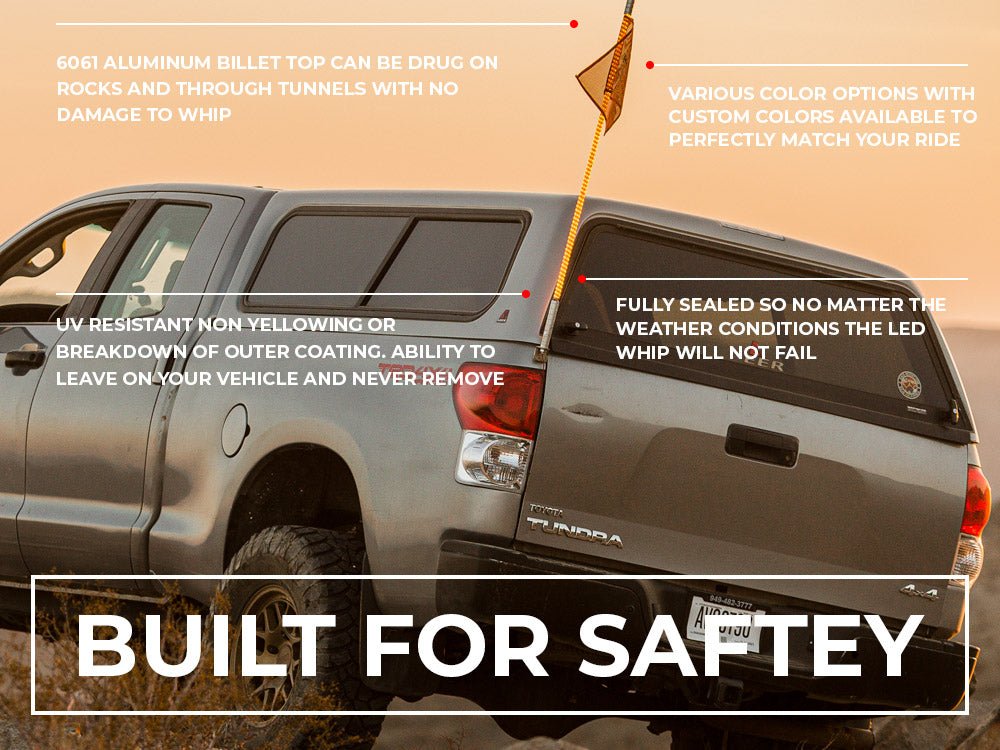
Check for IP65 or higher waterproof rating. Off-road conditions can be harsh—rain, mud, dust, and vibration are common.
Price Comparison
Here’s a quick look at typical costs:
| Feature | Basic Whip | Premium Whip |
|---|---|---|
| Height | 4-6 ft | 6-8 ft |
| LED Colors | Single | Multi-color, patterns |
| Mount Type | Bolt-on | Quick release, magnetic |
| Waterproof | IP65 | IP67+ |
| Price | $50-$80 | $120-$200 |
For most Jeep owners, a mid-range whip light ($100-$150) offers good balance between durability and features.
Tools And Materials Needed
Before you start, gather these items:
- Buggy whip light kit (including base, wiring, remote if applicable)
- Drill with metal or plastic bits (usually 3/8” or 1/2”)
- Wrenches and screwdrivers
- Wire stripper and crimping tool
- Fuse tap or inline fuse holder
- Electrical tape or heat-shrink tubing
- Zip ties for cable management
- Protective gloves
Some kits include mounting hardware and wiring. If not, buy rust-proof bolts and waterproof connectors.
Picking The Best Mounting Location
Where you mount the whip light affects both safety and performance. Common locations:
Rear Bumper
- Pros: Easy access, clear visibility, minimal interference with roof racks.
- Cons: May block rear cargo area.
Spare Tire Carrier
- Pros: Central location, sturdy, no drilling needed if using clamp mount.
- Cons: Can interfere with tire removal.
Roof Rack
- Pros: Highest visibility, easy wiring to roof lights.
- Cons: May hit low branches, more difficult installation.
Comparison Table: Mounting Locations
| Location | Visibility | Ease of Install | Durability |
|---|---|---|---|
| Rear Bumper | Good | Easy | High |
| Spare Tire Carrier | Excellent | Medium | High |
| Roof Rack | Best | Difficult | Medium |
Most Jeep owners choose the rear bumper or spare tire carrier for balance between visibility and convenience.
Step-by-step Guide: Mounting Your Buggy Whip Light
1. Prepare The Area
Park your Jeep on a flat surface. Turn off the engine and disconnect the battery.
Clean the mounting spot to prevent rust and ensure a solid connection.
2. Mark And Drill
Use a pencil or marker to mark the location for the base. Double-check clearance for the whip light.
Drill a pilot hole then expand it to the required size. Use protective gloves and goggles.
3. Attach The Mount
Bolt the base securely. For clamp mounts, tighten screws evenly.
Magnetic mounts require a flat, metal surface. Check for wobble by gently shaking the base.
4. Route The Wiring
Run the whip light’s wire toward the Jeep’s fuse box or accessory switch. Avoid sharp bends and hot surfaces (like exhaust pipes).
Use zip ties to secure the wire along the frame or under the body.
5. Connect Power Safely
Use a fuse tap to connect to an existing fuse (like tail lights or auxiliary lights). If wiring directly to the battery, add an inline fuse near the battery for safety. Strip wires, crimp connectors, and cover exposed metal with heat-shrink tubing.
6. Test The Light
Reconnect the battery. Turn on the whip light.
Test brightness, patterns, and remote control if included. If the light flickers or doesn’t turn on, check all connections and fuse.
7. Finish And Secure
Tidy up loose wires with zip ties. Apply electrical tape to exposed areas.
Ensure the whip light sits straight and does not wobble.
Common Mistakes And How To Avoid Them
Many Jeep owners face problems like weak mounts, poor wiring, or short circuits. Here are mistakes to watch for:
- Skipping the fuse: Always use a fuse to prevent electrical fires.
- Improper wire routing: Wires near hot or moving parts can melt or break.
- Loose mounts: Double-check all bolts and clamps; a whip light that falls off can cause accidents.
- Ignoring waterproofing: Use rated connectors and tape to protect against rain and mud.
- Over-drilling: Only drill holes as large as needed—extra holes weaken the metal.
An often-missed tip: use a dielectric grease on electrical connectors. It prevents moisture and corrosion, which is critical for off-road use.
Wiring Tips For Reliability
Wiring is often the trickiest part. Here’s how to make it last:
- Use stranded automotive wire for flexibility and vibration resistance.
- Label wires if you’re adding multiple lights—this helps during troubleshooting.
- Choose the right gauge: For most whip lights, 16-18 AWG is enough.
- Protect with conduit: Use plastic conduit or split loom to shield wires under the Jeep.
If you plan to sync your whip light with brake or turn signals, use a relay. This prevents electrical overload and keeps signals separate.
How To Remove And Store Your Whip Light
Some Jeep owners remove their whip lights when not off-roading. Here’s how to do it safely:
- Quick-release mounts allow you to pull the whip out in seconds. Store it in a dry, cool place.
- Magnetic bases can be detached easily. Clean the magnet before storage to prevent rust.
- For fixed mounts, disconnect wiring at the base and unscrew. Cover open connectors with rubber caps.
Before storing, wipe the whip light with a damp cloth. Avoid folding or bending the pole sharply it can weaken the material.
Real-world Examples
Many Jeep clubs recommend whip lights for group rides. For example, the Jeep Jamboree event in California requires whip lights for all vehicles. One Jeep owner reported that his whip light prevented a collision in the dunes—others spotted his vehicle before cresting a hill.
Off-road parks like Glamis Dunes and Silver Lake State Park require whip lights by law. Bright whip lights help park rangers and other drivers keep track of vehicles, especially during night runs.
Maintenance And Troubleshooting
A whip light is tough, but not indestructible. Here’s how to keep it working:
- Clean the pole after each trip—dust and mud can block light.
- Check mounting bolts monthly for tightness.
- Inspect wiring for cracks or wear.
- Replace damaged LEDs—most kits offer replacement modules.
If your whip light stops working, check these areas:
- Fuse: Replace if blown.
- Connections: Tighten or re-crimp loose connectors.
- Water damage: Dry out connectors and add new tape.
A non-obvious insight: If your whip light flickers only when the Jeep is moving, check for vibration damage to the wiring near the mount. This is a common issue in rough terrain.
Legal And Safety Considerations
Some states have rules about whip lights:
- Height limits: Usually 8 feet maximum.
- Color restrictions: Red and blue may be reserved for emergency vehicles.
- Brightness: Avoid blinding other drivers—use dimmer or pattern controls.
Check local laws before installing. For more details, see the Off-Road Vehicle Safety Guide.
Frequently Asked Questions
How Do I Know Which Whip Light Fits My Jeep?
Measure available space where you want to mount the light. Choose a pole that clears your roof but won’t hit garage doors. Most kits list compatible vehicles.
Can I Install A Whip Light Without Drilling?
Yes. Some mounts clamp onto the spare tire carrier or use magnetic bases. These require no drilling and are easy to remove.
Will A Whip Light Drain My Jeep’s Battery?
Modern LED whip lights use very little power. If wired correctly with a fuse, battery drain is minimal—even after several hours.
Can I Use My Whip Light On Other Vehicles?
If the mount and wiring match, you can move the whip light to ATVs, trucks, or UTVs. Quick-release or magnetic mounts make swapping easy.
Are Whip Lights Waterproof?
Most quality whip lights are IP65 or higher rated. Still, always check for waterproof connectors and seal any exposed wiring for best results.
Mounting a buggy whip light on your Jeep takes some planning and care but it brings huge safety benefits and adds a unique look. By choosing the right light, mounting location, and wiring method, you get the best performance.
Avoid shortcuts, use quality materials, and follow safety tips.
With a well-installed whip light, your Jeep stands out in any terrain day or night.