Building your own Lego army jeep is more than just a fun project—it’s a great way to learn about design, planning, and creative problem-solving. Army jeeps are classic vehicles, known for their rugged look and usefulness on tough terrain. If you enjoy Lego, creating a custom jeep can be both satisfying and challenging. This guide will show you how to make a strong, realistic, and playable Lego army jeep, using clear steps, helpful tips, and practical advice. Whether you want to boost your Lego army or just like military vehicles, you’ll find all you need right here.
Understanding The Lego Army Jeep
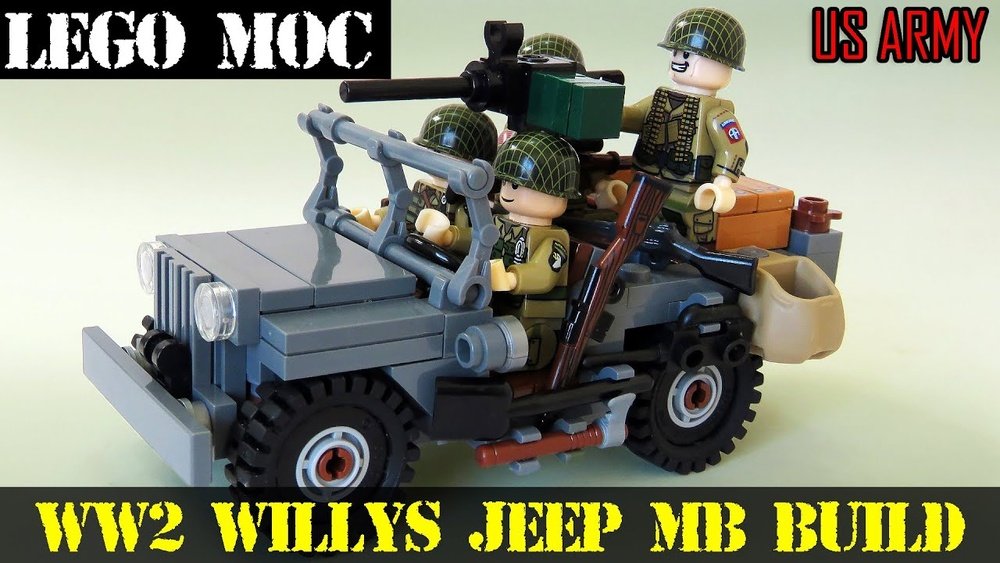
Before you start building, it’s helpful to know what makes an army jeep special. Real-life army jeeps, like the Willys MB used in World War II, are small, open vehicles designed for rough roads and quick movement. They often have a boxy shape, four-wheel drive, and space for gear or passengers. Your Lego version doesn’t have to be an exact copy, but it should capture these main features: compact size, tough appearance, and utility.
Choosing The Right Lego Bricks
The type of Lego bricks you use will shape your army jeep. Many builders mix new and old pieces from different sets. Here are the most important brick types you’ll need:
- Base plates (4×8 or 6×10 studs): These form the jeep’s chassis.
- Wheels and axles: Four matching wheels for a balanced look.
- Slopes and curved bricks: For the front hood and rear.
- Flat plates: For seats, dashboard, and roof (if you add one).
- Modified plates with clips or bars: To attach accessories like tools or antennas.
- Bricks with holes: For adding a steering wheel or special features.
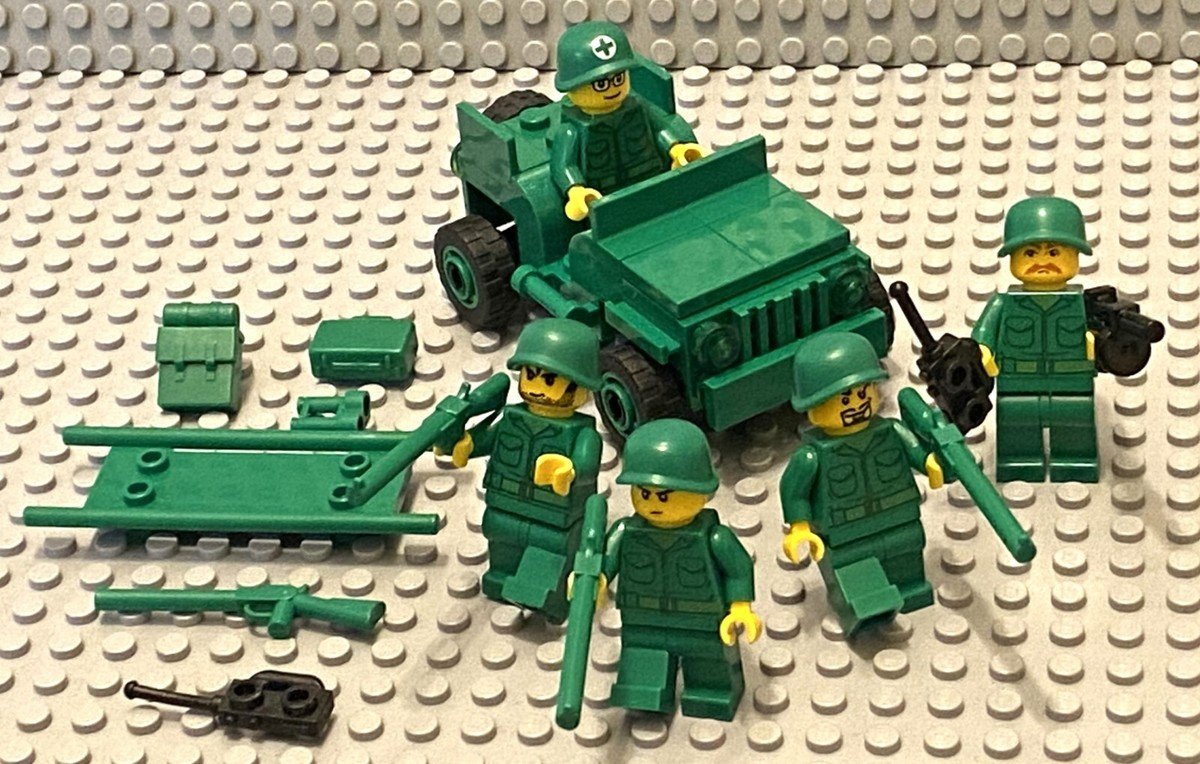
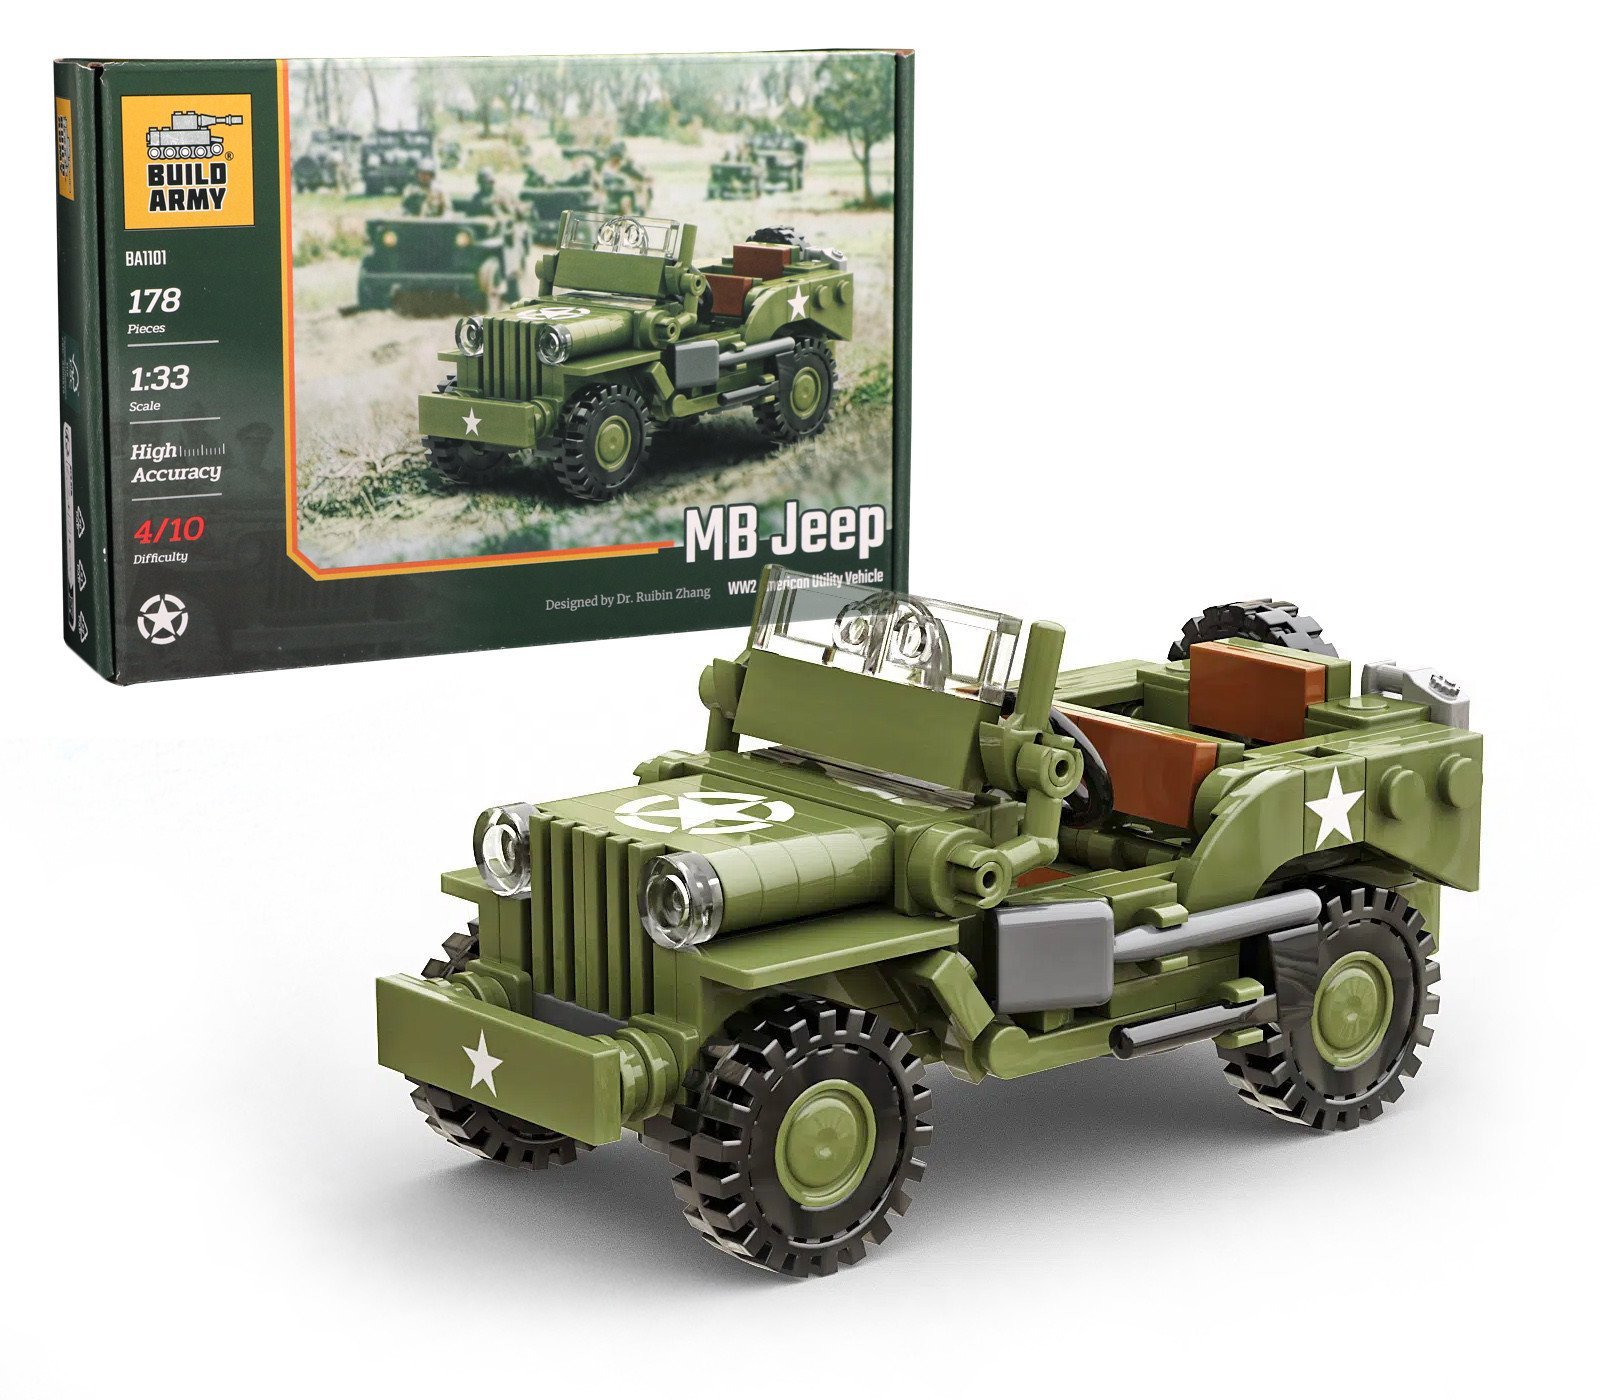
Try to use army colors like olive green, dark green, gray, or tan. If you don’t have these, mix in black or brown. It’s okay if your jeep isn’t one solid color—real army vehicles often have mixed parts from repairs.
Lego Jeep Vs. Other Lego Vehicles
Here’s a quick look at how a Lego army jeep compares to other common Lego vehicles:
| Vehicle Type | Typical Size (Studs) | Main Features | Difficulty |
|---|---|---|---|
| Army Jeep | 4×8 – 6×12 | Open top, rugged, compact | Medium |
| Sports Car | 6×12 – 8×16 | Low profile, sleek, closed | Medium |
| Truck | 8×16 – 10×24 | Large, boxy, cargo space | Hard |
Planning Your Lego Army Jeep
A good plan makes building easier and gives better results. Here’s how to get ready:
- Find inspiration: Look at photos of real army jeeps or Lego builds online.
- Sketch your design: Draw a side view and top view. Mark where the wheels, seats, and windshield will go.
- Sort your bricks: Group by color and size. This saves time during building.
- Check for missing parts: If you need special pieces, you can order them from the Lego Pick a Brick site or other sellers.
Pro tip: Many beginners forget to plan where the minifigures will sit. Measure your seats with a minifigure before you finish the build, so they fit comfortably.
Step-by-step Instructions
Now, let’s build your Lego army jeep. This guide is for a medium-sized jeep (about 6×10 studs), but you can adjust the size if you like.
1. Building The Chassis
- Start with a 6×10 plate as the base.
- Attach 2×4 plates under the base for extra strength.
- Add wheel holders (axle bricks) at each corner. Make sure they are spaced so all four wheels touch the ground evenly.
2. Adding Wheels
- Snap four matching wheels onto the axles.
- Test the jeep. It should roll smoothly and not tip to one side. If it does, double-check the wheel spacing.
3. Creating The Front Bumper And Hood
- Use 2×4 or 2×6 bricks at the front for the bumper.
- Add a sloped brick (2×4 or 2×3 slope) behind the bumper for the hood.
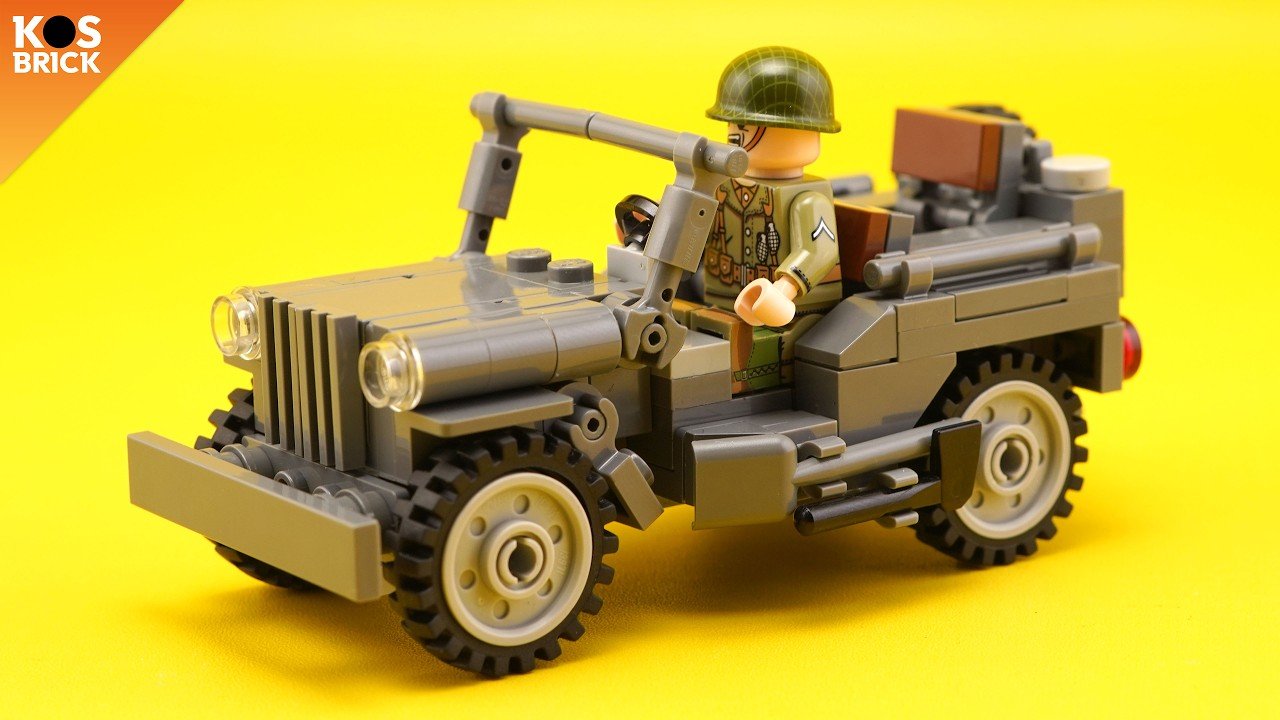
- For extra detail, use headlight bricks and clear round studs for headlights.
4. Building The Cabin
- Place 1×4 and 1×6 bricks along the sides to build up the walls.
- Leave space in the middle for a driver’s seat and a passenger seat.
- Use flat tiles for the floor and jumper plates if you want to stagger the seats.
5. Making The Windshield
- Use a transparent Lego windshield piece if you have one. If not, use clear 1×2 bricks or leave it open for a classic look.
- Attach the windshield at a slight angle using hinge plates or angled bricks.
6. Adding The Rear Section
- Build up the back with 2×4 bricks.
- Leave a small space for cargo, tools, or a spare tire.
- You can use a clip plate to attach a shovel or radio antenna.
7. Placing The Seats And Steering Wheel
- Use 2×2 or 2×3 plates for seats.
- Attach a steering wheel on a 1×2 brick with a hole.
- Place your minifigure to check the fit.
8. Finishing Touches
- Add side mirrors using small clips and round plates.
- Place tiles on the sides for a smooth look.
- Attach an antenna, jerry can, or backpack if you want more detail.
Here’s a sample parts list to help you gather what you need:
| Part Name | Quantity | Color |
|---|---|---|
| 6×10 Plate | 1 | Olive Green |
| 2×4 Brick | 6 | Dark Green |
| Wheel & Tire Set | 4 | Black |
| 2×4 Slope | 1 | Gray |
| Steering Wheel | 1 | Black |
| Windshield | 1 | Transparent |
| Clip Plate | 2 | Gray |
| Flat Tile 1×2 | 4 | Dark Green |
Customizing Your Jeep
One great thing about building with Lego is making the model your own. Here are some ways to upgrade and personalize your jeep:
- Add a roof: Use flat plates for a soft-top look or solid bricks for a hard-top.
- Mount a machine gun: Use a turntable piece and a bar for a simple gun.
- Change the tires: Try larger or smaller wheels to make your jeep look faster or tougher.
- Paint effects: Mix colors for a camouflage effect.
- Add accessories: Place backpacks, canteens, or radios on the sides using clips.
Advanced tip: Many builders forget about ground clearance. If you want your jeep to look good off-road, raise the chassis by one plate using taller axle bricks. This small change makes a big difference in realism.
Common Mistakes And How To Avoid Them
Building a Lego army jeep is fun, but beginners often face some problems. Here are common mistakes—and how to fix them:
- Wheels don’t roll smoothly: Make sure axles are straight and not too tight.
- Jeep falls apart easily: Use longer plates and bricks to connect different sections, not just single studs.
- Seats too small for minifigures: Always test with a minifigure before locking down the seats.
- Windshield doesn’t fit: Try different hinge pieces or adjust the angle.
- Jeep looks too tall or narrow: Step back and compare your build to photos. Adjust the width or height by one or two studs for better proportions.
Displaying Or Playing With Your Lego Jeep
Once your jeep is finished, decide how you want to use it:
- For display, place it on a diorama with terrain, trees, and minifigures.
- For play, check that all parts are firmly attached. Avoid over-decorating—too many accessories can fall off during rough play.
- If you want to photograph your jeep, use natural light and set up a simple background (like sand or grass) to make it look realistic.
A key insight: Many Lego fans miss the chance to use their army jeep as part of a larger scene. Try combining it with a Lego tank or army base for a bigger story.
Inspiration And Resources
If you want new ideas or advanced techniques, check out community sites like Eurobricks or the Lego Ideas gallery. You can also find official instructions for military-style vehicles. For more on the real Willys MB and other classic army jeeps, the Willys MB Wikipedia page has great photos and history.
Frequently Asked Questions
How Many Bricks Do I Need To Build A Lego Army Jeep?
Most simple army jeeps use around 40 to 80 Lego pieces, depending on detail and size. Advanced builds may use over 100 pieces if you add accessories or complex features.
Can I Build A Lego Army Jeep Without Special Military Sets?
Yes, you can use standard Lego bricks from city or vehicle sets. Focus on shape and color—olive green, gray, tan, or black work best for a military look. If you need certain pieces, you can buy them online.
What Scale Should I Use For My Lego Army Jeep?
Most builders match their jeep to minifigure scale (about 1:40). This keeps the jeep small (around 6×10 studs) and makes it easy for minifigures to sit inside.
How Can I Make My Lego Jeep Stronger For Play?
Use longer plates for the base, connect bricks across different parts, and avoid stacking only 1×1 pieces. Test your jeep by gently pushing or dropping it—if it stays together, it’s ready for play.
Can I Motorize My Lego Army Jeep?
It’s possible, but you’ll need Power Functions or Lego Technic motors. These parts are larger, so you may need to build a bigger jeep to fit them. Start simple, then upgrade as you learn.
Building a Lego army jeep is a project where creativity and smart planning go hand in hand.
With the right bricks, a good plan, and some patience, you’ll end up with a model that looks great, works well, and fits perfectly into your Lego army collection.
Enjoy your build, and remember each jeep is unique, just like its builder!


















