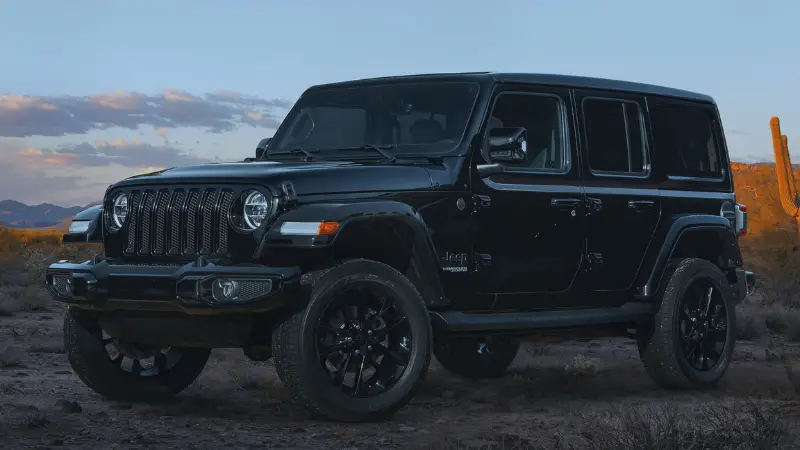
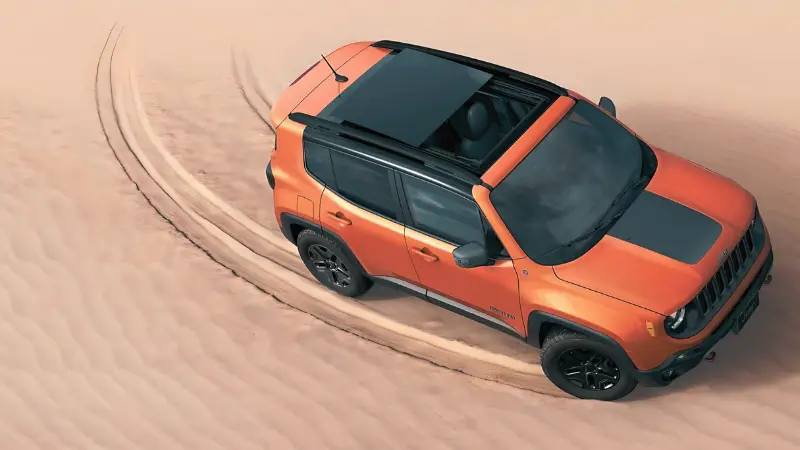
If you own a Jeep Renegade, you know it’s built for adventure. Whether you’re hitting muddy trails or driving on mountain roads, visibility matters.
A light bar can make night driving safer and add a rugged style to your vehicle. But many people worry that installation is too complicated or expensive.
The good news? With some basic tools and patience, you can install a light bar on your Jeep Renegade yourself.

This guide gives you clear, step-by-step instructions, explains what to watch out for, and shares tips that even experienced Jeep owners sometimes miss.
Why Install A Light Bar On Your Jeep Renegade?
A light bar gives you extra illumination, especially useful during off-roading or in low-visibility weather. It’s not just for looks—those extra lumens can help you spot obstacles, wildlife, or road hazards long before your standard headlights would. Many Renegade owners install light bars for:
- Better night visibility on trails and back roads
- Safer driving in fog, rain, or snow
- A custom look that stands out
However, adding a light bar is not just about bolting on new hardware. You need to think about wiring, mounting, legal considerations, and how the bar affects your Jeep’s aerodynamics and battery.
Let’s dive into what you’ll need and how to do it right.
Choosing The Right Light Bar
Before buying, consider these factors:
Size And Placement
The most popular spots on a Jeep Renegade are:
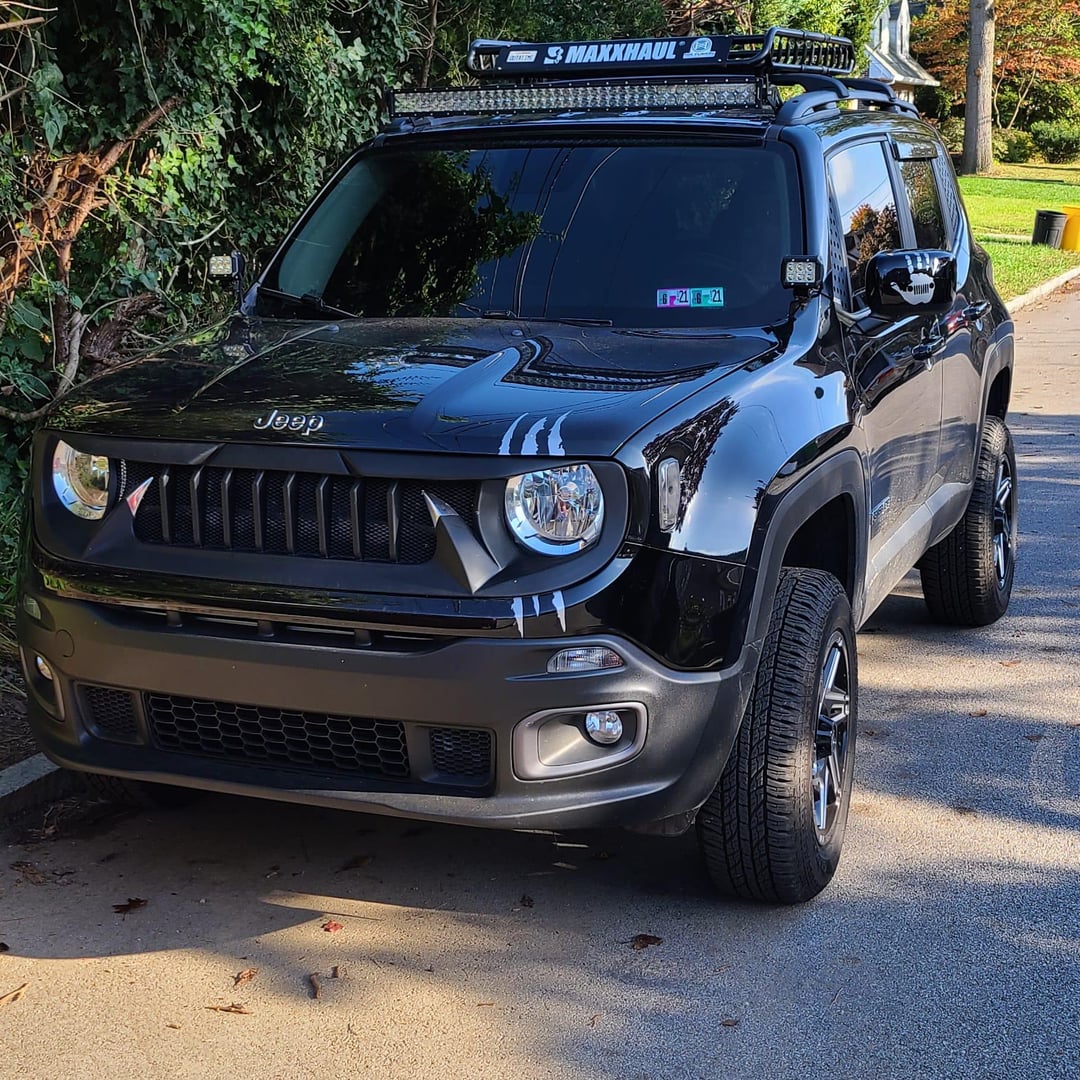
- Above the windshield (roof-mounted)
- On the front bumper
- On the grille
Choosing the right size is important. Too large and it may block your view or look awkward. Too small and you may not get enough light. For most Renegade owners, a 20- to 32-inch light bar fits well above the windshield or on the bumper.
Led Vs. Halogen
Most modern light bars use LEDs. They are brighter, last longer, and draw less power than halogen bars. Unless you have a specific reason, always choose LED.
Beam Pattern
- Spot beam: Focused, long-distance light (good for trails)
- Flood beam: Wide, short-range light (good for work areas)
- Combo beam: Mix of both (best for most Renegade owners)
Waterproof And Durability
Check the IP rating (Ingress Protection). Look for IP67 or IP68—these can handle rain, mud, and snow.
Cost Vs. Quality
A cheap light bar may not last. Reputable brands offer warranties, better wiring, and higher-quality mounts. Here’s a quick comparison of typical features:
| Feature | Budget Light Bar | Premium Light Bar |
|---|---|---|
| Price | $30–$70 | $100–$300 |
| Warranty | 6–12 months | 2–5 years |
| Waterproof Rating | IP65 | IP67–IP68 |
| Mounting Hardware | Basic | Heavy-duty, vehicle-specific |
Tools And Materials Needed
Here’s what you’ll want on hand before starting:
- Light bar kit (includes bar, wiring harness, relay, switch, brackets)
- Socket wrench set
- Screwdrivers (Phillips and flathead)
- Wire stripper/crimper
- Electrical tape or heat-shrink tubing
- Zip ties
- Drill and drill bits (for some mounts)
- Marker or pencil
- Measuring tape
Optional but helpful:
- Torque wrench
- Multimeter (to check connections)
- Protective gloves
- Silicone sealant (for extra waterproofing)
Step-by-step Installation Guide
Let’s break down the installation into manageable steps. Take your time and double-check each step before moving on.
1. Plan Your Mounting Location
Decide where you want to mount the light bar. Most Renegade owners choose above the windshield or on the front bumper.
Above the windshield:
- Offers the best visibility
- Requires roof brackets (vehicle-specific kits are available)
- May require drilling
Front bumper:
- Easier to install (often uses existing holes)
- Less wind noise
- Lower light projection (good for work lights)
Pro tip: Before drilling, always hold the light bar and brackets in place to check for clearances and how they look.
2. Install The Mounting Brackets
- Clean the surface where you’ll install the brackets.
- Hold the bracket in position and mark the holes with a marker.
- Drill pilot holes if needed (use the correct drill bit size).
- Attach the brackets with bolts, washers, and lock nuts. Tighten securely but do not overtighten.
If you’re using roof mounts, check for hidden airbags or wiring in the A-pillars before drilling. Some brackets use existing bolts on the Renegade—check your vehicle and bracket instructions carefully.
3. Attach The Light Bar
- Secure the light bar to the brackets with the provided hardware.
- Adjust the tilt and alignment before tightening all bolts.
- Double-check clearance with the hood, windshield, and roof rack.
Non-obvious insight: Many people forget to check for hood movement—make sure the light bar doesn’t block your hood from opening fully.
4. Wiring The Light Bar
Most light bar kits include a wiring harness with a relay, switch, and fuse. Here’s the safest way to wire the system:
A. Route The Wires
- Plan your wire route: Avoid sharp edges, moving parts, and hot engine components.
- For roof-mounted bars, run wires down the A-pillar. Use a grommet where wires enter the engine bay to prevent damage.
- Secure wires with zip ties.
B. Connect The Relay And Switch
- Mount the relay near the battery (under the hood).
- Run the switch wire into the cabin (through the firewall grommet if possible).
- Mount the switch in a convenient spot inside the vehicle—many Renegade owners choose a blank panel near the steering wheel.
C. Battery Connection
- Red wire: Connect to the positive battery terminal (use the included fuse).
- Black wire: Connect to a clean metal ground (chassis bolt).
- Double-check all connections are tight and insulated.
D. Connect To Light Bar
- Plug in the harness connector to the light bar.
- Test the switch before finalizing the wiring.
Common mistake: Some people wire directly to the battery without a relay. This can overheat the switch and cause failure. Always use a relay for high-power lights.
5. Test The System
- Turn on your Jeep and test the light bar.
- Check for flickering, dimming, or non-function.
- If the light does not work, check the fuse, relay, and ground connection.
Pro tip: Use a multimeter to test voltage at different points if you have trouble.
6. Final Adjustments And Cleanup
- Adjust the light bar beam to your preferred angle.
- Tighten all bolts one more time.
- Use zip ties to tidy up all wires.
- Apply silicone sealant to any drilled holes to prevent leaks.
- Clean up tools and packaging.

Legal And Safety Considerations
Light bar use is regulated in many states. Some areas do not allow light bars to be used on public roads, or require them to be covered when not off-roading. Check your local laws before using your new light bar on highways.
Also, be aware that improper wiring can drain your battery or cause electrical issues. If you’re not confident in your wiring skills, have a professional check your work.
Maintenance Tips After Installation
- Check mounting bolts every few months to make sure nothing has loosened.
- Clean the lens with a soft cloth to remove dirt and bugs.
- Inspect wires for wear or chafing, especially after off-road trips.
- Re-apply sealant if you see any leaks or rust at drill points.
A properly installed light bar should last for years, but regular maintenance helps prevent small issues from becoming big problems.
Cost And Time Estimate
Here’s a quick look at what you might spend, and how long the job takes:
| Item | Estimated Cost | Time Required |
|---|---|---|
| Light bar & harness kit | $50–$250 | — |
| Mounting brackets | $30–$80 | — |
| Tools & materials | $0–$40 | — |
| DIY labor | — | 2–4 hours |
Non-obvious insight: Some Jeep Renegade trim levels have extra insulation or panels that make running wires more difficult. Plan for extra time if your model has sunroof controls, special airbags, or custom headliners.
Troubleshooting Common Problems
- Light bar not turning on: Check the fuse, relay, and ground connection.
- Flickering light: Inspect all wire connections and battery terminals.
- Water in the light bar: Check the IP rating and consider extra sealant around mounts.
- Wind noise: If you hear a whistle, try adjusting the angle, or use foam tape on the mounting feet.
If you’re stuck: There are many Jeep forums and YouTube videos with walkthroughs for your specific Renegade model. For detailed wiring diagrams, check your Jeep’s manual or visit the official Jeep website.

Frequently Asked Questions
Is Installing A Light Bar On A Jeep Renegade Legal?
Rules vary by state and country. In many places, you can install a light bar but must keep it covered or off while on public roads. Always check local traffic laws or visit the National Highway Traffic Safety Administration for official guidance.
Can I Install A Light Bar Without Drilling?
Some mounting kits use factory holes or clamps, so you may not need to drill. However, roof-mounted bars often require at least two small holes for secure brackets. Always check the mounting instructions before buying.
Will A Light Bar Drain My Battery?
A single LED light bar draws between 5 and 15 amps when running. This is less than most winches or stereos, but leaving it on with the engine off can drain your battery. Always turn off the light bar when the engine isn’t running.
What Size Light Bar Fits Best On A Jeep Renegade?
A 20- to 32-inch bar fits nicely above the windshield or on the front bumper. Measure your mounting spot before buying, and check if the kit is “vehicle-specific” for best results.
Can I Wire The Light Bar To My High Beams?
Yes, some wiring kits let you connect the relay trigger to your high beam circuit, so the light bar only comes on with your high beams. This can be helpful for legal compliance.
Make sure to follow your state’s rules and use a relay to avoid electrical issues.
A light bar can transform your Jeep Renegade, making it safer and more capable for nighttime adventures. With the right tools, clear instructions, and attention to detail, you’ll enjoy better visibility and a look that stands out on or off the road.
Take your time, follow each step, and your DIY project will be a success. Happy trails!