Installing a light bar on your Jeep Cherokee can make driving safer and more fun, especially at night or off-road. Many people think it’s difficult, but with the right tools and clear steps, you can do it yourself. This guide helps you choose the right light bar, explains how to install it, and shares pro tips that beginners often miss.
Choosing The Right Light Bar
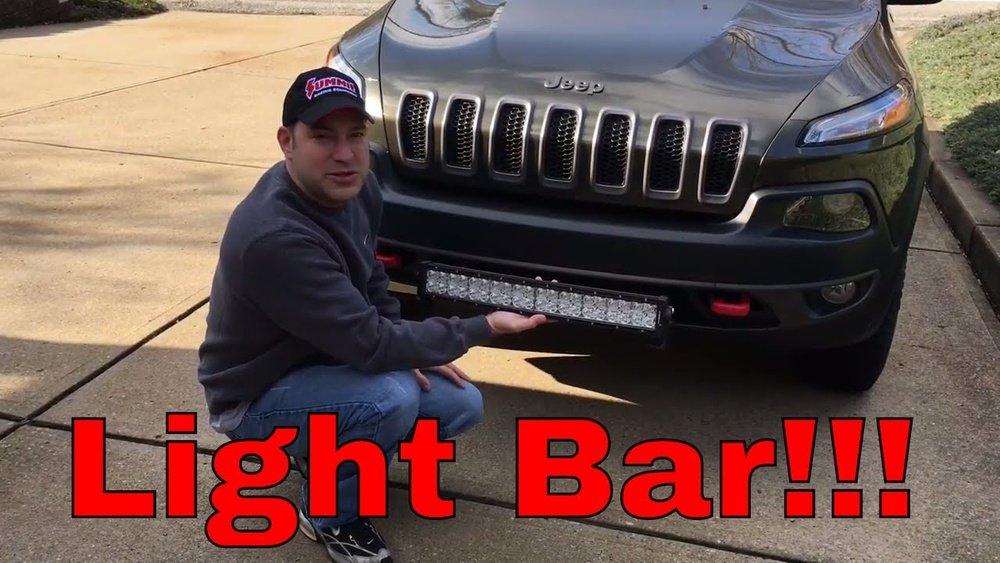
Before you begin, pick a light bar that fits your needs. There are two main types: spot and flood. Spot lights focus light far ahead, good for highways. Flood lights spread light wide, perfect for off-roading.
Here’s a simple comparison:
| Type | Beam Pattern | Best Use | Average Price |
|---|---|---|---|
| Spot | Narrow, long | Highway driving | $50-$300 |
| Flood | Wide, short | Off-road | $60-$350 |
| Combo | Both | Mixed use | $80-$400 |
Most Cherokee owners choose a combo light bar for flexibility. Also, check the length—20 to 30 inches fits most roof racks or front bumpers.
Tools And Materials Needed
You’ll need some basic tools and parts. Here’s a quick list:
- Light bar kit (includes mounting brackets and wiring)
- Socket wrench set
- Screwdriver
- Wire stripper
- Electrical tape
- Drill (if mounting holes are needed)
- Zip ties
Check your light bar package. Some kits include relays, switches, and extra wires. If not, buy them separately.
Where To Mount Your Light Bar
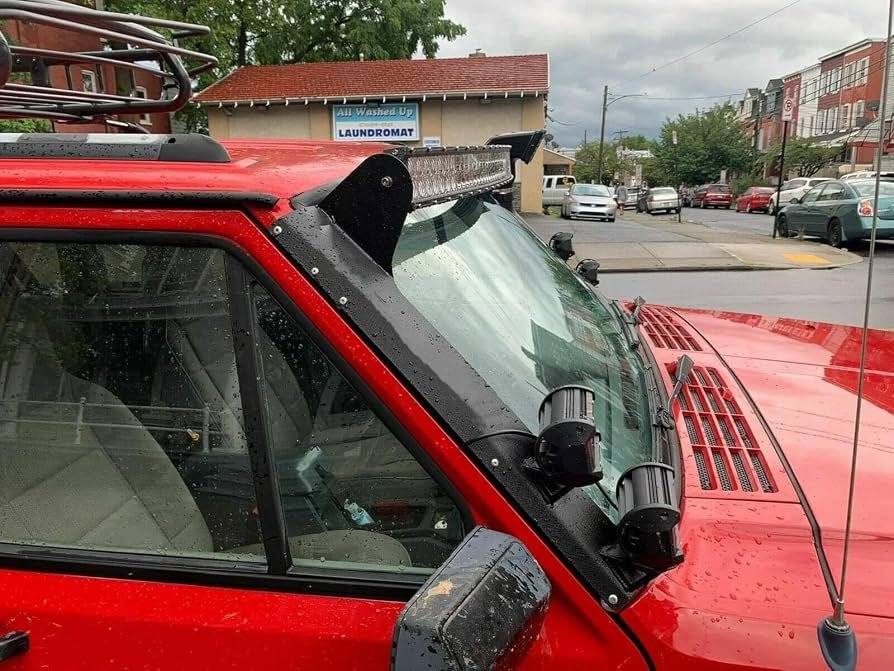
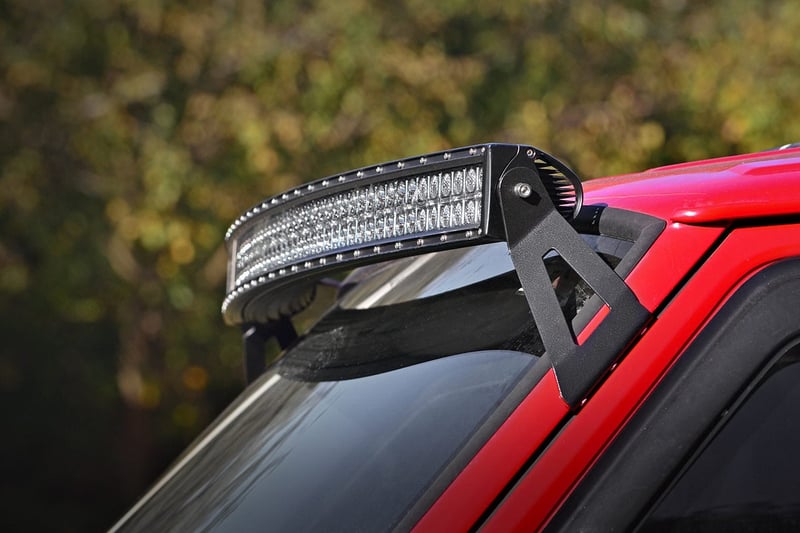
Cherokee owners usually mount light bars on the roof rack, front bumper, or grille. Roof mounting gives wider light coverage, while bumper mounting is easier to wire.
Here’s a quick comparison:
| Mount Location | Visibility | Wiring Difficulty | Protection |
|---|---|---|---|
| Roof Rack | Best | Medium | Low (exposed) |
| Bumper | Good | Easy | Medium |
| Grille | Limited | Hard | High |
For most people, bumper or roof rack mounting is best. Think about your driving style and pick the spot that suits you.
Step-by-step Installation Guide
1. Prepare Your Jeep
Park your Jeep Cherokee on a flat surface. Disconnect the battery to avoid electrical shocks. Clean the mounting area with soap and water.
2. Attach Mounting Brackets
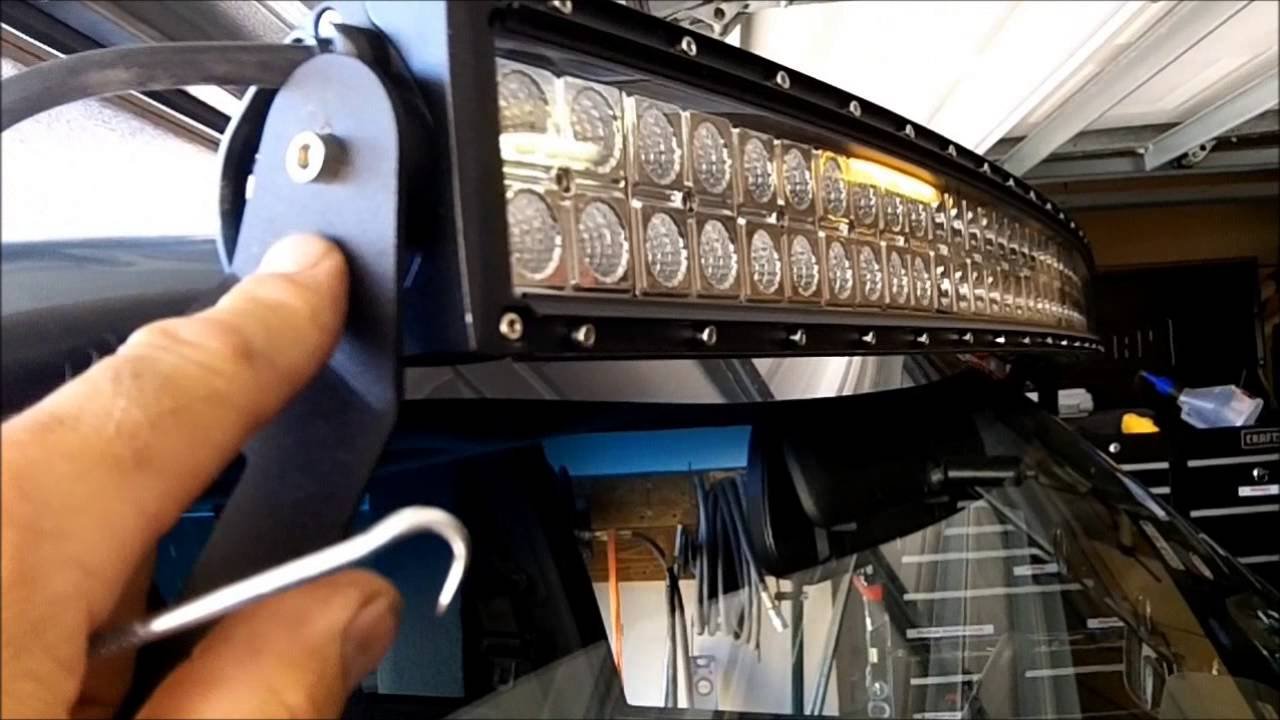
Position the brackets where you want the light bar. Mark the holes with a pen.
If your Cherokee doesn’t have pre-drilled holes, use a drill. Attach the brackets tightly using the socket wrench.
Tip: Double-check bracket alignment before drilling. Many beginners skip this and end up with crooked installations.
3. Mount The Light Bar
Place the light bar onto the brackets. Secure it with bolts and nuts from the kit. Make sure it’s straight and doesn’t wobble.
Non-obvious insight: Leave the bolts slightly loose until you finish wiring. It’s easier to adjust the angle later.
4. Wire The Light Bar
Most kits include a wiring harness with a relay and switch. Run the wires from the light bar into the engine bay.
Connect the relay to the battery’s positive terminal (red wire) and ground (black wire).
- Strip the wire ends for clean connections.
- Use electrical tape to protect exposed wires.
- Route the switch inside the cabin, usually through a hole near the firewall.
Zip tie loose wires to avoid snagging.
5. Test And Adjust
Reconnect the battery. Turn on the switch to test the light bar.
If it doesn’t work, check connections and fuses.
Adjust the light bar angle for best visibility. Tighten all bolts once you’re happy with the position.
Legal And Safety Considerations
Some states have laws about light bar usage. For example, lights must be off on public roads or covered when not in use. Always check local rules before installing.
A good practice is to use a relay switch that only works when the headlights are on. This prevents accidental use.
Common Mistakes To Avoid
- Skipping fuse installation – Always use a fuse to prevent electrical fires.
- Poor wire routing – Don’t let wires touch hot engine parts or moving components.
- Ignoring waterproofing – Seal connections with silicone for outdoor use.
- Mounting too high or low – Position for best light spread without blinding other drivers.
- Over-tightening bolts – This can crack brackets or damage the light bar.
Maintenance Tips
- Clean the light bar lens regularly to keep brightness.
- Check bolts and wiring every few months.
- Replace damaged wires or connectors quickly.
- Keep the switch dry and dust-free.
Real Example: Cherokee Owner Experience
Mark, a Jeep Cherokee owner, installed a 22-inch combo light bar on his bumper. He spent about $180 for the kit and tools.
The installation took two hours, mostly for wiring. Mark says the hardest part was routing the switch through the firewall, but zip ties helped keep wires neat.
He found that testing connections before final mounting saved time and avoided mistakes.
Frequently Asked Questions
How Long Does Installation Take?
For most people, installing a light bar takes 1–3 hours. If you need to drill holes or run wires through the firewall, it may take longer.
Do I Need Professional Help?
You can install a light bar yourself if you have basic tools and follow instructions. If you’re unsure about wiring, ask a mechanic or visit a shop.
Will Installing A Light Bar Void My Warranty?
Installing a light bar usually does not void your warranty. However, improper wiring or damage can affect coverage. Always check your warranty terms.
How Much Does It Cost To Install?
A typical light bar kit costs $50–$400. DIY installation is free except for tools. Professional installation can add $100–$200.
Are Light Bars Legal Everywhere?
Light bar laws vary by state. Some places require covers or restrict usage on public roads. Check local rules or visit NHTSA for official guidelines.
Installing a light bar on your Jeep Cherokee gives you more confidence at night and off-road. By choosing the right light bar, using careful installation steps, and following local laws, you can enjoy safer and brighter adventures. Always double-check your work, and don’t rush—good preparation leads to the best results.


















