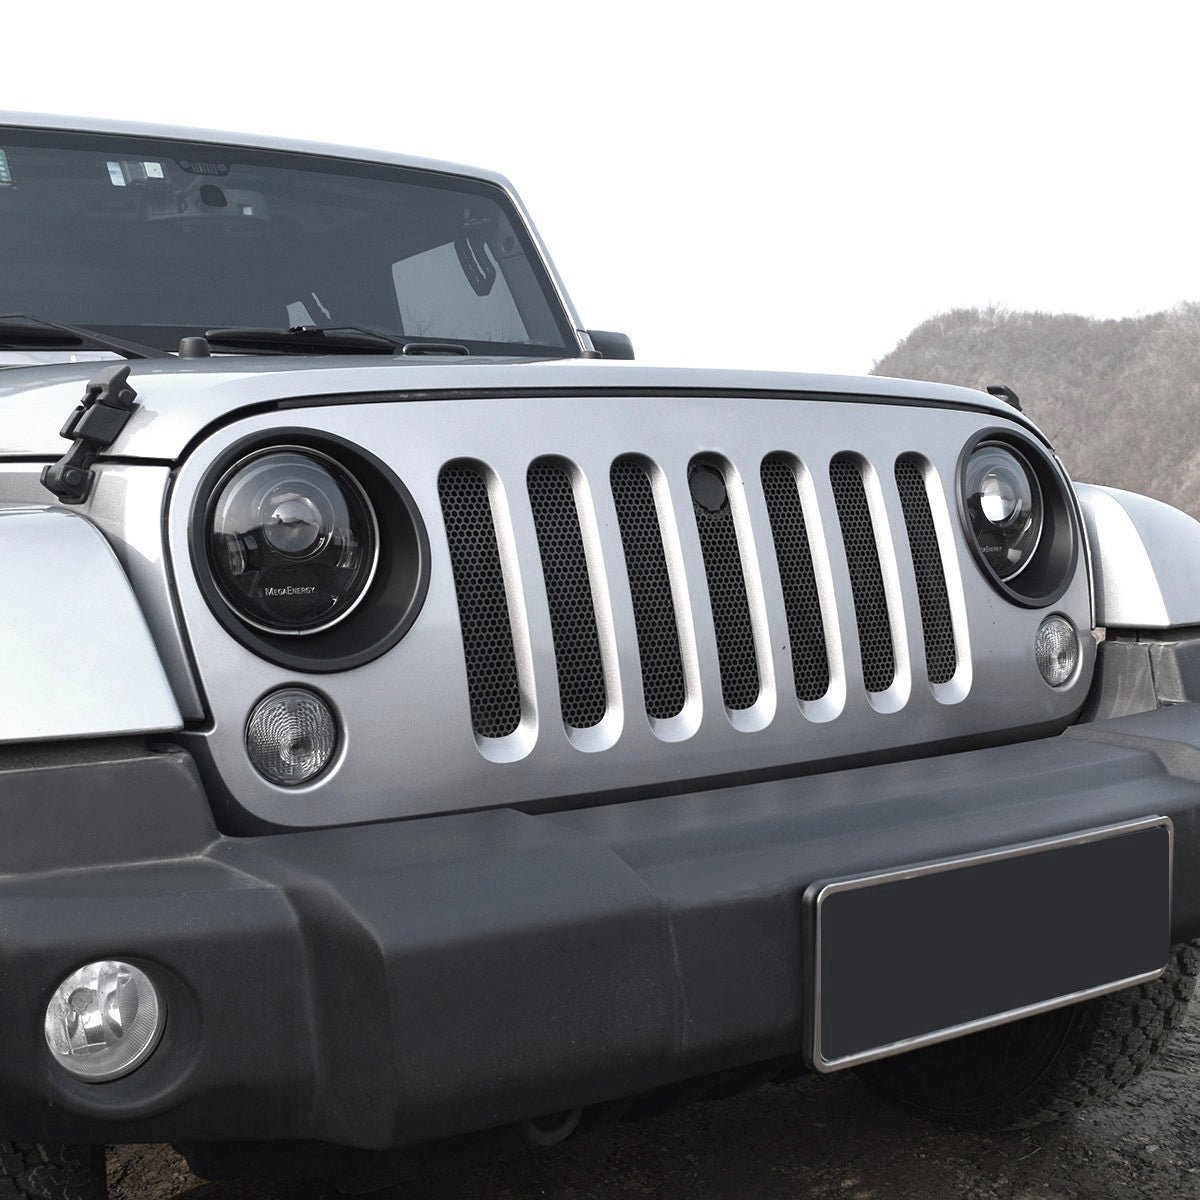
Installing headlight trim on your Jeep can transform the look of your vehicle and protect the lights from scratches and debris. Many Jeep owners enjoy customizing their ride, and adding trim is one of the easiest upgrades.
If you’re new to Jeep modifications, you might worry about damaging your headlights or making a mistake.
The good news is, most trims are designed for simple installation, and you don’t need advanced tools or skills. This guide will walk you through the process step by step, explain the benefits, compare trim types, and help you avoid common errors.
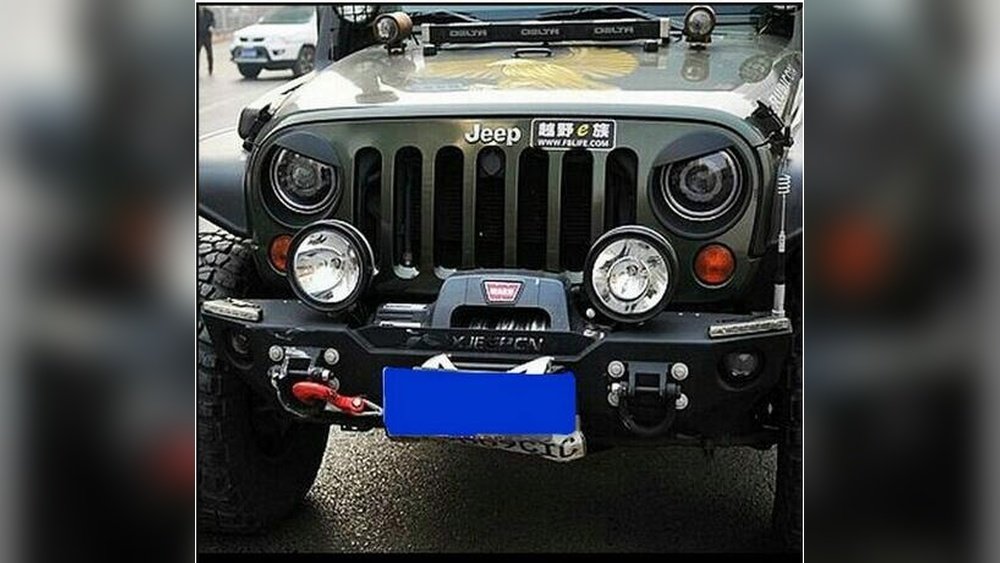
With clear advice, practical tips, and real examples, you’ll feel confident tackling this project even if English isn’t your first language.
Why Install Headlight Trim On Your Jeep?
Jeep headlight trim isn’t just about style. It’s also about protection and value. Here’s why many Jeep owners choose to install trim:
- Enhanced Appearance: Headlight trim gives your Jeep a bold, finished look. Whether you prefer a classic chrome finish or a rugged matte black, trim can match your style.
- Protection: Trim acts as a shield for your headlights. It helps prevent scratches, chips, and UV damage.
- Easy Customization: Unlike expensive upgrades, trim is affordable and simple to install. You can change it as your tastes evolve.
- Resale Value: Well-maintained headlights and stylish trims can boost your Jeep’s value when selling.
Many beginners overlook the protective benefits. Headlight trim not only improves looks but also saves money by protecting the original lights.
Some Jeep owners report that trims helped them avoid expensive repairs after minor accidents.
Types Of Jeep Headlight Trim
Before you begin installation, it’s important to choose the right trim for your Jeep. There are several types available, each with its own features.
| Trim Type | Material | Finish | Installation |
|---|---|---|---|
| Chrome | Plastic or Metal | Glossy | Clip-on/Adhesive |
| Black | Plastic | Matte/Satin | Clip-on/Adhesive |
| Carbon Fiber | Composite | Textured | Adhesive |
| Custom Painted | Plastic/Metal | Any color | Clip-on/Adhesive |
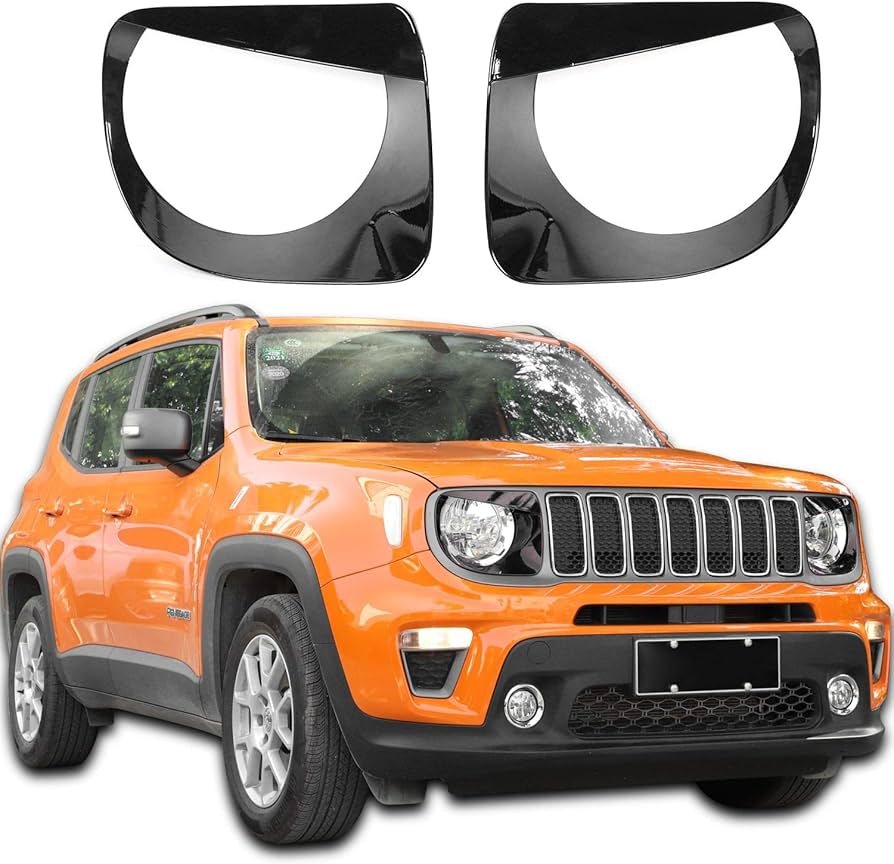
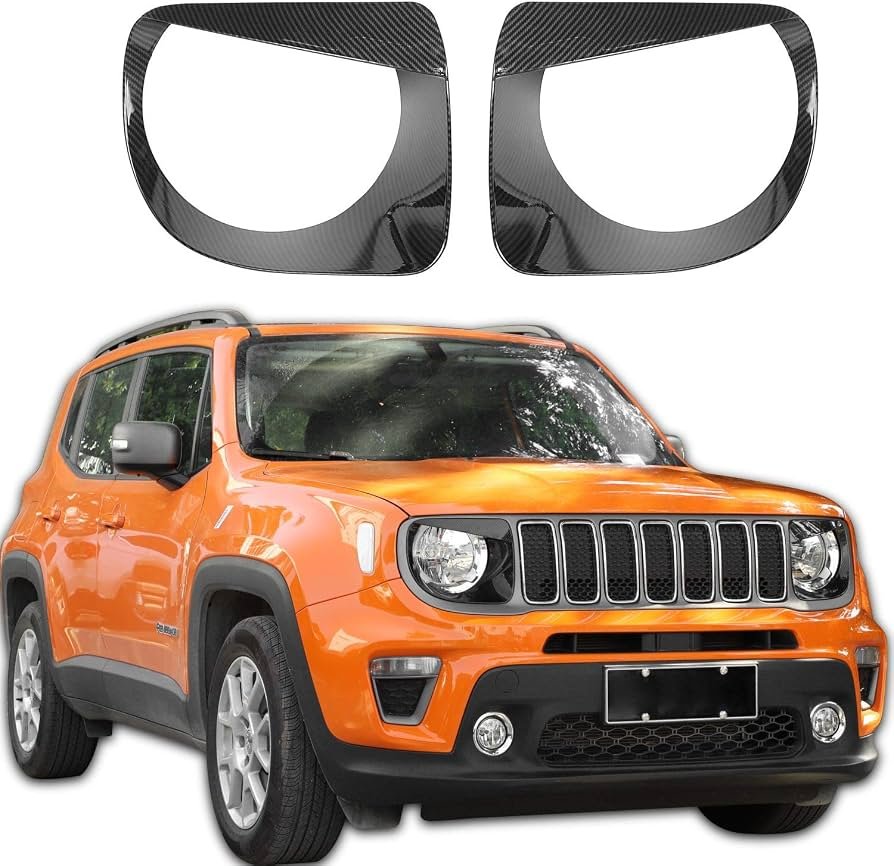
Chrome trims look shiny and classic, while black trims give a tough, modern appearance. Carbon fiber trims are lightweight and unique but can be more expensive. Custom painted trims let you match or contrast your Jeep’s body color.
What You Need Before Starting
To install headlight trim, gather these basic items:
- Headlight trim kit (make sure it’s for your Jeep model)
- Screwdriver (usually Phillips or flathead)
- Cleaning cloth (microfiber works best)
- Mild cleaner (like soapy water)
- Isopropyl alcohol (for final cleaning)
- Adhesive promoter (optional, for better stick)
- Masking tape (for alignment)
Some trims require only adhesive, while others need screws or clips. Check your kit for included parts.
Using the correct tools prevents damage and makes installation easier.
Preparing Your Jeep For Installation
A clean surface is essential for proper trim attachment. Dirt or oil can stop adhesive from sticking, and dust can scratch the headlights.
- Wash the headlights and surrounding area with mild cleaner.
- Dry thoroughly with a soft cloth.
- Wipe the surface with isopropyl alcohol to remove any leftover grease.
- If your trim uses adhesive, apply a thin layer of adhesive promoter.
Many beginners skip the alcohol step. This is a mistake alcohol removes oils that soap can’t.
If you install trim on a dirty surface, it may fall off after a few days.
Step-by-step Guide: Installing Headlight Trim
Let’s walk through the process. This guide covers both adhesive and clip-on trims.
Step 1: Unpack And Inspect Your Trim
Open your trim kit and check each piece. Look for scratches, cracks, or missing parts.
Make sure the trim matches your Jeep’s headlights. If you notice any defects, contact the seller before installing.
Step 2: Test Fit The Trim
Hold the trim against the headlight to check the fit. This helps you see how it lines up and which parts touch the Jeep.
Some trims are tight, while others leave a small gap. If needed, adjust the trim gently never force it.
Step 3: Mark Alignment Points
Use masking tape to mark where the trim will sit. This ensures straight, even placement. Beginners often skip this, but it helps avoid crooked trim.
Step 4: Apply Adhesive (if Needed)
If your trim uses adhesive:
- Peel off the backing from the adhesive strip.
- Press the trim firmly into place.
- Hold for 30–60 seconds to ensure a strong bond.
For trims with clips or screws:
- Line up the trim with your marks.
- Insert clips or screws as directed.
Some kits include both clips and adhesive. Always follow the instructions for your specific product.
Step 5: Final Press And Clean Up
Once the trim is attached, press all around the edges to make sure it’s secure. Remove any excess adhesive with a damp cloth.
Take off your masking tape and clean the area gently.
Step 6: Wait Before Washing
Don’t wash your Jeep or drive in heavy rain for at least 24 hours after installation. Adhesive needs time to cure.
If you wash too soon, the trim may loosen or shift.
Step 7: Inspect After One Week
Check the trim after a few days and again after a week. Make sure it hasn’t shifted or come loose.
If you notice any movement, press it back or reapply adhesive.
Comparing Trim Installation Methods
Some Jeep trims use adhesive, while others use clips or screws. Here’s a quick comparison:
| Method | Pros | Cons | Best For |
|---|---|---|---|
| Adhesive | Simple, fast, no tools | Can loosen over time | Lightweight plastic trims |
| Clip-on | Secure, easy removal | Requires precise fit | Metal, custom trims |
| Screws | Strong, permanent | May damage Jeep | Heavy-duty trims |
If you plan to change trims often, clip-on is best. For permanent upgrades, screws are most secure. Adhesive is popular for its simplicity but may need replacement after a year or two.
Practical Tips For A Flawless Installation
Even with simple instructions, mistakes happen. Here are tips to avoid problems and get a professional result:
- Choose quality trim: Cheap trims may crack or fade quickly. Look for brands with good reviews.
- Work in good lighting: Poor light makes alignment harder. Install during the day or use bright lamps.
- Take your time: Rushing can lead to crooked trim or missed steps.
- Avoid extreme temperatures: Adhesive sticks best at room temperature (around 70°F/21°C). Too hot or cold can weaken the bond.
- Double-check fit: Always test fit before attaching. Some trims may require minor adjustments.
Beginners often miss that some trims are labeled as “universal,” but small differences in Jeep models can affect fit. Always check compatibility before buying.
Common Mistakes And How To Avoid Them
Knowing what can go wrong saves time and money. Here are frequent errors:
- Skipping cleaning: Dirt stops adhesive from sticking. Always clean thoroughly.
- Not aligning properly: Crooked trim looks bad and may block headlights.
- Using too much force: Forcing trim can break clips or damage headlights.
- Ignoring cure time: Washing or driving too soon can loosen the trim.
- Buying the wrong trim: Make sure your trim matches your Jeep’s year and model.
If you make a mistake, most trims can be carefully removed and reinstalled. However, repeated removal may weaken adhesive or clips.
How Headlight Trim Affects Jeep Performance
Some Jeep owners worry that trim might block light or affect performance. Quality trim is designed to fit around the headlight without covering the lens.
If installed correctly, it won’t reduce brightness or visibility.
In rare cases, poorly designed or badly installed trim can block part of the headlight. This can make night driving unsafe and may be illegal in some states.
Always make sure your trim is clear of the light beam.
A real-world example: Jeep owner Mark installed a thick trim that covered part of his headlight. He noticed a drop in brightness and failed a safety inspection. After switching to a thinner, properly fitted trim, his headlights worked normally and he passed inspection.
Maintenance And Care For Headlight Trim
After installation, keep your trim looking good with simple maintenance:
- Wash gently: Use mild soap and water. Avoid harsh chemicals or high-pressure washers.
- Check for damage: Inspect for cracks or fading every few months.
- Reapply adhesive: If trim loosens, clean and reattach as needed.
Most trims last 2 5 years with regular care. High-quality materials may last longer and resist fading from sunlight.
Headlight Trim Brands And Where To Buy
Many brands sell Jeep headlight trim. Popular options include Rugged Ridge, Mopar, and Smittybilt. Prices range from $20 to $100 depending on material and design.
| Brand | Material | Price Range | Warranty |
|---|---|---|---|
| Rugged Ridge | Plastic/Metal | $30–$70 | 1 year |
| Mopar | Plastic/Metal | $50–$100 | 2 years |
| Smittybilt | Plastic | $20–$50 | 6 months |
Buy from trusted sources like official Jeep dealers or well-known online stores. Avoid unknown sellers or very cheap trims—they may be low quality. For more details on Jeep accessories, see Jeep Mopar Official Site.
Frequently Asked Questions
How Long Does It Take To Install Headlight Trim?
Most installations take 30 60 minutes. If you’re new, allow extra time to read instructions and clean the area.
Can I Remove The Trim Without Damaging My Jeep?
Yes, most trims are designed for easy removal. Adhesive trims can be gently peeled off, and clip-on trims pop off. Clean any leftover adhesive with alcohol.
Will Headlight Trim Affect My Jeep’s Warranty?
No, simple cosmetic upgrades like trim do not affect your warranty. However, drilling or permanent changes may void parts of the warranty.
Can I Install Headlight Trim In Cold Weather?
It’s possible, but adhesive works best at room temperature. In cold weather, use a hair dryer to warm the area before attaching trim.
What If My Headlight Trim Falls Off?
If trim falls off, clean the surface and reattach with new adhesive. If clips break, contact the manufacturer for replacements.
Adding headlight trim is a simple project that makes your Jeep stand out and protects your headlights. With the right tools, careful preparation, and these practical tips, you can install trim confidently even as a beginner.
By avoiding common mistakes and choosing quality products, your Jeep will look great for years to come.