Replacing or installing new front lights on a 2007 Jeep Grand Cherokee is a smart way to improve night driving and keep your SUV safe. Whether your headlights are dim, burned out, or you want to upgrade to a brighter bulb, this task is something you can do at home with a bit of patience.
Many drivers think it’s a complex job, but the process is easier than you might expect if you follow the right steps. You don’t need many tools, but attention to detail is important to avoid damaging the new lights or your vehicle.
This guide explains each stage, warns you about mistakes, and gives tips to help you finish the job successfully.
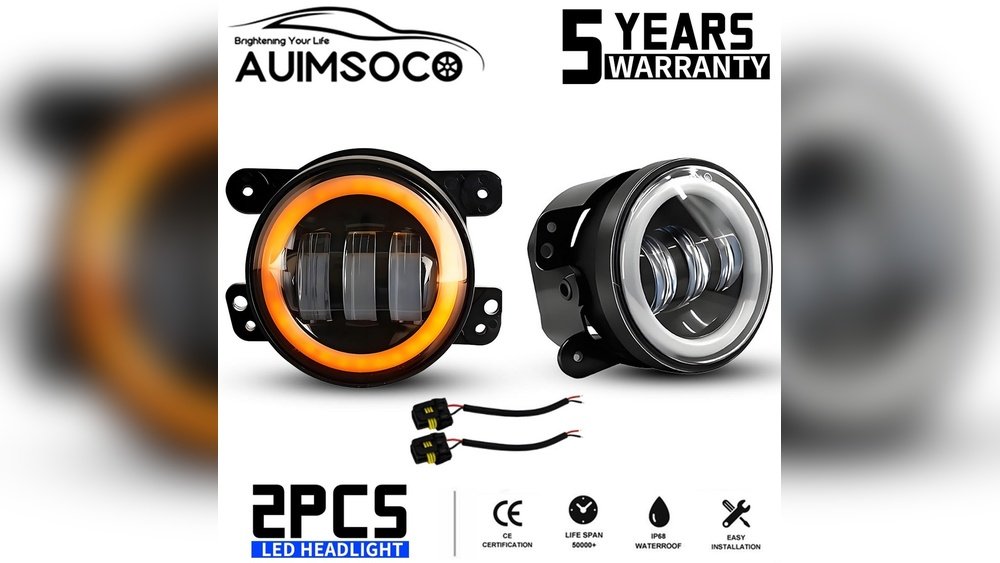
Tools And Materials You Need
Before starting, gather all tools and parts. This prevents last-minute delays and avoids mistakes from missing items. For the 2007 Jeep Grand Cherokee, you need:
- New headlight bulbs or assemblies (check the correct bulb type—usually H13/9008 for this model)
- Phillips screwdriver
- Flathead screwdriver
- 10mm socket and ratchet
- Latex gloves (to avoid touching bulbs with bare hands)
- Clean microfiber cloth
- Dielectric grease (optional, protects connections)
- Owner’s manual (for quick bulb specs)
You may also want a flashlight for extra visibility.
Safety First
Installing front lights is simple, but safety is key. Make sure the engine is off, keys removed, and the lights are switched off before starting.
If you drove recently, let the car cool down. Avoid touching the glass part of the new bulbs skin oil shortens their life.
Wear gloves, and keep your workspace dry to prevent slips or electrical issues.
Step-by-step: Removing The Old Headlights
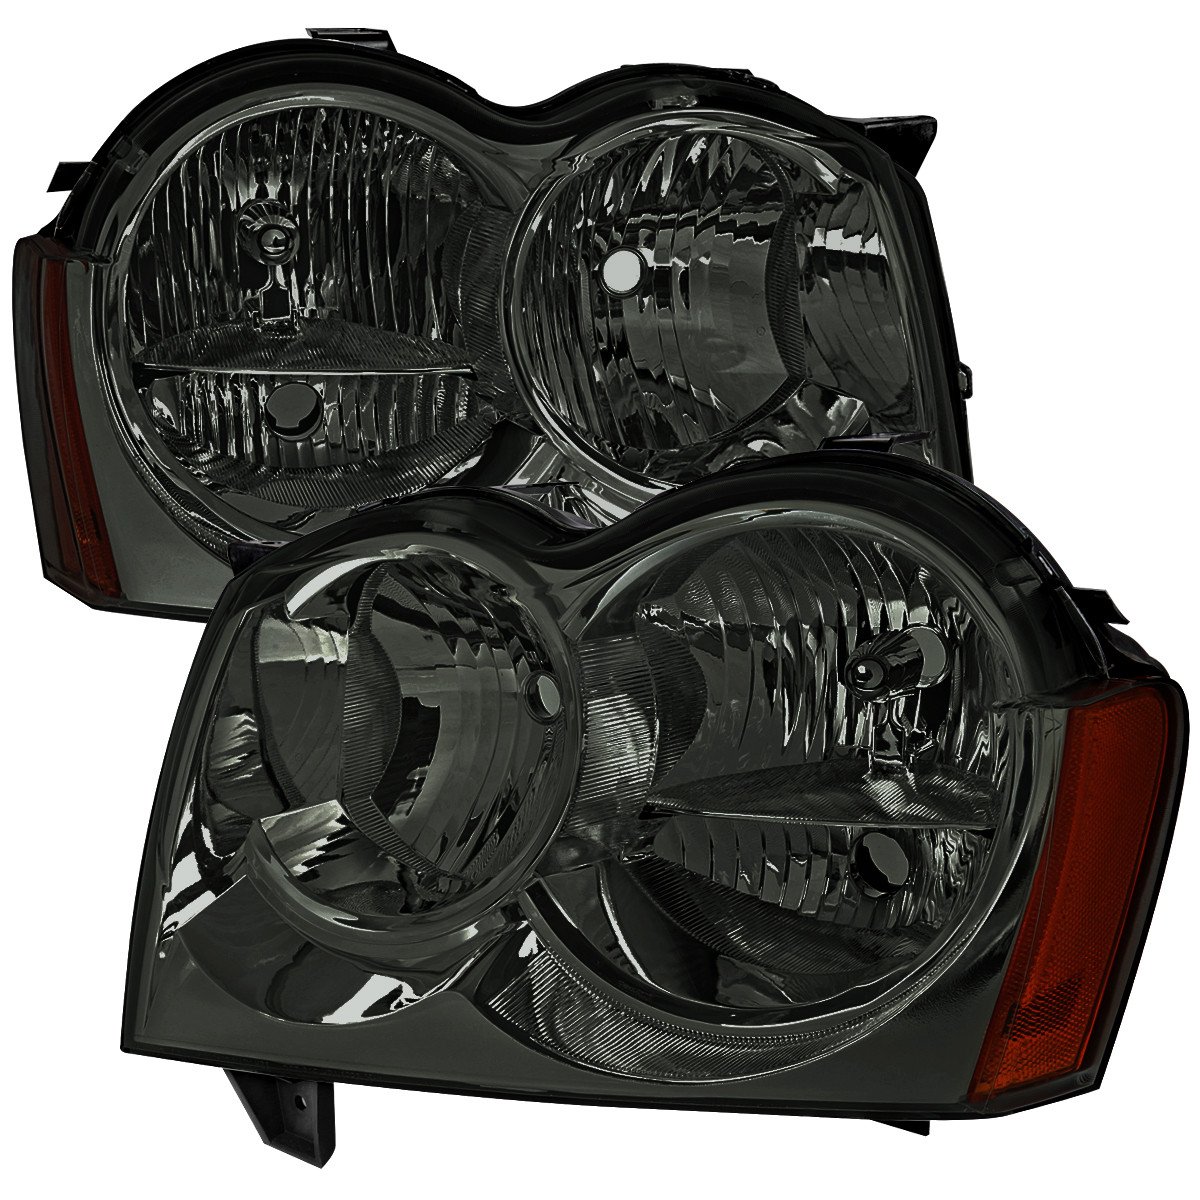
The 2007 Grand Cherokee uses a headlight assembly that holds the bulbs. Removing the assembly gives you full access and makes the job easier.
1. Open The Hood
Pull the release lever inside your Jeep (usually near the driver’s seat). Go to the front, find the hood latch, and open the hood fully. Secure it with the support rod.
2. Locate The Headlight Assembly
Each assembly sits at the front corners. You’ll see black plastic covers and mounting bolts.
3. Remove The Grille
The front grille covers the top of the headlight assemblies. To remove:
- Use a Phillips screwdriver to take out the screws along the top edge.
- Gently lift the grille up and away from the vehicle.
Don’t force it plastic tabs can break if you pull too hard.
4. Unscrew The Headlight Assembly
Find the three 10mm bolts holding each assembly. Use your ratchet to loosen and remove them.
Place the bolts in a small container so you don’t lose them.
5. Slide Out The Assembly
Carefully pull the headlight assembly forward. It may need a little wiggling if it’s stuck, but don’t yank hard.
6. Disconnect The Wiring Harness
At the back of the assembly, find the wiring harness connected to the bulbs. Press the tab and gently pull the connector off.
Don’t pull by the wires this can cause damage.
Changing The Bulbs
Now, with the assembly out, you can change the bulbs.
1. Remove The Bulb
Find the main headlight bulb socket. Turn it counterclockwise to unlock, then pull it out.
2. Install The New Bulb
- Remove the new bulb from packaging, holding only the base.
- Insert the bulb into the socket.
- Twist clockwise to lock.
Apply a tiny bit of dielectric grease to the connector (optional) to prevent corrosion.
3. High Beam And Turn Signal
If you’re also replacing the high beam or turn signal bulbs, repeat the process for each socket they’re all accessible with the assembly removed.
Reinstalling The Headlight Assembly
Reverse the removal process:
- Reconnect the wiring harness to the new bulb.
- Slide the headlight assembly back into position. Make sure it aligns with the mounting holes.
- Insert and tighten all three bolts.
- Replace the grille—align tabs, then gently press and screw back into place.
- Lower the hood and make sure it latches securely.
Testing The New Lights
Before driving, always test your work.
- Turn on the headlights.
- Check both low and high beams.
- Activate the turn signals and parking lights.
If any bulb doesn’t work, double-check the connection and the bulb orientation.
Common Mistakes And How To Avoid Them
Many beginners make these errors—here’s how to prevent them:
- Touching the bulb glass – Shortens bulb life. Always use gloves or a clean cloth.
- Forcing parts – Headlight assemblies have plastic tabs. Forcing can break them; always wiggle gently.
- Losing bolts – Use a tray or magnetic dish for small parts.
- Wrong bulb type – Double-check your owner’s manual or ask at an auto parts store.
- Skipping the test – Always check all lights before closing up.
Upgrading Headlights: Halogen, Led, Or Hid?
You can use the same halogen bulbs as the factory, or upgrade to LED or HID bulbs. Each has pros and cons.
| Type | Brightness | Lifespan | Cost | Installation |
|---|---|---|---|---|
| Halogen | Standard | 1-2 years | Low | Easy |
| LED | Very bright | 3-5 years | Medium | Moderate (may need adapter) |
| HID | Extremely bright | 2-3 years | High | Hard (may need ballast) |
LED bulbs are a popular upgrade because they’re brighter and use less power. However, some require extra adapters or heat sinks, and you should check your local laws—some states have rules about aftermarket lights.
Adjusting Headlight Aim
After installing, the headlights may not point in the right direction. Misaligned lights can blind other drivers or reduce your night vision.
To adjust:
- Park your Jeep on level ground about 25 feet from a wall.
- Turn on the headlights.
- Find the adjuster screws on top or back of the assembly.
- Use a Phillips screwdriver to raise or lower the beam until it’s at the right height (usually just below head height on the wall).
Aiming headlights takes patience. Don’t rush poorly aimed lights make night driving unsafe.
When To Replace Whole Assemblies
Sometimes, the problem isn’t the bulb but a foggy, cracked, or leaking assembly. Signs you need a new one:
- Water or condensation inside
- Deep scratches or yellowing you can’t polish away
- Broken tabs or mounting points
Replacing the full assembly costs more but can restore light output and make your Jeep look newer.
Real-world Tips For First-time Installers
- Take photos at each stage before removing parts. This helps you remember where everything goes.
- When in doubt, check the owner’s manual or watch a video for your exact model.
- If you struggle with the wiring harness, wiggle gently side-to-side—never pull with force.
- If you drop a bolt inside the engine bay, use a magnet-on-a-stick to retrieve it.
- Upgrading to brighter bulbs? Consider upgrading your fuses, too—check the amperage in your fuse box.
Comparing Diy Installation Vs. Professional Service
Is it worth doing yourself, or should you pay a mechanic? Here’s a quick comparison:
| DIY | Professional Service |
|---|---|
| Save $50–$150 in labor | Faster, less hassle |
| Learn about your vehicle | Guaranteed work |
| Flexible schedule | No tool or part worries |
| Risk of mistakes | Usually more expensive |
Most Jeep Grand Cherokee owners can handle this task at home, especially with the right instructions.
Where To Buy Replacement Bulbs And Assemblies
You can find parts at:
- Auto parts stores (like AutoZone or Advance Auto Parts)
- Online retailers (Amazon, RockAuto)
- Jeep dealerships (for OEM parts)
Always match the part number and check return policies. Some aftermarket bulbs claim higher brightness but may not last as long—read reviews before buying. For official details on compatible bulbs, consult the Jeep Grand Cherokee Wikipedia page.
Environmental Tips
Don’t throw used bulbs in the trash they contain small amounts of metal and glass. Most auto stores recycle them for free. Old assemblies can be recycled, too.
Frequently Asked Questions
How Long Does It Take To Install New Front Lights On A 2007 Jeep Grand Cherokee?
For most people, replacing both front lights takes about 30 to 60 minutes. If it’s your first time, allow extra time to avoid mistakes.
Can I Upgrade To Led Bulbs Without Changing The Whole Headlight Assembly?
Yes, you can upgrade to LED bulbs, but some models need adapters or additional wiring. Always check your Jeep’s compatibility and local laws.
Do I Need To Disconnect The Battery Before Changing The Bulbs?
It’s not required, but disconnecting the battery adds safety—especially if you’re worried about electrical shorts. Just make sure your radio and other settings are saved.
Why Do My New Bulbs Seem Dim?
Dim lights could mean dirty lenses, poor connections, or the wrong bulb type. Clean the headlight cover and check all wiring before blaming the bulbs.
Where Can I Get Help If I’m Stuck?
Check your owner’s manual, or visit a trusted mechanic. Online forums and YouTube videos for the 2007 Grand Cherokee are also very helpful.
Installing new front lights on your 2007 Jeep Grand Cherokee is a rewarding DIY job. With the right parts and careful steps, you’ll improve your safety, save money, and gain confidence working on your own vehicle.
Take your time, double-check your work, and enjoy brighter, safer driving ahead.


















