If your Jeep Liberty tail brake light stops working, it’s more than just an annoyance—it’s a safety risk and can get you a ticket. Many drivers feel nervous about fixing car lights, but with the right approach, you can handle this repair at home.
This guide explains how to fix the tail brake light on a Jeep Liberty, from finding the problem to replacing bulbs and fuses. You’ll also learn helpful tips, see common mistakes, and get answers to questions people often ask.
Understanding How Your Jeep Liberty’s Tail Brake Light Works
The tail brake light is a key part of your vehicle’s safety system. When you press the brake pedal, this light turns on to warn drivers behind you that you’re stopping. In most Jeep Liberty models (2002–2012), the brake and tail lights are combined in one unit, but use separate circuits and bulbs.

Main Parts You Should Know
- Bulb: Creates the light. Most Jeep Liberties use a 3157 or 7443 bulb.
- Socket: Holds the bulb and connects it to the wiring.
- Wiring: Carries power from the battery to the bulb.
- Fuse: Protects the circuit from electrical problems.
- Switch: Activates the brake light when you press the brake pedal.
- Tail light assembly: The housing that holds all parts together.
A problem with any of these can cause your brake light to stop working.
Common Reasons Your Jeep Liberty Tail Brake Light Fails
Understanding what usually goes wrong helps you fix the problem faster. Here are the most common reasons:
- Burned-Out Bulb: The most frequent cause. Bulbs have a limited life.
- Blown Fuse: If the fuse protecting the brake light circuit blows, the light won’t work.
- Faulty Socket: Corrosion or loose contacts prevent power from reaching the bulb.
- Wiring Issues: Broken or damaged wires can interrupt the circuit.
- Brake Light Switch Failure: If the switch under the brake pedal fails, the light won’t get the signal to turn on.
- Moisture in the Assembly: Water can cause corrosion or short circuits.
Many beginners forget to check the fuse or the socket, focusing only on the bulb. That’s a common mistake.
How To Diagnose The Problem
Before buying parts, find out what’s really wrong. Follow these steps:
- Check All Brake Lights: Turn the ignition on (engine off), press the brake pedal, and ask someone to watch the rear lights. See if all lights are out, or just one.
- Test the Bulb: Remove the bulb (explained below) and look for a broken filament or blackened glass.
- Inspect the Fuse: Find the fuse box (usually under the dashboard or hood). Look for the brake light fuse (see your manual) and check if it’s blown.
- Look for Corrosion: Check the bulb socket for rust, green deposits, or burned contacts.
- Test the Brake Light Switch: If all brake lights are out and fuses/bulbs are fine, the switch may be the cause.
Quick Reference: Diagnosis Table
| Symptom | Most Likely Cause | What To Check |
|---|---|---|
| Only one brake light out | Bulb or socket | Bulb, socket contacts |
| All brake lights out | Fuse or switch | Fuse, brake switch |
| Flickering light | Loose wiring or socket | Wiring, socket |
| Water inside assembly | Cracked housing | Lens, seals |
Tools And Parts You’ll Need
Having the right tools makes the job much easier. Here’s what you’ll need:
- Replacement bulb (3157 or 7443—check your manual)
- Flathead screwdriver
- Phillips screwdriver
- Socket wrench (usually 8mm or 10mm)
- Needle-nose pliers
- Dielectric grease (optional, for corrosion prevention)
- Gloves (to keep oil off the new bulb)
- Owner’s manual (for fuse location)
- Multimeter (for electrical testing, optional)
Step-by-step Guide: How To Fix Jeep Liberty Tail Brake Light
1. Turn Off Your Jeep And Open The Rear Hatch
Make sure the vehicle is in park, the engine is off, and the keys are removed. Open the rear hatch to access the tail light assembly.
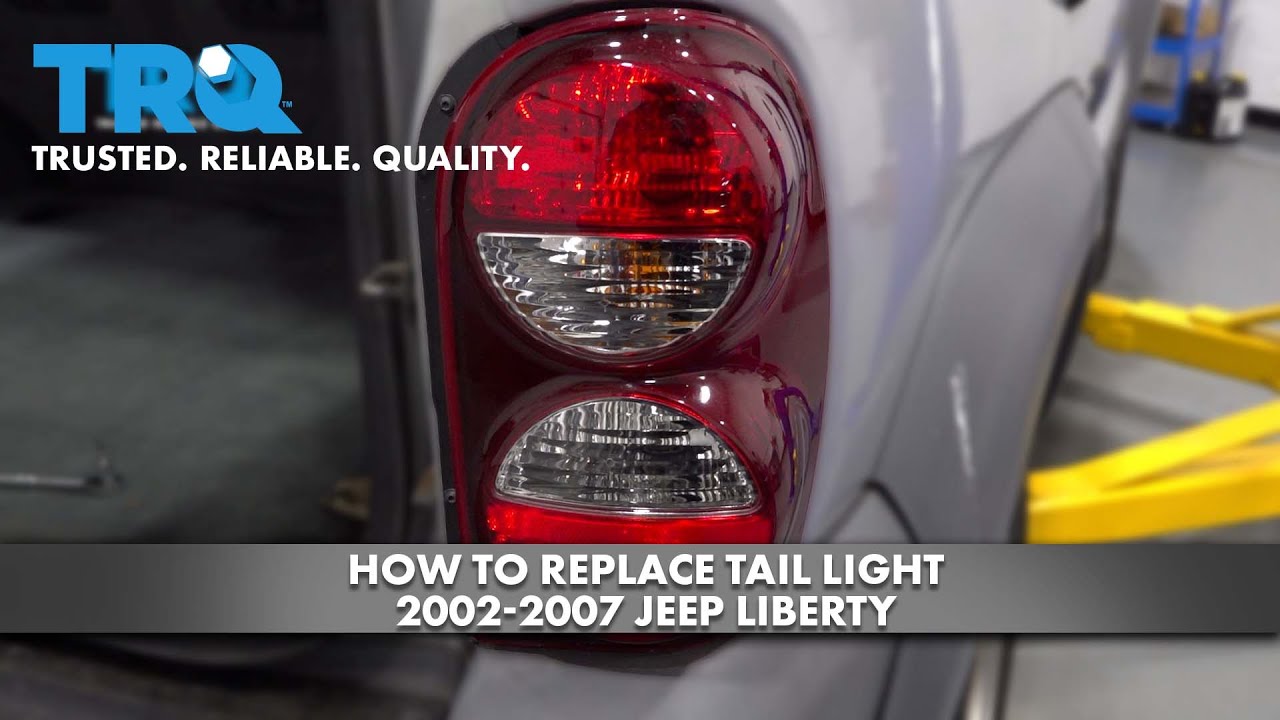
2. Remove The Tail Light Assembly
- Locate the screws holding the tail light assembly (usually two, on the inside edge).
- Use a Phillips screwdriver or socket wrench to remove these screws.
- Gently pull the assembly straight out. Don’t twist or yank—it’s held by clips and wiring.
Tip: If the assembly feels stuck, wiggle it lightly. Never force it, or you might crack the housing.
3. Remove The Bulb Socket
- Find the bulb socket by looking for the part that twists into the back of the assembly.
- Turn the socket counterclockwise and pull it out.
- Remove the bulb by pulling it straight out (some models require a slight twist).
4. Inspect And Replace The Bulb
- Look closely at the bulb. If the filament inside is broken or the glass is blackened, replace it.
- Use gloves or a clean cloth to handle the new bulb—oil from your skin can shorten its life.
- Insert the new bulb firmly into the socket.
5. Check The Socket And Wiring
- Look for corrosion, burned spots, or bent contacts in the socket.
- If you see green or white corrosion, clean it with electrical contact cleaner and a small brush.
- If wires are loose or broken, repair them with electrical tape or replace the socket.
6. Test The New Bulb
- Before reassembling, ask someone to press the brake pedal while you check the light.
- If the new bulb works, you can put everything back.
- If it doesn’t, move to checking the fuse.
7. Check And Replace The Fuse
- Find your fuse box (usually under the dash, left side).
- Use your manual to find the brake light fuse location and amperage (often 15A).
- Remove the fuse with pliers and inspect the metal strip inside. If it’s broken, replace it with the same rating.
8. Reinstall Everything
- Reinsert the bulb socket, twist it to lock.
- Align the tail light assembly, push it in until the clips snap, and reinstall the screws.
- Close the hatch and test the light again.
9. Dealing With Water Or Moisture
If you find moisture inside the tail light assembly, dry it out before reassembly. Use a hairdryer or leave it in the sun.
Replace cracked lenses or seals to prevent future leaks.
Comparing Diy Vs. Professional Repair
Some people prefer to do the job themselves, while others go to a mechanic. Here’s a quick comparison to help you decide:
| DIY Repair | Professional Repair |
|---|---|
| Costs $5–$15 for bulb | Costs $50–$120 including labor |
| Can be done in 15–30 minutes | Takes at least 1–2 hours (with waiting) |
| Learn valuable skills | No effort required |
| Risk of mistakes if not careful | Professional quality and warranty |

Extra Tips For A Lasting Repair
- Use dielectric grease on the bulb contacts to prevent corrosion.
- Always replace bulbs in pairs (left and right) to keep brightness even.
- If you see water inside, address the seal problem immediately to prevent electrical damage.
- Write down the date you changed the bulb, so you know when it might need changing again.
- If the light fails again soon, check for wiring issues or a faulty socket.
Common Mistakes To Avoid
Many Jeep Liberty owners make the same errors when fixing brake lights. Avoid these:
- Forcing the assembly: This can break clips or crack the lens.
- Touching the bulb glass: Oil from your fingers causes hot spots and early failure.
- Using the wrong bulb: Always check the part number in your manual.
- Ignoring corrosion: A new bulb won’t fix a rusty socket.
- Replacing the fuse with the wrong amperage: Too high can cause fires, too low will blow again quickly.
When To Seek Professional Help
While most tail brake light repairs are simple, some situations need an expert:
- The light still doesn’t work after bulb and fuse replacement.
- Wires are visibly damaged or burned.
- The socket is melted or severely corroded.
- You find water entering from a body seam or accident damage.
- You’re not comfortable with electrical testing.
A professional can diagnose deeper problems, such as a faulty brake light switch or complex wiring issues.
Lifespan And Replacement Frequency
Most brake light bulbs last between 2 and 5 years, depending on usage and quality. If you drive a lot at night or in stop-and-go traffic, expect to change bulbs more often. Keeping your tail light assembly clean and dry helps bulbs last longer.
Jeep Liberty Brake Light Bulb: Quick Reference Data
Here’s a comparison of common bulb types for Jeep Liberty:
| Bulb Type | Lifespan (hours) | Brightness (lumens) | Cost (approx.) |
|---|---|---|---|
| 3157 Incandescent | 1,200 | 400 | $2–$5 |
| 7443 Incandescent | 1,000 | 380 | $2–$5 |
| 3157 LED | 30,000 | 500–700 | $10–$25 |
LED bulbs cost more but last much longer and are brighter, making them a good upgrade if your model allows.
Safety And Legal Considerations
Driving with a faulty brake light is dangerous and illegal in most states. Police can stop you and issue a ticket, and in some places, fines can reach $100 or more.
More importantly, working brake lights prevent accidents. Always check your lights regularly, especially before long trips.

Where To Find Reliable Parts
Buy replacement bulbs and fuses from trusted auto parts stores or online shops. Avoid cheap, unbranded bulbs they often burn out faster.
Look for brands like Sylvania, Philips, or GE for best results. Your Jeep’s manual lists the correct bulb numbers.
For more technical information about automotive lighting and safety, you can check resources like Wikipedia: Automotive Lighting.
Frequently Asked Questions
Why Does My New Jeep Liberty Brake Light Bulb Keep Burning Out?
Frequent burnouts can be caused by poor-quality bulbs, excess vibration, or a faulty socket. Make sure you use the correct bulb type and check for corrosion or loose connections in the socket.
Can I Use An Led Bulb Instead Of A Standard Bulb?
Yes, if the socket fits and your Jeep doesn’t have a “bulb out” warning system. LED bulbs last longer and are brighter, but sometimes require a resistor to prevent fast blinking.
Is It Safe To Drive With One Brake Light Out?
No. It’s unsafe and illegal in most states.
Other drivers may not see you stopping, and you risk getting a ticket.
What If Both Brake Lights And The High Mount Light Are Out?
This usually means a blown fuse or a failed brake light switch. Check the fuse first, then test the switch under the brake pedal.
How Do I Prevent Moisture From Getting Into My Tail Light Assembly?
Check the seals around the assembly and lens for cracks. Replace damaged seals or gaskets.
Make sure the assembly is tightly secured after bulb replacement.
Fixing your Jeep Liberty tail brake light is a straightforward task that improves your safety on the road. With careful diagnosis and the right steps, you can solve most problems in less than an hour. Regular checks and quality parts will keep your lights working for years to come.