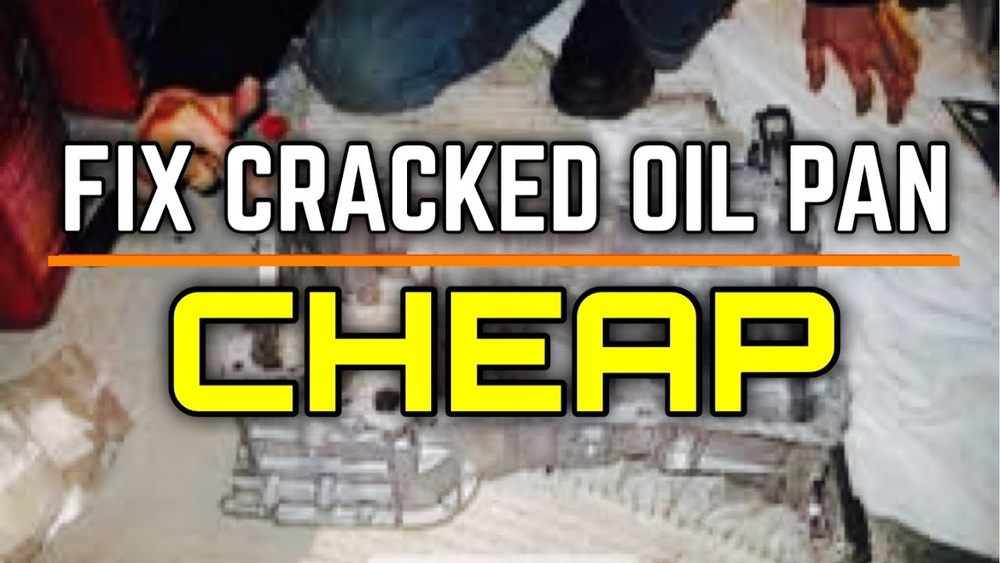
A crack in your oil pan can cause serious trouble. Oil leaks lead to engine damage, messy driveways, and expensive repairs. Many people worry that fixing an oil pan crack means spending big money at a mechanic. The good news is, you can often repair it yourself with the right tools and a careful approach.
This guide explains how to fix a crack in your oil pan, step by step, with clear examples and practical advice.
Why Cracks Happen In Oil Pans
Oil pans sit at the bottom of the engine, exposed to road debris, bumps, and extreme temperatures. Common causes for cracks include:
- Hitting a curb or speed bump
- Rust weakening the metal
- Improper installation or over-tightening bolts
Aluminum pans are more prone to cracking than steel ones. Even a small crack can cause oil to leak, which lowers engine lubrication and may lead to overheating.
Signs You Have A Cracked Oil Pan
Knowing the symptoms helps you catch problems early. Look for:
- Oil puddles under the car, especially after parking overnight
- Low oil levels on the dipstick
- Warning lights on the dashboard
- Burning oil smell or smoke
If you notice these signs, inspect the oil pan closely. Use a flashlight to find the crack, which often appears as a thin line or small gap.

Tools And Materials Needed
Before starting, gather everything you’ll need:
- Jack and jack stands
- Wrenches
- Brake cleaner
- Epoxy or oil-resistant sealant (such as JB Weld)
- Sandpaper or wire brush
- Shop towels
- Oil drain pan
- Replacement oil (if needed)
If the crack is large or near a bolt hole, consider welding. For most small cracks, epoxy works well.
| Tool | Purpose | Estimated Cost |
|---|---|---|
| Jack stands | Safety support | $30-$50 |
| Epoxy | Sealing crack | $7-$20 |
| Sandpaper | Cleaning surface | $2-$5 |
Step-by-step Guide To Fixing A Crack
1. Prepare Your Car
Park your car on a flat surface. Use the jack to lift the vehicle and secure it with jack stands. Never rely on the jack alone—safety first.
2. Drain The Oil
Place the oil drain pan under the oil pan. Remove the drain plug and let all the oil flow out. This prevents mess and gives you a dry surface to work on.
3. Clean The Area
Spray brake cleaner around the crack. Wipe the area dry with shop towels. Use sandpaper or a wire brush to remove rust and dirt. This step is crucial—epoxy won’t stick to dirty surfaces.
4. Apply Epoxy Or Sealant
Mix the epoxy according to the instructions. Spread it generously over the crack. Press firmly to ensure it fills the gap. Smooth the surface for a tight seal. Let it cure for the recommended time (usually 8-24 hours).
| Epoxy Brand | Cure Time | Max Temperature |
|---|---|---|
| JB Weld | 15 hours | 500°F |
| Permatex | 24 hours | 450°F |
5. Refill Oil And Test
Replace the drain plug. Pour new oil into the engine. Start your car and let it idle for a few minutes. Check under the car for leaks. If the area stays dry, you’ve fixed the crack.
6. Inspect Regularly
After driving for a week, check the pan again. Epoxy repairs can last for years, but rough roads or extreme heat may weaken the seal.

When Should You Replace The Oil Pan?
Not all cracks can be fixed with epoxy. If the crack is longer than 2 inches, or located on a corner, replacement is safer. Also, if you see rust holes or multiple cracks, a new pan is needed.
Replacement oil pans cost between $60 and $300. Labor costs may add $200 or more at a shop. Compare the repair cost with the replacement:
| Repair Method | Estimated Cost | Durability |
|---|---|---|
| Epoxy | $10-$30 | 1-3 years |
| Welding | $50-$150 | 5+ years |
| Replacement | $260-$500 | 10+ years |
Common Mistakes To Avoid
- Skipping cleaning: Epoxy won’t hold on oil or dirt.
- Using the wrong sealant: Only use oil-resistant products.
- Rushing the cure time: Wait the full period before refilling oil.
- Ignoring large cracks: Big cracks need professional repair.
- Not checking for leaks: Always test after the fix.
Many beginners forget to check the oil pan gasket. A damaged gasket can leak oil and may look like a crack. Make sure the leak is actually from a crack, not a faulty gasket.
Non-obvious Tips
- Sand beyond the crack: Clean a wider area than just the crack. Epoxy sticks better to smooth, clean metal.
- Warm the pan: Epoxy cures faster and stronger if the metal is slightly warm (not hot). Use a heat gun for a few minutes before applying.
These small steps can make your repair last longer and prevent repeat leaks.
Where To Get Quality Materials
Auto parts stores carry epoxy kits and oil-resistant sealants. Online reviews can help you choose reliable brands. For more details on oil pan repairs and materials, visit Wikipedia.

Frequently Asked Questions
How Long Does An Epoxy Repair Last?
Epoxy repairs usually last 1-3 years if applied correctly and the crack is small. Driving in rough conditions may shorten this time.
Can I Drive With A Cracked Oil Pan?
It’s risky. Even small cracks can cause oil leaks and damage your engine. Fix the crack as soon as possible to avoid bigger problems.
Is Welding Better Than Epoxy?
Welding creates a permanent fix, but requires skill and special tools. Epoxy is easier for most DIY jobs, but welding is best for large or deep cracks.
What’s The Best Epoxy For Oil Pans?
Look for oil-resistant, high-temperature epoxies. JB Weld and Permatex are popular and proven for automotive repairs.
How Do I Know If The Oil Pan Needs Replacing?
If the crack is longer than 2 inches, near a bolt, or the pan has rust holes, replace it. Multiple cracks also mean replacement is safer.
Fixing a crack in your oil pan saves money and keeps your engine safe. With careful work and the right materials, most small cracks can be repaired at home. Regular checks and proper sealing make your fix last longer. If you’re unsure about the size or location of the crack, ask a mechanic for advice before starting.