Changing the tail light circuit board on a Jeep Grand Cherokee is a common repair, especially for models from the early 2000s to mid-2010s. Many owners notice problems like dim or non-working tail lights, flickering brake lights, or even dashboard warnings. These issues often come from a failed circuit board, not just a burned-out bulb. You don’t need to be a professional mechanic to swap the circuit board, but a clear guide helps avoid mistakes.
If you drive at night or in bad weather, working tail lights are more than just a convenience they’re a safety necessity. Repairing a broken circuit board yourself can save money and keep you safer on the road.
This guide will walk you through the tools, steps, common mistakes, and troubleshooting tips.
Whether you’re a DIY beginner or have some car experience, you’ll finish the job with confidence.
Why Tail Light Circuit Boards Fail On Jeep Grand Cherokee
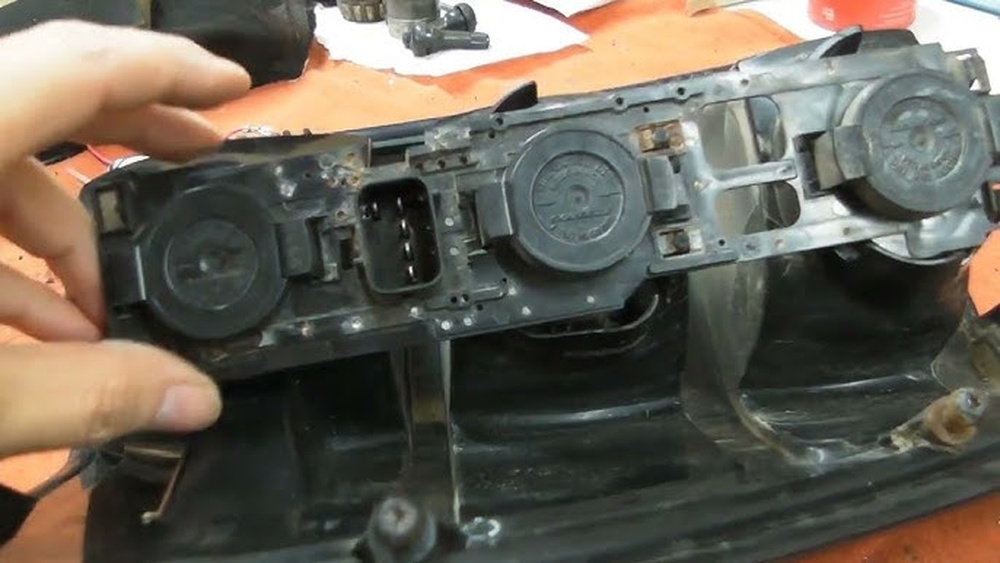
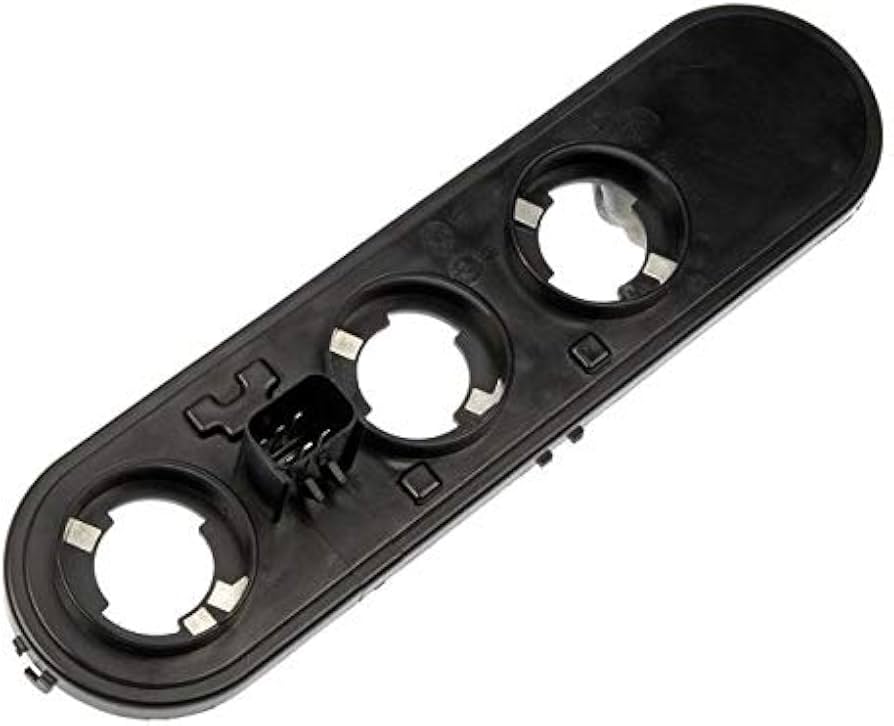
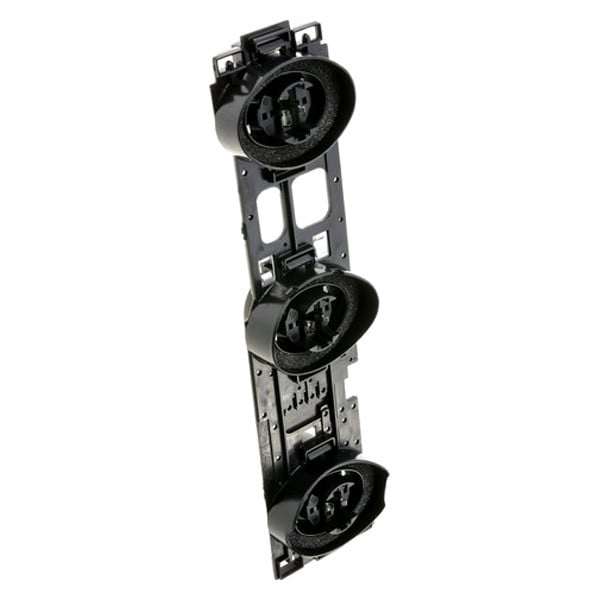
Many Jeep Grand Cherokee owners experience tail light circuit board problems. The circuit board sits behind the tail light lens and connects the light bulbs to the vehicle’s wiring. Over time, it can develop issues for several reasons:
- Moisture intrusion: Water can enter through cracks or worn seals, causing corrosion.
- Heat damage: Constant use, especially in hot climates, can warp or burn the board.
- Vibration and impact: Off-road driving or rough roads can loosen or damage connections.
- Electrical overload: Using bulbs with the wrong wattage or trailer wiring can strain the circuit board.
A faulty circuit board may cause one or more bulbs to stop working, even after replacing the bulbs. Sometimes, you’ll see warning lights on the dashboard or notice a burning smell near the tail light.
How To Diagnose A Bad Tail Light Circuit Board
Before replacing the circuit board, make sure it’s really the problem. Here are some steps:
- Check the bulbs: Remove and inspect all tail light bulbs. Replace any that are burned out.
- Inspect the fuse: Find the tail light fuse in the fuse box. If it’s blown, replace it and see if the lights work.
- Look for corrosion: Remove the tail light assembly and check for green or white powder on the board or connectors.
- Wiggle test: With the lights on, gently move the wiring harness. If the lights flicker, there’s likely a connection problem.
If the bulbs and fuse are good but the lights still don’t work, the circuit board is likely faulty.
Tools And Materials Needed
Before starting, gather these items:
- New tail light circuit board (for your Jeep’s model year)
- Phillips or flathead screwdriver (usually Phillips)
- Socket wrench set (commonly 8mm or 10mm)
- Gloves (optional, to protect hands)
- Electrical contact cleaner (optional, for cleaning connectors)
- Flashlight (for better visibility)
- Clean cloth
Buying a quality circuit board is important. Cheap versions may not fit well or last long.
OEM (original equipment manufacturer) parts tend to be more reliable, but some aftermarket brands are also good.
Step-by-step Guide: Changing The Tail Light Circuit Board
Follow these steps for a smooth, safe replacement. Most people can finish this job in 30 60 minutes per side.
1. Park And Prepare
- Turn off the engine and set the parking brake.
- Open the liftgate/trunk to access the tail light assemblies.
- If possible, work in daylight or use a strong flashlight.
2. Remove The Tail Light Assembly
- Locate the screws or bolts holding the tail light to the body.
- Use a screwdriver or socket wrench to remove them. Keep the hardware safe.
- Gently pull the tail light assembly straight out—don’t yank. There will be wiring attached.
3. Disconnect The Wiring Harness
- Find the main connector or wiring harness at the back of the tail light.
- Press the release tab and pull the connector straight out. Don’t twist or force it.
- Set the assembly on a soft surface to avoid scratches.
4. Remove The Circuit Board
- Most circuit boards are held by a few screws or clips on the back of the assembly.
- Unscrew or unclip the board. Note the orientation—it helps with reinstallation.
- Carefully lift out the old circuit board.
5. Install The New Circuit Board
- Line up the new board with the mounting points.
- Secure it with the same screws or clips.
- If needed, clean the bulb sockets and connectors with electrical contact cleaner.
6. Reconnect Bulbs And Wiring
- Reinstall the light bulbs in the new board. Double-check each bulb is seated properly.
- Reattach the wiring harness, making sure it clicks into place.
7. Reinstall The Tail Light Assembly
- Slide the assembly back into the vehicle’s body.
- Replace the screws or bolts and tighten until snug (not overly tight).
- Close the liftgate or trunk.
8. Test The Lights
- Turn on the ignition and lights.
- Check tail lights, brake lights, and turn signals. Make sure all bulbs work.
- If one or more lights are still out, recheck connections or bulbs.
Comparison: Oem Vs Aftermarket Circuit Boards
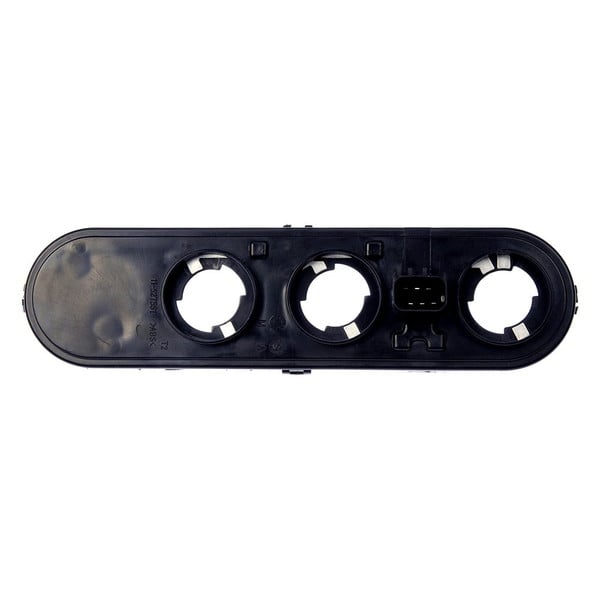
Choosing the right replacement board makes a difference in performance and lifespan. Here’s a comparison of common options:
| Feature | OEM Circuit Board | Aftermarket Circuit Board |
|---|---|---|
| Fit and Compatibility | Perfect fit, guaranteed | Can vary, may need adjustment |
| Quality | High, meets Jeep standards | Ranges from good to poor |
| Warranty | Usually 1 year+ | Varies, sometimes none |
| Price | Higher | Lower |
| Availability | Dealers, official parts stores | Online, auto parts shops |
Non-obvious tip: Sometimes, an aftermarket board can be as reliable as OEM, but always check reviews and return policies before buying.
Common Mistakes To Avoid
Changing a tail light circuit board is straightforward, but these mistakes can cause problems:
- Forcing connectors: Always press tabs gently; forcing them can break plastic clips.
- Using the wrong bulbs: Incorrect bulb wattage can overload the board or cause warning lights.
- Ignoring corrosion: Failing to clean connectors allows problems to return quickly.
- Mixing up screws: Some screws are different lengths. Keep track to avoid damaging the assembly.
- Skipping a test: Always check the lights before closing everything up.
Troubleshooting After Installation
If the new board doesn’t solve the problem, try these steps:
- Check the fuse again: Sometimes, a blown fuse is overlooked.
- Inspect the wiring harness: Look for damaged wires, bent pins, or loose connections.
- Test the bulbs: Even new bulbs can fail; swap with a known good bulb if unsure.
- Look for moisture: If the tail light lens is foggy or wet inside, fix the seal to prevent future problems.
Insight: Rarely, a tail light issue can come from a bigger electrical problem, such as a bad ground wire or a body control module fault. If basic steps don’t work, a mechanic should inspect further.
How Much Does It Cost?
Costs can vary depending on Jeep model year and part type. Here’s a price comparison:
| Part Type | Average Cost (USD) | Labor (if shop does it) | Total (DIY) |
|---|---|---|---|
| OEM Circuit Board | $60–$120 | $50–$100 | $60–$120 |
| Aftermarket Circuit Board | $30–$70 | $50–$100 | $30–$70 |
DIY repair is much cheaper, as labor costs can be higher than the part itself. Some Jeep forums and communities provide links to trusted sources for parts and guides.
Practical Tips For A Successful Repair
- Take photos during disassembly: If you forget how parts fit, photos make reassembly easier.
- Label screws and bulbs: Use a small tray or cup to avoid losing hardware.
- Work patiently: Rushing increases the chance of breaking clips or misplacing parts.
- Check both sides: If one board has failed, the other may not be far behind. Inspect both tail lights for signs of wear.
- Seal the housing: If you notice cracks or gaps, use automotive sealant to prevent water leaks.
Hidden detail: Some Jeep Grand Cherokee models have small design changes between years. Always check your VIN or bring the old part to the store for an exact match.
When To Seek Professional Help
While most owners can handle this repair, sometimes it’s best to let a mechanic work on it. Seek help if:
- You’re not comfortable with electrical parts.
- The wiring looks damaged or burned.
- The lights still don’t work after replacing the board and bulbs.
- You see electrical warning lights on the dash that won’t clear.
A professional can diagnose deeper problems with factory tools, saving you time and future headaches.
Environmental Considerations
Old circuit boards contain metals and plastics that shouldn’t go in household trash. Many auto parts stores or local recycling centers accept electronic auto parts.
Proper disposal is better for the environment and sometimes required by law.
How To Find The Right Circuit Board
The best way to ensure you have the correct part is to check your vehicle’s manual or the old part’s numbers. When shopping online or in a store:
- Search by model year and trim level.
- Compare the new part’s shape, connector, and mounting points to your old board.
- Read reviews and choose a seller with a good return policy.
If unsure, ask the parts store staff or visit the official Jeep website for guidance. For more information, you can check this National Highway Traffic Safety Administration resource on automotive lighting safety and standards.
How Do I Know If The Tail Light Circuit Board Is Bad Or If It’s Just The Bulb?
If you replace the bulb and it still doesn’t light up, or if multiple lights on one side stop working at once, the circuit board is likely faulty. Corrosion, burnt spots, or melted plastic on the board are also signs of failure.
Can I Use Led Bulbs After Changing The Circuit Board?
Yes, but check if your Jeep supports LED bulbs. Some older models may need special resistors or adapters to prevent warning lights or fast blinking. Always match bulb type and wattage to the manufacturer’s recommendations.
Is It Safe To Drive With A Bad Tail Light Circuit Board?
It’s not safe and may be illegal. Non-working tail lights reduce visibility, especially at night or in rain.
Police can ticket you, and you are at higher risk of a rear-end collision.
Will Replacing The Circuit Board Fix Warning Lights On My Dashboard?
If the warning light is related to tail lights and the only problem was a bad circuit board, replacement should solve it. If the light stays on, there may be another electrical issue or a problem in the vehicle’s control system.
How Long Does A New Circuit Board Last?
A quality OEM or high-grade aftermarket circuit board should last several years, often as long as the vehicle. Regularly check for moisture and clean connectors to extend its life.
Keeping your Jeep Grand Cherokee’s tail lights working isn’t just about the law it’s about your safety and peace of mind.
With the right tools and clear instructions, most drivers can handle this repair themselves and get back on the road with confidence.