If your Jeep Cherokee is showing signs of brake fluid leaks or soft pedal feel, the rear wheel cylinder may be failing. This small but vital part controls brake pressure at the rear wheels.
A faulty wheel cylinder can cause dangerous braking, uneven wear, and even loss of control. Changing it is not too difficult, but requires basic tools, patience, and attention to safety.
This guide walks you step-by-step through changing the rear wheel cylinder on your Jeep Cherokee, with practical tips, common mistakes, and real-world advice.
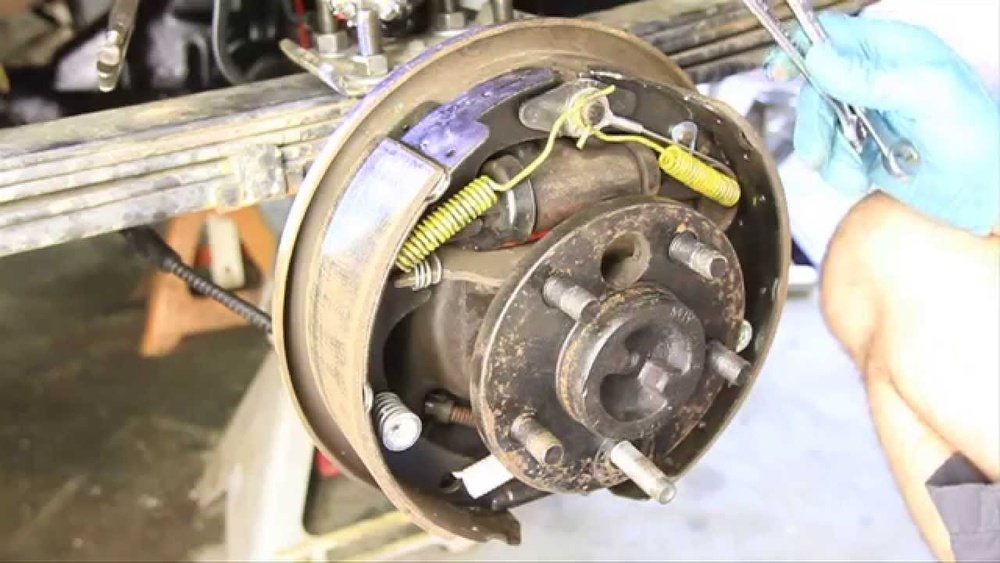
Understanding The Rear Wheel Cylinder
The rear wheel cylinder is part of the drum brake system, usually found on the back wheels of older Jeep Cherokees. It pushes brake shoes outward when you press the brake pedal, creating friction to stop your vehicle. Over time, cylinder seals can wear out, leading to leaks and reduced braking force.
If you notice fluid on the inside of the rear wheel, or the brake pedal feels mushy, the cylinder might need replacement. Ignoring this can lead to brake failure and expensive repairs.
Key Symptoms Of A Bad Wheel Cylinder
- Brake fluid leaks near rear wheels
- Soft or sinking brake pedal
- Poor stopping power
- Uneven brake wear
- Brake warning light (in some models)
Replacing the wheel cylinder restores brake performance and safety.
Tools And Materials Needed
Before starting, gather everything you need:
- New wheel cylinder (correct for your Jeep Cherokee model/year)
- Brake fluid (DOT 3 or DOT 4, check manual)
- Jack and jack stands
- Lug wrench
- Socket set and ratchet
- Line wrench (for brake lines)
- Flathead screwdriver
- Brake cleaner
- Drain pan
- Rubber mallet
- Bleeder kit or clear tubing
- Shop rags
- Gloves and safety glasses
Having all tools ready prevents frustration and helps you work safely.
Preparing Your Jeep Cherokee
Safety is always first. Park your Cherokee on a flat surface, away from traffic.
Engage the parking brake, and block the front wheels. Never rely only on the jack always use jack stands.
- Loosen lug nuts slightly before lifting the vehicle.
- Lift rear end with jack and place jack stands under the frame.
- Remove rear wheels to access the drum brakes.
Check the brake drum for signs of wear or scoring. If damaged, replace it along with the cylinder.
Removing The Brake Drum
The brake drum covers the wheel cylinder and shoes. Sometimes it slides off easily, but rust or age can make removal tricky.
- Tap around the drum with a rubber mallet to break loose rust.
- If stuck, use a flathead screwdriver to release the hold-down clips.
- Pull the drum straight off—avoid tilting, as parts may fall out.
Many beginners miss cleaning the drum hub area. Clean it with brake cleaner for easier reassembly.
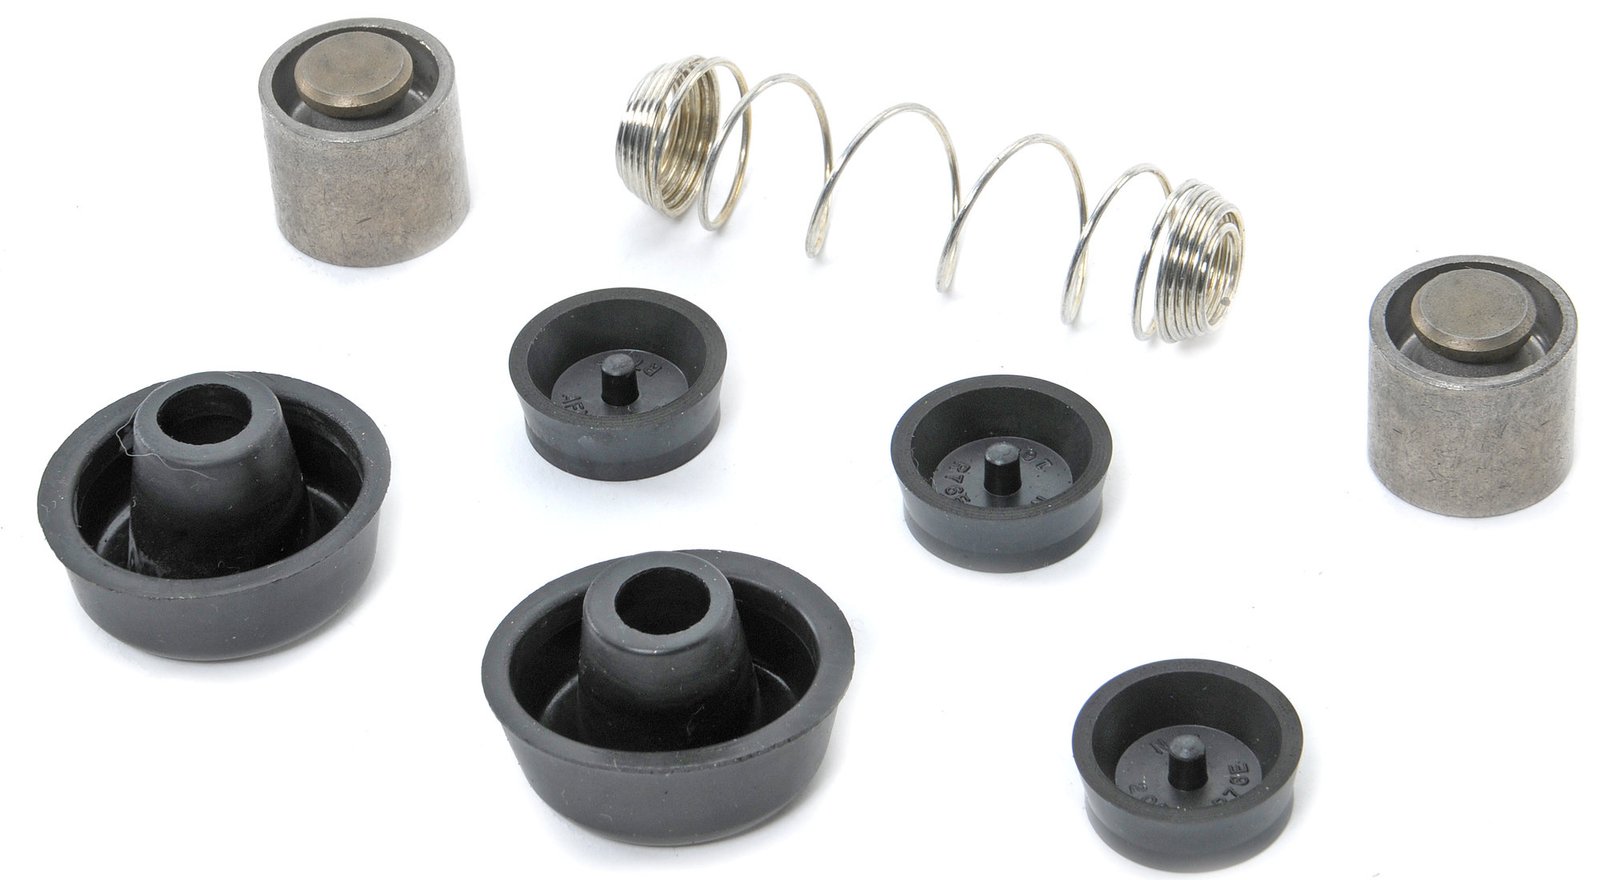
Accessing And Removing The Wheel Cylinder
Inside the drum, you’ll see the brake shoes and the wheel cylinder at the top.
- Remove shoe springs using pliers or a spring tool. Take a photo before disassembly for reference.
- Pull shoes away from the cylinder. You don’t need to remove them completely, but giving yourself space helps.
- Locate the brake line attached to the cylinder. Use a line wrench to loosen—avoid rounding the fitting.
- Place a drain pan under the line to catch fluid.
- Remove the two bolts securing the cylinder (usually 8mm or 10mm).
- Carefully remove the old wheel cylinder.
Sometimes the brake line is rusted and hard to remove. Applying penetrating oil and gentle heat can help, but be cautious—too much force can damage the line.
Installing The New Wheel Cylinder
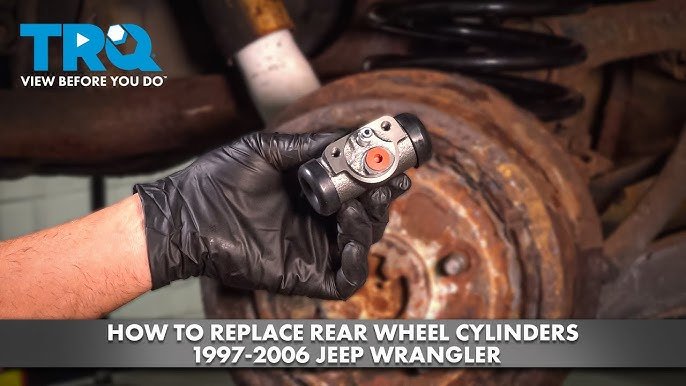
Make sure your new cylinder matches the old one. Double-check the mounting holes and brake line fitting.
- Clean the mounting area with brake cleaner.
- Position the new cylinder and bolt it in place.
- Attach the brake line—start by hand to prevent cross-threading.
- Tighten bolts and fittings snugly, but don’t over-tighten.
Many people forget to check the cylinder orientation make sure bleeder screws are facing outward for easy access.
Reassembling The Drum Brakes
Reinstall the brake shoes and springs. Use your reference photo to put everything back correctly.
- Fit shoes against the cylinder pistons.
- Attach springs in the same order as removal.
- Check for proper shoe alignment.
Before replacing the drum, clean it with brake cleaner and inspect for cracks or deep wear.
Bleeding The Brakes
Any time you open the brake system, you must bleed air out. Air in the lines causes soft pedal feel and poor braking.
- Fill the master cylinder with fresh brake fluid.
- Attach a bleeder kit or clear tubing to the wheel cylinder bleeder screw.
- Have a helper pump the brake pedal and hold it down.
- Loosen the bleeder screw and watch for bubbles. Tighten when only fluid comes out.
- Repeat until no air is present.
Always bleed the system until the fluid runs clear and bubble-free.
Basic Brake Bleeding Order
For the Cherokee, usually start from the wheel farthest from the master cylinder (right rear), then left rear, right front, left front.
Checking And Testing
After bleeding, check all fittings for leaks. Reinstall the drum and wheel. Torque lug nuts to the manufacturer’s specs.
Lower the vehicle and pump the brake pedal it should feel firm, not soft. If it sinks, re-bleed the system.
Take a slow test drive in a safe area. Apply brakes gently, then harder.
Listen for unusual sounds and check for leaks after driving.
Data Table: Common Jeep Cherokee Wheel Cylinder Sizes
Different Cherokee models use different cylinder sizes. Here’s a quick reference:
| Model Year | Rear Wheel Cylinder Size | Brake Fluid Type |
|---|---|---|
| 1997–2001 | 7/8 inch | DOT 3 |
| 1993–1996 | 7/8 inch | DOT 3 |
| 1987–1992 | 13/16 inch | DOT 3 |
Always verify your Cherokee’s exact year and brake type before buying parts.
Tips And Common Mistakes
Changing a wheel cylinder is straightforward, but many people make avoidable errors.
- Not using jack stands: Always use stands, never just a jack.
- Mixing up brake shoes: Take photos and keep parts organized.
- Forgetting to bleed brakes: Skipping this step leads to dangerous, soft pedal feel.
- Over-tightening brake line: Can strip threads or crack fittings.
- Using wrong brake fluid: Check manual; DOT 3 is most common.
- Ignoring leaks: Check all connections before finishing.
A non-obvious insight: Cleaning brake parts with brake cleaner before reassembly helps prevent contamination and ensures smoother operation.
Table: Rear Wheel Cylinder Replacement Cost Breakdown
How much does this job cost? Here’s a typical breakdown:
| Part/Service | Average Cost (USD) | DIY or Shop? |
|---|---|---|
| Wheel Cylinder | $15–$35 | DIY/Shop |
| Brake Fluid | $8–$15 | DIY/Shop |
| Labor (Shop) | $80–$120 | Shop |
| Tools (if needed) | $40–$70 | DIY |
Doing it yourself saves labor costs, but only if you have the right tools and confidence.
Practical Advice For Beginners
If you’ve never worked on brakes, start slow. Watch a few videos and read your Jeep’s manual.
Work in a clean, well-lit area. Having a friend help makes things easier, especially for bleeding brakes.
A tip many miss: Always test drive in a safe area before returning to normal driving. This ensures brakes are working properly and gives you time to spot issues.
If you’re unsure about any step, consider asking on Jeep forums or checking the official Jeep site for technical advice.
Comparison Table: Oem Vs Aftermarket Wheel Cylinders
Choosing between OEM and aftermarket parts can affect quality, cost, and longevity.
| Type | Durability | Cost | Warranty |
|---|---|---|---|
| OEM | High | $$$ | 1–2 years |
| Aftermarket | Medium–High | $$ | 6–12 months |
OEM parts are usually more reliable, but aftermarket options can save money if you choose reputable brands.
Final Checklist Before Driving
- All bolts and fittings tight?
- Brake fluid topped up?
- Brake pedal feels firm?
- No leaks at wheel cylinder or brake line?
- Drum and wheel reinstalled properly?
Don’t rush brake repairs are critical for safety.
Changing the rear wheel cylinder on your Jeep Cherokee can restore safe braking and prevent expensive repairs down the road. With careful work, the right tools, and patience, this job is manageable for most DIYers. Remember to check your work, bleed brakes thoroughly, and always put safety first. Whether you drive daily or off-road, reliable brakes are vital for your Cherokee’s performance and your peace of mind.
Frequently Asked Questions
How Do I Know My Rear Wheel Cylinder Is Bad?
Look for brake fluid leaks at the rear wheels, a soft brake pedal, and poor braking. Sometimes, the brake warning light comes on. Inspect inside the drum—if the cylinder is wet or leaking, it needs replacement.
What Brake Fluid Should I Use In My Jeep Cherokee?
Most Cherokees use DOT 3 brake fluid. Always check your owner’s manual to confirm the correct type for your model and year.
Can I Drive With A Leaking Wheel Cylinder?
No. A leaking wheel cylinder means less braking power and possible total brake failure.
Fix the leak before driving to stay safe.
Do I Need To Replace Both Rear Wheel Cylinders At The Same Time?
It’s recommended but not required. If one fails, the other may be close to failing, so changing both can prevent future issues and keep braking balanced.
How Long Does It Take To Change A Rear Wheel Cylinder?
For beginners, expect 1–2 hours. With experience, it can take under an hour. Allow extra time for bleeding brakes and cleaning parts.
Changing the rear wheel cylinder might seem daunting, but taking it step-by-step makes the task manageable. Reliable brakes mean safer driving and fewer worries on the road.


















