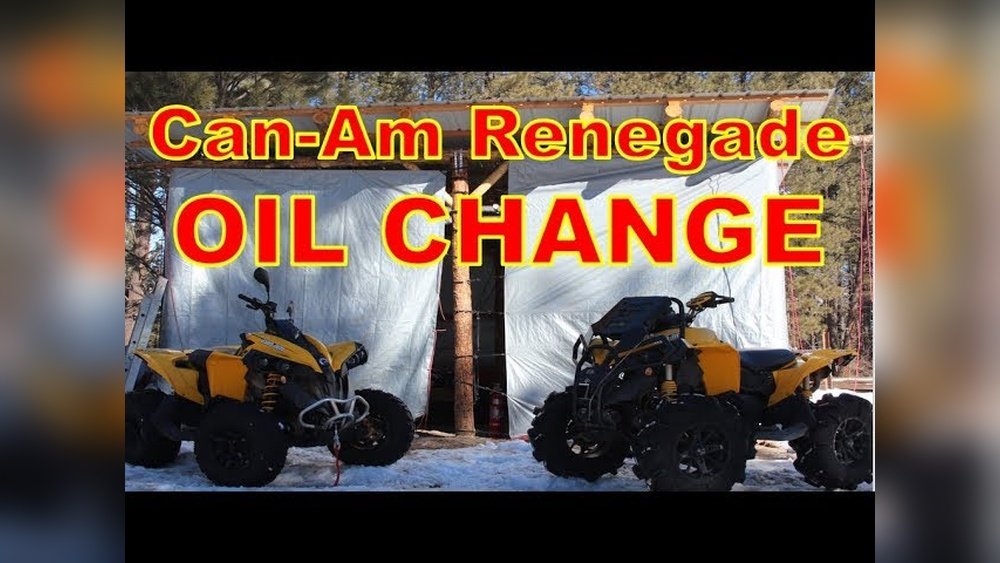
Changing the oil in your Can-Am Renegade is one of the most important things you can do to keep your ATV running smoothly. Fresh oil helps your engine stay cool, run quietly, and last longer. Even if you’re new to DIY maintenance, this task is simple enough for most owners. A careful oil change saves you money and gives you confidence in your ride’s reliability. In this guide, you’ll learn the exact steps, tools, and tips needed to change the oil on your Can-Am Renegade without stress or mess.
Why Regular Oil Changes Matter
Most riders know oil is important, but many underestimate just how much it affects performance and engine life. The engine oil lubricates moving parts, reduces friction, and carries away heat. Over time, oil breaks down and collects dirt and metal shavings. Dirty oil can cause engine wear, overheating, or even total failure. For the Can-Am Renegade, regular oil changes are especially critical if you ride in mud, sand, or extreme conditions.
Skipping oil changes often leads to:
- Increased engine noise
- Poor acceleration
- Higher fuel consumption
- Risk of engine damage
Can-Am recommends changing the oil every 1,000 miles (1,600 km) or once per year, whichever comes first. If you ride in harsh conditions, consider changing it more often.
Tools And Materials You’ll Need
Before you start, gather everything you need to avoid frustration halfway through the job. Here’s a quick checklist:
- Socket wrench set (usually 17mm or 19mm for the drain bolt)
- Oil filter wrench
- Oil catch pan
- Funnel
- Clean rags
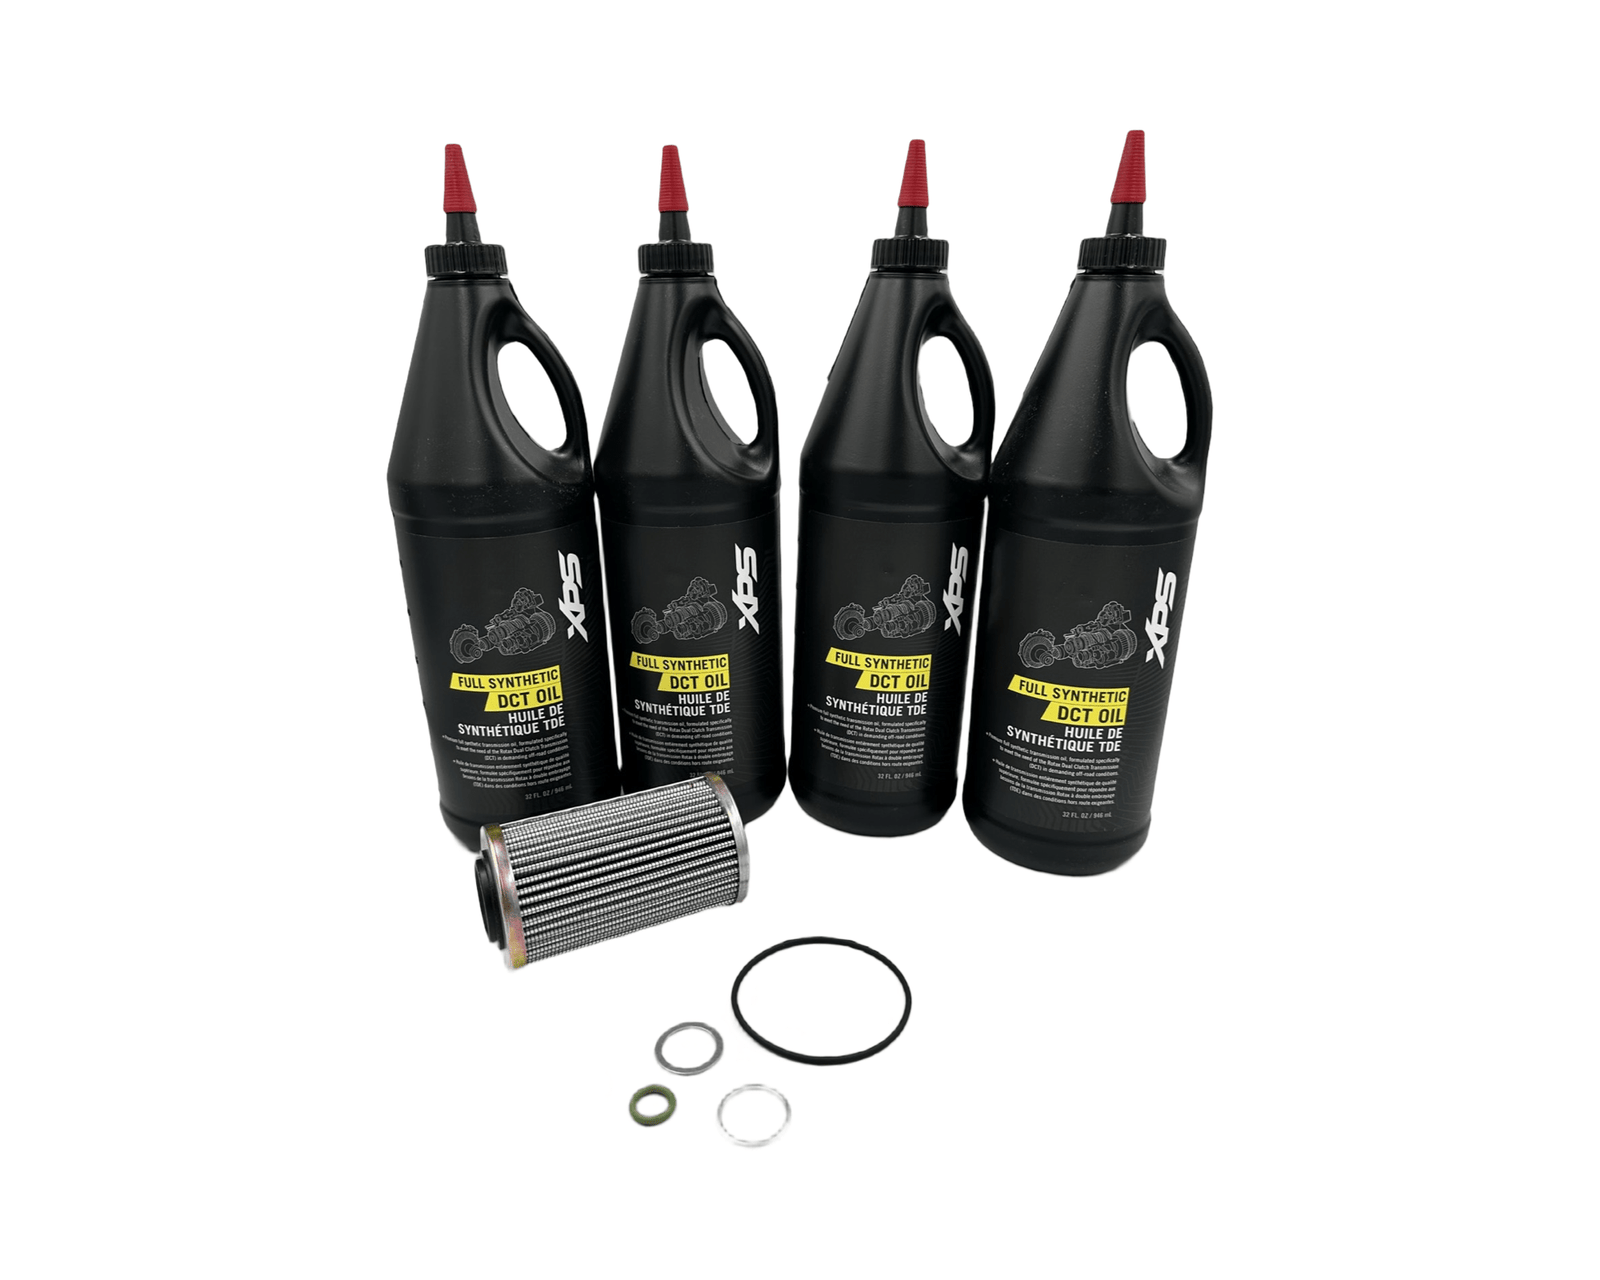
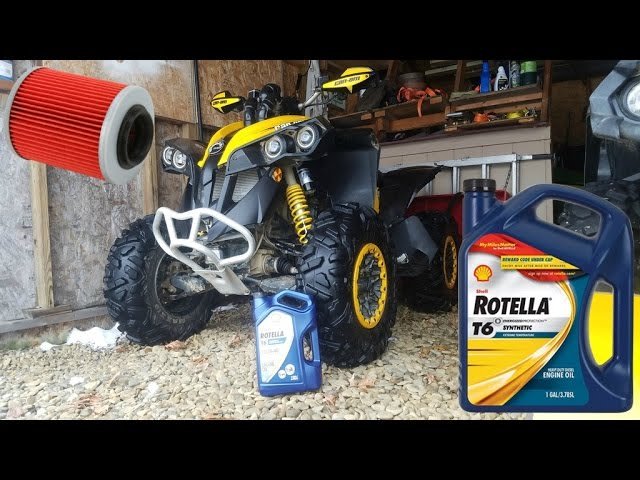
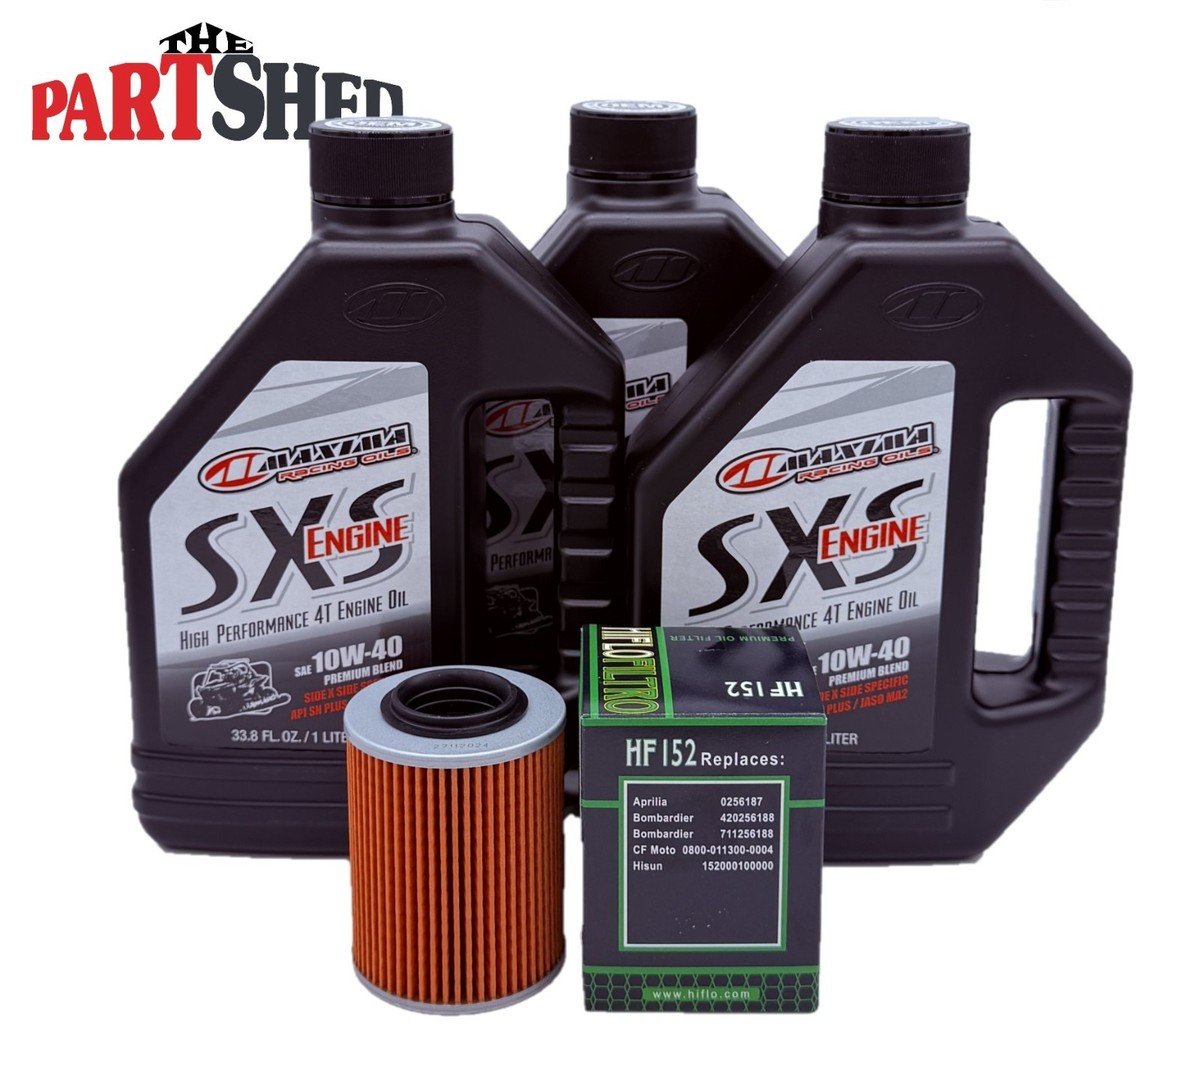
- New oil filter (specific to your Renegade model)
- Can-Am recommended oil (check your manual, usually 5W-40 full synthetic)
- New crush washer (for the drain bolt)
- Gloves (optional but helps keep your hands clean)
Having all parts ready speeds up the process. Some riders forget the crush washer, which is small but important for preventing leaks.
Typical Oil Capacity And Filter Types
Your Renegade’s oil capacity and filter type depend on its engine size. Here’s a handy reference:
| Renegade Model | Engine Size | Oil Capacity (with filter) | Filter Type |
|---|---|---|---|
| Renegade 570 | 570cc | 2.1 qt (2.0 L) | 420256188 |
| Renegade 850 | 850cc | 2.1 qt (2.0 L) | 420256188 |
| Renegade 1000 | 1000cc | 2.1 qt (2.0 L) | 420256188 |
Always double-check your owner’s manual or the filter box to make sure you have the right parts.
Step-by-step: How To Change Oil On Can-am Renegade
Changing oil is not just about draining and refilling. Each step matters for a clean, successful job.
1. Warm Up The Engine
Start your Renegade and let it idle for 3 5 minutes. Warm oil drains faster and carries more dirt out of the engine.
Don’t skip this part cold oil can leave sludge behind.
2. Park And Prepare
Find a flat, stable area. Turn off the engine and let the ATV sit for 2 3 minutes.
This allows hot oil to settle, making it safer to drain. Put on gloves if you prefer clean hands.
Place the oil catch pan under the drain bolt, which is usually under the engine. Use a rag to wipe away any dirt around the plug. This helps prevent debris from falling into your engine.
3. Remove The Drain Plug
Use the correct socket wrench to slowly loosen the drain bolt. Hold the bolt as you finish unscrewing it to avoid dropping it into the oil pan.
Let the oil drain fully this usually takes 5 10 minutes.
Check the old crush washer. If it’s damaged or flattened, replace it with a new one for a tight seal.
4. Replace The Oil Filter
The oil filter is often on the right side of the engine. Use the oil filter wrench to unscrew the old filter.
Some oil will drip out, so keep the catch pan in place.
Before installing the new filter, rub a small amount of fresh oil around its rubber seal. This helps the filter seal tightly and makes it easier to remove next time.
Screw the new filter on by hand until the gasket touches the engine, then tighten it an extra ¾ turn. Do not over-tighten.
5. Reinstall The Drain Plug
Wipe the drain hole with a clean rag. Install the drain plug with the new crush washer.
Tighten it snugly, but do not use excessive force. Overtightening can strip the threads or crack the engine casing.
6. Add Fresh Oil
Place the funnel in the oil fill port (usually on top of the engine). Pour in the recommended amount of new oil slowly.
Use the dipstick to check the level; it should be between the low and high marks.
Start the engine and let it idle for 1 2 minutes. Check for leaks around the drain plug and oil filter.
Stop the engine and recheck the oil level, topping off if necessary.
7. Dispose Of Old Oil Properly
Never pour used oil down the drain or on the ground. Place it in a sealed container and take it to a recycling center or auto parts store. Many places accept used oil for free.
Quick Step Comparison
Here’s a summary of the oil change steps for quick review:
| Step | Details |
|---|---|
| Warm Up | Idle engine for 3–5 min |
| Prepare | Flat ground, catch pan in place |
| Drain | Remove drain bolt, let oil flow out |
| Replace Filter | Remove old, hand-tighten new filter |
| Refill Oil | Use funnel, check with dipstick |
| Check for Leaks | After idling, inspect all seals |
| Dispose Oil | Recycle at proper facility |
Common Mistakes And How To Avoid Them
Even experienced riders sometimes make small errors during oil changes. Here are the most frequent mistakes and how to prevent them:
- Using the wrong oil filter – Always match the filter part number to your model. A wrong filter may not seal or filter correctly.
- Overfilling oil – Too much oil can cause foaming, poor lubrication, or leaks. Add oil slowly and check the dipstick often.
- Reusing the crush washer – A worn washer may cause slow leaks. Always replace it during each oil change.
- Not tightening the drain plug enough – If the plug is too loose, you’ll lose oil quickly. If it’s too tight, you risk damaging engine threads.
- Forgetting to check for leaks – After starting the engine, always inspect the drain plug and filter areas. Early leaks are easy to fix.
A non-obvious tip: Always check your owner’s manual for any model-specific steps. Can-Am sometimes updates the oil change process for different years or trims.
Practical Tips For A Clean, Fast Oil Change
- Lay cardboard or old towels under your ATV to catch any spills.
- Take photos of the drain plug and filter locations before starting; it helps if you forget where things go.
- Keep a magnetic pickup tool nearby in case you drop the drain bolt into the oil pan.
- Mark the date and mileage of your oil change on a sticker and place it on your ATV.
- If your Renegade sits for long periods, change the oil before storage, not after. Old oil can damage internal parts during downtime.
Choosing The Right Oil For Your Can-am Renegade
Not all oils are the same. Can-Am recommends a full synthetic 5W-40 for most Renegade models. This oil works well in a wide range of temperatures and provides excellent protection, especially for high-performance engines.
Some riders are tempted by cheaper, non-synthetic oils. However, these can break down faster and may not protect as well under hard riding or hot conditions.
Investing in the correct oil helps avoid costly repairs later.
Synthetic Vs Conventional Oil
Here’s how the two types compare:
| Type | Protection | Cost | Change Interval |
|---|---|---|---|
| Synthetic | High (best for all temps) | More expensive | Longer (1,000 miles+) |
| Conventional | Medium (less in heat/cold) | Cheaper | Shorter (500–800 miles) |
If you ride in hot climates or push your Renegade hard, synthetic oil is a smart choice.
How Often Should You Change Oil?
For most Can-Am Renegade owners, once a year or every 1,000 miles is enough. However, if you ride in mud, water, or extreme heat, more frequent changes are wise.
Water and dirt in the oil can quickly damage the engine.
Check your oil regularly. If you notice it looking dark, gritty, or smelling burnt, change it don’t wait for the next scheduled service.
Also, if you’ve done lots of deep-water crossings or muddy rides, change the oil soon after.
Signs Your Oil Needs Changing
Not sure when to change the oil? Watch for these warning signs:
- Engine is louder than normal
- Oil looks black or gritty on the dipstick
- You notice a burning smell
- The oil change reminder light is on
Don’t ignore these symptoms. Regular checks and changes prevent big repair bills.
Benefits Of Diy Oil Changes
Changing your own oil saves money (labor costs at shops can be $100 or more per service) and helps you understand your machine better. You also control the quality of the oil and filter used.
Many riders find that regular DIY oil changes catch other small problems early, like loose bolts or worn hoses. This means fewer surprises on the trail.
Where To Find More Information
Your owner’s manual is always the best source for exact specs. You can also visit the official Can-Am Off-Road site for more details, diagrams, and troubleshooting tips.
Frequently Asked Questions
How Often Should I Change The Oil On My Can-am Renegade?
For most riders, change the oil every 1,000 miles or once per year, whichever comes first. If you ride in harsh conditions (mud, water, sand), change it more often.
What Oil Type Is Best For A Can-am Renegade?
Can-Am recommends a 5W-40 full synthetic oil for most Renegade models. Always use oil that meets or exceeds the specifications in your owner’s manual.
Can I Change The Oil Myself, Or Do I Need A Mechanic?
Most owners can change the oil themselves with basic tools. Follow the steps above, and you’ll save money and learn more about your machine.
What Should I Do With The Used Oil?
Recycle used oil at a local auto parts store or recycling center. Never pour it down the drain or on the ground it’s harmful to the environment.
What Are The Risks If I Skip Oil Changes?
Skipping oil changes can lead to engine wear, overheating, poor performance, and even engine failure. Fresh oil is one of the cheapest and best forms of engine protection.
Changing oil on your Can-Am Renegade is a simple but essential task. With the right tools, a little patience, and attention to detail, you’ll keep your ATV running strong for years to come.
Enjoy your next ride knowing your engine is well protected!


















