Replacing the lights on your Jeep Patriot is a practical skill every owner should know. Not only does it keep you safe on the road, but it also helps your vehicle pass inspections and avoid tickets. Many owners feel nervous about car maintenance, but changing lights on a Jeep Patriot is simpler than you might think. With the right tools and a clear guide, you can save money and build confidence by doing it yourself. This article will walk you through each step for changing headlights, taillights, and interior bulbs, highlight important safety tips, and offer expert advice that most beginners miss.
Understanding Your Jeep Patriot’s Lighting System
The Jeep Patriot uses several types of bulbs. The most common are headlights, taillights, brake lights, turn signals, and interior bulbs. Each has a specific location and function. Headlights ensure visibility at night, taillights alert drivers behind you, and turn signals communicate your intentions. Interior lights improve visibility inside your vehicle.
Different model years may use different bulb types. Always check your owner’s manual to confirm the correct bulb size and type before buying replacements.
Typical Bulb Types By Location
| Location | Common Bulb Type | Function |
|---|---|---|
| Headlight (Low Beam) | 9007 | Main night driving light |
| Headlight (High Beam) | 9007 | Extra brightness for empty roads |
| Taillight | 3157 | Rear position light |
| Brake Light | 3157 | Signals braking |
| Turn Signal (Front/Rear) | 3157/3156 | Indicates turning |
| Interior Dome Light | 578 | Cabin illumination |
Tools And Safety Precautions
Before starting, gather these simple tools:
- Replacement bulbs (check the manual for exact type)
- Flat-head and Phillips screwdrivers
- Socket wrench set (8mm or 10mm sockets are common)
- Gloves (prevents oils from damaging bulbs)
- Clean cloth
Safety is key. Always turn off your Jeep and remove the key. Let bulbs cool before touching, as they can be hot. If you’re working with headlights, disconnect the battery to avoid accidental shocks.
A common mistake is touching the glass part of new halogen bulbs with bare fingers. Oil from your skin can cause early bulb failure. Always handle bulbs with gloves or a clean cloth.
How To Change Headlights On A Jeep Patriot
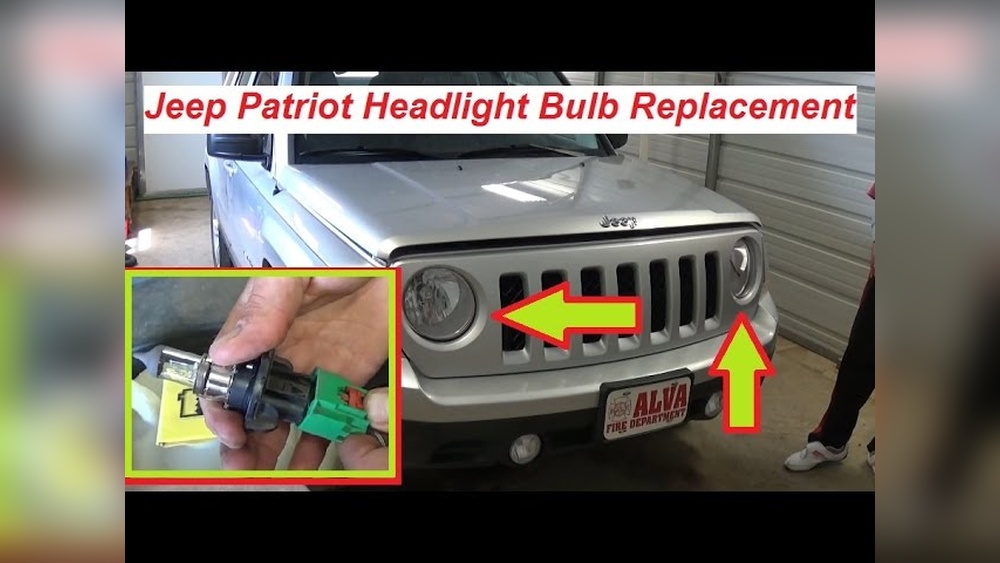
Changing the headlights is the most frequent repair for many drivers. Here’s a step-by-step method that works for most Jeep Patriot models (2007–2017):
Step 1: Open The Hood
Release the hood latch inside your Jeep. Lift the hood and secure it with the prop rod.
Step 2: Locate The Headlight Housing
The headlight assembly is at the front, behind the grille and above the bumper.
Step 3: Remove Fasteners
Use a socket wrench to remove the bolts holding the headlight housing. Most Patriots have two or three bolts.
Some models may also have a plastic clip or a screw along the side.
Step 4: Gently Pull Out The Housing
Carefully wiggle the headlight assembly forward. Don’t pull too hard there are wires attached to the back.
Step 5: Disconnect The Wiring Harness
Locate the connector at the back of the bulb. Press the release tab and pull the connector free.
Step 6: Remove The Bulb
Twist the bulb counterclockwise and pull it out. For some models, a small retaining clip must be undone first.
Step 7: Install The New Bulb
Using gloves, insert the new bulb into the socket. Twist clockwise to lock it in place. Reconnect the wiring harness.
Step 8: Test The Bulb
Before reassembling everything, turn on your headlights to check if the new bulb works.
Step 9: Reinstall The Headlight Housing
Slide the housing back into place, align the bolts, and tighten them.
Practical Tip
Sometimes, the headlight housing can feel stuck. Don’t force it.
Check for hidden screws or clips you may have missed.
How To Change Taillights And Brake Lights
Taillights and brake lights are crucial for your safety. A burnt-out rear light can lead to accidents or fines.
Step 1: Open The Rear Hatch
Unlock and lift the rear hatch to access the taillight assembly.
Step 2: Remove The Taillight Housing
You’ll usually find two screws or bolts along the edge of the taillight. Remove them using the correct screwdriver or socket.
Step 3: Pull The Housing Straight Out
The taillight may have plastic pins holding it in place. Gently pull straight out to release it.
Step 4: Access The Bulb Sockets
On the back of the taillight, twist the bulb socket counterclockwise and pull it out.
Step 5: Replace The Bulb
Remove the faulty bulb by pulling it straight out. Insert the new bulb, ensuring it’s seated correctly.
Step 6: Test And Reinstall
Test the new bulb by pressing the brake pedal or turning on the lights. Once it works, reassemble everything.
Extra Insight
Many people forget to check both sides when one bulb fails. If one taillight is out, the other may soon follow. Replace both to save time.

Changing Turn Signal And Side Marker Bulbs
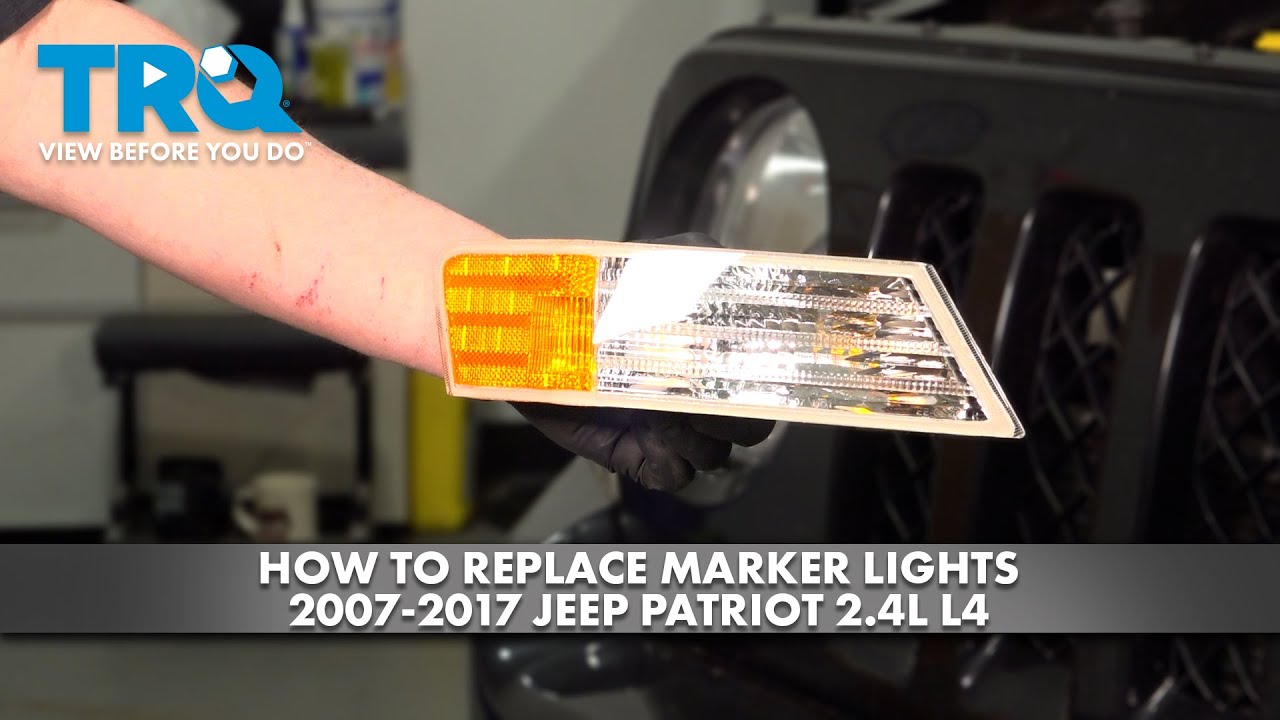
Turn signal and side marker bulbs are often replaced in the same way as taillights, but their location can vary.
- Front turn signals are sometimes accessed from the wheel well. Turn the front wheels and remove plastic fasteners from the wheel liner to reach the bulb.
- Rear turn signals are usually combined with the taillight housing, as described above.
Non-obvious Tip
If your turn signal blinks very quickly, it usually means a bulb is burnt out. This “hyperflash” is a built-in warning system.
Changing Interior Lights
Interior bulbs on the Jeep Patriot are typically “festoon” style. They’re used in the dome light, map lights, and cargo area.
Step 1: Locate The Light Cover
Use a flat-head screwdriver to gently pry off the plastic lens from the overhead light.
Step 2: Remove The Old Bulb
The bulb slides out from its clips. Be careful these bulbs can get hot.
Step 3: Insert The New Bulb
Slide the new bulb into place and test the light before snapping the lens back on.
Step 4: Reinstall The Cover
Press the plastic lens back into position until it clicks.

Upgrading To Led Bulbs: Pros And Cons
Many Jeep Patriot owners upgrade to LED bulbs for better brightness and longer life. But it’s not always a simple swap.
Advantages
- Longer lifespan: LEDs often last up to 25,000 hours.
- Brighter light: Improved visibility, especially at night.
- Lower power use: Less strain on your battery.
Disadvantages
- Compatibility issues: Some LED bulbs can cause warning lights or “hyperflash.”
- Cost: LEDs are more expensive upfront.
- Beam pattern changes: Poor-quality LEDs can scatter light, making it harder to see.
Led Vs Halogen Comparison
| Feature | Halogen Bulbs | LED Bulbs |
|---|---|---|
| Average Lifespan | 500-1,000 hours | 20,000-25,000 hours |
| Brightness (Lumens) | 1,000-1,500 | 2,000-4,000 |
| Energy Use | Higher | Lower |
| Cost per Bulb | $5–$15 | $20–$60 |
Pro Tip
If you upgrade to LED and experience electrical errors, you may need a CANBUS adapter or resistor to fix the issue.
Common Mistakes To Avoid
Changing lights is simple, but some mistakes can cause frustration or damage.
- Forgetting to check the bulb socket: Corroded or dirty sockets can stop new bulbs from working. Clean sockets with electrical contact cleaner if needed.
- Using too much force: Over-tightening screws can crack plastic housings.
- Mixing up bulb types: Always double-check part numbers before buying replacements.
- Skipping a test: Test each bulb before reassembling everything. This saves time if the problem isn’t fixed.
- Not disconnecting the battery: Especially for headlights, to avoid short circuits.
When To Seek Professional Help
While most light changes are easy DIY jobs, sometimes it’s better to call a mechanic:
- The housing is cracked or filled with water.
- The wiring harness looks damaged or burnt.
- You can’t access a bulb even after removing fasteners.
- New bulbs don’t work and sockets are clean.
Electrical issues can quickly become complex. If you’re unsure, it’s better to get expert help.
How Much Does It Cost To Change Lights?
If you do it yourself, expect to pay only for the bulb usually $5 $25 each, depending on type and brand. Labor at a shop can cost $30 $75 per bulb, plus the cost of the part.
Typical Cost Comparison
| Bulb Type | DIY Cost (Bulb Only) | Shop Cost (Parts + Labor) |
|---|---|---|
| Headlight | $10–$25 | $50–$100 |
| Taillight | $5–$15 | $35–$80 |
| LED Upgrade | $20–$60 | $80–$200 |
Where To Buy Replacement Bulbs
You can find replacement bulbs at auto parts stores, big retailers like Walmart, and online. Websites like AutoZone let you search by vehicle year and model to ensure a correct fit.
Practical Tips For Longevity
- Avoid cheap bulbs: Low-quality bulbs often burn out faster.
- Check your lights monthly: Walk around your Jeep and test each light. Many drivers don’t notice a light is out until someone else tells them.
- Keep spare bulbs: Having extras in your glove box or trunk saves time during emergencies.
- Inspect for condensation: Moisture inside a light housing can cause bulbs to fail. Replace cracked seals promptly.
- Clean your lenses: Foggy or dirty headlight covers reduce brightness. Use a plastic polish to restore them.
How Do I Know Which Bulb Fits My Jeep Patriot?
Check your owner’s manual for the exact bulb type and size. Many auto parts stores also have a bulb finder tool to match your vehicle.
Can I Use Led Bulbs Instead Of Halogen?
Yes, but make sure the LED is compatible with your vehicle. Some LEDs require adapters to prevent electrical errors or fast-blinking signals.
Why Do My New Bulbs Burn Out Quickly?
This often happens if you touch the glass with bare fingers or use low-quality bulbs. Also, electrical issues or moisture in the housing can shorten bulb life.
Is It Safe To Change Lights Myself?
Yes, as long as you follow safety steps like turning off the engine and disconnecting the battery when needed. If you feel unsure, ask a mechanic for help.
What Should I Do If A New Bulb Doesn’t Work?
First, check the socket and wiring for corrosion or damage. Try another bulb to rule out a defective part. If problems continue, professional diagnosis may be needed.
Changing lights on your Jeep Patriot is a simple job that saves you money and keeps your vehicle safe and legal. With careful steps and the right bulbs, you’ll finish in less than an hour.
Remember, safety comes first always handle bulbs with care, check your work, and don’t hesitate to ask for help if something seems wrong.
This skill will serve you well for years to come.