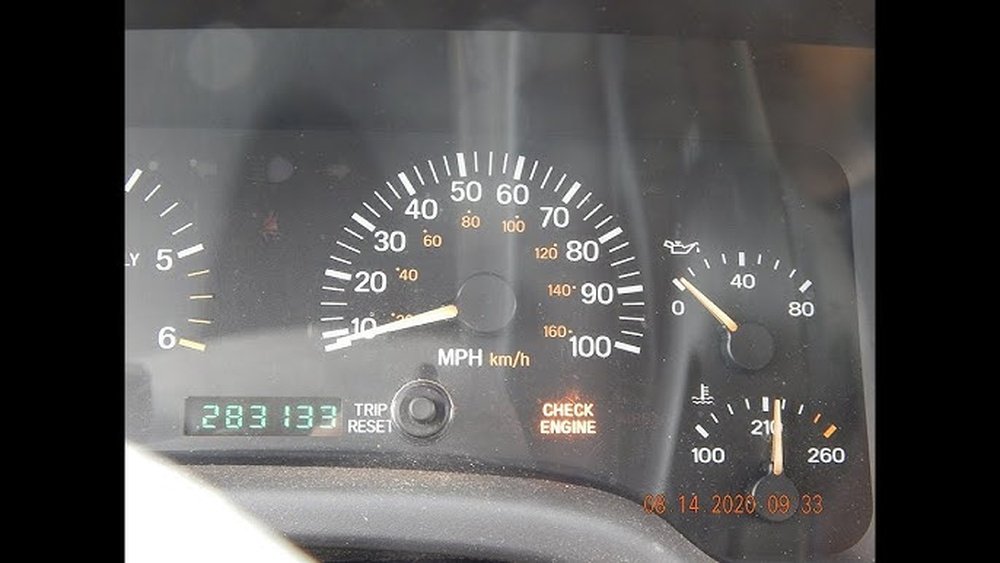
If your 05 Jeep Grand Cherokee information center lights are dim, flickering, or not working, it can be frustrating. These lights help you read important vehicle data like mileage, warning messages, and temperature.
Knowing how to change them is useful, saves money, and keeps your dashboard clear and safe. This guide will show you how to change the lights in the information center step-by-step, including tools, safety tips, and common mistakes.
Each section covers one of the five key lights inside the information center. Even beginners can follow along, and you’ll learn helpful tricks most people miss.

Understanding The 05 Jeep Grand Cherokee Information Center
The information center sits in the center of your dashboard, above the radio. It shows vehicle status, warning lights, and messages. Inside, there are five main lights:
- Backlight bulbs
- Warning indicator bulbs
- Turn signal bulbs
- High beam indicator bulb
- Message alert bulbs
Each bulb has a purpose. If any fails, you may miss important signals or struggle to see information at night.
Replacing them is not too hard, but you must know which bulb to change and how.
Tools And Materials Needed
Before you start, gather these items:
- Phillips screwdriver
- Flathead screwdriver
- Trim removal tool (plastic)
- Replacement bulbs (usually T5 or T10 wedge bulbs, check your manual)
- Gloves (optional, for clean hands)
- Socket wrench set
- Flashlight
- Owner’s manual
Buying good quality bulbs is important. Cheap bulbs may burn out quickly or cause flickering. You can find the right bulb type in your owner’s manual or by searching online for your Jeep’s model.

Safety Precautions
Changing dashboard bulbs is safe if you follow these steps:
- Turn off engine and remove keys
- Disconnect battery (negative terminal) to avoid electrical shock
- Wait 10 minutes after disconnecting battery before starting
- Work in a well-lit area
Never force parts or use metal tools directly on plastic pieces. This prevents breaking or scratching your dashboard.
How To Change Each Light In The Information Center
Let’s look at each of the five lights, with detailed steps for every bulb.
1. Backlight Bulbs
The backlight bulbs are what let you see the information center at night. When these fail, the whole center looks dark.
Steps to replace:
- Remove dashboard trim: Use the trim removal tool to gently pry off the panel surrounding the information center.
- Unscrew information center: Use your Phillips screwdriver to remove the screws holding it in place.
- Disconnect wiring: Carefully unplug the connector at the back.
- Locate backlight bulbs: These are usually on the circuit board, behind the display.
- Remove and replace bulb: Twist the old bulb out, insert the new bulb, and twist to lock.
- Reconnect wiring and reassemble dashboard.
Tip: Always test the new bulb before fully reassembling. Connect the wiring and turn on the lights to check brightness.
Non-obvious insight: Many people forget to check for bulb polarity. If your new LED bulb doesn’t work, flip it 180 degrees before assuming it’s broken.
2. Warning Indicator Bulbs
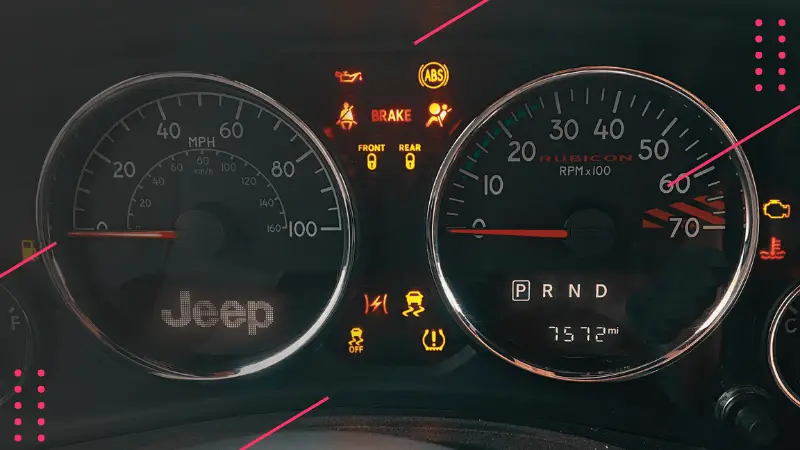
Warning lights alert you to issues like engine problems, low oil, or ABS failure. Missing these can be dangerous.
Steps to replace:
- Follow steps 1-3 above to access the circuit board.
- Identify the warning indicator bulbs. They are smaller and sit behind colored plastic icons (engine, battery, etc. ).
- Remove bulb: Carefully pull out or twist the bulb holder, depending on design.
- Insert new bulb: Make sure it’s seated firmly.
- Test: Reconnect and turn on ignition to see if the warning light activates.
Non-obvious insight: Sometimes, the plastic icon itself fades, not the bulb. If your warning light looks dim but the bulb is fine, consider replacing the icon overlay.
3. Turn Signal Bulbs
These bulbs flash when you use your left or right turn signals. A faulty turn signal bulb can make driving unsafe.
Steps to replace:
- Access the information center using steps above.
- Find turn signal bulbs: Usually located at the far left and right edges of the circuit board.
- Remove old bulb: Twist gently, then pull out.
- Install new bulb: Twist to lock.
- Test turn signals: Use the turn signal lever and check if both sides light up.
Practical tip: If your turn signal indicator blinks rapidly after replacement, check for a wrong bulb type or a loose bulb socket.
4. High Beam Indicator Bulb
When you turn on your high beams, this bulb lights up blue in the information center.
Steps to replace:
- Remove center panel and circuit board as earlier.
- Locate high beam indicator bulb: Usually marked on the circuit board.
- Remove and replace bulb: Twist or pull out, insert new bulb.
- Test: Turn on high beams to check.
Data: High beam indicator bulbs are often T5 wedge bulbs. Using LED replacements can boost brightness, but may require a resistor to prevent flickering.
5. Message Alert Bulbs
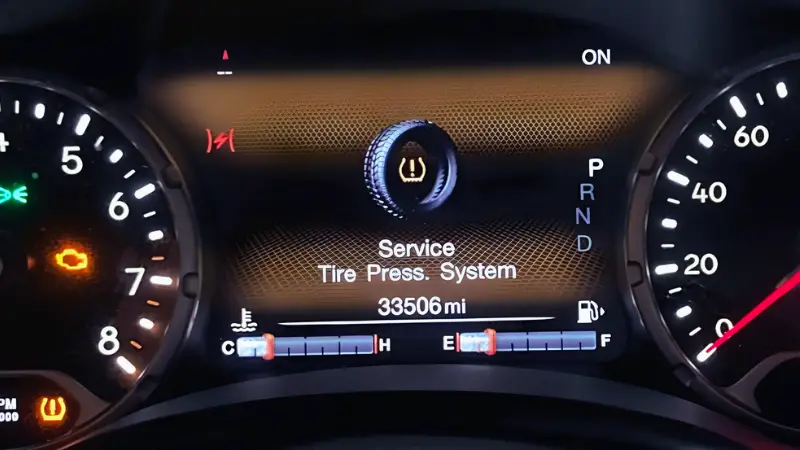
The message alert bulbs light up when you get alerts like “Door Ajar,” “Low Tire Pressure,” or “Service Needed.”
Steps to replace:
- Access circuit board as before.
- Identify message alert bulbs: These are behind the digital message display.
- Remove bulb holder: Twist gently, replace with new bulb.
- Test: Turn on ignition and check if messages light up.
Example: If your “Check Tire Pressure” alert is dim, changing the bulb should restore full brightness. Sometimes, multiple bulbs are used for this section, so check all.
Comparison Of Bulb Types For Jeep Grand Cherokee Information Center
Choosing the right bulb makes a big difference. Here’s a quick comparison:
| Bulb Type | Brightness (Lumens) | Average Lifespan | Cost (USD) | Compatibility |
|---|---|---|---|---|
| T5 Wedge | 60 | 2,000 hours | $1.50 | High |
| T10 Wedge | 80 | 2,000 hours | $2.00 | Medium |
| LED T5 | 120 | 20,000 hours | $3.50 | High (check polarity) |
Tip: LEDs last much longer but sometimes need adapters or resistors.
Common Mistakes When Changing Information Center Lights
Even experienced car owners make mistakes when changing bulbs. Here are the most common:
- Using wrong bulb type: Always check the manual or original bulb.
- Forgetting to disconnect battery: Can cause electrical short.
- Forcing trim pieces: Leads to broken clips or scratches.
- Not testing bulbs before reassembly: Saves time if you check first.
- Touching bulbs with bare hands: Oils can cause hot spots and reduce bulb life.
Step-by-step Summary Table For Changing Information Center Lights
For quick reference, here’s a step-by-step summary:
| Step | Action | Tools Needed |
|---|---|---|
| 1 | Disconnect battery | Socket wrench |
| 2 | Remove dashboard trim | Trim removal tool |
| 3 | Unscrew information center | Phillips screwdriver |
| 4 | Disconnect wiring | Hands |
| 5 | Remove and replace bulbs | Hands |
| 6 | Reassemble and test | Hands |
Tips For Finding Replacement Bulbs
- Check your owner’s manual for bulb specs.
- Search online using your vehicle’s year and model.
- Visit reputable auto parts stores.
- Consider LED upgrades, but check for compatibility.
- Avoid buying from unknown sellers; some bulbs are fake or low quality.
For more guidance, official Jeep forums and sites like Jeep Official Site offer helpful resources.
Troubleshooting After Bulb Replacement
Sometimes, new bulbs don’t work as expected. Here are some solutions:
- Bulb doesn’t light up: Check polarity, make sure it’s fully seated.
- Flickering bulb: Try a different bulb, check socket for corrosion.
- Dashboard won’t turn on: Reconnect battery, check wiring connectors.
- Warning lights stay on: Make sure bulbs are correct, reset dashboard by disconnecting battery for a minute.
Data Table: Estimated Time And Difficulty For Each Bulb
Here’s a guide for how long each bulb usually takes:
| Bulb | Estimated Time | Difficulty (1-5) |
|---|---|---|
| Backlight | 25 minutes | 3 |
| Warning indicator | 15 minutes | 2 |
| Turn signal | 20 minutes | 2 |
| High beam indicator | 10 minutes | 1 |
| Message alert | 20 minutes | 2 |
Tip: Most jobs can be done in under an hour if you have all the tools ready.
Frequently Asked Questions
How Do I Know Which Bulb Is Bad In My 05 Jeep Grand Cherokee Information Center?
If a section of your dashboard is dark or a specific warning/indicator doesn’t light up, that bulb is likely bad. You can check by removing the information center and inspecting each bulb for discoloration, broken filament, or dim glow.
Can I Use Led Bulbs Instead Of Standard Bulbs?
Yes, you can use LED bulbs. They last longer and are brighter. But you must check the bulb socket and polarity—LEDs only work one way. Some LEDs may need resistors to avoid flickering.
Is It Safe To Change Information Center Bulbs Myself?
It’s safe if you disconnect the battery, use proper tools, and avoid forcing parts. If you’re unsure, ask a mechanic. Most Jeep owners successfully change these bulbs themselves.
Where Can I Find The Right Replacement Bulbs?
Check your owner’s manual for bulb type and size. Local auto parts stores and Jeep dealers stock these. Online sites list compatible bulbs for your model. Avoid buying from unknown sellers.
What Should I Do If The New Bulb Doesn’t Work?
First, check that the bulb is fully seated and the socket is clean. For LEDs, flip the bulb to check polarity.
If the bulb still doesn’t work, try another bulb or inspect the wiring.
Changing the lights in your 05 Jeep Grand Cherokee information center is a practical skill. It improves visibility, keeps you safe, and helps you spot vehicle issues fast. With the right tools and clear steps, you can do this job at home—even if you’re a beginner. Remember to always check bulb compatibility, use careful handling, and test before finishing. If you run into trouble, Jeep forums and official resources offer great support. By following this guide, you’ll restore your dashboard and keep your Jeep running smoothly.