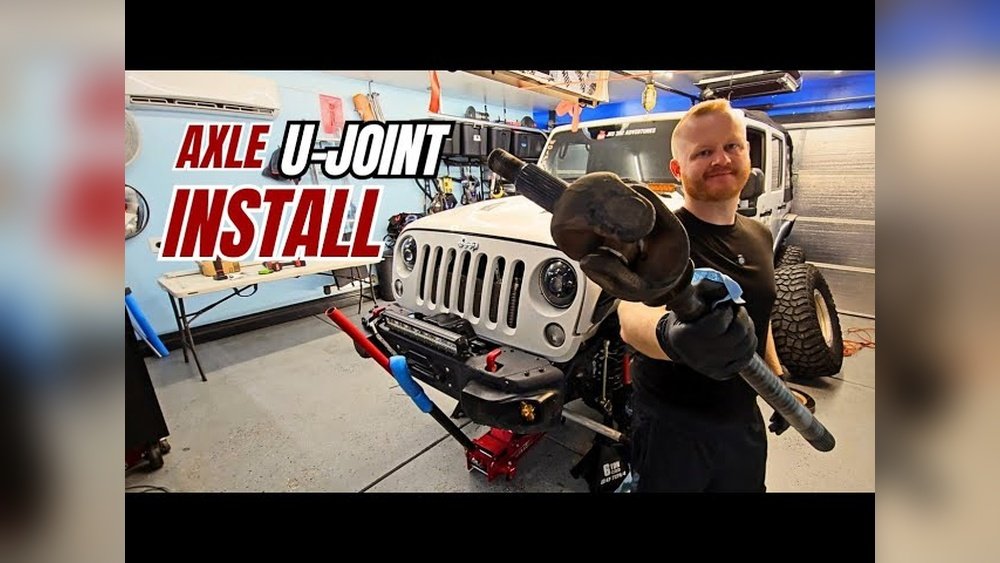
Changing the axle U joints on a Jeep Wrangler is a job that scares many beginners. But with the right tools, some patience, and a bit of courage, you can save money and learn more about your Jeep. This guide shows you how to swap out worn U joints step by step, including what to watch out for and how to avoid common mistakes. If you’re hearing clicking or grinding from your front axle, or if your 4WD feels rough, it’s time to check those U joints.
Understanding Axle U Joints
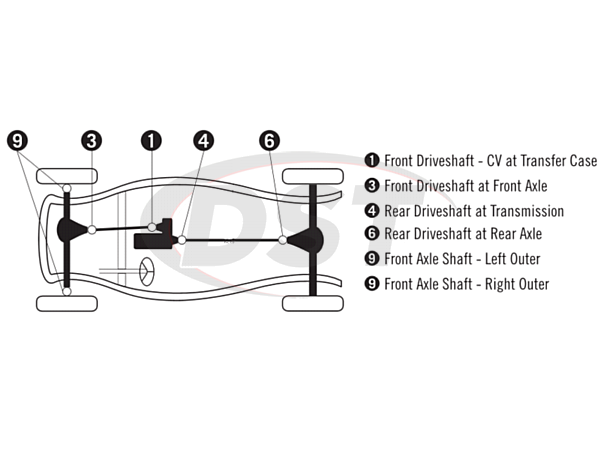
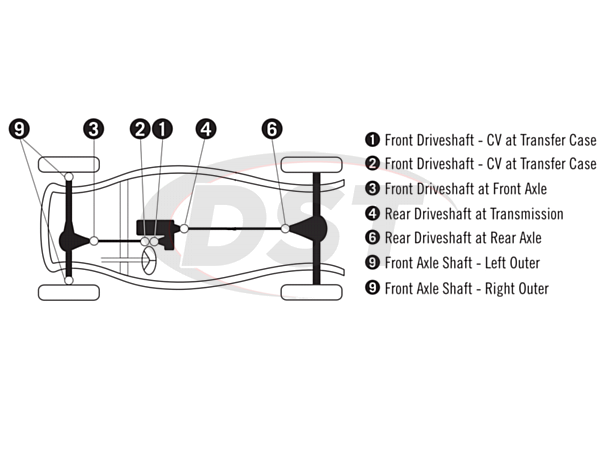
The U joint (universal joint) lets the front wheels turn while still receiving power from the axle. In a Jeep Wrangler, these joints sit at the end of the front axle shafts. Over time, they wear out, especially if you drive off-road or in water. A bad U joint can lead to vibration, noise, or even losing control if it fails completely.
Signs Of A Bad U Joint
- Clicking or clunking noise when turning
- Vibration at certain speeds
- Rust around the joint caps
- Play or looseness in the axle shaft
Many Jeep owners miss the early signs and wait until the joint seizes or breaks. Checking and changing them before failure keeps your ride safe and your repair bills lower.
Tools And Parts Needed
Before you begin, gather these tools:
- Jack and jack stands
- Lug wrench
- 12-point socket set
- Hammer and punch
- Needle nose pliers
- Snap ring pliers
- Torque wrench
- Replacement U joints (OEM or heavy-duty)
A shop manual for your Jeep model helps with torque specs and part diagrams.
| Tool | Purpose |
|---|---|
| Snap ring pliers | Remove/install U joint clips |
| Hammer & punch | Drive out U joint caps |
| Torque wrench | Tighten bolts to spec |
Removing The Old U Joint
Start by parking on level ground and setting the parking brake. Chock the rear wheels for safety.
- Lift the Jeep and remove the front wheels.
- Remove the brake caliper and rotor. Hang the caliper with a wire—don’t let it dangle.
- Take off the axle shaft nut (often 36mm).
- Unbolt the unit bearing/hub assembly using your 12-point sockets.
- Slide the axle shaft out of the knuckle.
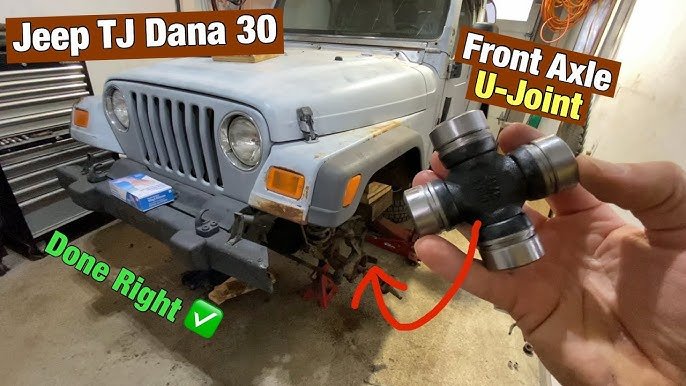
You now see the U joint at the end of the shaft. Use snap ring pliers to remove the retaining clips.
If they’re rusty, soak with penetrating oil and tap gently.
Using a hammer and punch, drive out the U joint caps. Work slowly to avoid bending the axle ears.
Many first-timers hit too hard and damage the shaft. Patience here saves money.
| Step | Tip |
|---|---|
| Remove axle shaft | Mark orientation to help with reinstallation |
| Drive out U joint | Support shaft to avoid bending |
Installing The New U Joint
Wipe down the axle yoke and check for cracks. Grease the new U joint.
Line up the caps and press them in gently. Install the clips double-check they’re fully seated.
Common mistake: Forcing the caps if they don’t line up. If you feel resistance, realign and try again. Pushing too hard can ruin the needle bearings inside.
Reinstall the axle shaft into the knuckle. Reverse the removal steps:
- Torque the unit bearing bolts to factory spec
- Tighten the axle nut properly
- Reinstall the rotor and caliper
Use the torque wrench for all critical bolts. Under-tightening can lead to vibration; over-tightening can damage parts.
Practical Tips For A Smooth Job
- Clean rust from all parts before reassembly
- Use anti-seize on the hub and axle splines
- Replace all clips with new ones (don’t reuse old)
- If you off-road, choose heavy-duty U joints for longer life
Experienced Jeep owners often keep a spare U joint and small socket set on the trail. Breakage far from home is common, especially with larger tires or lockers.
When To Seek Professional Help
If the axle ears are bent or the U joint is seized and won’t move, it’s safer to let a shop handle it. Pressing out a stuck cap can crack the shaft.
Also, if you lack the right tools, paying for the job may be cheaper than replacing broken parts.
Example Cost And Time Comparison
Here’s a quick look at what you might spend:
| DIY | Shop Repair |
|---|---|
| $30–$60 (parts only) | $200–$350 (labor & parts) |
| 2–3 hours (first time) | 1–2 hours |
Doing it yourself saves money and helps you learn more about your Jeep. But if you’re in a rush or unsure, a mechanic is a good choice.
Final Checks And Test Drive
Before putting the wheels back on, spin the hub by hand and check for smoothness. After lowering the Jeep, torque the lug nuts to spec.
Take a short test drive, listening for any new noises or vibrations. Recheck all bolts after 50 miles sometimes things settle and need retightening.
Changing axle U joints on your Jeep Wrangler takes time and care, but it’s not just for experts. You gain confidence and avoid costly breakdowns on the trail. Remember, regular checks help catch problems early. For more Jeep repair tips, check resources like Wrangler Forum.
Frequently Asked Questions
How Often Should I Replace Axle U Joints On A Jeep Wrangler?
Most Jeep owners replace U joints every 60,000 to 100,000 miles, but heavy off-road use or water crossings can wear them out faster. Inspect at every oil change if you drive in rough conditions.
Can I Drive With A Bad Axle U Joint?
It’s not safe. A worn U joint can fail suddenly, causing loss of steering or damage to other parts.
Change it as soon as you notice symptoms like noise or vibration.
Do I Need Special Tools For This Job?
Basic hand tools work, but snap ring pliers and a torque wrench make the job easier and safer. A bench vise or U joint press can help with stubborn joints.
Should I Choose Oem Or Aftermarket U Joints?
OEM joints fit well and last a long time. Aftermarket heavy-duty joints are better for off-roading or bigger tires.
Avoid cheap, unbranded parts they often fail early.
What’s The Main Mistake Beginners Make?
The most common mistake is using too much force and damaging the axle shaft. Always support the shaft well, go slowly, and keep parts clean to avoid problems.


















