If your Jeep Renegade door plug wires get damaged, fixing them yourself can save money and time. Many owners face issues with broken wires due to age or frequent opening and closing.
Splicing these wires is not too difficult if you follow the right steps and understand the basics. This guide will show you how to splice Jeep Renegade door plug wires, highlight key tips, and help you avoid common mistakes.
Understanding Door Plug Wires In Jeep Renegade
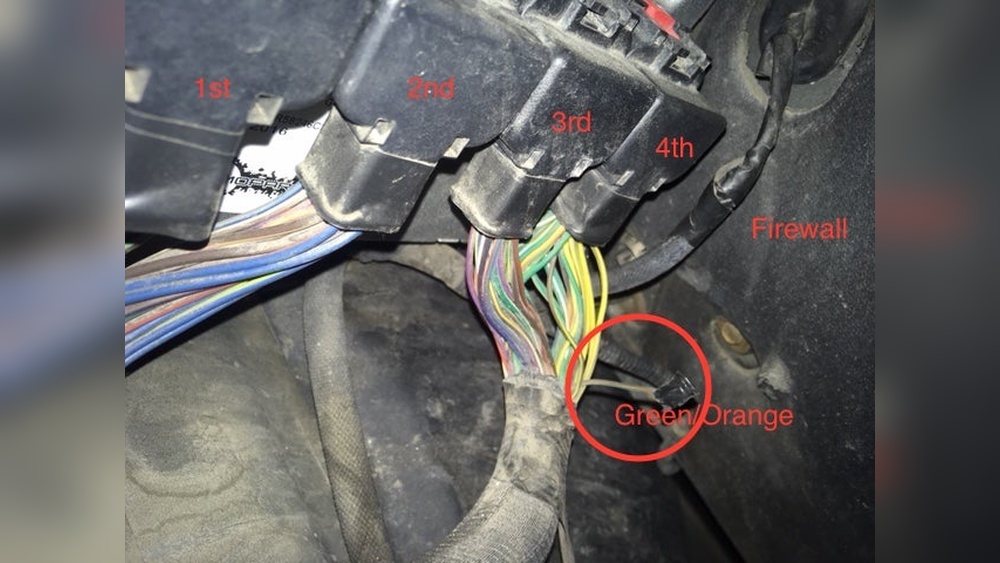
The door plug wires connect electrical components in the door, such as window controls, door locks, and speakers, to the main car system. These wires run through a rubber plug between the door and car body. Damage here can cause windows not to work or speakers to lose sound.

Most issues happen from:
- Pinched or stretched wires
- Moisture inside the rubber plug
- Factory wire weakness
Knowing which wire controls which function is important. Here’s a simple comparison of the most common wires found in a Jeep Renegade door plug:
| Wire Color | Main Function | Typical Gauge |
|---|---|---|
| Red | Power Window | 16 AWG |
| Black | Ground | 16 AWG |
| Blue | Speaker Signal | 18 AWG |
| Yellow | Door Lock | 18 AWG |
Tools And Materials Needed
To splice Jeep Renegade door plug wires, you need a few essential tools and materials. Having everything ready makes the job faster and safer.
- Wire stripper and cutter
- Soldering iron and solder
- Heat shrink tubing
- Electrical tape
- Multimeter (for checking connection)
- Replacement wire (same gauge and color if possible)
- Plastic trim removal tool
Here’s a quick look at the cost comparison for basic tools:
| Tool | Estimated Price | Reusable? |
|---|---|---|
| Wire Stripper | $10 | Yes |
| Soldering Iron | $25 | Yes |
| Heat Shrink Tubing | $5 | No |
| Multimeter | $20 | Yes |
Step-by-step Guide To Splicing Door Plug Wires
Splicing is about connecting two wire ends to restore their function. Here’s how you can do it safely and correctly.
1. Disconnect The Battery
Always start by disconnecting the car battery. This prevents electrical shock and protects the car’s computer.
2. Remove The Door Panel
Use a plastic trim tool to remove the door panel. Unscrew any fasteners and gently pull the panel away.
Locate the rubber plug where the wires pass.
3. Identify The Damaged Wires
Look for broken, pinched, or corroded wires. Use a multimeter to check if a wire is carrying current. Mark the damaged wires.
4. Cut And Prepare The Wires
Cut out the damaged section. Strip about ½ inch of insulation from both ends using a wire stripper.
5. Splice The Wires
There are two main ways to splice:
- Twist and solder: Twist the wire ends together, then solder for a strong connection.
- Butt connectors: Insert wire ends into a connector and crimp. This is easier but less secure.
For the Jeep Renegade, soldering is recommended for durability.
6. Insulate The Joint
Slide a piece of heat shrink tubing over the joint before soldering. After soldering, move the tubing over the splice and heat it to seal.
Wrap the area with electrical tape for extra protection.
7. Test The Connection
Reconnect the battery and test the door functions: window, locks, and speakers. If anything fails, double-check the connections and test with a multimeter.
8. Reinstall The Door Panel
Once all functions work, reinstall the door panel and rubber plug. Tighten screws and make sure everything fits snugly.
Practical Tips And Non-obvious Insights
- Match wire gauge and color. Using the same gauge prevents overheating. Matching color helps with future repairs.
- Avoid splicing in wet conditions. Moisture causes corrosion and weakens the connection.
- Use heat shrink tubing, not just tape. Heat shrink seals better than tape alone.
- Check for multiple wire breaks. Sometimes, several wires are damaged together. Test each one.
- Don’t rush insulation. A poorly insulated splice may fail after a few weeks.
Another detail beginners often miss is the importance of wire slack. If you splice too tight, opening and closing the door can break the wires again. Always leave a bit of slack in the wire after splicing.

Common Mistakes To Avoid
- Skipping battery disconnection: This can cause short circuits or injury.
- Using wrong wire gauge: Can lead to overheating or electrical failure.
- Not testing after repair: Always check every door function before finishing.
- Ignoring wire color: Wrong color makes future repairs confusing.
- Poor insulation: Leads to corrosion and more problems.
Here’s a quick comparison of splicing methods:
| Method | Strength | Difficulty | Best For |
|---|---|---|---|
| Solder and Shrink | High | Medium | Permanent fix |
| Butt Connector | Medium | Low | Quick repair |
| Tape Only | Low | Easy | Temporary fix |
Frequently Asked Questions