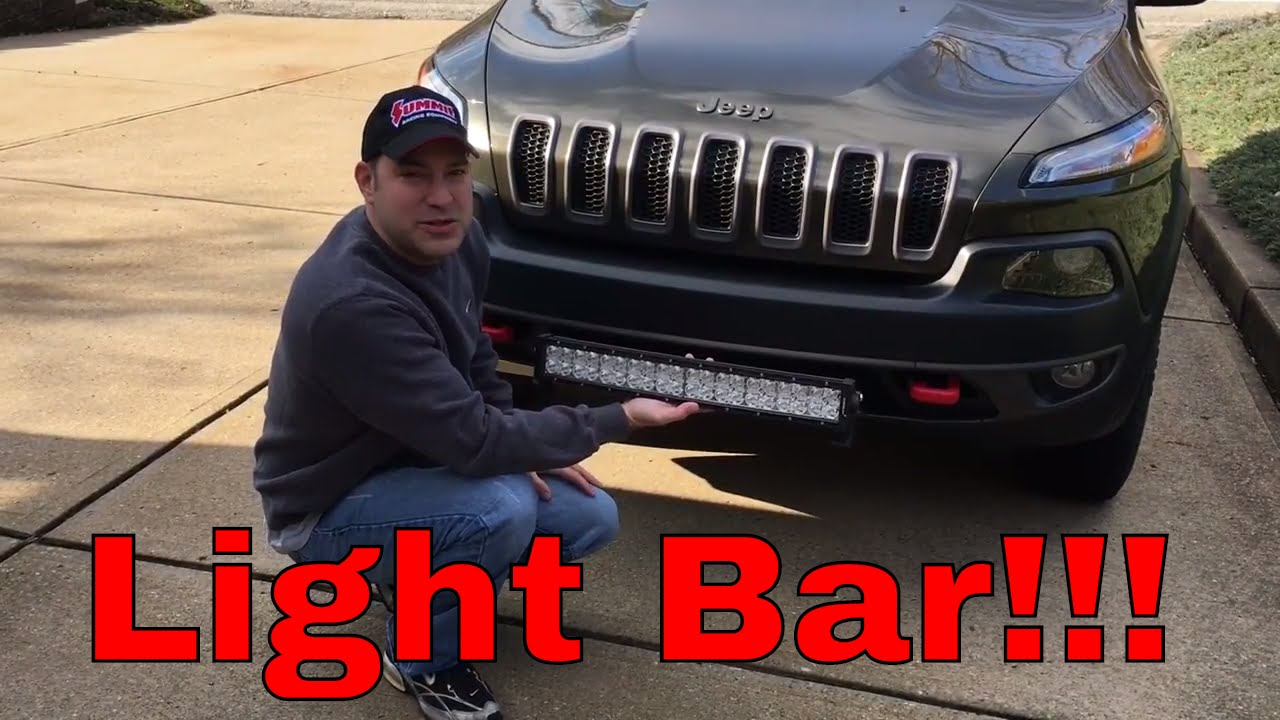
Wiring a light bar on a Jeep Cherokee can transform nighttime driving, giving you better visibility and a rugged look. Many owners want the off-road capability and safety light bars provide, but worry about the wiring process. The good news is, with the right guidance, tools, and a careful approach, you can wire a light bar confidently—even if you don’t have advanced electrical skills. This guide will walk you through every step, offering practical advice, important safety tips, and insights most beginners miss.
Understanding Light Bar Wiring Basics
Before starting, it’s smart to understand how light bars work with your Jeep’s electrical system. A typical LED light bar draws power from the battery and is controlled by a relay and a switch. The relay protects your Jeep’s wiring and ensures the light bar only runs when you want it.
Here’s a simple outline of the wiring path:
- Battery (power source)
- Inline fuse (protects from overloads)
- Relay (switches high current safely)
- Switch (user control inside Jeep)
- Light bar (the load)
Most wiring harness kits include all these components. While universal kits work, some Jeep Cherokee models (XJ, KL, or others) may need small adjustments.
What You’ll Need
Gathering the right tools and materials will make your installation smoother and safer.
- Light bar kit (includes bar, relay, fuse, and switch)
- Wire strippers and crimpers
- Screwdrivers (Phillips and flathead)
- Socket set and ratchet
- Electrical tape or heat-shrink tubing
- Zip ties (for neat wiring)
- Drill with bits (if mounting holes are needed)
- Multimeter (for testing connections)
- Protective gloves and safety glasses
Having these items ready prevents delays and helps avoid common mistakes, such as using the wrong wire gauge or missing a fuse.
Choosing The Right Light Bar And Location
Not all light bars or mounting positions are the same. Consider these factors before buying or installing:
- Size and fit: Check the width of your Jeep’s roof, bumper, or grille.
- Brightness: Measured in lumens—more lumens means more light, but also more power draw.
- Beam pattern: Spot beams reach far, flood beams spread wide, combo beams do both.
- Weather resistance: Look for an IP67 or higher rating for off-road durability.
- Mounting hardware: Jeep Cherokees often need specific brackets.
| Location | Pros | Cons |
|---|---|---|
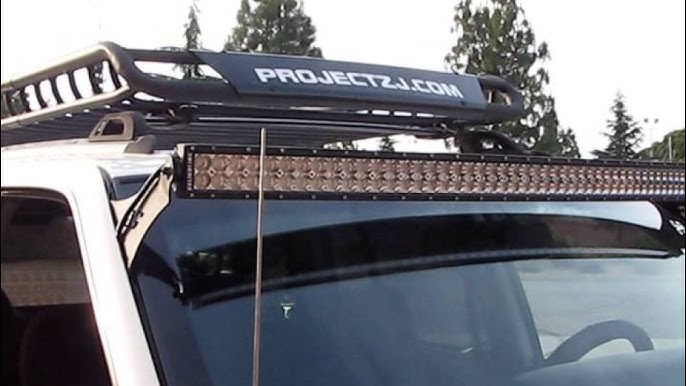
| Roof | Widest coverage, best for trails | Can cause wind noise, more visible wiring |
| Bumper | Protected, clean look | Lower angle, less range |
| Grille | Stealthy, easy to wire | Limited size options |
Jeep Cherokee owners often choose the roof for maximum visibility, but the bumper is easier to wire and keeps the bar safer from impacts.
Safety First: Key Precautions
Wiring a light bar involves working with your Jeep’s electrical system. Here are critical safety steps:
- Disconnect the negative battery terminal before you start.
- Avoid routing wires near hot engine parts or sharp edges.
- Always use a fuse rated for your light bar’s amp draw.
- Double-check all connections before reconnecting the battery.
A small mistake like skipping the fuse or poorly routing wires can cause shorts or even fires.
Step-by-step Installation Guide
This section covers the full wiring process, from mounting to testing. Follow each step carefully.
1. Mount The Light Bar
Position the light bar where you want it roof, bumper, or grille. Use the provided brackets or order ones made for your Cherokee.
- Mark and drill mounting holes if needed.
- Bolt the bar securely, ensuring it’s straight and tight.
- Leave extra wire length for adjustments.
2. Plan Your Wiring Route
Plan a path for the wires from the light bar to the battery and into the cabin (for the switch). Look for existing grommets or holes in the firewall to avoid drilling.
Pro tip: Run wires alongside factory harnesses using zip ties for a factory look and less chance of rubbing.
3. Connect The Relay And Fuse
Most wiring kits include a relay and inline fuse. Mount the relay close to the battery but away from direct heat.
- Attach the relay’s power wire to the positive battery terminal.
- Place the inline fuse holder within 6 inches of the battery.
4. Run Wires To The Light Bar
Connect the relay’s output wire to the light bar’s power input. Run the ground wire to a bare metal spot on the Jeep’s body or directly to the battery’s negative terminal.
Important: Scrape off any paint at the ground point for a solid connection.
5. Wire The Switch
Route the switch wire into the cabin, ideally through a rubber grommet in the firewall. Mount the switch within easy reach.
- Connect the switch to the relay’s trigger input.
- Ground the switch if required (some kits do this automatically).
6. Secure And Protect All Wires
Use zip ties to fasten wires away from moving parts or hot surfaces. Wrap exposed connections with electrical tape or heat-shrink tubing.
7. Test The System
Reconnect the negative battery terminal. Turn on the switch and check the light bar. If it doesn’t work, use a multimeter to check voltage and ground points.
Common mistake: Forgetting to tighten battery terminals or missing a ground connection.
Example Wiring Diagram
A clear wiring diagram can help you visualize the process.
| Component | Connection | Notes |
|---|---|---|
| Battery (+) | Inline Fuse → Relay Pin 30 | Protects against overloads |
| Relay Pin 87 | Light Bar (+) | Sends power when switched |
| Relay Pin 85 | Switch Output | Triggers relay on/off |
| Relay Pin 86 | Ground | Completes relay circuit |
| Light Bar (-) | Chassis Ground | Ensure bare metal contact |
Check your kit’s diagram, as wire colors and pin numbers can vary.
Wiring Tips For Jeep Cherokee Owners
- Use quality wire: At least 14-gauge for most light bars. Undersized wire can overheat.
- Seal connections: Water and mud are common off-road. Use dielectric grease and heat-shrink tubing.
- Label wires: If you plan more accessories, mark wires for future troubleshooting.
- Test before final mounting: Temporarily connect everything to check function before making permanent mounts.
Common Mistakes And How To Avoid Them
Many first-time installers make similar errors:
- Skipping the relay: Directly wiring a light bar to the switch or battery can cause switch failure or melted wires.
- Poor ground: A weak ground leads to dim lights or flickering. Always clean the contact point.
- No fuse: Without a fuse, a short could damage your Jeep’s electrical system.
- Messy wiring: Wires near hot parts or moving engine components often get damaged.
A neat, well-protected install lasts longer and is safer.
Cost And Time Estimate
Installing a light bar is a budget-friendly upgrade if you do it yourself. Here’s what to expect:
| Item | Typical Cost (USD) | Time Needed |
|---|---|---|
| Light Bar Kit | $40 – $200 | – |
| Wiring Tools | $15 – $50 | – |
| Total Install Time | – | 1.5 – 3 hours |
Hiring a shop can add $100 $300 to the cost. Many Jeep owners find DIY rewarding and learn more about their vehicles.
Legal And Practical Considerations
Light bars are very bright often illegal to use on public roads. Learn your local laws about when you can use them and how they should be wired.
- Some states require a cover over the light bar for street driving.
- Only use the light bar off-road or in low-visibility situations.
- Never blind other drivers with high-power auxiliary lights.
More information on legal requirements can be found at the Automotive Lighting Wikipedia page.
Maintenance And Troubleshooting
After installation, check your light bar regularly:
- Inspect wires for wear, especially after off-road trips.
- Test the light bar and switch every month.
- If the light flickers or does not turn on, check the fuse, relay, and all ground points.
Many issues are caused by loose connections or water in the wiring seal everything well during install.
What Size Fuse Should I Use For My Light Bar?
Check your light bar’s amp rating. Use a fuse slightly higher than the bar’s draw. For example, if your bar uses 12 amps, a 15-amp fuse works well.
Can I Wire My Light Bar To The High Beams?
Yes, but use a relay and tap the switch wire into the high beam circuit. This way, the light bar only turns on with your high beams.
Is It Safe To Drill Through The Firewall For Wires?
It’s possible, but risky. Always check both sides first. Use a rubber grommet to protect wires from sharp metal.
Will A Light Bar Drain My Battery?
If wired with a relay and only used when the engine is running, battery drain is minimal. Never use the light bar for long periods with the engine off.
What If My Light Bar Doesn’t Turn On After Installation?
Check the battery connection, fuse, relay, and all ground points. Use a multimeter to find where power is lost often, it’s a missed ground or a loose connector.
Bringing extra light to your Jeep Cherokee is a satisfying upgrade that pays off on every dark trail. With careful planning and attention to detail, you’ll enjoy safer, more confident off-road adventures. Remember, a clean, safe wiring job not only looks good but protects your Jeep for years to come.