Changing the backup light on your 2015 Jeep Renegade might sound like a task for a mechanic, but many owners can do it themselves with basic tools and a little patience. A working backup light is important for safety—it helps other drivers see you when you’re reversing, especially at night. Some people put off fixing a burnt-out bulb, but it’s an easy job that can save you time and money. This guide will show you exactly how to change the backup light, step by step. You’ll also learn which tools you need, how to avoid common mistakes, and a few useful tips that most beginners miss.
Understanding Your Backup Light
The backup light (sometimes called a reverse light) is located on the rear of your Jeep Renegade. When you shift into reverse, this light turns on automatically. The 2015 Jeep Renegade uses a standard bulb, but the exact type can depend on your trim level. If your backup light is not working, you may have a burnt-out bulb or a wiring issue. This article focuses on replacing the bulb, which is the most common cause.
Tools And Supplies You’ll Need
Before you start, make sure you have everything required:
- New backup light bulb (check your owner’s manual for the correct bulb type—usually a 921 or W16W)
- Flathead screwdriver
- Phillips screwdriver
- Socket wrench (often 10mm)
- Gloves (optional, but recommended to keep oil off the bulb)
- Clean cloth
Some owners also use a trim removal tool to avoid scratching the plastic, but a flathead screwdriver wrapped in a cloth works in most cases.
Step-by-step Guide To Changing The Backup Light
Follow these steps carefully. If you’ve never changed a car bulb before, don’t worry the process is simple for the 2015 Jeep Renegade.
1. Turn Off The Engine And Remove The Key
Always turn off your car before working on the lights. This prevents electric shock and avoids accidental short circuits.
2. Open The Rear Hatch
The backup light is accessed from inside the trunk area. Open the rear hatch to get to the back of the tail light assembly.
3. Locate The Tail Light Assembly
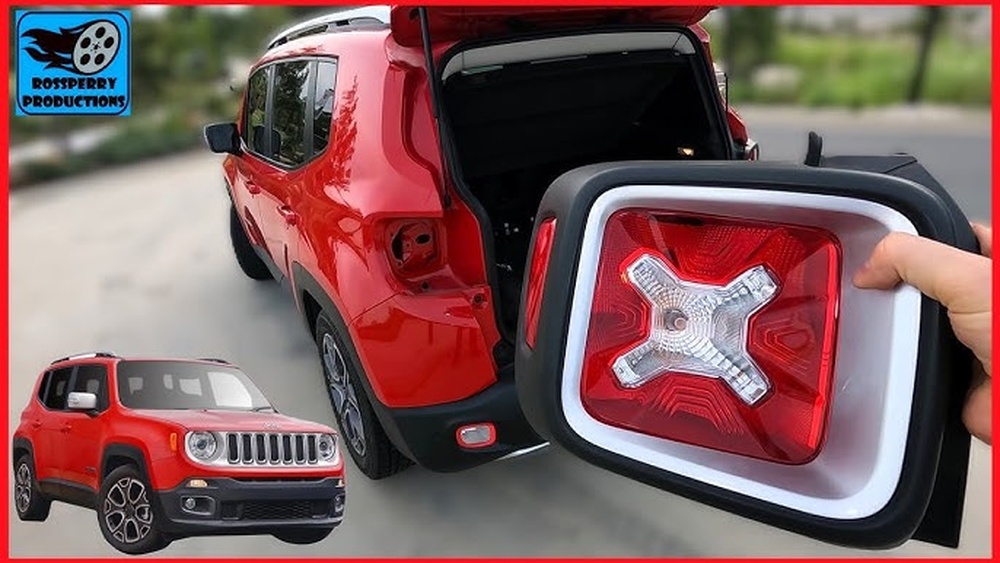
Look for the tail light housing on the side where the backup light is out. The assembly is held in place by screws and sometimes plastic clips.
4. Remove Screws And Clips
Use your Phillips screwdriver or socket wrench to remove the screws. Keep these in a safe place so you don’t lose them.
If your model has plastic clips, gently pry them out with a flathead screwdriver or trim tool. Be careful plastic clips can break if forced.
5. Pull Out The Tail Light Assembly
Once the screws and clips are out, carefully pull the tail light assembly away from the car. It might feel stuck, but a gentle wiggle usually loosens it.
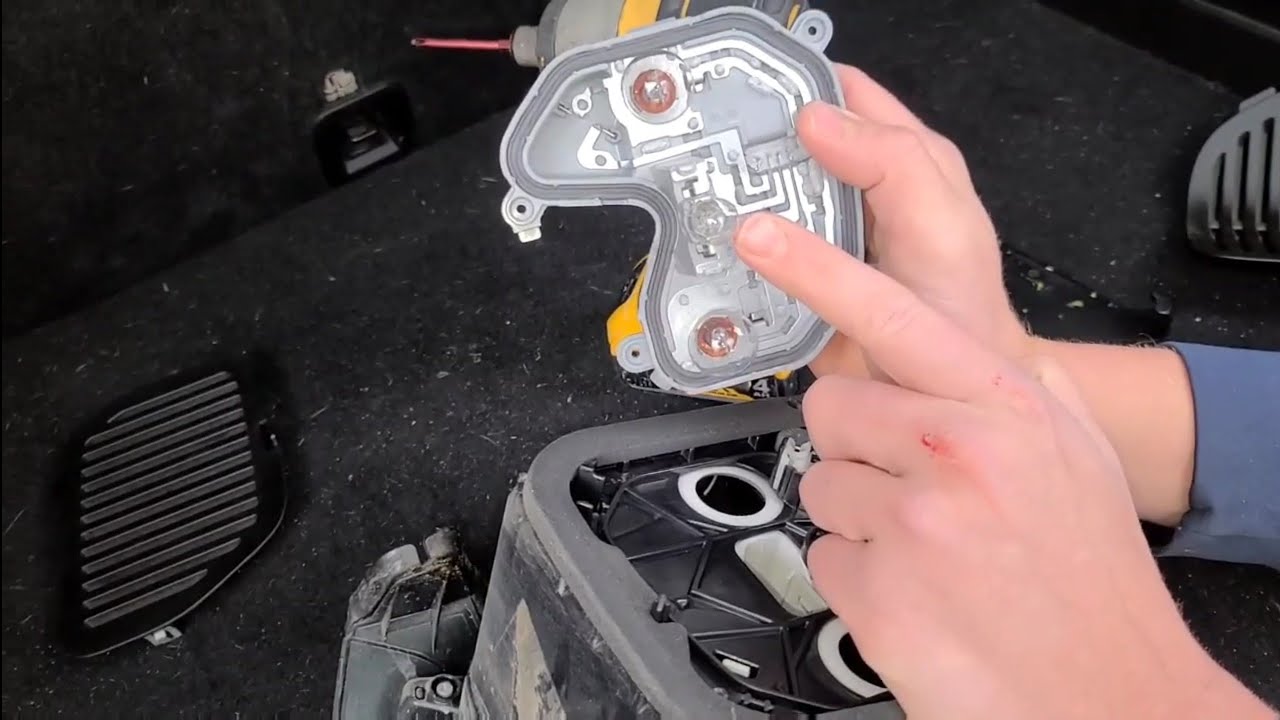
6. Find The Backup Light Bulb Socket
On the back of the assembly, look for a small socket—this is where the backup light bulb sits. It’s usually the clear or white section of the tail light.
7. Remove The Old Bulb
Twist the socket counterclockwise to release it. Pull out the old bulb.
If it’s stuck, wiggle it gently don’t use too much force.
8. Install The New Bulb
With clean gloves (or a cloth), insert the new bulb into the socket. Oils from your skin can shorten the bulb’s life, so avoid touching the glass.
9. Reattach The Bulb Socket
Insert the socket back into the tail light housing. Twist clockwise to lock it in place.
10. Test The New Backup Light
Before reassembling everything, ask someone to help you. Have them put the car in reverse (with the brake on and the engine running) while you check if the new bulb lights up.
11. Reinstall The Tail Light Assembly
Once the light works, line up the assembly with the car body and press it back into place. Secure it with the screws and clips you removed earlier.
12. Close The Rear Hatch
You’re done! Make sure everything is secure and close the hatch.
Common Mistakes And How To Avoid Them
Even simple jobs have common pitfalls. Here are a few to watch for:
- Forcing the assembly: If the tail light doesn’t come out easily, double-check for hidden screws or clips before pulling harder.
- Touching the bulb with bare hands: Oil from your skin can cause hot spots and shorten bulb life.
- Using the wrong bulb type: Always double-check the part number—using the wrong bulb can cause poor fit or even damage the socket.
- Not testing before reassembly: Always test the light before putting everything back together. It saves time if something isn’t working.
Backup Light Bulb Types For 2015 Jeep Renegade
Different trims or regions may use different bulbs. Here’s a comparison:
| Bulb Code | Brightness (Lumens) | Average Lifespan |
|---|---|---|
| 921 (W16W) | 250 | 1,200 hours |
| LED Upgrade | 700 | 25,000 hours |
Most owners stick with the standard halogen bulb (921/W16W), but some upgrade to LED for longer life and brighter light. Just be sure LEDs are allowed in your area—they’re not always street-legal everywhere.
Cost And Time Estimates
Changing a backup light on the 2015 Jeep Renegade is affordable. Here’s a quick look:
| Item | Typical Cost | Time Required |
|---|---|---|
| Halogen Bulb (921/W16W) | $3–$8 each | 10–20 minutes |
| LED Bulb (upgrade) | $10–$30 each | 15–25 minutes |
| Mechanic Labor | $30–$60 | 0 (they do it) |
DIY is much cheaper, and you learn something valuable about your car.
Why Backup Lights Matter
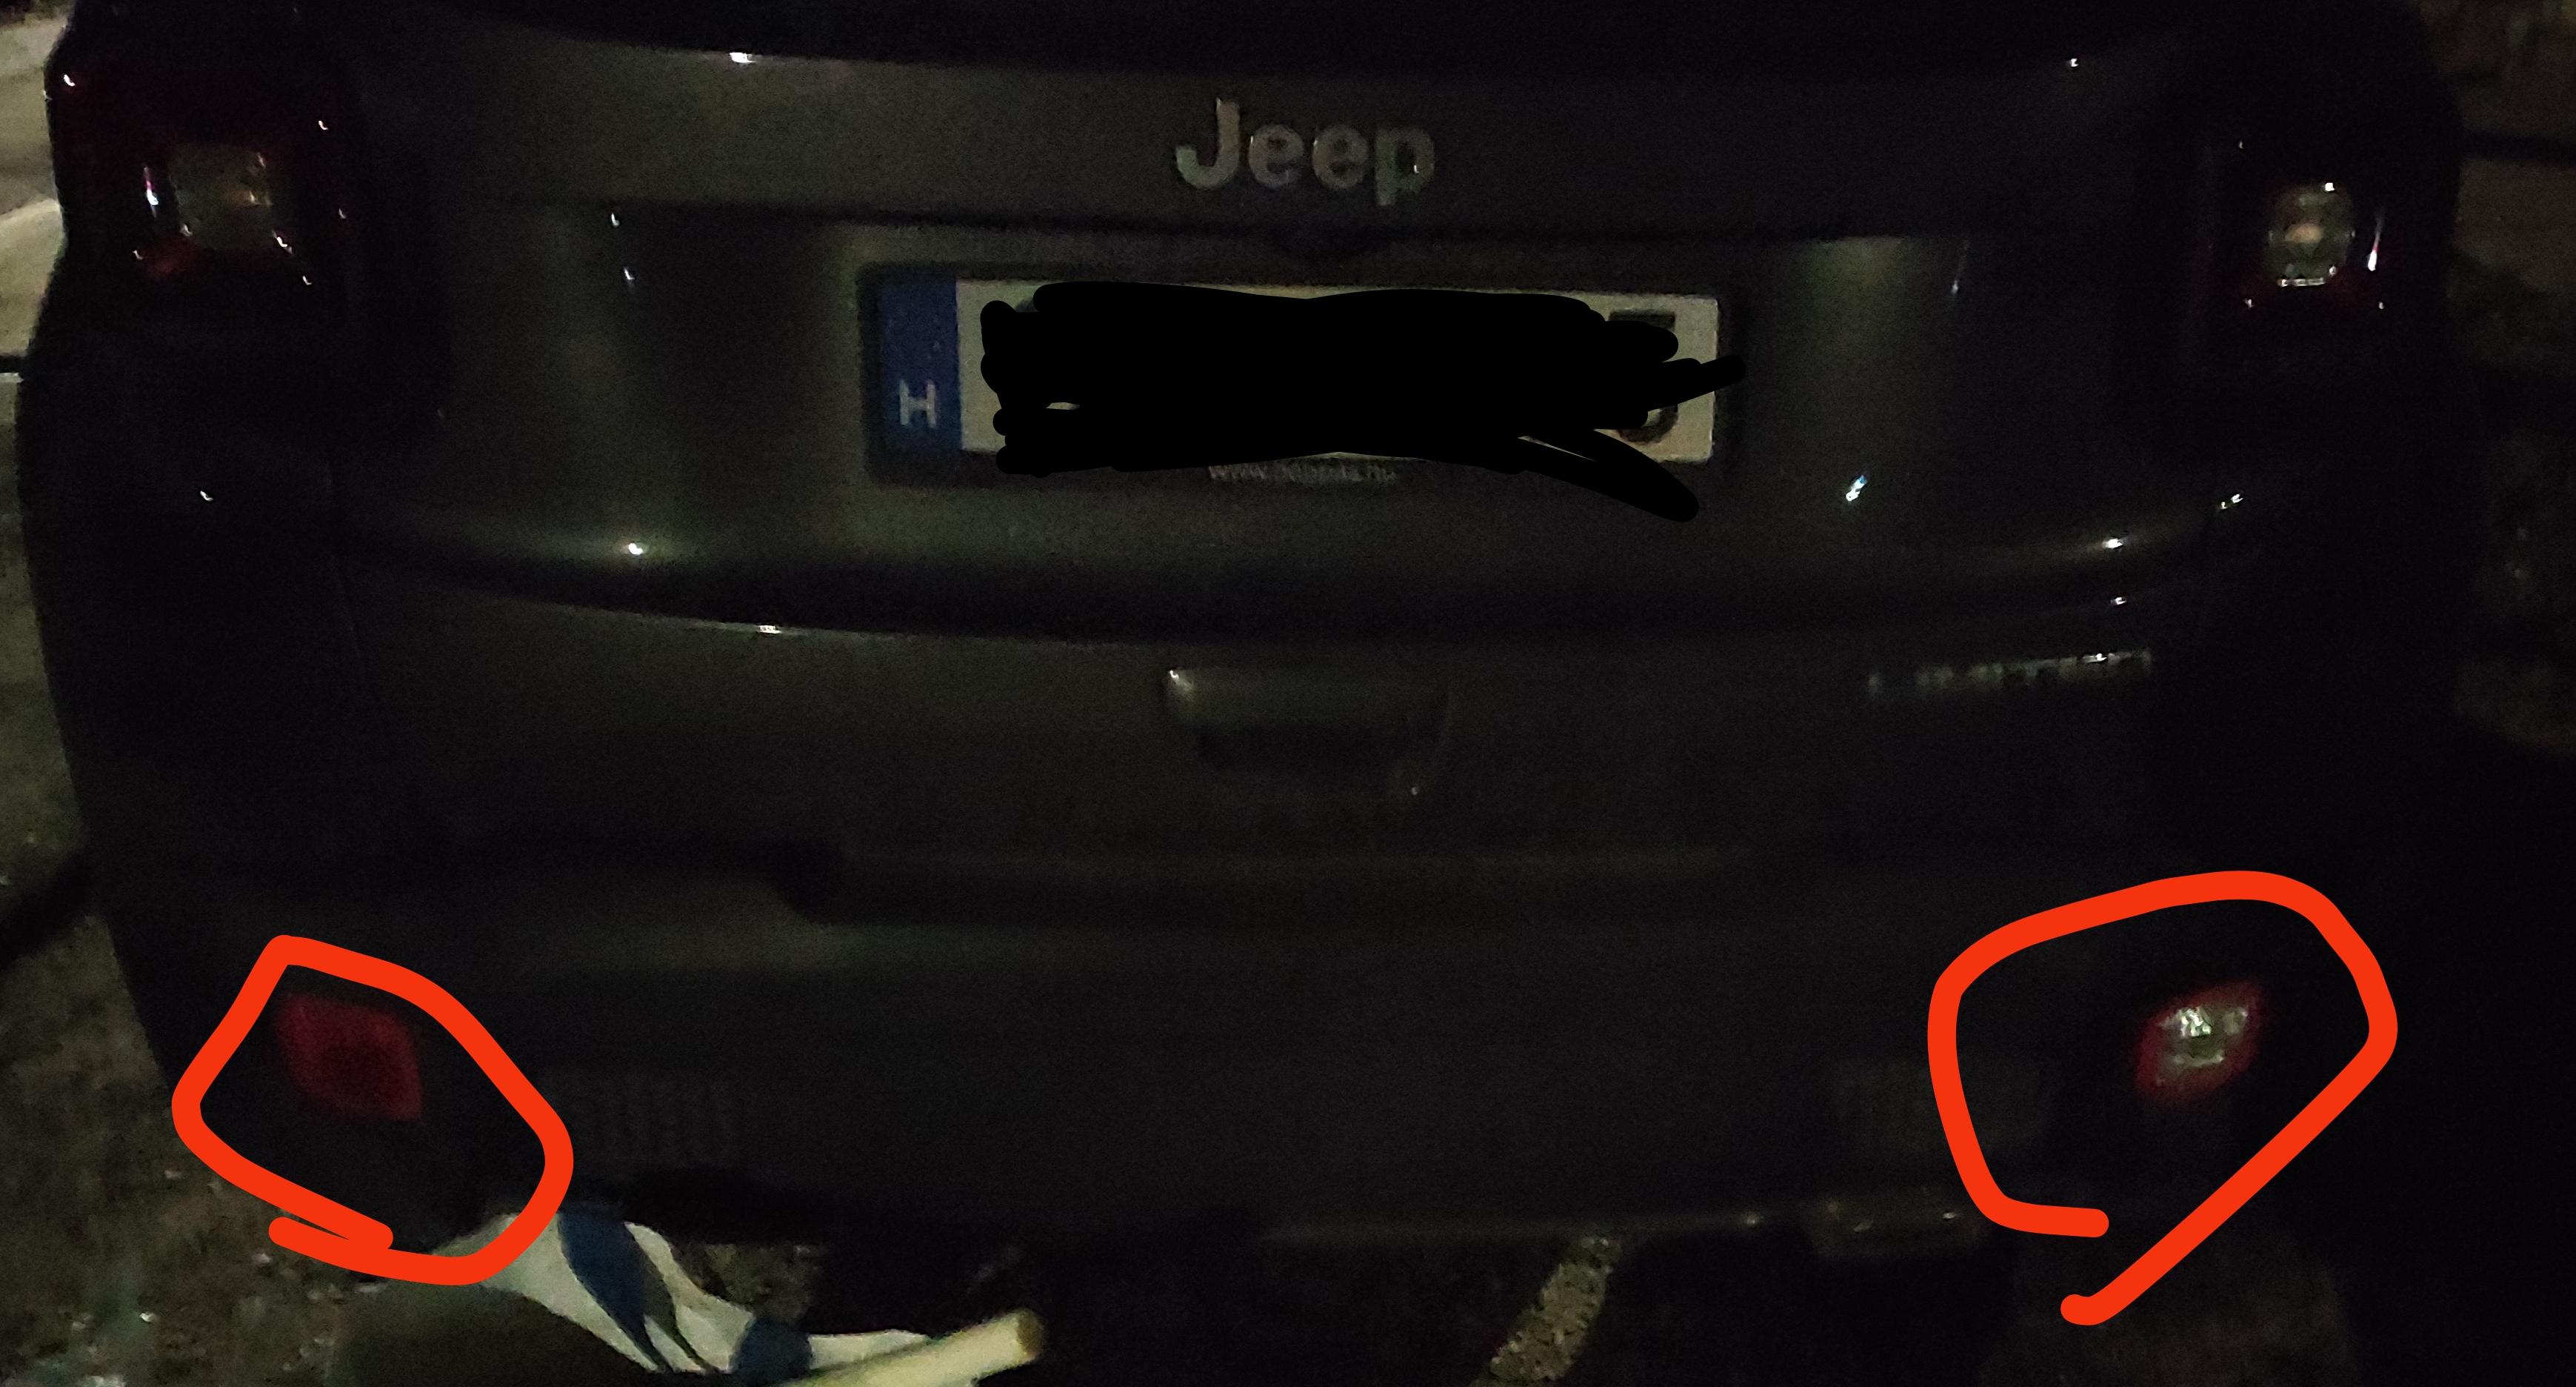
A working backup light is more than a legal requirement. It makes your Jeep visible when you reverse, reducing the risk of accidents in parking lots and driveways.
Fines for broken lights are common in many states. If you drive at night or in poor weather, this small bulb becomes even more important.
Non-obvious Tips For A Smoother Job
Many guides skip these extra ideas, but they can make your repair easier and longer-lasting:
- Check both sides: If one backup light is out, the other may fail soon. Change both bulbs at the same time for peace of mind.
- Use dielectric grease: Before installing the new bulb, a dab of dielectric grease on the socket can prevent moisture and corrosion, especially in wet climates.
- Inspect the wiring: If a new bulb doesn’t work, look for loose or damaged wires. Sometimes the problem isn’t the bulb at all.
- Keep spare bulbs: Backup lights are small and inexpensive. Keep extras in your glovebox for quick replacements next time.
- Upgrade to LED: If you want brighter light and less frequent replacements, consider switching to LED bulbs. They use less energy and last much longer, but make sure they’re compatible with your Renegade.
How The Backup Light Circuit Works
When you shift the gear into reverse, a switch tells the backup light circuit to turn on. If you change the bulb and it still doesn’t work, the problem could be with the reverse light switch or a blown fuse. Check your owner’s manual for fuse box locations and fuse numbers.
When To Call A Professional
If the light still doesn’t work after a new bulb, or if you see corrosion or broken wires, it’s best to see a mechanic. Electrical issues can be tricky and sometimes need special tools.
Environmental Considerations
Used bulbs should be disposed of properly don’t just throw them in the trash. Many auto parts stores recycle old bulbs for free.
LED bulbs are a greener choice because they last longer and use less energy.
Troubleshooting: If The New Bulb Doesn’t Light Up
If you’ve replaced the bulb and the light still won’t turn on, try these steps:
- Double-check the bulb: Make sure it’s firmly seated in the socket.
- Inspect the socket: Look for rust, dirt, or bent contacts.
- Check the fuse: Find the backup light fuse in your Renegade’s fuse box. If it’s blown, replace it with the same size/type.
- Test the wiring: With the car in reverse and the brake on, use a multimeter to see if power is reaching the socket.
If all else fails, the problem could be with the reverse switch or the car’s electrical system. This is when a professional diagnosis makes sense.
Safety Tips For Diy Repairs
- Always work in a safe, flat area.
- Make sure the car is off and the keys are out.
- If you have children or pets, keep them away from the work area.
- Wear gloves to protect your hands from sharp plastic or hot bulbs.
- Dispose of old bulbs safely.
Where To Buy Replacement Bulbs
You can find backup light bulbs at:
- Auto parts stores (AutoZone, Advance Auto Parts, etc.)
- Online retailers (Amazon, eBay)
- Jeep dealerships
Always buy from a trusted source to avoid counterfeit bulbs that burn out quickly or don’t fit properly.
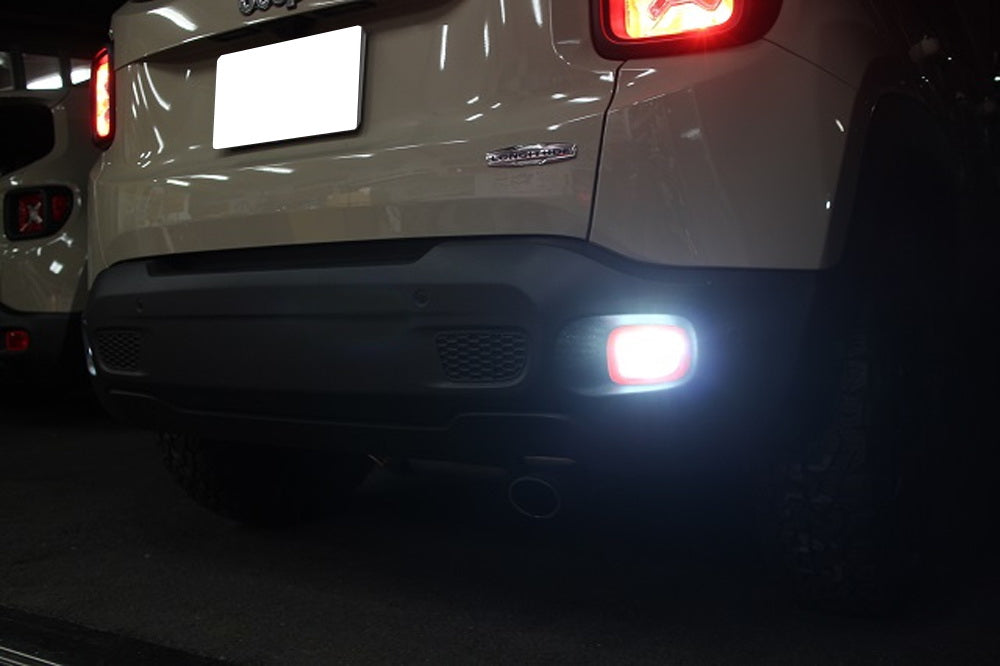
Real-world Example
Sarah, a Jeep Renegade owner from Ohio, noticed her backup light was out during a routine check. She followed the steps above and replaced both bulbs in about 15 minutes, using only a screwdriver and a new set of 921 bulbs.
She found the job much easier than expected and avoided a $50 mechanic bill.
Additional Resources
If you prefer video instructions, Jeep forums and YouTube have many step-by-step guides for your specific model. For more detailed technical information, the official Jeep website is a good reference: Jeep Owners Manual.
How Do I Know Which Backup Light Bulb My 2015 Jeep Renegade Uses?
Most 2015 Renegades use a 921 (W16W) bulb for the backup light. Check your owner’s manual or look at the old bulb’s markings before buying a replacement.
Can I Use Led Bulbs Instead Of Standard Halogen Bulbs?
Yes, many owners upgrade to LED bulbs for longer life and brighter light. However, check your local laws and make sure the LEDs are compatible with your car’s electrical system.
What If Both Backup Lights Stop Working At The Same Time?
If both lights are out, it’s probably a fuse or wiring issue rather than just the bulbs. Check the fuse first, then inspect the wiring and reverse switch if needed.
How Often Should I Change My Backup Lights?
There’s no set schedule change them when they burn out. Many people replace both sides at the same time so they don’t have to do the job twice.
Is It Safe To Drive Without A Working Backup Light?
It’s unsafe and may be illegal. Other drivers may not see you reversing, especially at night.
Fixing the light as soon as possible is important for your safety and to avoid tickets.
Swapping out a backup light on your 2015 Jeep Renegade is a quick, low-cost task that brings big safety benefits.
With a few tools and the right steps, you’ll have your light working in no time and you’ll feel good knowing you did it yourself.