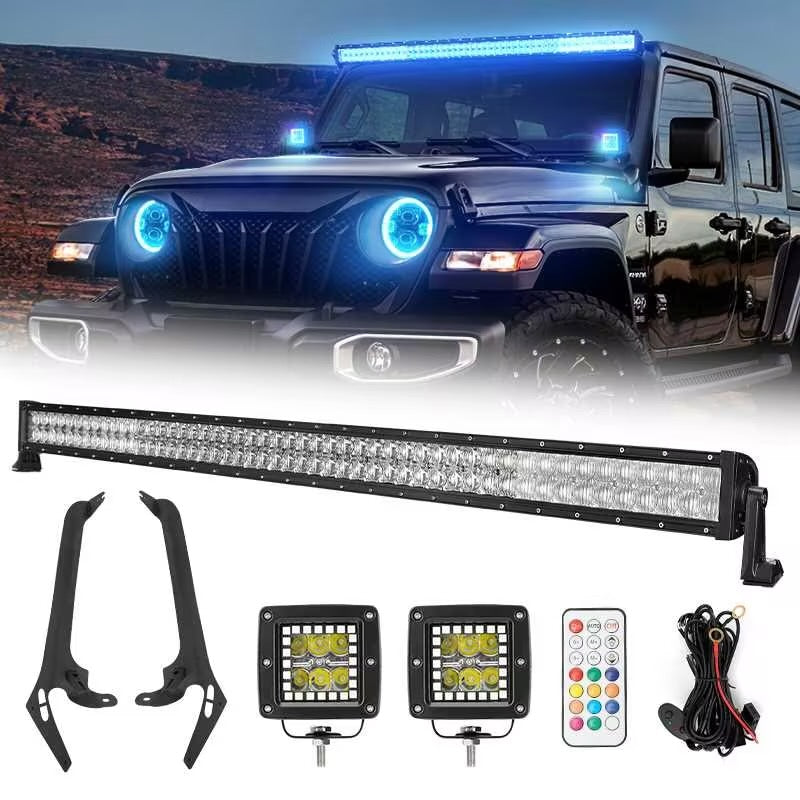
Wiring an emergency light bar in your Jeep is more than just a simple DIY project it’s about increasing visibility, safety, and readiness for any off-road or emergency situation.
Whether you’re an overlander, a first responder, or just want extra lighting for night trails, proper wiring is essential.
Many Jeep owners worry about damaging their vehicle’s electrical system or making mistakes that could cause failure when it matters most. With the right guidance, you can install an emergency light bar safely, efficiently, and with confidence.
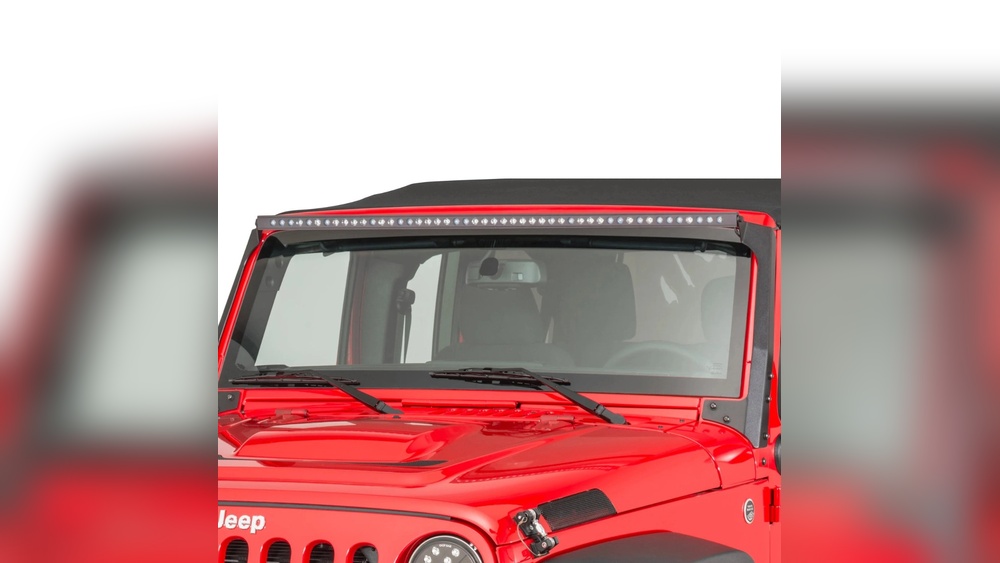
Why Install An Emergency Light Bar In Your Jeep?
Jeep drivers choose emergency light bars for several reasons. These lights provide powerful illumination for low-visibility environments, alert other drivers to your presence, and help in rescue or off-road scenarios. Unlike standard headlights or fog lights, emergency light bars are designed to cut through fog, rain, snow, and darkness.
Data shows that LED light bars can improve peripheral vision by up to 70% compared to factory lights. For those who often drive in remote or harsh conditions, this can make a life-saving difference. In cities, emergency light bars are also used by volunteer firefighters, police, and medical responders for rapid response.
Tools And Materials You Need
Before starting, make sure you have all the tools and materials ready. Skipping this step is a common mistake that leads to delays or poor connections.
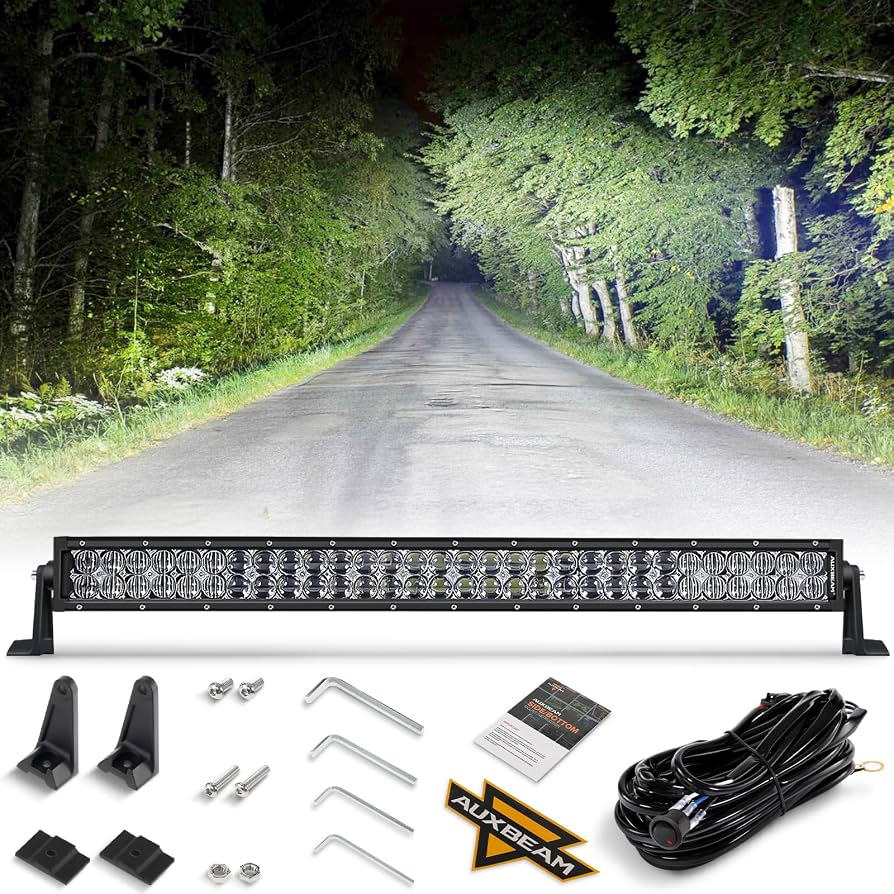
- Emergency light bar (with mounting kit)
- Wiring harness (preferably with relay and fuse)
- Switch (waterproof is best)
- Crimp connectors and/or soldering kit
- Wire stripper and cutter
- Drill (for mounting holes, if needed)
- Multimeter (for checking voltage and continuity)
- Electrical tape and zip ties
- Heat shrink tubing
Many kits include a basic harness, but quality varies. Check wire gauge; for most light bars, 14 to 16 AWG is suitable. If your bar draws over 20 amps, use thicker wire.
Planning Your Installation
A successful install depends on good planning. Before touching any wires, decide:
- Light bar mounting location: Roof, bumper, or grille?
- Switch placement: Easily reachable from the driver’s seat.
- Power source: Direct to battery is common for reliability, but some use ignition-switched power.
Here’s a simple comparison of mounting locations:
| Location | Visibility | Ease of Install | Notes |
|---|---|---|---|
| Roof | Excellent (wide area) | Moderate | May increase wind noise |
| Bumper | Focused (road ahead) | Easy | Less wind noise, easy to clean |
| Grille | Good (mid-level) | Moderate | May block airflow to radiator |
Pro tip: Always measure twice before drilling. Double-check that wires can reach from the light bar to the battery and switch.
Step-by-step Wiring Guide
Let’s go through each step to wire your emergency light bar safely.
1. Disconnect The Battery
Start by disconnecting the negative terminal of your Jeep’s battery. This prevents accidental shorts or shocks during installation.
2. Mount The Light Bar
Secure the light bar to your chosen spot using the included brackets or a custom mount. Make sure it’s level and tightened properly. Test fit before final tightening.
3. Route The Wires
Plan the path from the light bar to the engine bay. Avoid sharp edges, moving parts, or hot surfaces like the exhaust manifold.
Use zip ties to keep wires secure and neat.
Look for existing grommets in the firewall to pass wires into the cabin. If you need to drill, use a rubber grommet to prevent chafing.
4. Connect The Relay And Fuse
Most emergency light bar kits come with a relay and fuse. The relay acts as a switch to handle high current safely. The fuse protects against shorts.
- Mount the relay close to the battery.
- Insert the fuse in the fuse holder; never bypass it.
Here’s a quick look at relay wiring basics:
| Relay Pin | Connection | Purpose |
|---|---|---|
| 85 | Ground | Completes switch circuit |
| 86 | Switch | Activates relay coil |
| 30 | Battery (12V+) | Power input |
| 87 | Light Bar (+) | Power output to lights |
Non-obvious tip: If your Jeep has auxiliary switches, you can often tap into them for a cleaner install.
5. Wire The Switch
Decide where you want the switch inside your Jeep. Common spots are on the dashboard or near the center console. Drill a small hole if needed. Run the wires through the firewall using a grommet.
Connect the switch to the relay and ground. If using a lighted switch, make sure it gets power only when the headlights or ignition are on otherwise, it can drain your battery.
6. Connect Power And Ground
Attach the main power wire to the battery’s positive terminal. Use a ring terminal for a secure connection. Connect the ground wire either to the battery’s negative terminal or a clean, unpainted part of the chassis.
Pro tip: Sand the grounding spot to bare metal for best contact. Poor grounding is a leading cause of flickering or malfunction.
7. Test The System
Reconnect the battery. Turn on the switch and check that the light bar works.
If it doesn’t, check all connections with a multimeter. Make sure the fuse hasn’t blown and the relay clicks when activated.
If everything works, use electrical tape and heat shrink tubing to seal connections. Secure all wires with zip ties, keeping them away from heat and moving parts.
Common Mistakes To Avoid
Many first-timers run into problems that are easy to avoid:
- Using the wrong wire gauge: Too thin wire can overheat and fail.
- Skipping the relay: Wiring the bar directly to the switch often leads to switch failure.
- Improper grounding: This causes dim or flickering lights.
- Not sealing connections: Moisture leads to corrosion and failures.
- Routing wires near moving parts: Leads to wire damage over time.
Always double-check the instructions from your light bar’s manufacturer, as wiring colors can vary.
Legal And Safety Considerations
Before you use your emergency light bar on public roads, check local and state laws. In most areas, emergency lights (especially colored ones like red, blue, or amber) are restricted to official vehicles. Using them illegally can result in heavy fines.
For off-road or private property use, there are usually no restrictions. However, always switch off high-powered lights when facing oncoming traffic to avoid blinding other drivers.
For more on lighting laws, see the National Highway Traffic Safety Administration.
Maintenance Tips For Long Life
After installation, regular maintenance keeps your light bar working reliably:
- Check wiring monthly for wear or loose connections.
- Clean lenses with a soft cloth to keep output strong.
- Spray electrical contacts with dielectric grease to prevent corrosion.
- Inspect mounting brackets after off-road trips for tightness.
If you notice reduced brightness or flickering, check the fuse and all connections immediately.
Example: Real-world Jeep Light Bar Wiring
Let’s walk through a quick example for clarity.
Suppose you have a 50-inch LED light bar rated at 180W and drawing 15 amps. You choose to mount it on the roof.
- You buy a pre-made wiring harness with a relay, fuse, and a waterproof switch.
- The mounting brackets fit the Jeep’s rain gutter, so no drilling is needed.
- You route the harness along the windshield pillar, entering the engine bay.
- Relay and fuse are mounted on the fender near the battery.
- The switch is installed in a blank dash panel.
- All connections are crimped, covered with heat shrink, and grounded to the chassis.
- Testing confirms bright, steady light with no flicker.
Beginner insight: Many people forget to account for the added height of a roof-mounted bar. Check garage clearance before finalizing placement.
Cost And Time Estimate
How much should you budget? Here’s a typical breakdown:
| Item | Estimated Cost (USD) |
|---|---|
| LED Light Bar (50″) | $80 – $250 |
| Wiring Harness | $20 – $40 |
| Switch | $10 – $25 |
| Misc. Connectors/Tools | $15 – $40 |
| Professional Install (optional) | $100 – $200 |
Most DIYers finish the job in 2 to 4 hours. If it’s your first time, take your time and don’t rush.
How Do I Choose The Correct Wire Gauge For My Light Bar?
You should use wire that matches the current draw of your light bar. For most Jeep light bars (up to 20 amps), 14 AWG wire is safe. For higher power, use 12 AWG. Always check the instruction manual or use an online wire gauge calculator.
Can I Wire My Light Bar To The High Beams Instead Of A Separate Switch?
Yes, you can wire the relay trigger to your high beam circuit. This way, the light bar only turns on with high beams.
However, check your local laws, as this is not legal everywhere.
What Should I Do If My Light Bar Flickers Or Doesn’t Turn On?
Check all connections, especially the ground. Make sure the fuse is not blown and the relay clicks when switched.
Poor ground or a weak battery is a common cause of issues.
Is It Safe To Install A Light Bar If I Am Not An Electrician?
Yes, if you follow instructions carefully and use the right tools. Always disconnect the battery before starting.
If you are unsure, ask a professional for help.
Will Adding A Light Bar Drain My Jeep’s Battery?
A light bar draws power only when turned on. If you use it with the engine running, the alternator will recharge the battery.
Avoid leaving the light bar on for long periods with the engine off.
Adding an emergency light bar to your Jeep is a rewarding upgrade. With proper planning, quality materials, and careful wiring, you’ll gain both safety and style.
Remember to check your local laws, maintain your gear, and enjoy the extra visibility on your next adventure.