Changing the wheel cylinder on your Jeep XJ is a task that can save you money and boost your confidence in basic car repairs. Many owners think brake work is only for professionals, but with the right steps, you can do it safely in your own garage. The wheel cylinder is a small but vital part of your rear drum brake system. If it fails, your brakes may leak fluid or lose stopping power—making this repair important for both safety and performance.
In this guide, you’ll learn how to replace a wheel cylinder on a Jeep XJ, even if you’re a beginner. You’ll also discover some practical tips that most first-timers miss, so your repair goes smoothly the first time.
Let’s get started by understanding what the wheel cylinder does and why it often needs replacing on older vehicles like the XJ.

What Does The Wheel Cylinder Do?
The wheel cylinder is located inside the rear drum brakes. When you press the brake pedal, brake fluid pushes pistons inside the cylinder, which then push the brake shoes against the drum. This slows down your Jeep. If the wheel cylinder leaks or gets stuck, your brakes will not work well—or at all.
Common signs of a bad wheel cylinder include:
- Brake fluid leaks near the wheels
- Soft or spongy brake pedal
- Poor braking performance
- Brake warning light on the dashboard
If you see any of these, it’s time to check the wheel cylinder.
Tools And Materials You’ll Need
Before starting, gather the following tools and parts:
- New wheel cylinder (for Jeep XJ, rear axle)
- Brake fluid (DOT 3 or as specified)
- Jack and jack stands
- Wheel chocks
- Lug wrench
- Socket set and ratchet (8mm, 10mm, and 13mm are common)
- Line wrench (10mm) for brake lines
- Flathead screwdriver
- Pliers or brake spring tool
- Drain pan or rags
- Wire brush and brake cleaner
- Torque wrench
Having the right tools makes the job safer and faster. A line wrench is especially helpful for removing the brake line without rounding the nut.
Preparing Your Jeep Xj For The Job
- Park on a level surface and apply the parking brake.
- Place wheel chocks in front of the front wheels.
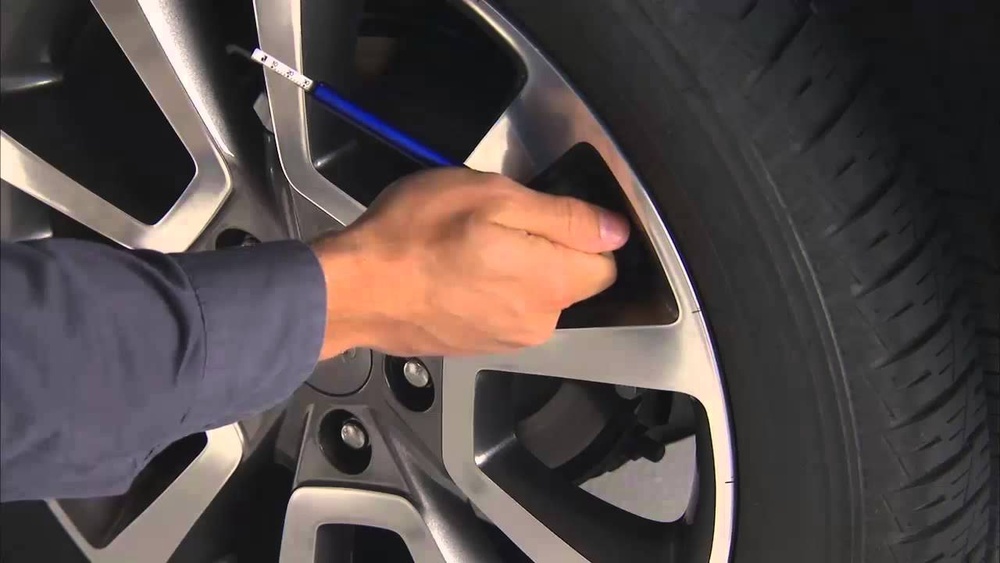
- Loosen the lug nuts on the rear wheel you’ll be working on, but do not remove them yet.
- Use a jack to lift the rear of the Jeep, then secure it with jack stands. Never work under a vehicle supported by a jack alone.
- Remove the wheel.
Removing The Brake Drum
On the Jeep XJ, the rear brakes use a drum brake system. Sometimes the drum comes off easily, but if not, here’s what to do:
- If the drum is stuck, gently tap around the edge with a rubber mallet.
- If there is a small access hole on the back plate, insert a screwdriver to back off the brake adjuster a few turns. This helps release the drum if the shoes are holding it tight.
Once the drum is off, you’ll see the brake shoes and the wheel cylinder at the top.

Accessing And Removing The Wheel Cylinder
Changing the wheel cylinder requires removing some brake parts. Here’s how:
- Note the shoe and spring positions. Take a photo for reference.
- Remove the upper brake shoe springs using pliers or a brake spring tool.
- Carefully take off the brake shoes from the wheel cylinder area. You may need to unhook the parking brake cable from one shoe.
- Wipe away brake dust with a rag or spray with brake cleaner.
Now, you can see the wheel cylinder clearly.
Removing The Wheel Cylinder
- Place a drain pan below the brake assembly.
- Use a 10mm line wrench to loosen and disconnect the brake line from the wheel cylinder. Go slowly to avoid stripping the fitting.
- Remove the two mounting bolts (usually 8mm or 10mm) holding the wheel cylinder to the back plate.
- Pull out the old wheel cylinder.
Tip: Plug the brake line with a rubber cap or wrap it with a clean rag to keep dirt out while you work.
Installing The New Wheel Cylinder
- Clean the area around the mounting hole with a wire brush and brake cleaner.
- Position the new wheel cylinder in place and secure with the mounting bolts. Tighten them snugly (around 80–100 in-lbs).
- Remove the cap or rag from the brake line, then thread it into the new wheel cylinder by hand first. Tighten with a line wrench (do not overtighten).
- Double-check that all connections are secure.
If you have both rear wheels off the ground, it’s a good idea to change both wheel cylinders at the same time. They often wear out at a similar rate.

Reassembling The Drum Brake
- Reinstall the brake shoes and springs in the original positions. Use your photo as a guide.
- Make sure the shoes fit snugly against the new wheel cylinder pistons.
- Reattach the parking brake cable if needed.
- Slide the drum back over the shoes. If it doesn’t fit, back off the adjuster a little more.
Bleeding The Brake System
After changing the wheel cylinder, you must remove any air from the brake lines. This step is crucial air in the lines can cause a spongy pedal or poor brakes.
How To Bleed The Rear Brakes
- Fill the master cylinder with fresh brake fluid.
- Have a helper press the brake pedal and hold it.
- Open the bleeder screw (on the new wheel cylinder) with an 8mm wrench until fluid comes out, then close it.
- Tell your helper to release the pedal.
- Repeat until fluid comes out free of air bubbles.
- Check the master cylinder level often and add fluid as needed.
Pro tip: Start bleeding at the wheel cylinder farthest from the master cylinder (usually the passenger side) first, then do the other side.
Testing Your Repair
Once you finish bleeding, double-check all bolts, springs, and lines. Reinstall the wheel, tighten lug nuts by hand, lower the Jeep, and torque the lugs to 100 ft-lbs. Pump the brake pedal a few times. It should feel firm.
Take your Jeep XJ for a slow test drive. Try braking at low speeds to make sure the pedal feels strong and there are no leaks. If anything feels wrong, stop and check your work.
Common Mistakes And How To Avoid Them
- Not using a line wrench: Regular wrenches can round off brake fittings.
- Forgetting to bleed the brakes: This can leave air in the system and cause poor braking.
- Mixing up spring positions: Always take a photo before removing springs.
- Overtightening brake lines: This can strip threads or crack the wheel cylinder.
- Not cleaning brake dust: Old dust can contaminate new parts or make the job messy.
Cost And Time Estimates
Changing a wheel cylinder on a Jeep XJ is affordable. The part usually costs between $10 and $30. If you need new brake shoes or drums, budget extra.
| Item | Estimated Cost | Time Needed |
|---|---|---|
| Wheel Cylinder | $10–$30 | 1–2 hours |
| Brake Fluid | $8–$15 | — |
| Hand Tools | $0 (if owned) | — |
Most beginners can finish this repair in 2–3 hours if they go slowly and stay organized.
Drum Brakes Vs. Disc Brakes: Key Differences
Understanding why the XJ uses drum brakes on the rear helps you plan maintenance.
| Feature | Drum Brakes | Disc Brakes |
|---|---|---|
| Common on | Rear of older vehicles (like XJ) | Front of most vehicles |
| Maintenance | More steps, more springs | Simpler, fewer parts |
| Performance | Good holding power (parking brake) | Better cooling, less fade |
Tips For A Smooth Repair
- Clean all parts before reassembly to prevent contamination.
- Replace both rear wheel cylinders together for balanced braking.
- Keep a can of brake cleaner and plenty of rags handy.
- If any springs or hardware look rusty, replace them during this job.
- Always torque wheel lugs and mounting bolts to the correct spec.
When Should You Seek Professional Help?
While most Jeep XJ owners can do this job themselves, get help if:
- The brake line fitting is badly rusted or stuck.
- You’re not comfortable bleeding brakes.
- You see heavy rust or damage inside the drum.
It’s better to pay a mechanic than risk unsafe brakes.

Real-world Example: Jeep Xj Community Insights
Many Jeep XJ owners report that the rear wheel cylinders often start leaking after 100,000 miles, especially if the vehicle is used for off-roading or heavy towing. One common mistake is reusing old brake fluid or skipping the bleeding process, leading to poor pedal feel. Owners who take time to clean and photograph every step usually have the best results.
According to the Jeep Cherokee XJ Wikipedia page, the XJ platform was produced from 1983 to 2001 and is known for its simple, reliable mechanical design. That makes most repairs—including wheel cylinder replacement—straightforward for DIYers.
Frequently Asked Questions
How Do I Know If My Jeep Xj Wheel Cylinder Is Bad?
Look for brake fluid leaks near the rear wheels, a soft brake pedal, or poor stopping power. If the drum is wet inside, the wheel cylinder may be leaking.
Can I Drive With A Leaking Wheel Cylinder?
No. A leaking wheel cylinder can cause brake failure. Repair or replace it immediately for your safety.
Do I Need To Bleed All Four Brakes After Changing One Wheel Cylinder?
You only need to bleed the brakes at the wheel where the cylinder was replaced. However, checking the other brakes for air or old fluid is a good idea.
What Brake Fluid Should I Use For A Jeep Xj?
Most Jeep XJ models use DOT 3 brake fluid. Always check your owner’s manual or the cap on the master cylinder for the correct type.
Is It Difficult To Change A Wheel Cylinder On A Jeep Xj?
It’s a moderate job. With basic tools and patience, most people can do it at home. Take photos, follow the steps, and don’t rush. If you’re unsure, ask for help.
Replacing the wheel cylinder on your Jeep XJ is a skill that gives you more control over your vehicle’s safety. With a little preparation and attention to detail, you’ll keep your brakes working smoothly for many miles to come.