If you drive a Jeep Wrangler JL, you know it’s more than just a vehicle—it’s a lifestyle. Customizing your Jeep is part of the fun, and one of the most popular upgrades today is installing halo lights. These circular LED rings sit inside or around your headlight housing, adding a modern, aggressive look. But halo lights do more than make your Jeep look cool—they also increase visibility and safety, especially at night or in poor weather.
If you’ve never worked with vehicle wiring before, the idea of installing halo lights might feel intimidating. The good news? With the right tools, clear steps, and a little patience, most Jeep owners can install halo lights themselves in a single afternoon.
This guide will walk you through the process, highlight tips and pitfalls, and answer common questions so you can tackle the job with confidence.
What Are Halo Lights And Why Install Them?
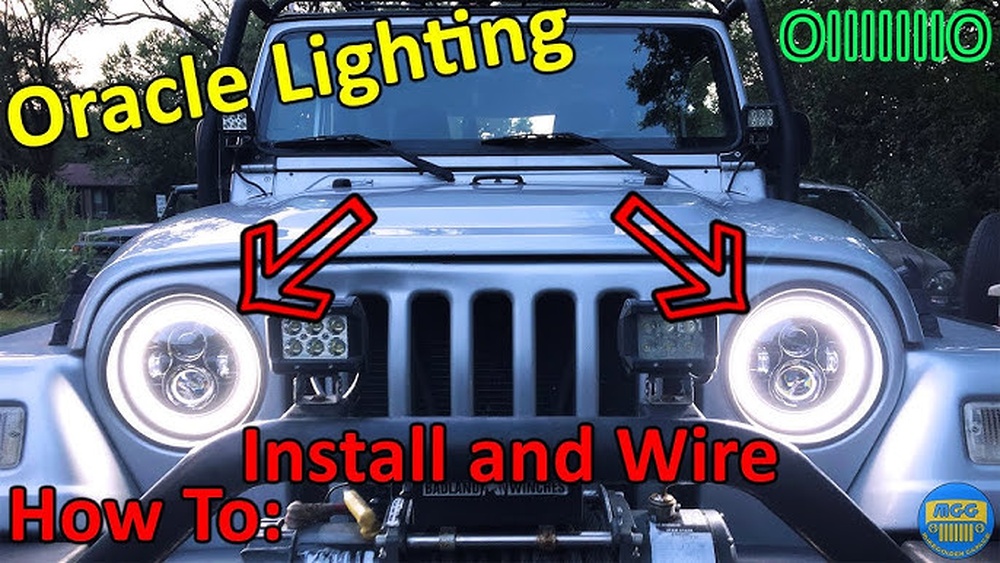
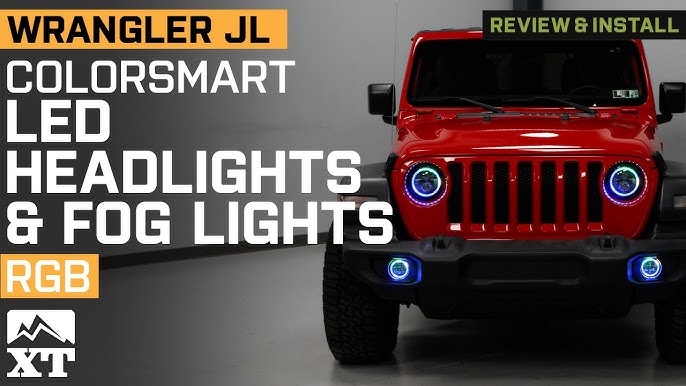
Halo lights—also called angel eyes—are LED rings that create a glowing circle inside your Jeep’s headlights. Originally seen on high-end cars, they’re now a favorite Jeep mod. Here’s why many Wrangler JL drivers choose to add them:
- Better visibility: LED halos are brighter than stock lights and stand out in fog and rain.
- Personal style: You can pick different colors and patterns to match your taste.
- Increased safety: Other drivers spot you sooner thanks to the eye-catching halo effect.
- Easy integration: Most halo kits fit directly into the JL headlight housing.
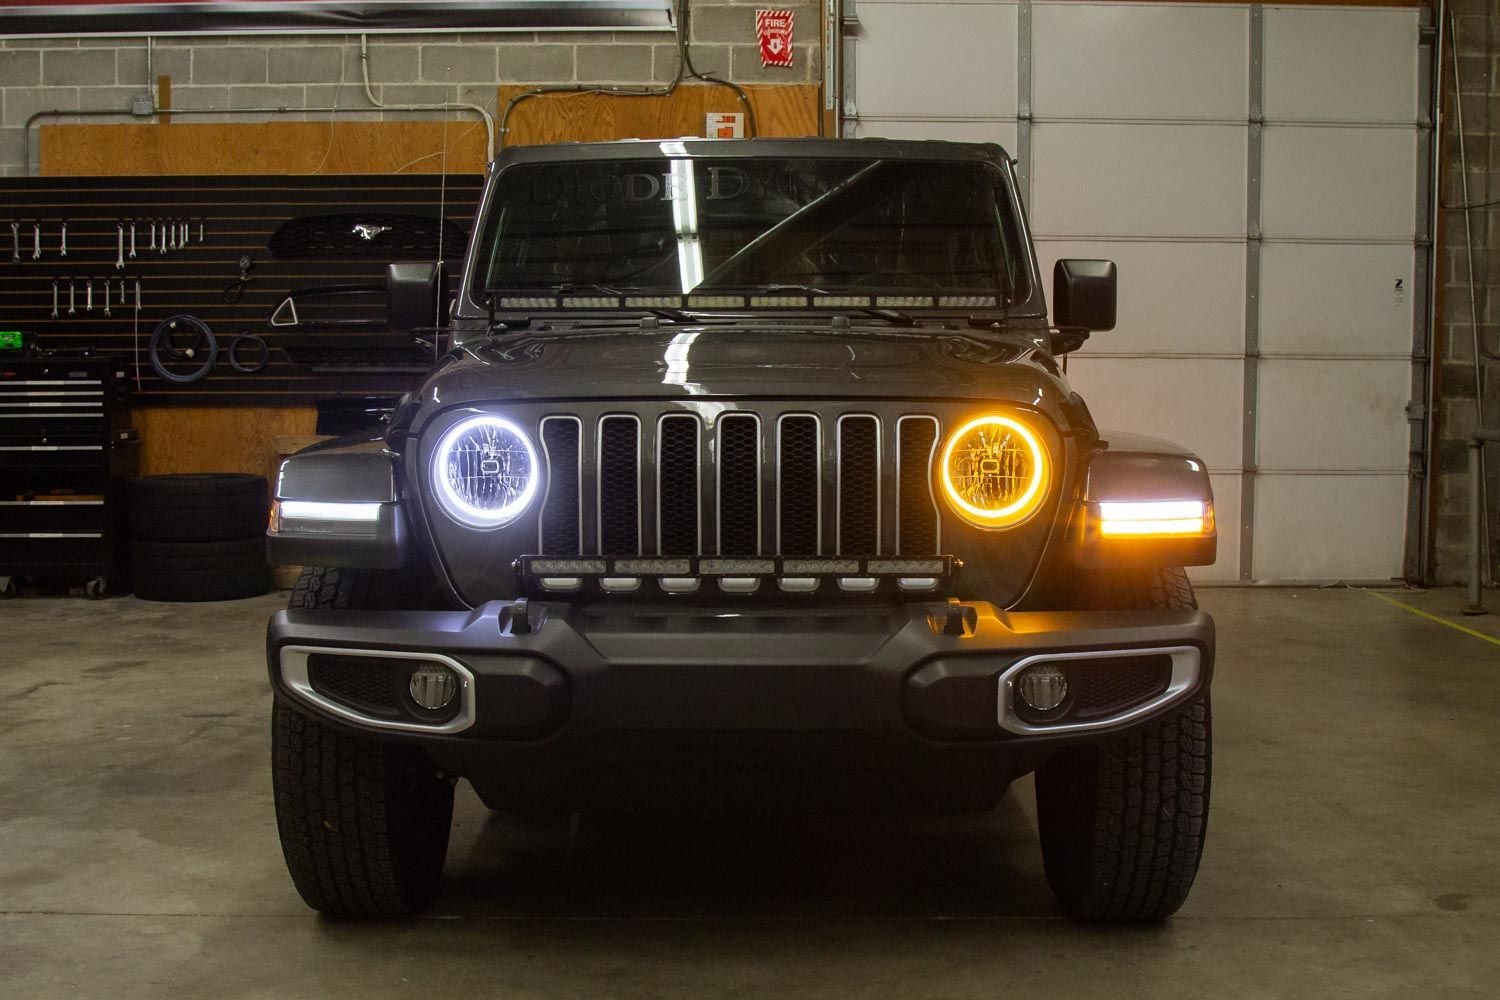
Unlike other lighting upgrades, halo lights can run as daytime running lights, parking lights, or even blink with your turn signals, depending on your wiring setup.
What You’ll Need: Tools And Materials
Before you start, gather the right tools and materials. Missing just one item can slow you down, so check your list twice.
Essential tools:
- 10mm socket and ratchet
- Flathead and Phillips screwdrivers
- Trim removal tool (plastic preferred)
- Wire strippers and crimpers
- Heat shrink tubing or electrical tape
- Pliers
- Zip ties
Materials:
- Jeep JL halo light kit (compatible with your headlight style)
- Wiring harness (if not included in your kit)
- Soldering iron (optional for best connections)
- Fuse tap (if connecting to fuse box)
- 12V test light or multimeter (for checking connections)
- Cleaning cloth
Pro tip: Buy a kit designed for the Wrangler JL (2018 and newer) to guarantee fitment. Some older JK kits don’t match the JL’s headlight size or wiring.
Choosing The Right Halo Light Kit
Not all halo kits are equal. Here’s what to look for when buying:
| Feature | Why It Matters | Beginner Mistakes |
|---|---|---|
| Compatibility | Ensures perfect fit and wiring for JL model | Buying JK or universal kits that don’t fit |
| Color Options | Choose single-color or multi-color (RGB) halos | Choosing illegal colors for road use (like red/blue) |
| Water Resistance | Keeps LEDs safe during off-road or wet weather | Buying cheap, non-sealed halos that fail quickly |
| Control Method | Options: remote, Bluetooth app, or switch | Not checking if your phone supports the app |
| Warranty | Protects against defects or early failure | Overlooking warranty for cheaper price |
Insider advice: Check local laws before picking colors. In many states, only white and amber are street legal for front-facing lights. Using red or blue on public roads can lead to tickets.
Preparing Your Jeep Wrangler Jl
Taking time to prep your Jeep makes the whole job smoother and prevents mistakes. Park in a well-lit, flat area, and disconnect your battery before touching any wires. This keeps you safe from shocks and avoids electrical shorts.
- Disconnect the negative battery cable (10mm socket). Wait five minutes for all systems to power down.
- Open the hood and use a trim tool to remove the plastic clips holding the radiator cover. Set the cover aside.
- Remove the front grille by gently pulling it forward after removing the bottom clips.
You’ll see the back of your headlights exposed. Clean the area with a cloth so no dirt enters the housing.

Step-by-step Halo Light Installation
Now it’s time to install your halo lights. The steps below work for most aftermarket halo kits designed for the JL. If your kit’s instructions differ, follow those but these steps cover the basics.
1. Remove The Headlights
- Use a 10mm socket to take out the three bolts holding each headlight in place.
- Gently pull the headlight forward and disconnect the wiring harness at the back. Lay the headlights on a soft towel to avoid scratches.
2. Open The Headlight Housing (if Required)
Some kits mount the halo ring on the outside, while others require opening the headlight housing. If so:
- Use a heat gun to soften the headlight seal (run it around the edge for a few minutes).
- Pry open the housing carefully with a flathead screwdriver.
- Caution: Opening your headlights may void their warranty and exposes them to moisture if not resealed properly.
Pro tip: Mark the headlight’s top with tape so you reassemble it in the right orientation.
3. Attach The Halo Rings
- Clean the mounting area inside the headlight with alcohol wipes.
- Stick the halo ring in place using the adhesive backing or mounting tabs (as your kit provides).
- If your kit uses screws or brackets, secure them as directed.
4. Route The Wiring
- Feed the halo wires through the back of the housing (use a rubber grommet to protect the wires).
- Re-seal the headlight housing using automotive-grade sealant and clamp it shut until dry.
- Reconnect the factory headlight wiring.
5. Connect The Halo Wires
You have a few wiring options:
Option 1: Fuse Box Connection
- Use a fuse tap to connect the positive halo wire to an “ignition-on” fuse. This makes your halos turn on with the ignition.
- Ground the negative wire to a nearby chassis bolt.
Option 2: Parking Light Tap
- Tap the positive halo wire into your parking light or DRL wire. The halos will turn on with your parking lights.
- Again, ground the negative wire securely.
Option 3: Add a Switch
- Run the positive wire through the firewall to an in-cabin switch, letting you control the halos manually.
Tip: Use a multimeter to confirm you’ve found the correct wires before making any permanent connections.
6. Test The Halos
Before reassembling, reconnect the battery and check:
- Halos light up as planned (ignition, parking, or switch).
- Both sides are equally bright.
- No flickering or color mismatch.
If something isn’t working, double-check your grounds and connections.
7. Reassemble And Secure
Once everything is working:
- Bolt the headlights back in.
- Snap the grille and radiator cover back into place.
- Use zip ties to tidy up any loose wiring.
- Reconnect the negative battery cable.
Common Mistakes And How To Avoid Them
Many first-time installers make the same errors. Here’s what to watch out for:
| Mistake | How to Avoid |
|---|---|
| Not sealing the headlight housing properly | Use quality sealant and let it cure fully before driving |
| Crossing wires or poor connections | Test connections with a multimeter before finalizing |
| Choosing the wrong power source | Use a fuse that matches your needs (ignition, parking, or DRL) |
| Skipping the battery disconnect | Always disconnect to prevent short circuits or damage |
| Using non-weatherproof kits | Buy kits with waterproof ratings for off-road use |
Insider insight: Many beginners forget to check for error codes on their dash. Some Jeep models detect changes in headlight current and trigger a warning. If this happens, use a CANbus adapter (included with some kits) to solve the issue.
After-installation Checks And Tips
Once your halo lights are installed, a few final checks and maintenance tips help keep them working for years:
- Check for condensation inside the headlights after your first drive. If you see fogging, reseal the housing immediately.
- Secure all wires away from hot engine parts or moving pieces.
- Clean the halos gently with a microfiber cloth—never use harsh chemicals.
- Test all modes (parking, DRL, blink, etc.) If your halos have multiple functions.
Two overlooked tips:
- Turn on your halos before every drive at night. This helps other drivers spot you sooner, especially on trails or in fog.
- Save your factory headlight parts. If you ever need to revert to stock for inspection or resale, you’ll have everything ready.
Are Halo Lights Legal?
Rules about halo lights vary by state. In most places, white and amber are legal on public roads, but colored halos (red, green, blue) are for off-road or show use only. Always check your local laws before using custom colors on the street. For reliable guidance, see the NHTSA Headlight Regulations.
Cost And Value
Installing halo lights on a Jeep Wrangler JL is a cost-effective way to stand out. Here’s a rough breakdown:
- Basic single-color kit: $60–$120
- RGB (multi-color) kit: $120–$250
- Professional installation (if you choose): $150–$300
DIY installation saves money and gives you the pride of a personal upgrade. Expect to spend 2 4 hours on your first install, or less if you’re experienced.
How Halo Lights Compare To Other Jeep Jl Lighting Mods
Wondering if halos are the best first lighting upgrade? Here’s how they compare:
| Upgrade | Cost | Difficulty | Impact |
|---|---|---|---|
| Halo Lights | $$ | Moderate | Style + Visibility |
| LED Headlight Swap | $$$ | Easy | Major Visibility |
| Light Bars | $$–$$$ | Moderate/Hard | Off-Road Visibility |
| Rock Lights | $–$$ | Moderate | Underbody Lighting |
Halos strike a balance between price, effort, and impact. They don’t replace your factory headlights but add style and extra safety.
What’s The Difference Between Halo Lights And Drls?
Halo lights are decorative rings that can be set up as DRLs (daytime running lights), but not all halos are wired this way. DRLs are always-on safety lights, while halos can be on, off, or change color depending on your setup.
Do I Need To Remove My Bumper To Install Halo Lights?
No, you only need to remove the Jeep’s grille and radiator cover to access the headlights. Bumper removal isn’t required for most halo kits.
Will Installing Halo Lights Void My Jeep Warranty?
Opening your headlight housing or modifying wiring can affect your warranty for the headlights or lighting system. Check with your dealer before you start, and keep all stock parts.
Can I Install Halo Lights Without Cutting Any Wires?
Some plug-and-play kits let you avoid cutting, but most require at least one “tap” into your parking or DRL wires. Using quick-connect taps or fuse taps minimizes permanent changes.
How Long Do Quality Halo Lights Last?
Good LED halo kits last 30,000 50,000 hours. Buying a waterproof, well-reviewed kit and sealing your headlight housing properly is key to long life.
Installing halo lights on your Jeep Wrangler JL is a rewarding project that boosts both style and safety. With the right tools, careful prep, and a little know-how, you’ll enjoy the new look every time you hit the road or trail.