Few upgrades change the look and feel of your Jeep JK like rock lights. These small, bright LEDs are mounted under your Jeep and light up the ground beneath. They’re useful for night-time off-roading, making obstacles easier to spot, and they add a cool glow that stands out. Installing rock lights can seem complicated, but with the right guide, you can finish this project in a weekend—even if you’re new to Jeep mods. Here’s a step-by-step walkthrough with practical tips, examples, and answers to common questions.
What Are Rock Lights And Why Install Them?
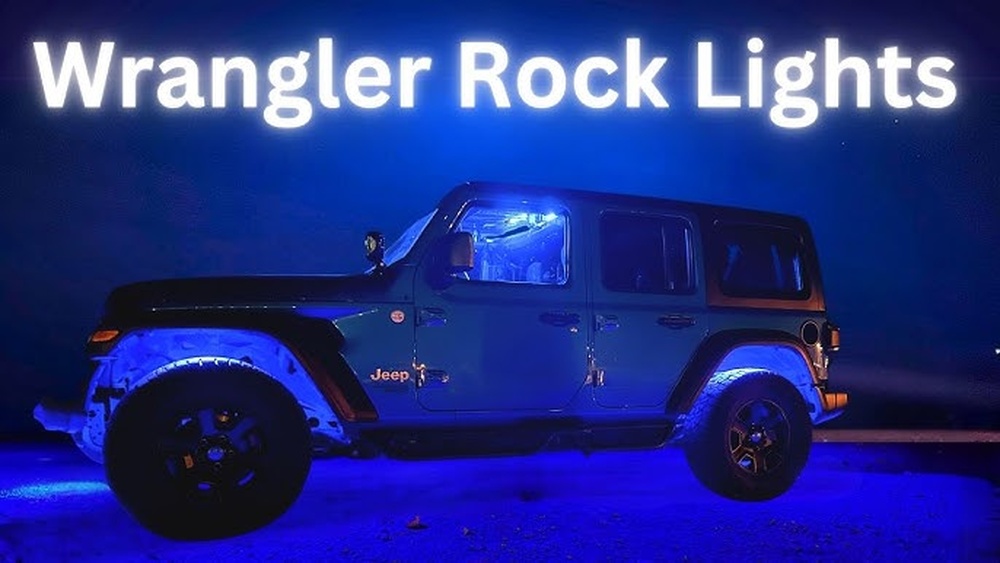
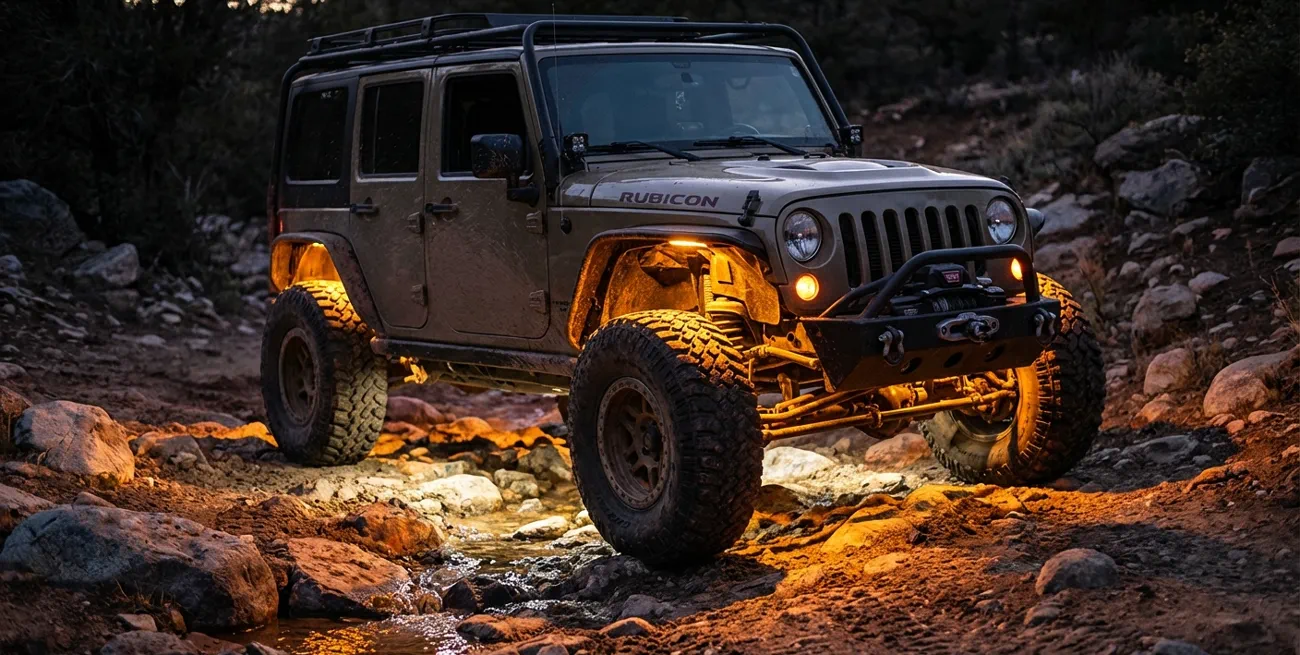
Rock lights are LEDs mounted under your Jeep. They shine on the ground, helping you see rocks, mud, and terrain when driving off-road at night. This is not just about style—it’s about safety and performance. With good rock lights, you can:
- Spot obstacles before you hit them
- See the ground under your wheels
- Make repairs or adjustments in the dark
- Improve your Jeep’s appearance
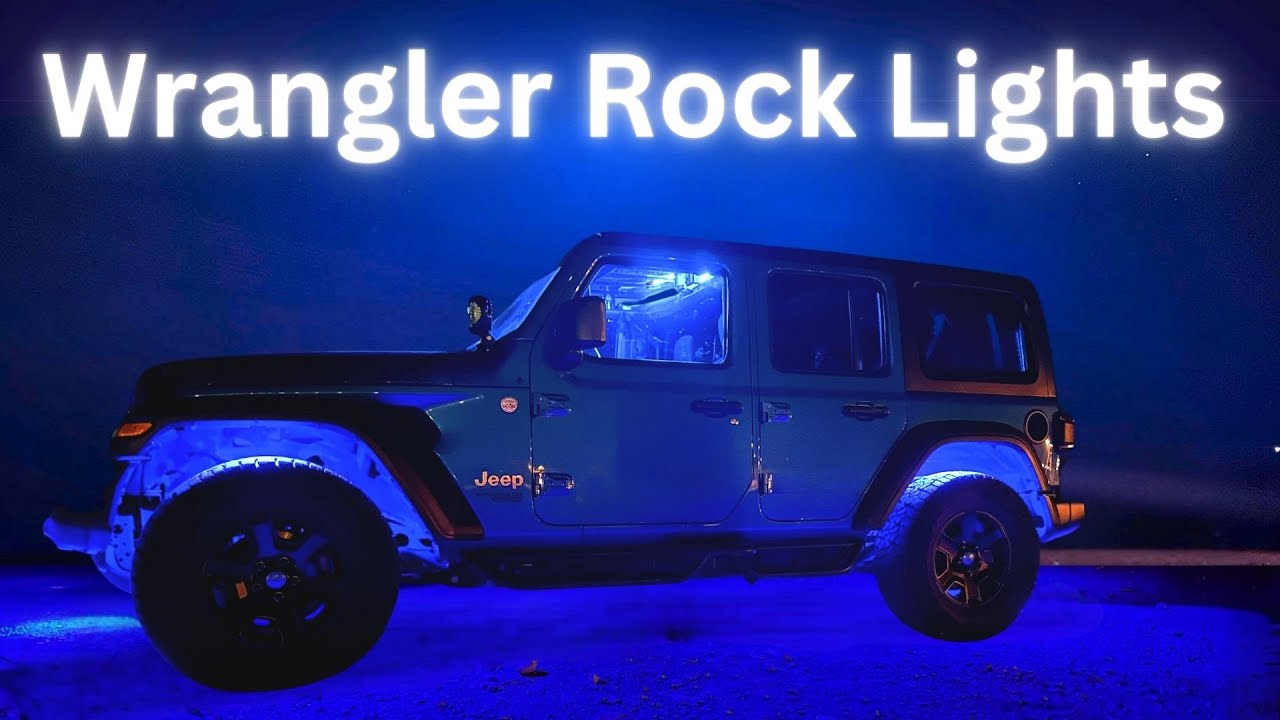
Jeep JK owners often choose rock lights for trail riding, camping, and night events. Some lights even change color or connect to your phone. Most kits include 4 to 8 lights, wiring, and mounting hardware.
Choosing The Right Rock Lights For Your Jeep Jk
Before you buy, understand what makes a good rock light kit. Not all lights are equal, and the wrong kit can lead to frustration or wasted money.
Key Factors To Compare
- Brightness (Lumens): Higher lumens mean brighter lights. For off-roading, aim for at least 400 lumens per pod.
- Durability: Look for IP67 or IP68 waterproof ratings. This means the lights can handle mud, rain, and splashes.
- Color Options: Some kits are simple white; others offer RGB colors controlled by an app or remote.
- Wiring Quality: Good kits use thick, shielded wires that resist heat and abrasion.
- Mounting Hardware: Stainless steel or aluminum brackets last longer and won’t rust.
- Warranty: A 1-year warranty is standard; some premium kits offer longer coverage.
Here’s a quick comparison of three popular kits for Jeep JK:
| Kit Name | Brightness | Waterproof | Color | Warranty |
|---|---|---|---|---|
| KC HiLites Rock Light Kit | 600 lumens | IP68 | White | 23 months |
| Nilight RGB LED Kit | 400 lumens | IP67 | RGB | 12 months |
| Quake LED Jeep JK Kit | 800 lumens | IP68 | RGB + White | 36 months |
Common Mistakes When Choosing
- Picking weak lights (under 300 lumens) that barely show the ground
- Buying kits without waterproofing
- Ignoring the quality of mounting brackets
- Choosing RGB kits with poor app support
If you want reliable, bright lights, avoid cheap kits with no brand reputation. Research reviews and check for real-world photos of the lights in use.
Tools And Materials You’ll Need
Installing rock lights isn’t just plug-and-play. You’ll need a few tools and supplies:
- Rock light kit (with wiring and mounts)
- Drill and drill bits (for metal and plastic)
- Screwdrivers (Phillips and flathead)
- Wire stripper/crimper
- Zip ties
- Electrical tape
- Fuse tap or add-a-circuit kit
- Safety glasses
- Socket wrench set
Optional:
- Heat shrink tubing for waterproof wire connections
- Silicone sealant for extra protection
Before starting, lay out all parts and check the kit for missing items. Some Jeep JK owners forget to check the length of wiring measure under your Jeep to confirm the kit will reach all mounting spots.
Planning The Installation: Where To Mount Rock Lights
Mounting location is critical. Rock lights work best when they’re evenly spaced and shine directly on the ground.
Typical Jeep Jk Rock Light Locations
- Front wheel wells: Shows obstacles for steering and tire placement
- Rear wheel wells: Lights up rocks and mud behind your wheels
- Underbody (center): Illuminates the belly pan and skid plates
- Front bumper corners: Extra coverage for approach angles
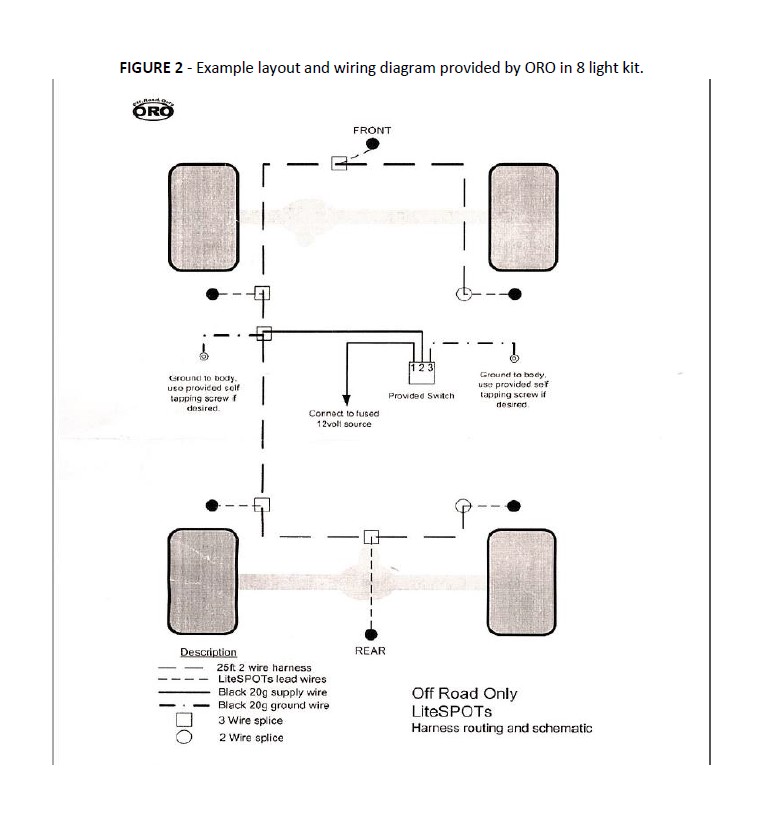
Most kits include 4 or 8 lights. For standard use, mount one in each wheel well and two under the center for even lighting.
Here’s a layout comparison for 4 vs 8 pods:
| Pods | Coverage | Best For |
|---|---|---|
| 4 | Wheel wells only | Casual off-roading |
| 6 | Wheel wells + center | Moderate trails |
| 8 | Wheel wells + center + bumpers | Extreme night off-roading |
Pro tip: Avoid mounting lights where they face directly into the tire or suspension. Aim for spots with a clear view of the ground.
Step-by-step Installation Guide
Ready to get started? Here’s a practical guide from start to finish.
1. Prepare Your Jeep
- Park on a flat surface with plenty of space.
- Disconnect the battery to prevent electrical shorts.
- Clean the mounting areas with soap and water. Dirt can block light or prevent proper mounting.
2. Mark Mounting Locations
- Use painter’s tape or a marker to outline where you’ll mount each light.
- Check for clearance—avoid drilling into brake lines, fuel lines, or wiring.
- Hold each pod up to the spot and look for any obstructions.
3. Drill Mounting Holes
- Wear safety glasses.
- Use a drill bit sized for your mounting hardware (often 1/4”).
- Drill carefully; start with a small pilot hole, then use the larger bit.
- If mounting on plastic, use low speed to avoid cracks.
4. Attach Rock Lights
- Secure each pod with the included screws or bolts.
- Tighten but don’t over-torque (risk of cracking plastic or stripping metal).
- If mounting on exposed metal, use silicone sealant for rust prevention.
5. Route Wiring
- Start from each pod and run wires toward the engine bay.
- Use zip ties to keep wires away from hot or moving parts (exhaust, driveshaft, suspension).
- Route wires along the frame or inside wheel wells for protection.
- Leave slack for suspension movement.
Non-obvious insight: Many beginners route wires too tightly, causing them to break when the Jeep flexes. Always leave a little extra wire length.
6. Connect To Power
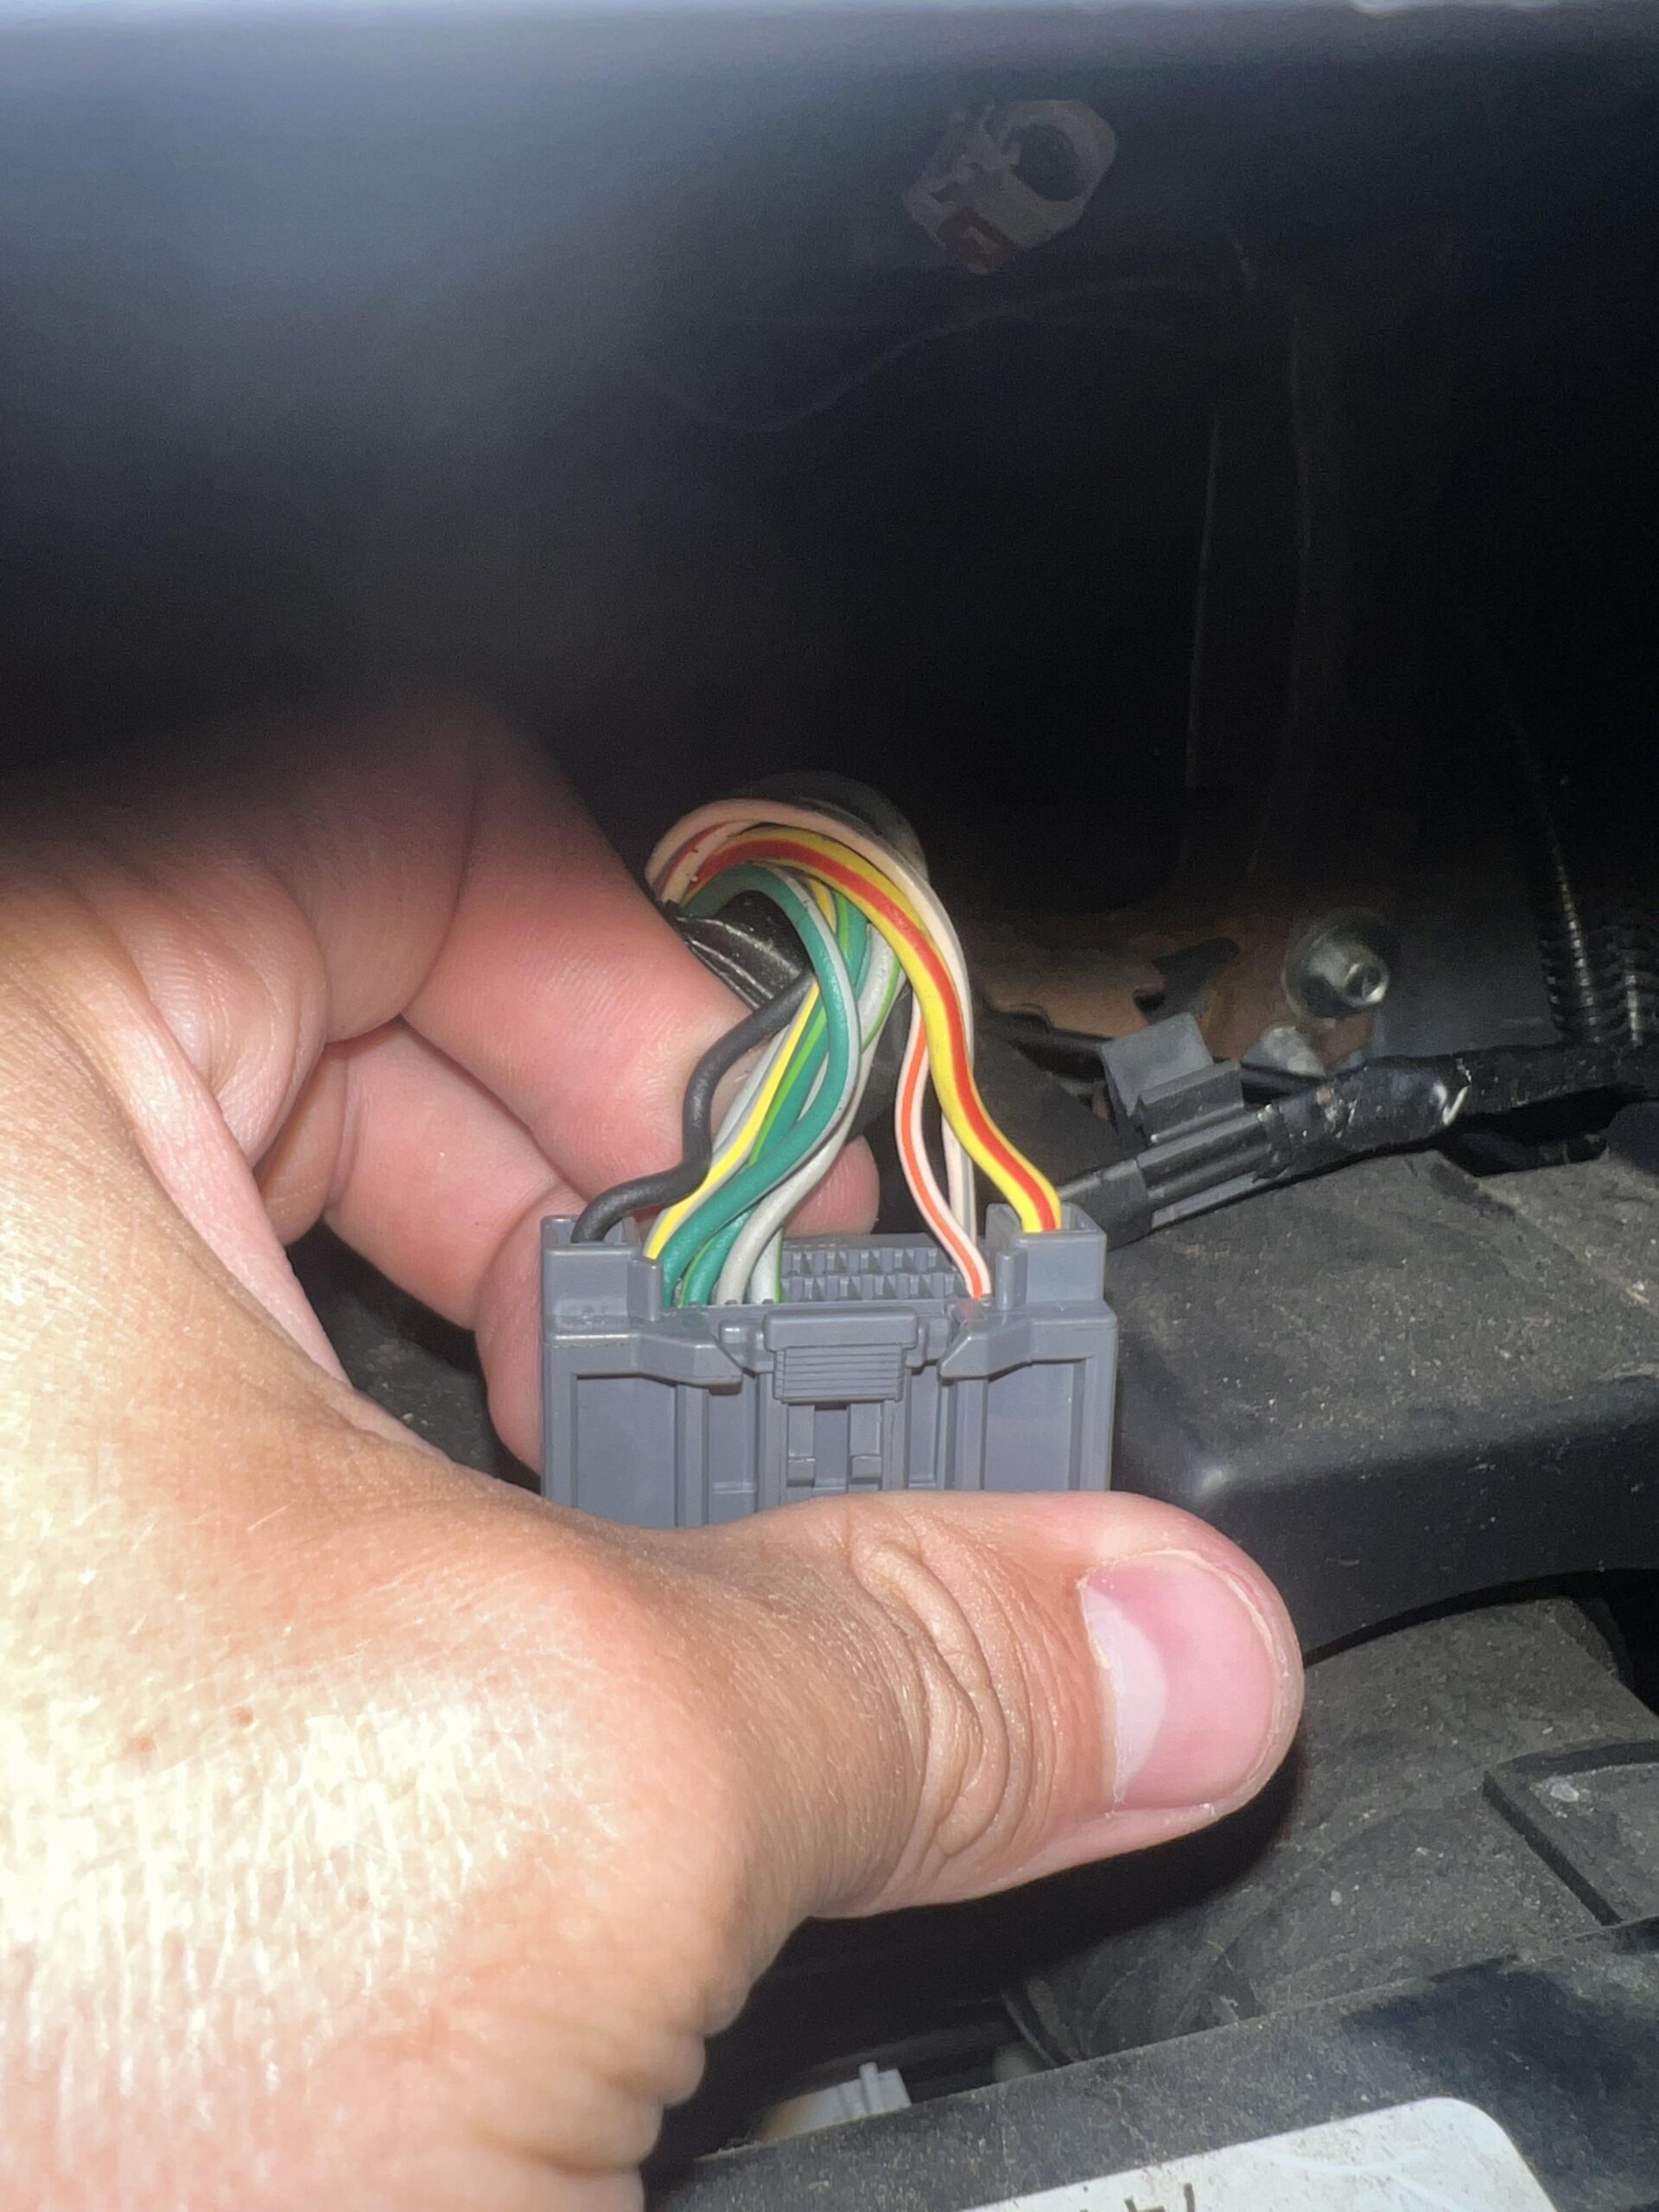
- Most kits connect to the battery, fuse box, or an existing switch.
- Use a fuse tap or add-a-circuit kit for safe connections.
- Crimp connectors firmly and cover with heat shrink or electrical tape.
- If your kit has a remote or app control box, mount it in a dry area (under hood or inside cabin).
7. Test Each Light
- Reconnect the battery.
- Turn on the lights and check each pod. Look for brightness and even coverage.
- Check for flickering or weak lights—these can be signs of bad ground or loose wiring.
8. Final Securing
- Double-check zip ties and mounting screws.
- Seal all exposed wire connections with silicone or heat shrink tubing.
- Clean up any extra wires with zip ties.
9. Enjoy Your New Rock Lights
Take your Jeep for a test drive at night. Look for dark spots or areas needing adjustment. If needed, reposition pods for better coverage.
Troubleshooting Common Problems
Even careful installs can have issues. Here’s how to fix common rock light problems:
- One pod won’t light up: Check the wire connections and ground. Swap pods to see if it’s a wiring issue or a faulty pod.
- Flickering lights: This usually means a loose connection. Re-crimp connectors and check for corrosion.
- Dim lights: Make sure you’re using the right fuse and the battery is strong. Weak battery voltage can cause dim LEDs.
- Water inside pods: Remove and dry the pod, reseal with silicone. If water keeps getting in, contact the manufacturer.
Real-world Examples And Jeep Jk Owner Tips
Many Jeep JK owners share their experiences online. One owner on a popular Jeep forum reported that installing 8 pods gave “full 360-degree coverage,” but the extra wiring took more time.
Another owner warned that low-quality RGB kits had unreliable app controls sometimes the lights wouldn’t sync or turned off randomly.
Beginner tip: If you’re nervous about drilling into your Jeep, practice on a scrap piece of metal or plastic first. Also, always check behind your drill spot with your hand to avoid hitting hidden wires or lines.
Safety And Legal Considerations
In some states, colored underbody lights are restricted on public roads. Always check local laws before using RGB or colored lights outside trails. On private land and trails, you’re usually safe, but avoid using red or blue (police colors) to prevent confusion.
Non-obvious insight: Some insurance policies won’t cover electrical modifications unless installed professionally. If you have concerns, document your install and keep receipts.
Cost And Time Estimates
Installing rock lights is affordable compared to other Jeep mods. Here’s a breakdown:
| Item | Average Cost | Time To Install |
|---|---|---|
| Rock light kit (4 pods) | $50-$120 | 2-3 hours |
| Rock light kit (8 pods) | $120-$250 | 4-6 hours |
| Professional installation | $200-$400 | 2-4 hours |
Most Jeep JK owners do the install themselves. If you’re comfortable with basic tools, you can finish in a single afternoon. Don’t rush careful wiring and mounting will save trouble later.
How Many Rock Lights Do I Need For My Jeep Jk?
Most Jeep JKs use 4 to 8 pods. Four is enough for wheel wells, while eight covers the entire underbody and bumpers. Choose based on your night driving needs and budget.
Can I Install Rock Lights Without Drilling?
Some kits offer adhesive mounts, but drilling gives the most secure fit. Adhesive can fail in mud, water, or heat. If you don’t want to drill, look for kits with strong magnetic mounts.
Will Rock Lights Drain My Battery?
Rock lights use very little power (about 1 2 amps per pod). If wired correctly and turned off when not in use, they won’t drain your battery. Always use a fuse for safety.
Are Rock Lights Legal On Public Roads?
White rock lights are usually legal, but colored lights may be restricted. Check your local laws some states ban red, blue, or flashing lights. Use RGB lights only on trails or private property.
Where Can I Find Reliable Rock Light Kits?
Look for kits from respected brands and check reviews on Jeep forums or sites like ExtremeTerrain. Avoid unbranded kits with no warranty or support.
Installing rock lights on your Jeep JK takes patience and a few basic tools. With careful planning and the right kit, your Jeep will stand out on the trails and you’ll enjoy safer, more confident night rides.