Wiring a light bar on your Jeep XJ is one of the most popular upgrades for off-road enthusiasts. A well-installed light bar gives you much better visibility at night and in poor weather. But many beginners worry about wiring – it looks complicated and risky. The truth is, with some patience and the right steps, you can do it safely at home. This guide will show you how to wire a light bar on a Jeep XJ, with easy-to-follow instructions and practical tips from real-world experience.
Why Add A Light Bar To Your Jeep Xj?
The stock headlights on a Jeep XJ are often not bright enough for serious off-roading. LED light bars can deliver thousands of lumens, cutting through fog, rain, and darkness. This helps you spot obstacles, wildlife, and changes in the trail before it’s too late. Besides performance, light bars also add a rugged look to your vehicle.
Some drivers worry about the extra electrical load, but modern LED bars use less power than old-style lights. Still, a safe, reliable wiring setup is essential to avoid electrical problems.
Tools And Materials You’ll Need
Before you start, gather everything you need. Using the right tools makes the job easier and safer.
- LED light bar (with mounting brackets)
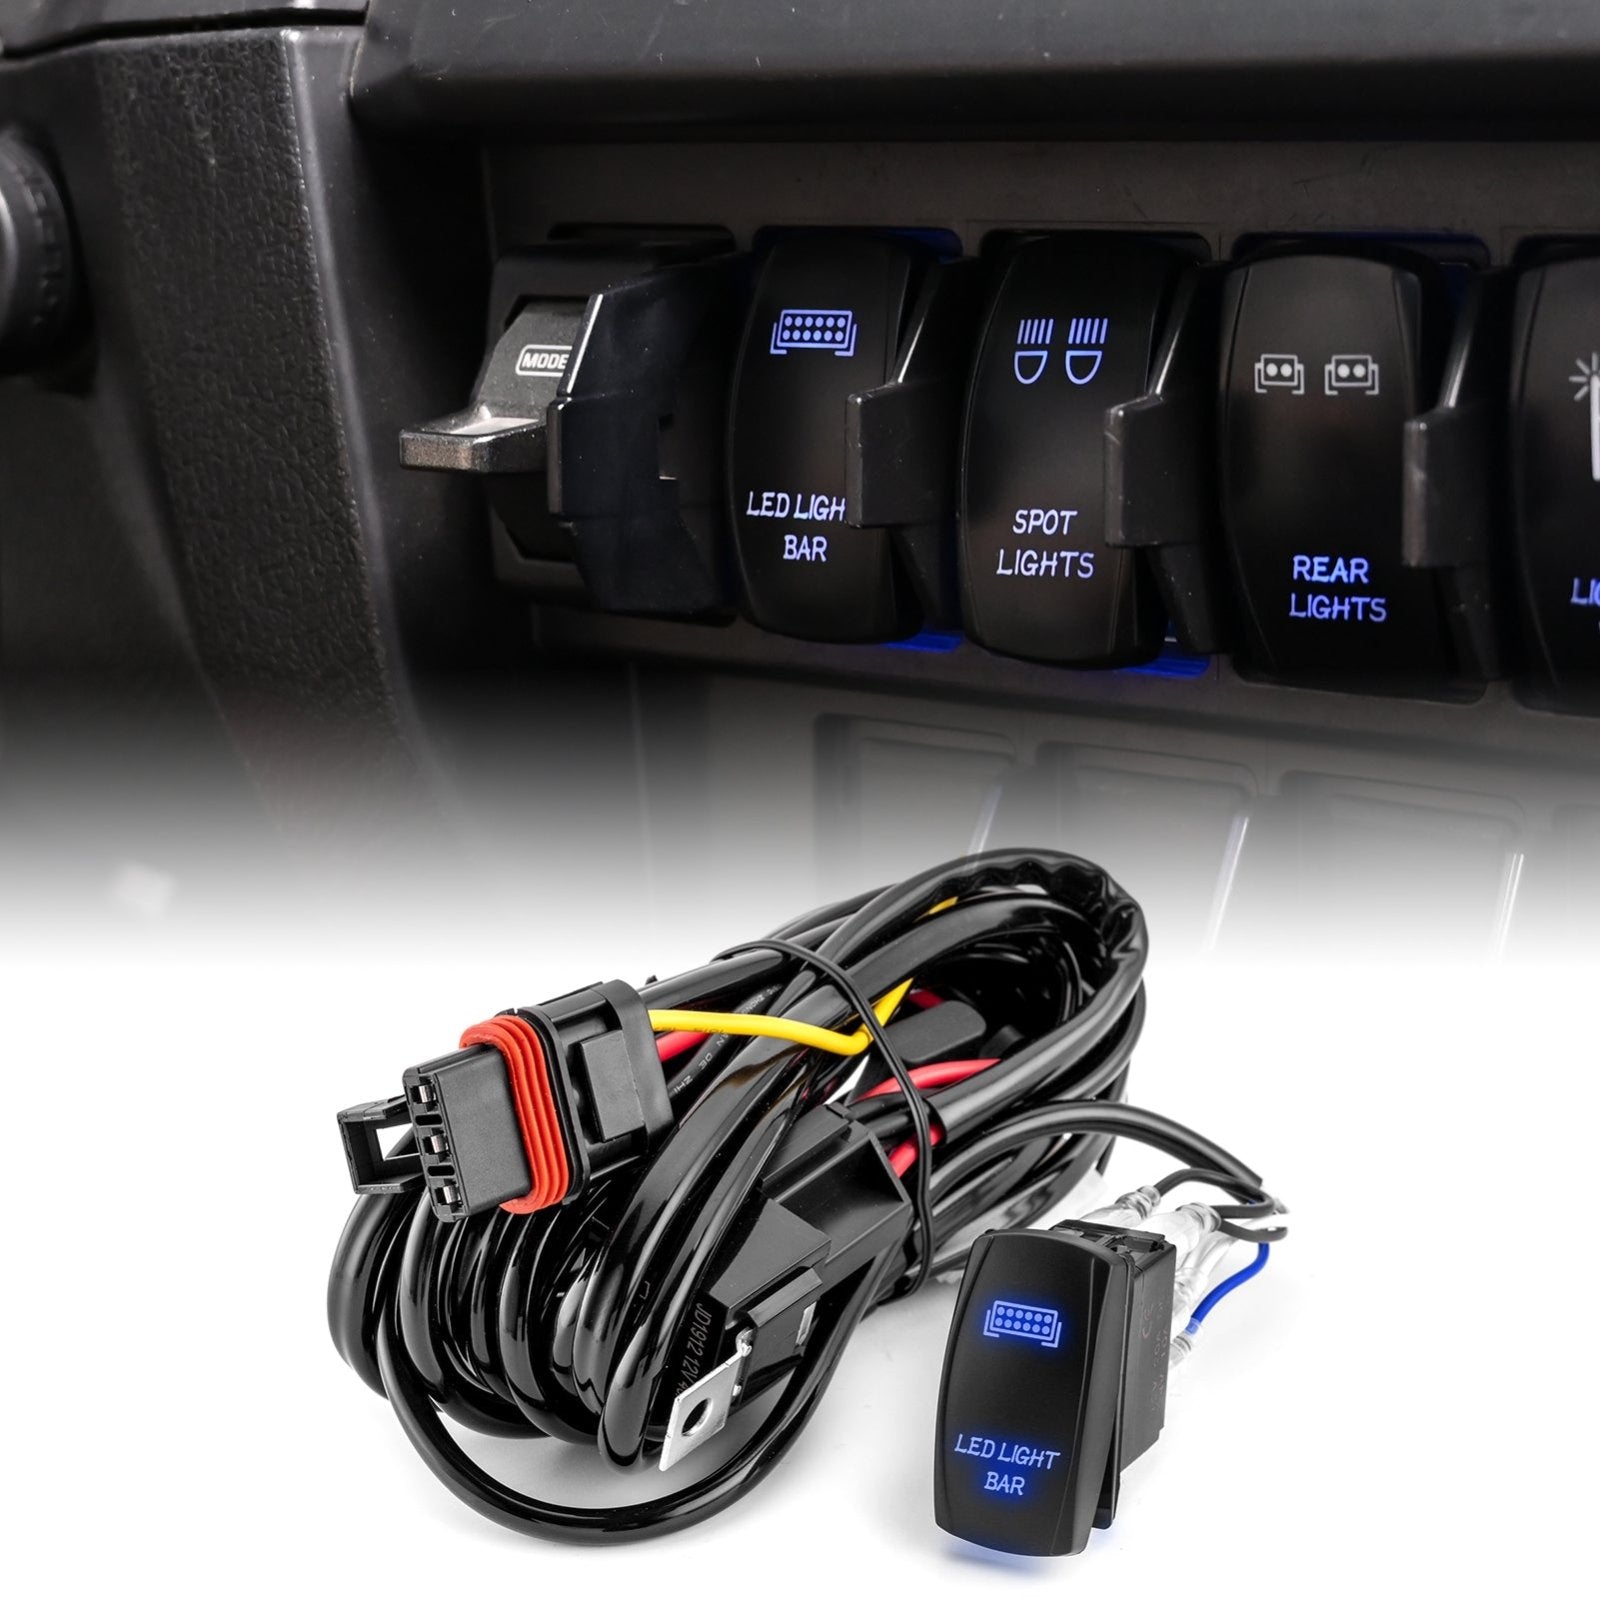
- Wiring harness (usually includes relay, fuse, and switch)
- Wire strippers and crimpers
- Ring terminals and butt connectors
- Electrical tape and heat shrink tubing
- Socket wrench set
- Screwdriver set
- Multimeter (for checking connections)
- Zip ties
- Drill with bits (if mounting holes are needed)
- Protective gloves and eye protection
Buying a pre-made wiring harness saves a lot of time and reduces mistakes. If you’re wiring everything from scratch, you’ll also need extra wire (usually 14-16 gauge for LED bars) and a relay rated for your bar’s wattage.
Planning Your Installation
Think carefully about where you want the light bar and how to run the wires. The most common spots are:
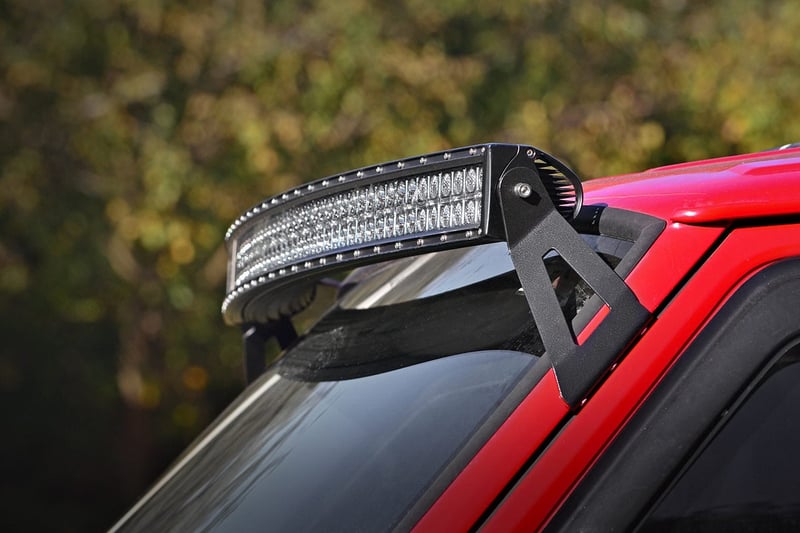
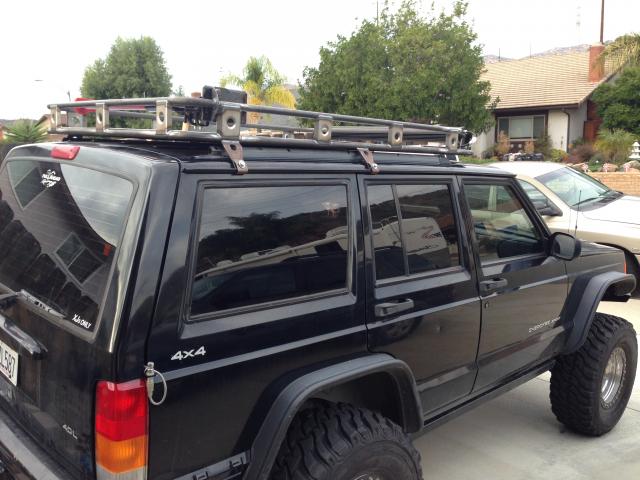
- Roof mount (above the windshield)
- Front bumper (centered or on the bull bar)
- Grille or hood
Each spot has pros and cons. Roof mounting gives a wide spread but can cause glare on the hood. Bumper mounting gives more focused light but may catch more mud and water.
Plan the wiring path to avoid sharp edges, hot surfaces (like the exhaust), and moving parts. Keeping wires close to the frame and using zip ties helps protect them.
Example: Roof Vs. Bumper Mount
Here’s a quick comparison of the two common mounting locations:
| Mount Location | Pros | Cons |
|---|---|---|
| Roof | Widest light spread, less likely to get dirty | May cause hood glare, harder wiring path |
| Bumper | Easy access, focused beam, simple wiring | Can get blocked by mud or snow |
Step-by-step: Wiring A Light Bar On A Jeep Xj
1. Disconnect The Battery
Start by disconnecting the negative battery terminal. This keeps you safe from shorts or accidental sparks. Never skip this step.
2. Mount The Light Bar
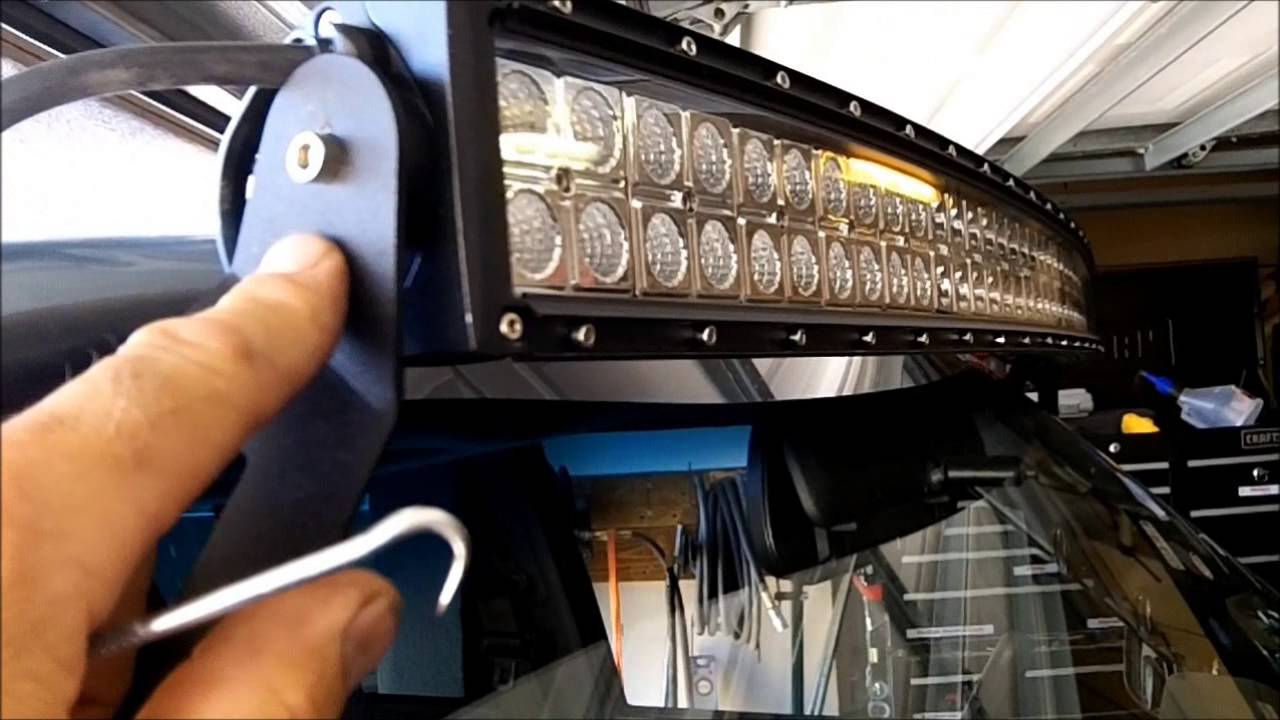
Attach the light bar to your chosen spot using the brackets provided. Ensure it’s secure and aimed correctly. For roof mounting, you may need to drill holes or use special mounting kits. Double-check that it’s straight and tight.
3. Route The Wires
Run the wiring harness from the light bar to the engine bay. Keep wires away from moving parts and heat sources.
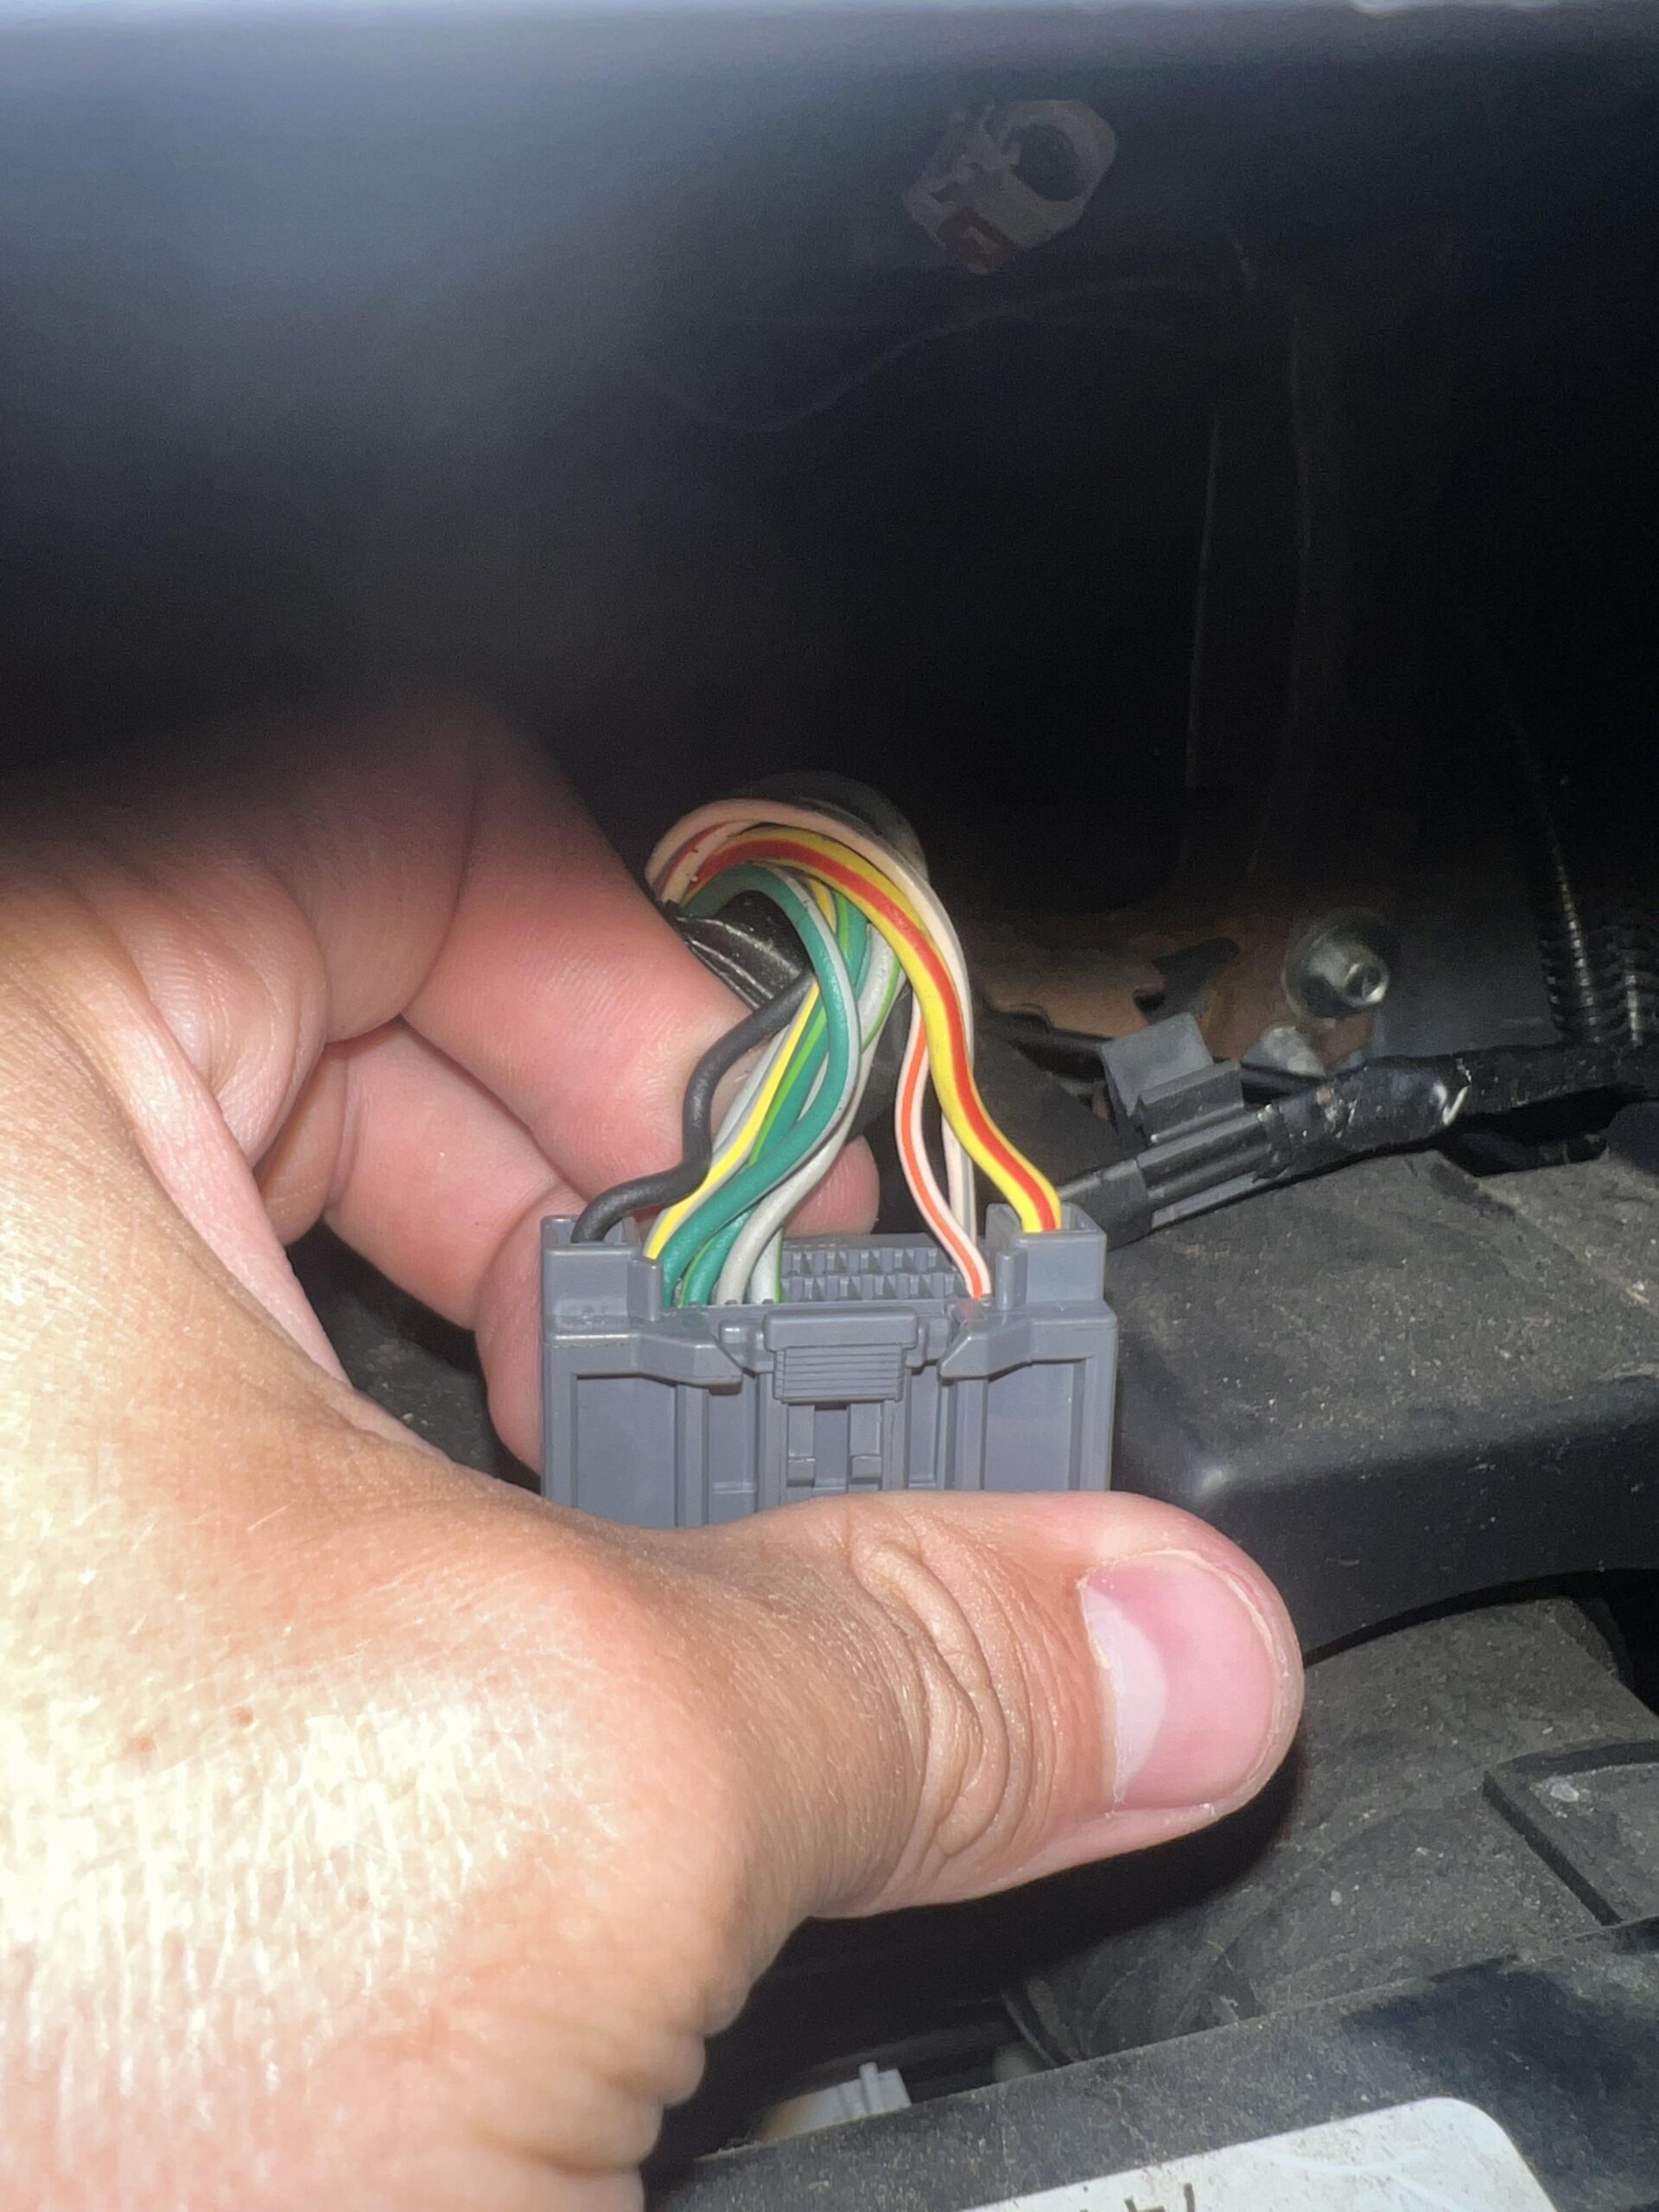
Use zip ties to secure the harness along the frame or existing wiring. If you need to pass wires through the firewall (to reach the interior for the switch), look for a factory rubber grommet and carefully poke through it.
Pro tip: Add a small dab of silicone around any hole in the firewall to keep out water and dust.
4. Connect The Relay And Fuse
Most harnesses come with a relay and an inline fuse. Mount the relay close to the battery but away from direct heat or moisture. Use a self-tapping screw or zip tie. The fuse should be as close to the battery as possible for maximum protection.
5. Wire The Switch
Decide where you want the switch inside the cabin. Many people mount it on the dash or in a blank switch panel. Use the harness’s long wire to reach the interior. Make sure the wire doesn’t interfere with pedals or steering.
Some switches light up when on. If you want the switch to work only with the ignition, tap into a circuit that’s live only when the key is on. Otherwise, connect directly to the battery for constant power.
6. Make The Battery Connections
Connect the positive (usually red) wire from the relay to the battery’s positive terminal. Use a ring terminal for a secure connection. Then, connect the negative (black) wire to the battery’s negative or a solid ground on the chassis.
Always check that the wires are tight and not touching anything that could cause a short.
7. Test The Light Bar
Reconnect the battery and test your setup. Flip the switch the light bar should turn on and off smoothly. If it doesn’t, check all connections and the fuse. Use a multimeter to confirm power at each point.
8. Secure And Protect All Wires
Once everything works, wrap any exposed connections in electrical tape or use heat shrink tubing. Secure all wires with zip ties. Tuck away extra wire and keep it away from heat and sharp edges.
Typical Wiring Diagram Example
A simple wiring diagram helps you see the connections:
| Component | Connects To | Notes |
|---|---|---|
| Light Bar (+) | Relay (87 terminal) | Power to light bar |
| Relay (30 terminal) | Battery (+) via fuse | Main power supply |
| Relay (85 terminal) | Chassis Ground | Relay ground |
| Relay (86 terminal) | Switch output | Triggers relay |
| Switch input | Battery (+) or ignition (+) | Switch power source |
| Light Bar (-) | Chassis Ground | Light ground |
Key Safety Tips
- Never wire directly from the battery to the light bar without a relay and fuse. This is a fire risk.
- Use heat shrink tubing instead of just tape for outdoor connections. It seals better against water.
- Don’t use undersized wire. For most LED light bars, 14 or 16 gauge is enough, but check the bar’s current draw.
- Avoid routing wires near the exhaust manifold or moving suspension parts.
- Test every connection with a multimeter before buttoning up.
Common Mistakes To Avoid
- Skipping the relay: Direct switching can burn out your dashboard or switch.
- No fuse: A short can quickly damage your electrical system.
- Loose ground connections: Most electrical problems come from bad grounds.
- Messy wiring: Dangling wires get caught, rub, and short out.
- Ignoring polarity: Reversing wires can damage the LED bar.
Many beginners also forget that adding too many accessories to the same circuit can overload it. Always spread out your electrical loads and consider upgrading your alternator if you add several high-power devices.
Choosing The Right Light Bar And Harness
Not all light bars are the same. When shopping, look at:
- Length: Common sizes for Jeep XJ are 20-inch (bumper), 32-inch (roof), and 50-inch (roof).
- Beam pattern: Spot beams are focused, flood beams spread wider, and combo bars offer both.
- Wattage: More watts mean more light but also more power draw.
- Harness quality: Cheap harnesses may use thin wire or poor connectors. Always check the wire gauge and that the relay/fuse are rated for your bar’s wattage.
Light Bar And Harness Comparison
Here’s how three popular light bar options compare for a Jeep XJ:
| Light Bar | Length | Wattage | Beam Type | Suggested Harness Fuse |
|---|---|---|---|---|
| Nilight 126W | 20 inch | 126W | Spot/Flood Combo | 20A |
| Rough Country 288W | 50 inch | 288W | Flood | 30A |
| Auxbeam 180W | 32 inch | 180W | Spot | 25A |
Pro tip: Always use a fuse rated just above your light bar’s max draw, but never oversize the fuse. This protects your wiring and the Jeep.
Two Insights Most Beginners Miss
First, always check your local laws before installing a light bar. In some states, driving with an uncovered light bar on public roads is illegal, even if it’s turned off. Use a light bar cover when on the street.
Second, water can sneak into your light bar or connectors, especially after river crossings or pressure washing. Use dielectric grease on all connectors to keep out moisture and reduce corrosion. This simple step can add years to your setup’s life.
When To Get Professional Help
If you’re not confident with automotive wiring, or if your Jeep already has complex aftermarket electronics, consider having a professional install your light bar.
This is especially true if you want to tie the light bar into your high-beam switch or integrate it with other lighting systems.
A mistake can cause blown fuses, battery drain, or even electrical fires.
For more in-depth wiring details and electrical safety, check out the Jeep Forum for community advice.
Can I Wire My Light Bar To My High Beams?
Yes, you can wire the relay trigger to the high beam circuit. This makes your light bar turn on only with the high beams. Use a relay and tap into the high beam wire with a fuse tap or a splice.
Do I Need A Relay For My Light Bar?
Always use a relay for light bars over 30 watts. The relay allows a low-current switch to control a high-current light bar safely, protecting your switch and wiring.
What Size Fuse Should I Use For My Light Bar?
Check your light bar’s amp draw (watts divided by volts = amps). Choose a fuse rated 10-20% above the max draw. For example, a 120W bar at 12V draws 10A, so use a 15A fuse.
How Do I Waterproof My Light Bar Wiring?
Use heat shrink tubing on all connections and apply dielectric grease to connectors. Secure wires with zip ties and avoid low spots where water can pool.
Will A Light Bar Drain My Jeep’s Battery?
If used with the engine off for a long time, yes. But when running, the alternator keeps up with the power. Always turn off the light bar when parked for long periods.
Adding a light bar to your Jeep XJ is a smart upgrade for off-road safety and style. Taking the time to plan and wire it correctly means you can enjoy bright, reliable lighting on any trail.
With a good harness, attention to detail, and a focus on safety, this is a DIY job most Jeep owners can handle.
Get ready for your next night adventure with confidence and a well-lit path ahead.