Wiring offroad lights on a Jeep Wrangler can completely change how you see the trail at night. For many Jeep owners, adding extra lighting is one of the first upgrades. But getting the wiring right is just as important as the lights themselves.
If you rush, you might end up with flickering lights or even a dangerous short circuit. Here’s a practical, easy-to-follow guide to help you wire offroad lights to your Jeep Wrangler safely and confidently even if you’re new to car wiring.
Why Upgrade Your Jeep Wrangler With Offroad Lights?
Offroad lights aren’t just about looking cool. When you drive on unlit trails, even the Wrangler’s factory headlights can leave you guessing. Offroad lights provide a wider, brighter beam. This helps spot obstacles, animals, or hazards before they become a problem. Extra lighting is also key for group rides, camping, and working at night.
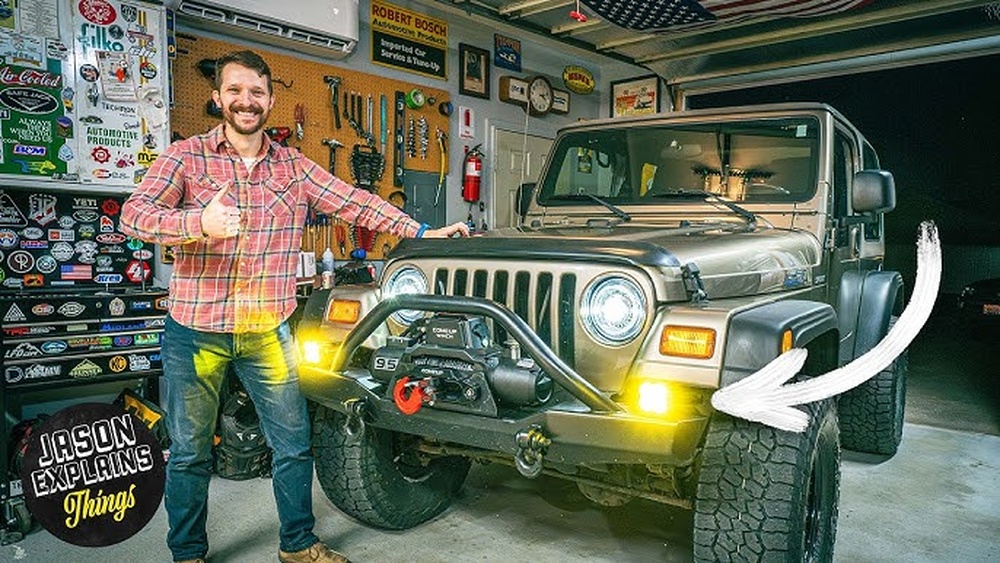
Many Jeep owners install LED light bars, spotlights, or floodlights. These come in different shapes and brightness levels. Some use them for style, but for serious offroading, good lighting can prevent expensive accidents.
Planning Your Offroad Light Wiring
Before you pick up any tools, plan your setup. Wiring offroad lights isn’t hard, but mistakes can be frustrating or risky. Here’s what you need to think about:
- Location of Lights: Decide where you want to mount your lights—bumper, windshield pillars, roof, or grill. Each spot needs different wire routing.
- Type of Switch: Most people prefer a dashboard switch. Some kits include one, but you can also buy a custom switch that matches your Jeep’s look.
- Wiring Route: Plan how the wires will go from the battery to the lights and switch. Avoid hot or moving parts.
- Fuse and Relay: Always use a relay and fuse for safety. Direct wiring can overload circuits or even cause a fire.
- Wire Gauge: For most LED lights, 14-16 gauge wire works well. For bigger light bars, use thicker wire (12 gauge).
A simple sketch helps. Mark the battery, switch, relay, and each light. This makes the next steps much easier.
Tools And Materials You’ll Need
Gather everything before you start. Here’s a checklist with typical quantities for one or two offroad lights:
- Offroad light(s) (LED bar, spotlights, etc.)
- 12V automotive relay (1)
- Inline fuse holder and fuse (1, 15A-30A depending on your lights)
- Switch (1, weatherproof if mounting outside)
- Automotive wire (12-16 gauge, 15–20 feet)
- Wire connectors (ring terminals, spade connectors, butt connectors)
- Electrical tape and heat shrink tubing
- Crimping tool and wire stripper
- Drill (if needed for mounting switch/lights)
- Zip ties or wire loom for neat routing
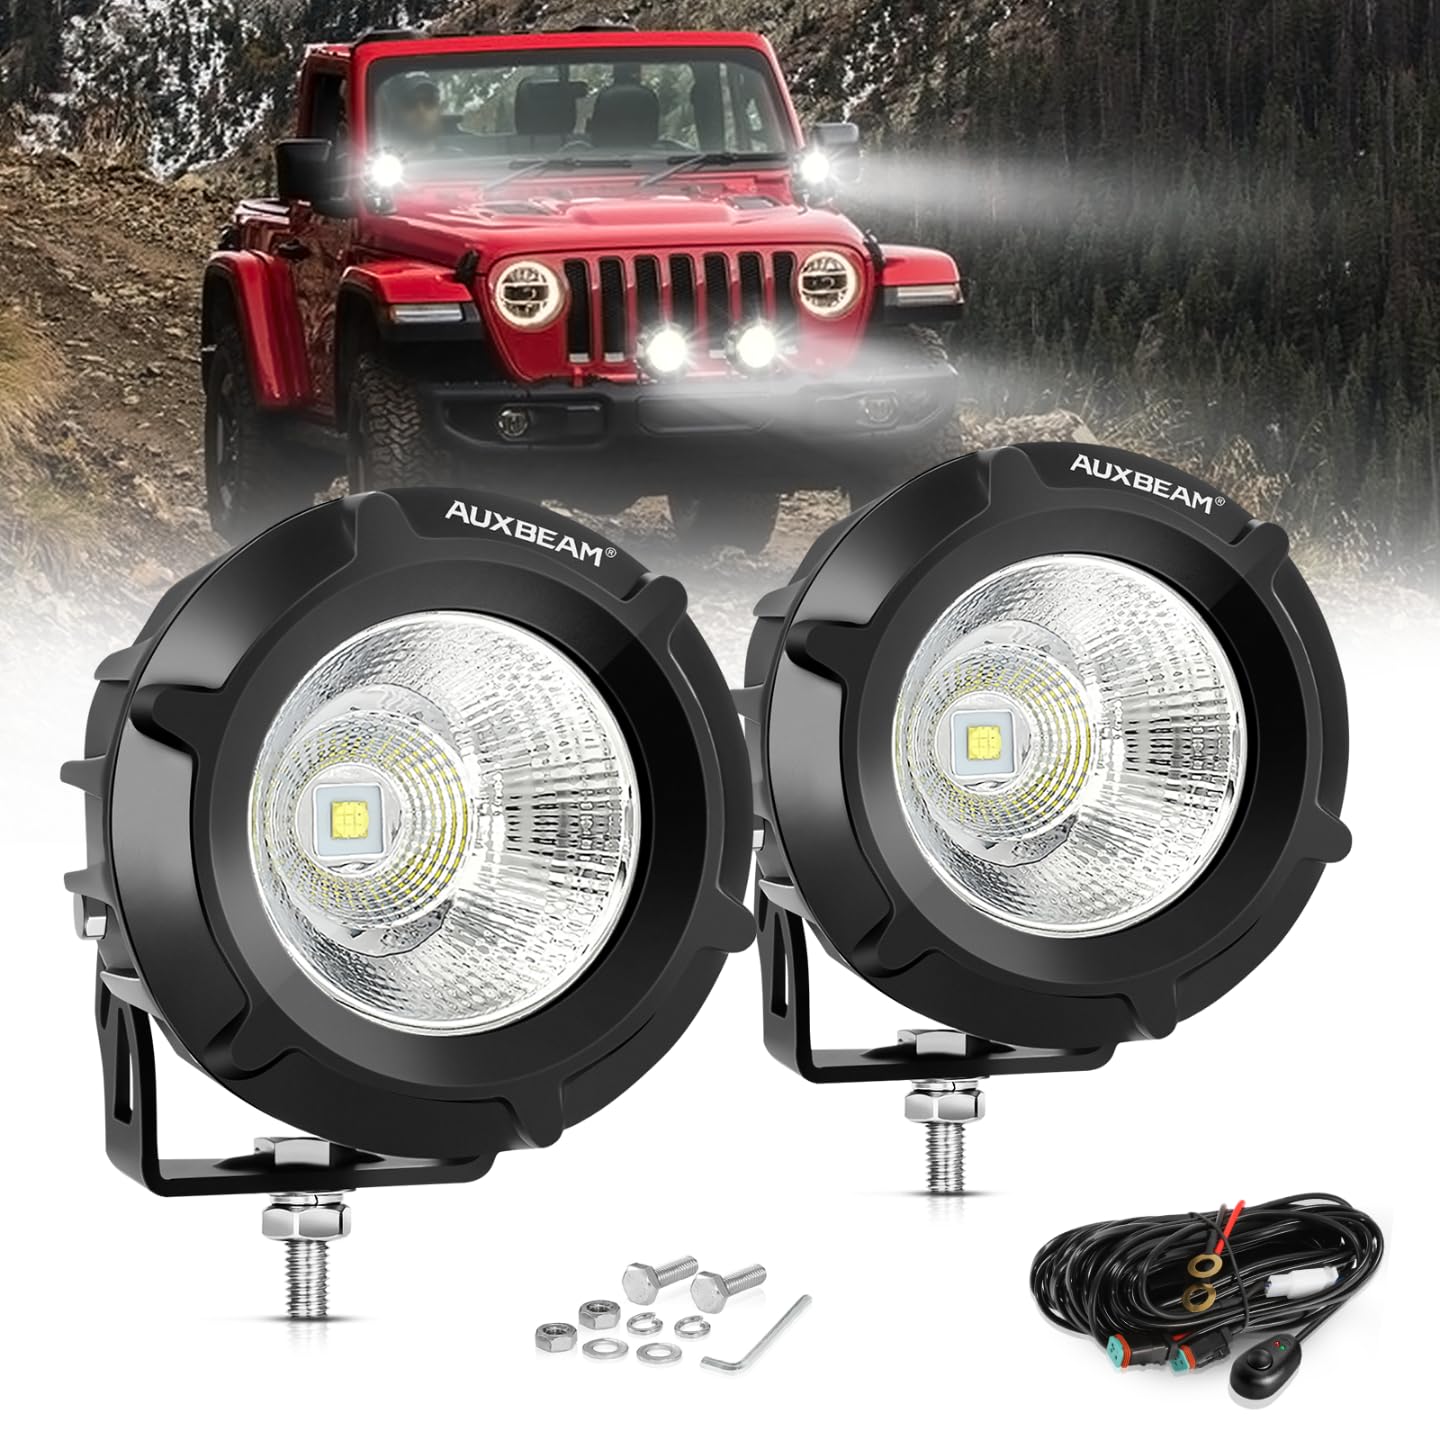
Some offroad light kits include a wiring harness with relay and switch. If so, you may not need to buy everything separately.
Understanding The Wiring Diagram
A basic offroad light wiring setup for your Jeep Wrangler looks like this:
- Power wire from the battery positive to the relay (with a fuse).
- Relay output to the positive wire of the lights.
- Ground wire from the lights to a solid metal part of the Jeep or battery negative.
- Switch wire from the relay to the switch inside the Jeep.
- Switch ground to the Jeep’s chassis.
Here’s a simple comparison of common wiring setups:
| Wiring Type | Pros | Cons |
|---|---|---|
| Direct to Battery (No Relay) | Simple, Fast | Risk of overload, No switch control |
| Relay with Switch | Safe, Controlled, Best for multiple lights | More parts, More steps |
| Pre-made Harness | Quick install, Plug & play | May not fit custom setups perfectly |
For most Jeep owners, using a relay with a switch is the safest and most reliable method.
Step-by-step Guide To Wiring Offroad Lights
1. Disconnect The Battery
Always start by disconnecting the negative terminal of your Jeep’s battery. This prevents accidental shorts and protects you from shocks.
2. Mount The Offroad Lights
Install your lights in the chosen locations. Use the supplied brackets and bolts. Make sure they are aimed correctly and are firmly attached. For windshield or roof lights, you might need special brackets designed for the Wrangler.
3. Mount The Relay And Fuse
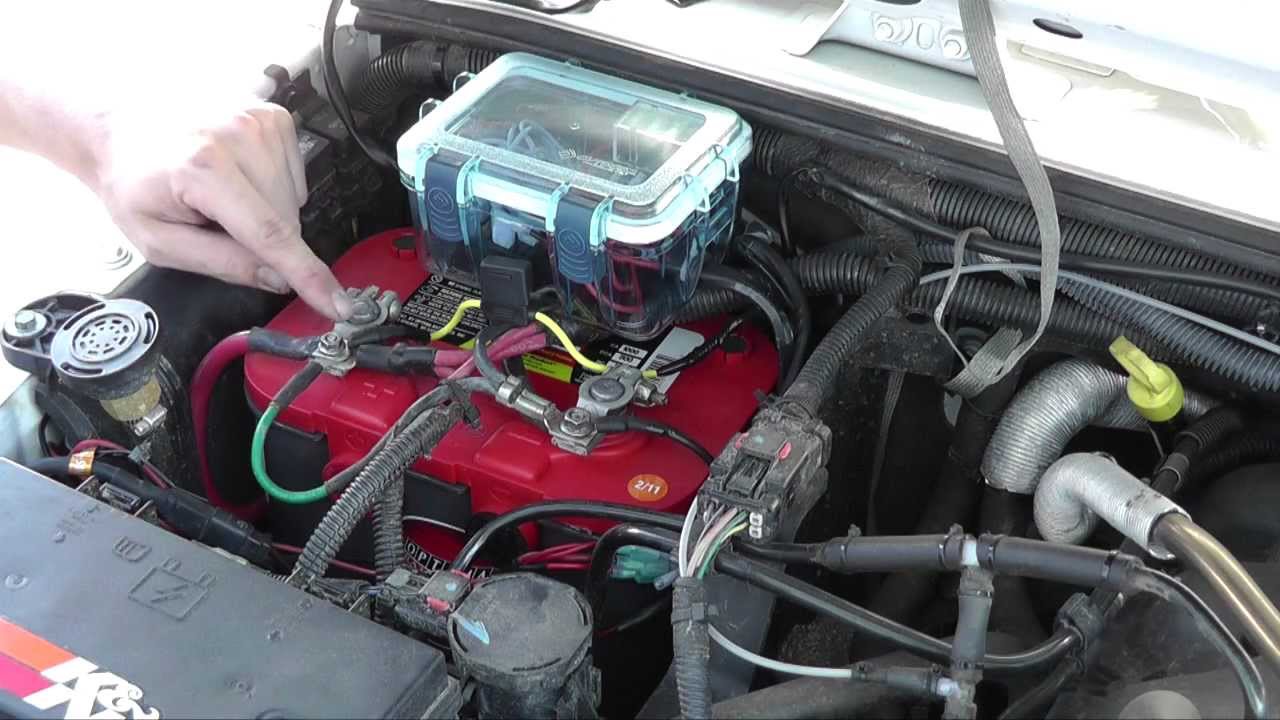
Find a dry spot near the battery to mount the relay. Use a self-tapping screw or zip tie. Place the inline fuse close to the battery within 6 inches is best. This protects your Jeep if the wire ever shorts.
4. Route The Wiring
Run the power wire from the battery’s positive post to the fuse, then to the relay’s input. From the relay’s output, run a wire to the positive terminal on your lights.
Route wires along factory harnesses when possible, using zip ties or a wire loom for protection.
Pro tip: Avoid sharp edges and hot engine parts. For roof lights, run wires up the windshield pillar, tucking them under the trim or using a waterproof wire loom.
5. Install The Switch
Choose a spot inside the cabin for your switch. Many Jeep owners use blank switch spots near the steering wheel. Drill if needed and snap the switch into place. Run a wire from the relay’s control terminal to one side of the switch.
Connect the other side of the switch to a ground (bare metal under the dashboard works well).
6. Connect Grounds
Every light needs a ground connection. Use a short wire from the light’s negative terminal to a clean, unpainted metal spot on the Jeep’s frame, or straight to the battery negative. The relay itself also needs a ground.
7. Double-check Connections
Before reconnecting the battery, check every connection. Tug on wires to make sure they’re tight. Loose connections are a top reason for light failures and electrical fires.
8. Test Your Lights
Reconnect the battery. Flip the switch your offroad lights should come on immediately. If not, check the fuse, relay, and all grounds.
Here’s a quick reference for wire colors if you build your own harness:
| Wire Color | Typical Use | Jeep OEM Match? |
|---|---|---|
| Red | Power (12V+) | Yes |
| Black | Ground | Yes |
| Blue/Green | Switch trigger | Sometimes |
Real-world Tips For A Cleaner And Safer Install
Many beginners overlook these practical details:
- Seal your connections: Use heat shrink tubing and dielectric grease on any connection exposed to water or mud. This prevents corrosion.
- Label your wires: If you plan to add more accessories, label each wire with tape. This saves time troubleshooting later.
- Use relays for high-wattage lights: Some LED bars draw 20 amps or more. Don’t rely on a switch alone—always use a relay.
- Fuse sizing: Add up the amps for all your lights. Choose a fuse rated just above that number (for example, 20A for two 9A lights).
Common Mistakes To Avoid
Wiring offroad lights is simple, but a few mistakes can cause big headaches:
- Skipping the relay: Directly wiring big lights through a switch can melt the switch or wires.
- Bad grounds: Weak or rusty ground connections are the number one cause of flickering or dim lights.
- Using the wrong wire gauge: Thin wire can overheat and fail. Always match wire size to current draw.
- Not protecting wires: Wires that rub against metal will eventually short out. Use zip ties and wire loom.
- Ignoring the fuse: Without a fuse, a short could start a fire. Always protect the main power wire.
How Offroad Light Wiring Compares To Other Jeep Mods
Some upgrades, like installing a winch or a stereo, also involve wiring. Offroad lights are usually easier because they use a simple on-off switch and don’t connect to the Jeep’s computer.
Here’s a quick comparison:
| Upgrade | Wiring Complexity | Special Tools Needed? |
|---|---|---|
| Offroad Lights | Low to Medium | No |
| Winch | Medium | Sometimes (heavy gauge wire) |
| Aftermarket Stereo | Medium to High | Yes (panel removal tools) |
What To Do If Your Offroad Lights Don’t Work
If your lights don’t turn on, check the following:
- Is the fuse blown? Replace it with the correct size.
- Are the relay and switch working? You should hear a click when the switch is flipped.
- Are all grounds clean and tight?
- Is the battery charged?
If your lights still don’t work, test with a multimeter. Check for 12V at the light’s positive wire with the switch on.
When To Get Professional Help
If you’re not comfortable working with automotive wiring, or your Jeep has complicated electrical accessories, it’s smart to ask a professional. Many 4×4 shops can install lights and wire them correctly in less than an hour.
This is a good idea if you want to add many accessories or connect lights to your factory fog light switch.
For more advanced Jeep wiring tips, check out resources like ExtremeTerrain, which cover everything from basic installs to complex custom setups.
How Many Offroad Lights Can I Wire To My Jeep Wrangler?
It depends on your alternator output and the total amperage of the lights. Most Wranglers can handle 2-4 LED lights easily. For bigger setups (roof bars, multiple pods), you may need to upgrade your battery or alternator.
Do I Need To Use A Relay For Led Offroad Lights?
Yes, especially for high-wattage lights. Even if LEDs draw less power than halogens, the relay protects your switch and wiring. It also helps prevent voltage drops.
Can I Wire Offroad Lights To My Factory Fog Light Switch?
It’s possible, but only if the total amperage doesn’t exceed the factory wiring’s rating. For most setups, it’s safer to use a dedicated switch and relay.
What Wire Gauge Should I Use For Offroad Lights?
For most single LED lights, 14-16 gauge wire is enough. For large light bars or multiple lights, use 12 gauge or thicker. Always check the manufacturer’s specs.
How Do I Waterproof My Wiring?
Use heat shrink tubing on every connection, and apply dielectric grease before sealing. For wires running outside, use a waterproof wire loom. This keeps out mud, water, and salt.
Wiring offroad lights on a Jeep Wrangler is one of the best DIY upgrades you can do. With careful planning and a few tools, you can light up the trail and make your Jeep stand out.
Take your time, double-check your work, and enjoy your next night adventure with confidence.