Replacing the rear brake light bulb on a 2012 Jeep Liberty is a smart way to save money and keep your vehicle safe. Many drivers think this job is difficult, but with the right guidance, most people can handle it in under 30 minutes. Whether you’ve noticed your brake light is out after a routine check, or you received a warning from another driver, learning how to swap the bulb is valuable. You don’t need special skills—just some simple tools, patience, and a willingness to follow each step closely.
This guide takes you through the full process, from preparation to final testing. You’ll also discover some lesser-known tips that can make the task smoother and safer.
If you’re new to car maintenance, don’t worry. The instructions are clear and use simple words, so even non-native English speakers can follow along easily.
Why Rear Brake Lights Matter
Rear brake lights are more than just bulbs—they are a key safety feature. When you press the brake pedal, the lights warn drivers behind you to slow down. In the United States, working brake lights are required by law. If your lights are out, you could get a ticket, or worse, cause an accident.
Statistics from the National Highway Traffic Safety Administration show that rear-end collisions are one of the most common accidents, often caused by poor visibility or broken brake lights. Replacing a faulty bulb is a small effort that prevents bigger problems.
Tools And Supplies You’ll Need
Before you start, gather these items:
- Replacement bulb: For the 2012 Jeep Liberty, the correct bulb is a 3157 or 4157 type. Check your owner’s manual to confirm.
- Phillips screwdriver: Needed to remove the tail light assembly.
- Flathead screwdriver: Useful for prying if needed.
- Clean gloves: Oils from your fingers can shorten bulb life.
- Microfiber cloth: To clean the assembly and new bulb.
- Safety glasses: Protect your eyes from dust or debris.
Having everything ready before you begin saves time and avoids frustration.
Safety Precautions
Safety should always come first:
- Turn off the engine and remove the key.
- Engage the parking brake to prevent the car from moving.
- Work on a flat surface to avoid accidents.
- Let the bulbs cool down if recently used—they can get very hot.
Wearing gloves is not just for cleanliness; it keeps natural oils off the bulb, which can cause hot spots and early failure.
Step-by-step Guide To Replacing The Rear Brake Light Bulb
Replacing the bulb involves several steps. Follow them in order for the best results.
1. Open The Rear Hatch
Open the tailgate fully to access the rear lights. The tail light assembly is held in place by screws on the side facing the hatch.
2. Locate The Tail Light Assembly
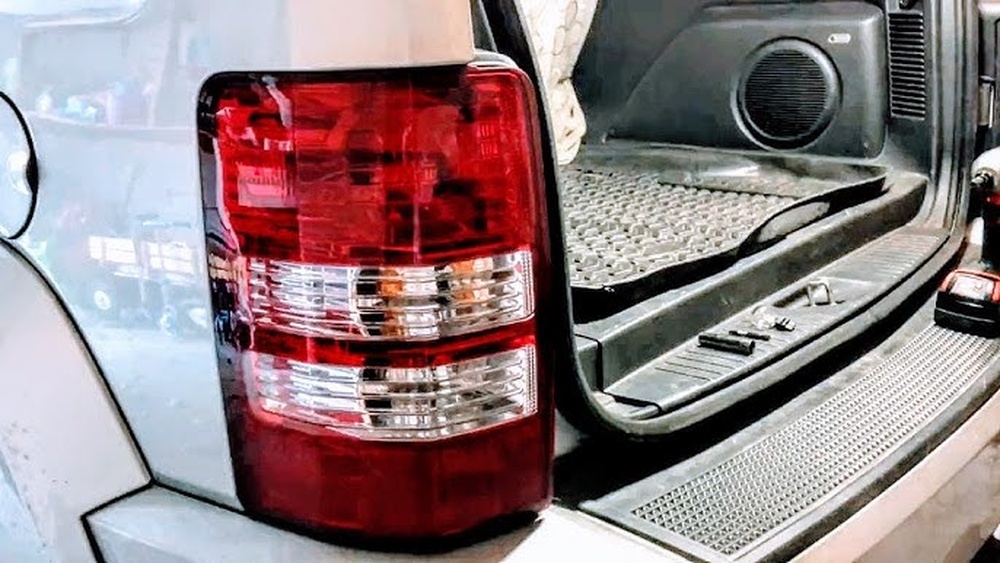
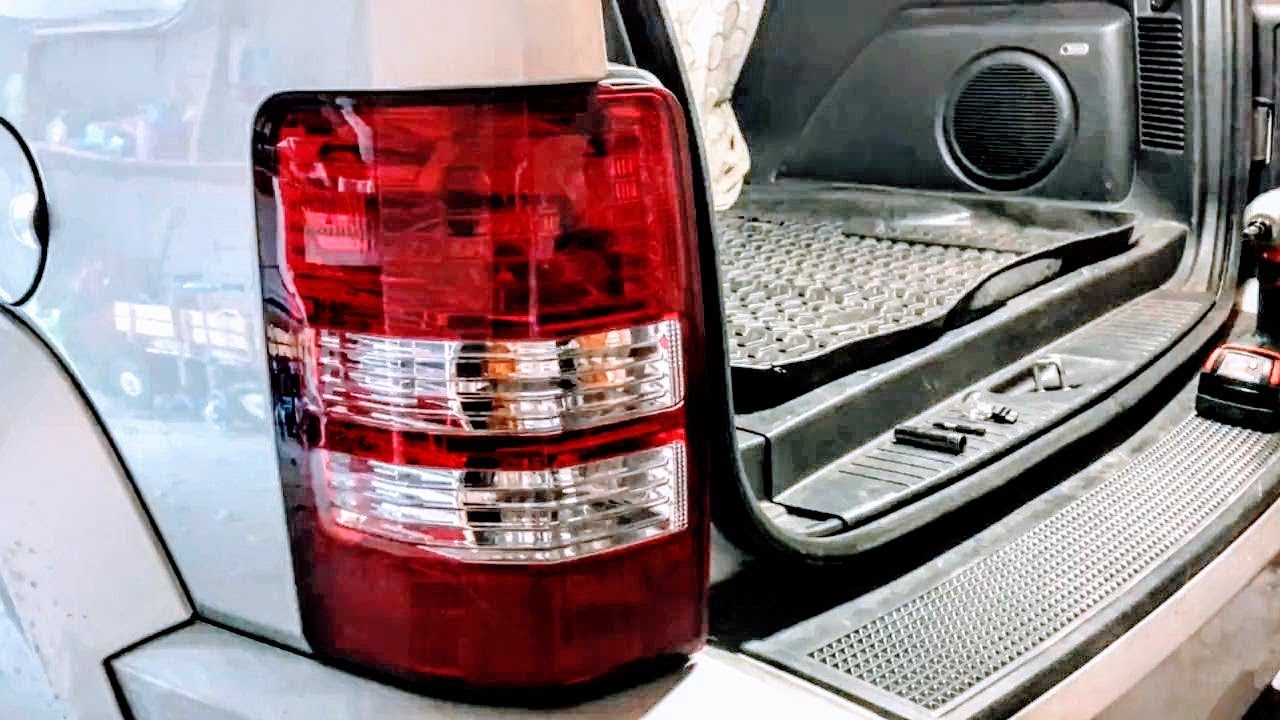
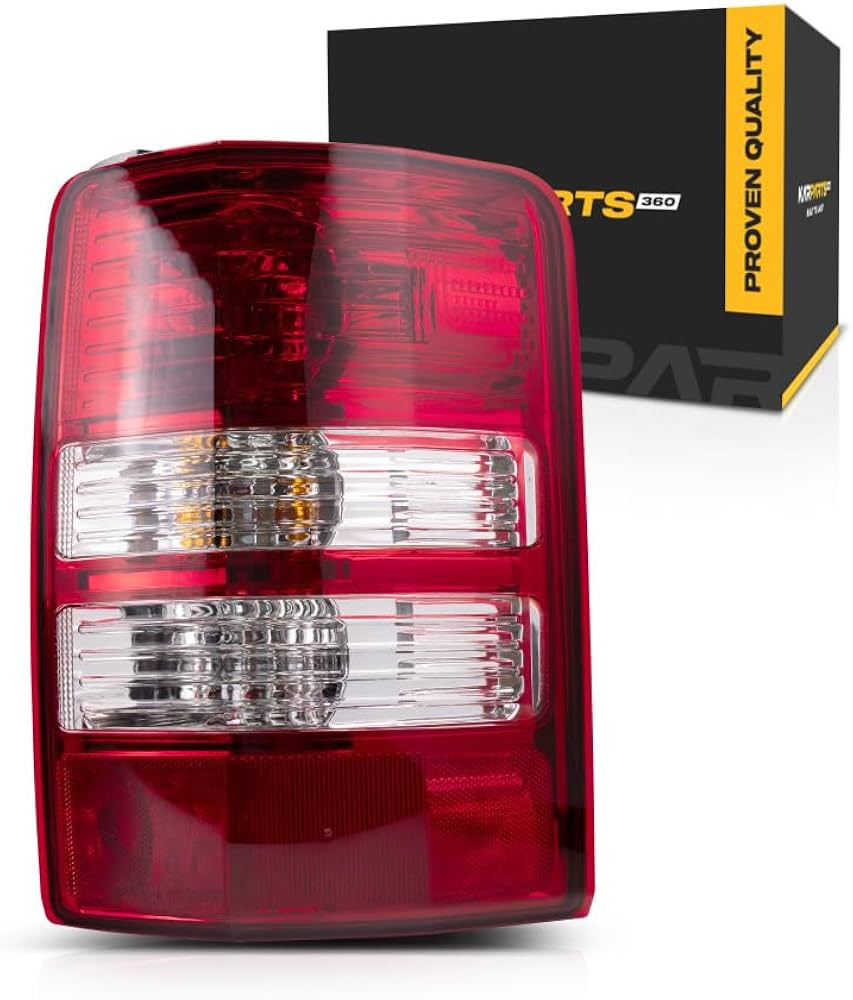
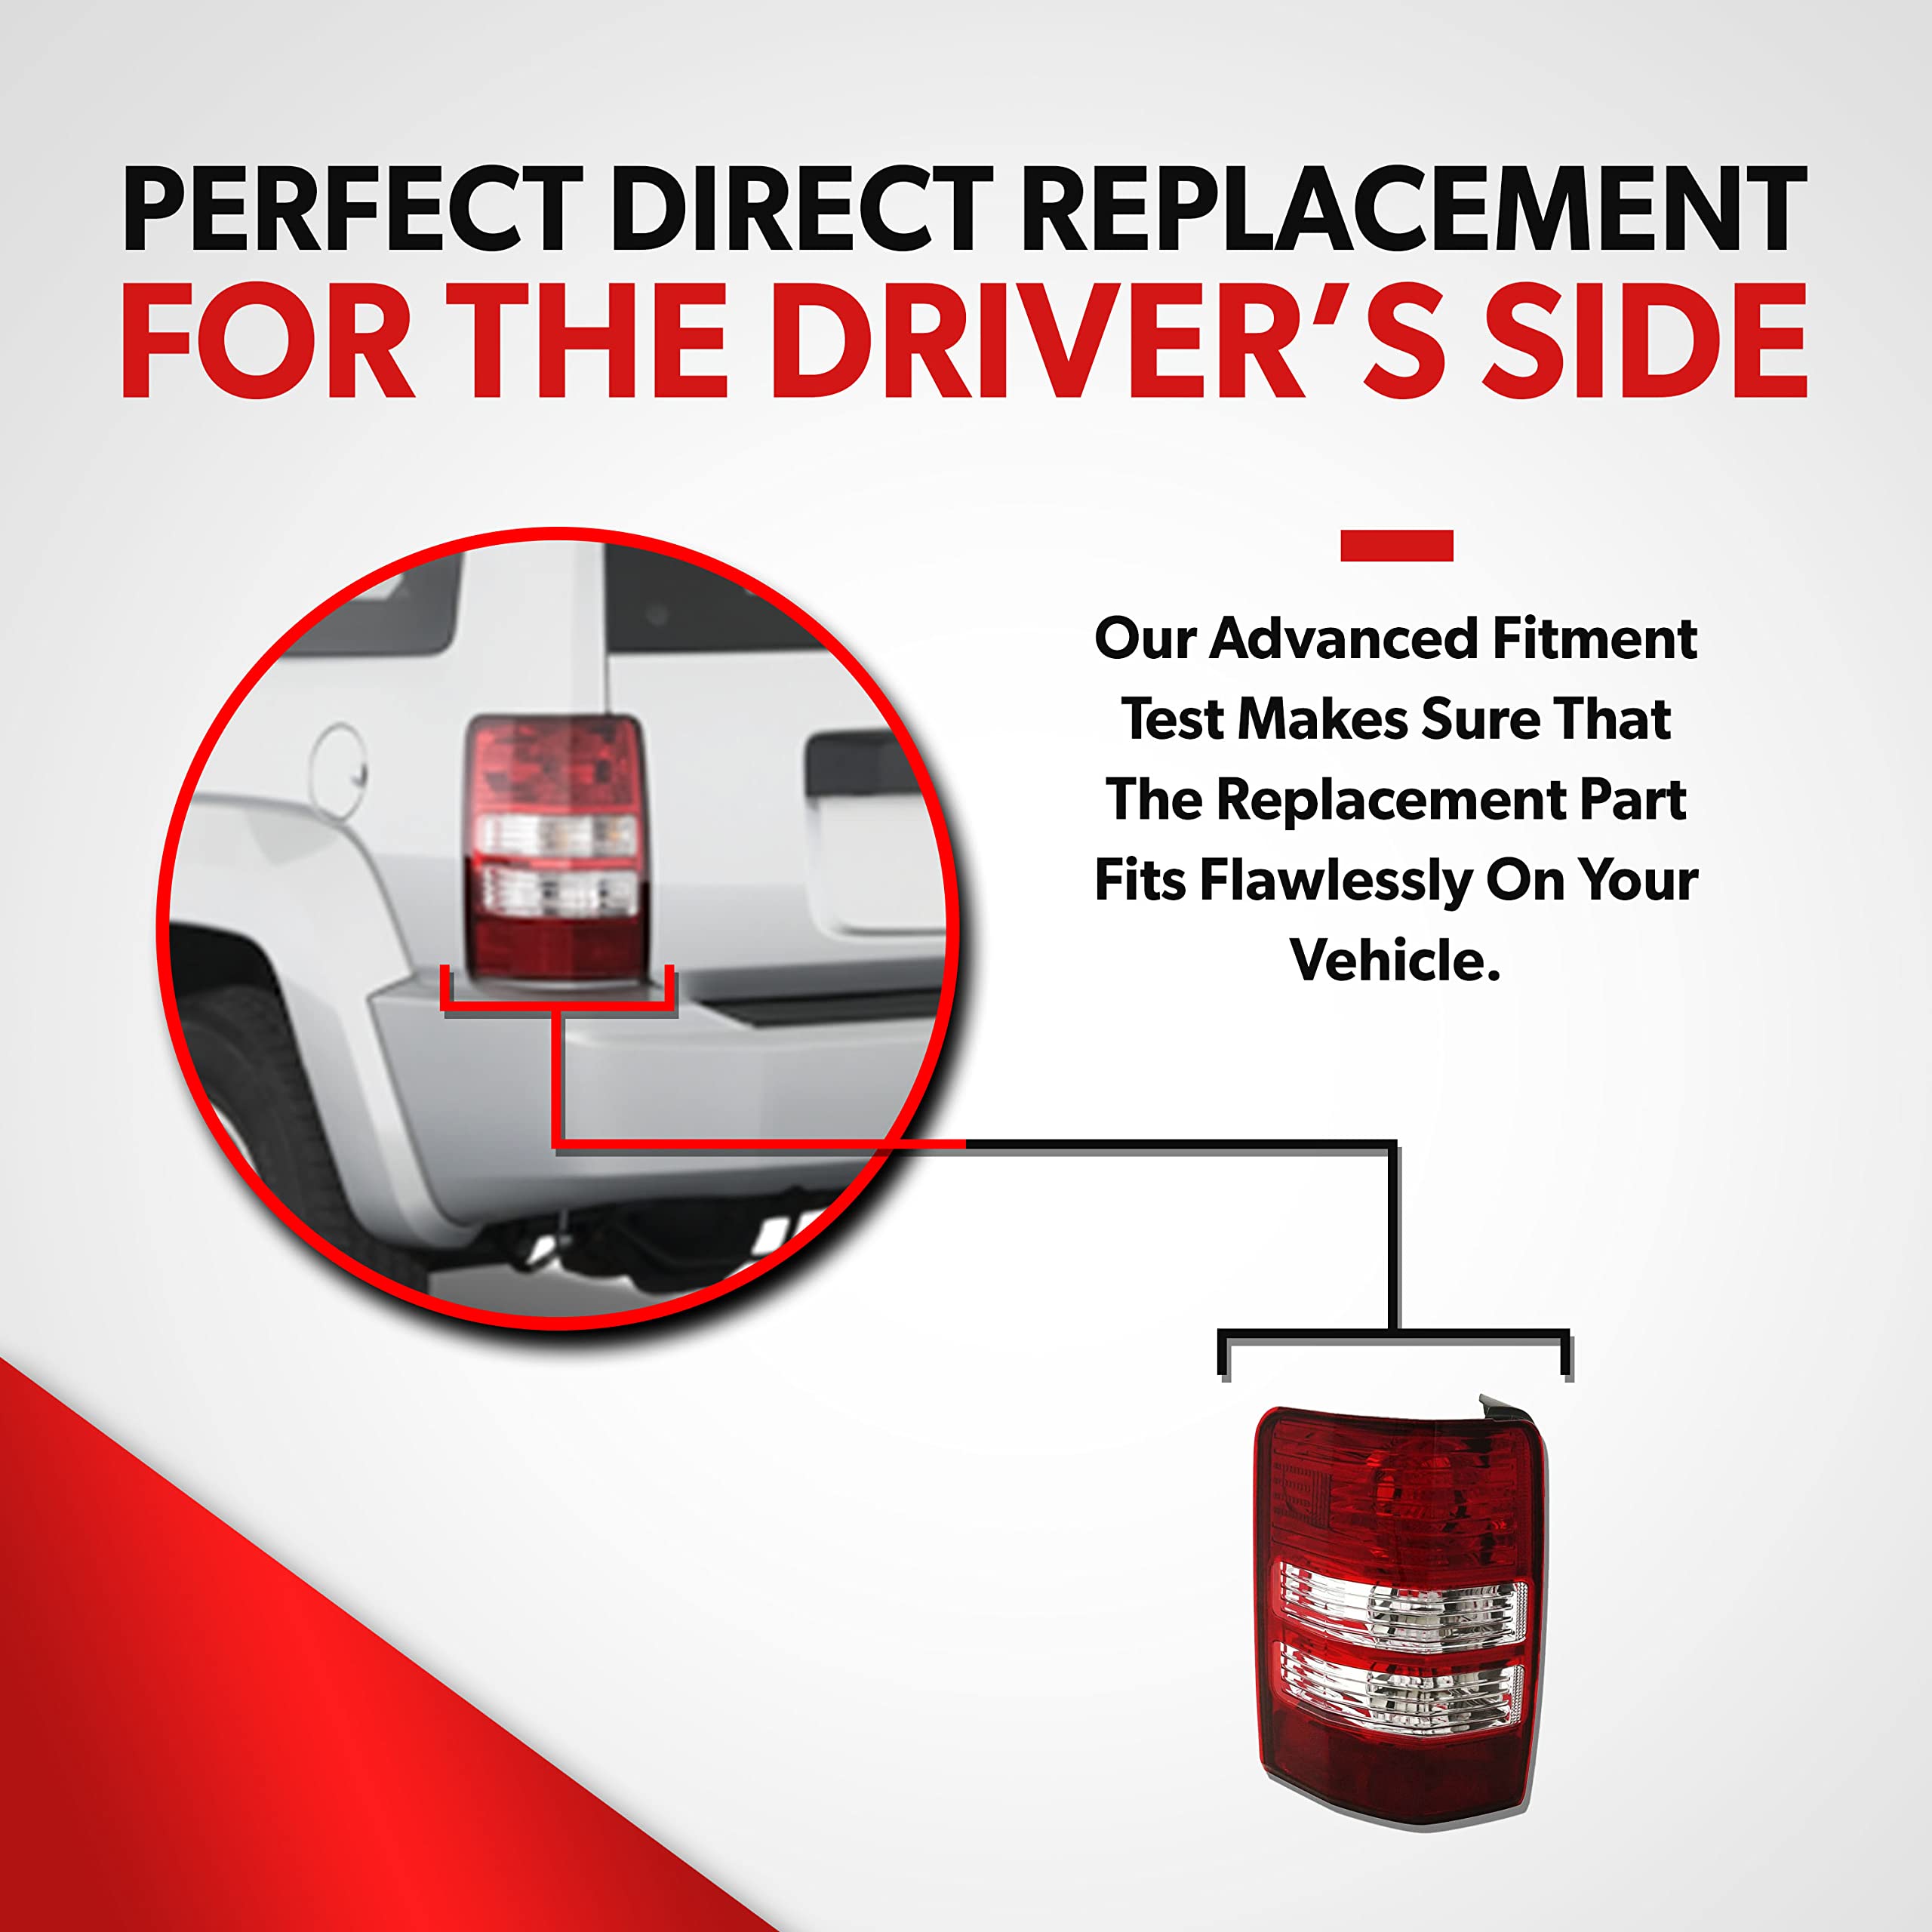
The tail light assembly on the Jeep Liberty is easy to find. It’s on the side of the vehicle, just behind the rear wheel well.
3. Remove The Screws
Use a Phillips screwdriver to remove the two visible screws holding the assembly. Place the screws somewhere safe they’re easy to lose.
4. Detach The Tail Light Assembly
Gently pull the assembly away from the vehicle. It may feel stuck because of plastic clips. Wiggle it carefully; avoid using too much force.
5. Find The Brake Light Socket
There are usually three sockets on the assembly:
- Top socket: Turn signal
- Middle socket: Brake/taillight
- Bottom socket: Reverse light
The brake light is usually the middle one. If you’re not sure, check the owner’s manual.
6. Remove The Bulb Socket
Turn the socket counterclockwise about a quarter turn. Pull the socket out gently.
7. Take Out The Old Bulb
Hold the base of the bulb, not the glass. Pull it straight out. If it’s stuck, wiggle gently. Never force it, as the glass can break.
8. Inspect The Socket
Look for signs of corrosion or burnt contacts. A little green or white powder means corrosion. If you see this, clean it gently with a dry cloth or small brush. Corrosion can cause poor connections and future failures.
9. Install The New Bulb
Hold the new bulb by the base (not the glass) and push it into the socket until it clicks. If you touch the glass, wipe it with a clean cloth before installing.
10. Test The Bulb Before Reassembling
Ask a helper to press the brake pedal, or use a heavy object to hold the pedal down. Check that the new bulb lights up bright and clear. This step saves you from reassembling everything, only to find something’s wrong.
11. Reinstall The Bulb Socket
Insert the socket back into the assembly and turn it clockwise to lock it in place.
12. Reattach The Tail Light Assembly
Line up the clips and push the assembly back into position. Replace the screws and tighten them just snug, not too tight.
13. Final Check
Press the brake pedal again to double-check the new bulb. Also, look at the taillight and turn signal to ensure everything works.
Common Mistakes To Avoid
- Using the wrong bulb type: Double-check the part number. Using the wrong bulb can cause poor fit or electrical issues.
- Touching the bulb glass: Oils reduce bulb life. Always use gloves or a cloth.
- Forgetting to test before reassembly: If the bulb doesn’t work, you’ll have to take everything apart again.
- Over-tightening screws: This can crack the assembly.
When To Replace Both Bulbs
If one brake light bulb has failed, the other is probably close to the end of its life. Replacing both at the same time saves effort and reduces the chance of a second failure soon after.
Cost Comparison: Diy Vs. Mechanic
Many people wonder if it’s worth doing this job themselves. Here’s a quick comparison:
| Method | Estimated Cost | Time Required |
|---|---|---|
| DIY (Self-Replacement) | $5–$15 (bulb only) | 20–30 minutes |
| Mechanic/Shop | $35–$80 (parts & labor) | 1–2 hours (including wait) |
As you can see, DIY saves both time and money. Plus, you gain confidence for future repairs.
Signs Your Brake Light Bulb Needs Replacement
Not sure if your brake light is out? Watch for these clues:
- Dashboard warning light: Some vehicles have a warning, but not all.
- Blinking indicator: Fast-blinking turn signal can mean a bulb is out.
- Visual check: Park near a wall, press the brake, and look for the reflection.
- Police warning: Being stopped for a broken light.
Different Bulb Types For The 2012 Jeep Liberty
The 2012 Jeep Liberty typically uses 3157 or 4157 bulbs for the rear brake light. These are dual-filament bulbs that handle both the taillight and brake functions. You may find bulbs labeled as “long life” or “LED compatible.” Standard incandescent bulbs are cheapest, but LEDs last longer and are brighter.
Here’s a quick comparison:
| Bulb Type | Average Lifespan | Brightness | Cost |
|---|---|---|---|
| Standard Incandescent | 1–2 years | Medium | Low ($5–$8) |
| Long-Life Incandescent | 3–5 years | Medium | Medium ($8–$12) |
| LED Replacement | 8–10 years | High | High ($15–$25) |
LED bulbs may require a special adapter to avoid fast-blinking signals.
Tips For First-time Diyers
- Take a photo of the assembly before removing anything. This helps you remember the correct position.
- Label screws if you’re working on both sides at once.
- Check all rear lights while you have the assembly off—backup, turn, and taillights.
- Keep spare bulbs in your glove box for emergencies.
Environmental Note
Dispose of old bulbs properly. Do not throw them in household trash, as some types contain small amounts of hazardous material. Many auto parts stores offer recycling services.
Troubleshooting: If The New Bulb Doesn’t Work
Sometimes, the new bulb won’t light up. Here’s what to check:
- Socket corrosion: Clean with a brush or contact cleaner.
- Blown fuse: Check the fuse box under the hood. Replace the brake light fuse if necessary.
- Wiring issues: Look for frayed or broken wires.
- Wrong bulb orientation: Double-check the bulb is seated correctly.
If all else fails, consider seeking professional help. Electrical problems can be complex.
Advanced Upgrade: Switching To Led
Many drivers want brighter, longer-lasting lights. LED bulbs are a popular upgrade. They offer:
- Longer life (up to 10 years)
- Lower energy use
- Faster response time (improves safety)
However, installing LED bulbs sometimes causes “hyper-flashing” (very fast blinking). If this happens, you’ll need a load resistor or an LED-compatible flasher module. For more about LEDs and vehicle lighting standards, check the official NHTSA website.
Quick Reference: Steps Summary
Here’s a simple recap for your toolbox:
- Open rear hatch
- Remove tail light screws
- Pull assembly out
- Twist out brake bulb socket
- Replace bulb
- Test
- Reassemble
Keep these steps handy for next time.
How Do I Know Which Bulb My 2012 Jeep Liberty Needs?
Check your owner’s manual or look at the base of your old bulb. For most 2012 Jeep Liberty models, the rear brake light uses a 3157 or 4157 bulb.
Can I Use Led Bulbs Instead Of Regular Ones?
Yes, you can use LED bulbs as long as they fit the socket. Be aware that some LEDs may cause fast-blinking signals, which means you’ll need a load resistor or compatible flasher.
What If The New Bulb Still Doesn’t Light Up?
If the new bulb doesn’t work, check for socket corrosion, blown fuses, or wiring problems. Make sure the bulb is seated correctly and the socket is clean.
How Long Does It Take To Replace The Rear Brake Light Bulb?
Most people can finish this job in 20–30 minutes, even on their first try. It gets faster with experience.
Is It Safe To Drive With A Broken Brake Light?
It is not safe. Broken brake lights make it harder for other drivers to see you stop, increasing the risk of accidents. It’s also illegal in most places.
Replacing the rear brake light bulb on your 2012 Jeep Liberty is simple, saves money, and helps keep you safe. With these clear steps and tips, you’ll handle the job confidently and avoid common mistakes.