Replacing the rear wheel bearing on a 2004 Jeep Liberty is a job that demands the right tools, some patience, and a careful approach. If you hear a humming, grinding, or growling noise from the rear of your vehicle, especially when turning or at higher speeds, chances are your wheel bearing needs attention. A failing bearing not only affects ride quality but can also compromise safety. While this repair is challenging, doing it yourself can save money and help you understand your Jeep better.
This guide will walk you through the full process, from identifying symptoms to installing a new bearing and reassembling your vehicle. You'll also find practical tips, a tool list, and answers to common questions all aimed at helping first-time DIYers succeed.
Understanding Rear Wheel Bearings
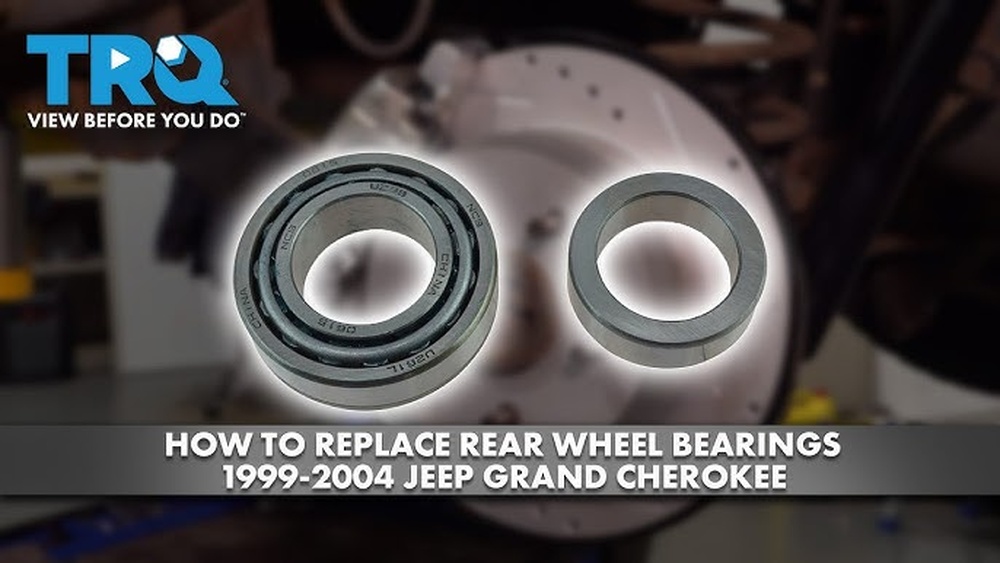
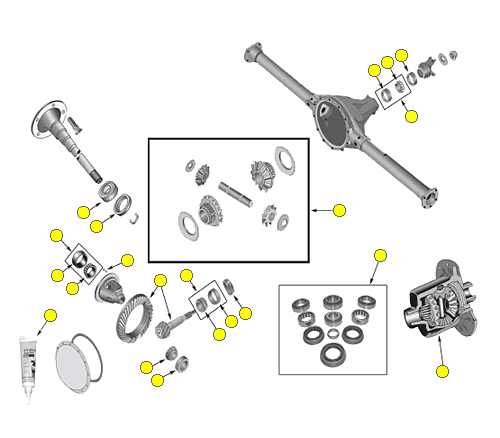
A wheel bearing is a set of steel balls or rollers held together by a metal ring. It lets the wheel spin smoothly while supporting the vehicle’s weight. On the 2004 Jeep Liberty, the rear wheel bearings are pressed into the axle housing.
When a bearing starts to fail, you might notice:
- Unusual noises: Humming, rumbling, or grinding from the rear wheels
- Loose wheel: Excess play when you shake the wheel side-to-side
- ABS light: In some cases, a failed bearing triggers a warning
- Uneven tire wear: Caused by wobbling
Ignoring these signs can lead to major damage, including axle or hub failure. Replacing the bearing early is always the safer and cheaper option.
Tools And Parts Needed
Before starting, gather the following:
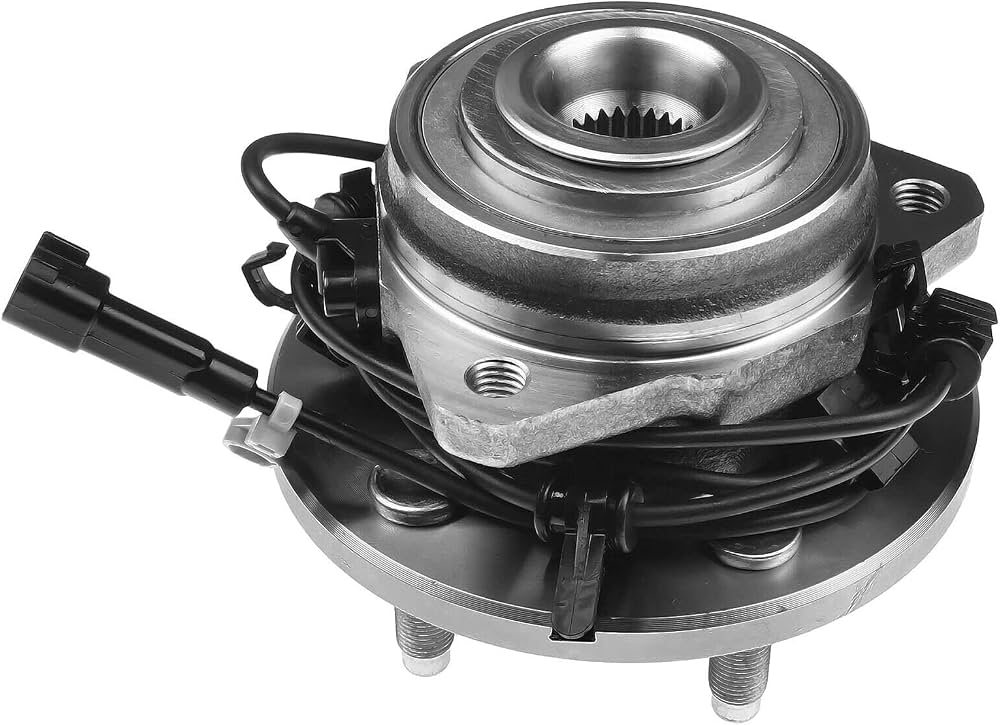
- Replacement rear wheel bearing (verify fit for 2004 Jeep Liberty)
- Axle shaft seal (optional, but highly recommended)
- Snap ring pliers
- Bearing puller or slide hammer
- Bearing press (or access to a local shop for pressing)
- Socket set (metric and SAE)
- Breaker bar
- Torque wrench
- Hammer and punch
- Jack and jack stands
- Wheel chocks
- Brake cleaner
- Grease
- Shop rags
- Pry bar
- Drain pan (if axle fluid needs draining)
Don’t skip on safety always wear gloves and eye protection.
Preparation And Safety
- Park on a flat surface. Engage the parking brake and chock the front wheels.
- Loosen the rear wheel lug nuts slightly before lifting.
- Lift the vehicle with a jack and secure with jack stands under the rear axle.
- Remove the wheel completely.
- Check for the right bearing: Compare your new part to the old one before removing anything else.
If you’re unsure about any step, check your Jeep’s service manual or consult a professional.
Removing The Rear Wheel Bearing
Step 1: Remove Brake Components
Start by taking off the brake caliper and rotor:
- Remove the two caliper bolts and hang the caliper with a wire (don’t let it dangle by the brake line).
- Slide off the brake rotor. If it’s stuck, tap it gently with a rubber mallet.
Step 2: Access The Axle Shaft
- Remove the differential cover (using a drain pan to catch fluid).
- Locate and remove the axle shaft retaining pin inside the differential.
- Push the axle shaft inward to expose the C-clip. Remove the C-clip with needle-nose pliers.
- Carefully slide the axle shaft out from the housing.
Step 3: Remove The Old Bearing
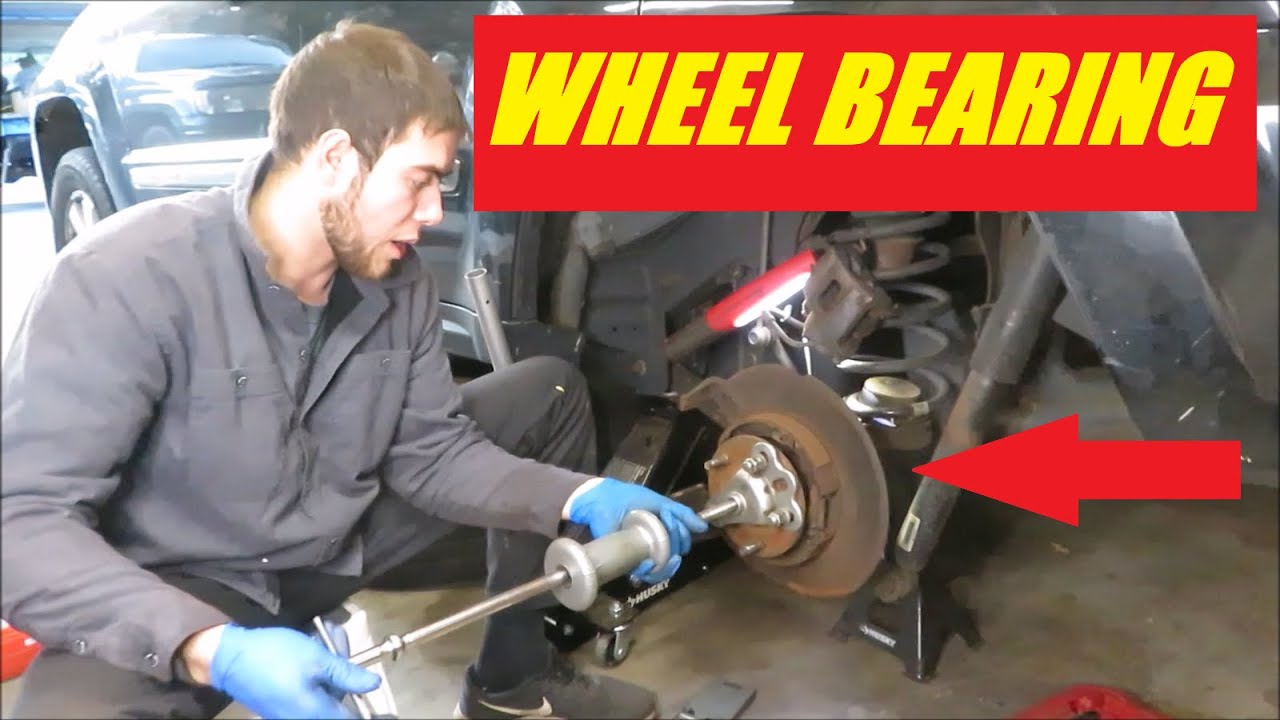
- Use a bearing puller or slide hammer to extract the old bearing from the axle tube.
- Remove the old axle seal with a seal puller or pry bar.
Tip: Some shops will press the bearing out for a small fee if you don’t have a puller.
Installing The New Rear Wheel Bearing
Step 1: Clean And Inspect
- Wipe the axle tube and inspect for wear or scoring.
- Clean any debris or old grease.
Step 2: Install The New Bearing
- Press the new bearing into the axle tube. If you don’t have a press, many auto parts stores can help.
- Install a new axle seal to prevent future leaks.
- Apply a thin layer of grease to the seal and bearing.
Pro insight: Double-check the orientation of the bearing and seal. Installing them backward causes leaks and premature failure.
Step 3: Reinstall The Axle Shaft
- Carefully slide the axle shaft back into the housing.
- Reinstall the C-clip and retaining pin.
- Reinstall the differential cover, using a new gasket or RTV sealant.
- Refill the differential with the correct gear oil.
Step 4: Reassemble The Brakes
- Slide the rotor back on.
- Reattach the brake caliper.
- Torque all fasteners to the manufacturer’s specs.
Step 5: Reinstall The Wheel
- Mount the wheel and hand-tighten the lug nuts.
- Lower the vehicle and torque the lug nuts to spec.
Common Mistakes To Avoid
- Not replacing the axle seal: This can cause leaks soon after the repair.
- Improper bearing installation: Forcing the bearing can damage it. Always use a press or correct tools.
- Skipping the torque wrench: Over- or under-tightening bolts can lead to unsafe conditions.
- Mixing up parts: Lay out parts in the order you remove them.
- Neglecting cleanliness: Dirt or debris can ruin your new bearing quickly.
Real-world Example: Time And Cost
- Time required: 2–4 hours for most home mechanics.
- Parts cost: $40–$100 per bearing, $10–$20 per seal.
- Labor cost (shop): $200–$400 per side.
Doing the job yourself can save a significant amount, but only if done carefully.
Comparison: Diy Vs. Professional Replacement
Here’s a quick comparison of the main factors:
| Factor | DIY | Professional Shop |
|---|---|---|
| Cost | $60–$120 | $250–$500 |
| Time | 2–4 hours | 1–2 hours |
| Tools needed | Many specialty tools | Shop has all tools |
| Warranty | Parts only | Parts & labor |
| Skill required | Intermediate/Advanced | Trained technician |
Signs You Did The Job Right
After reassembly, check for:
- No noise from the rear wheels at low and high speeds.
- No fluid leaks from the axle.
- Wheels spinning smoothly with no wobble.
Drive slowly for the first few miles and recheck the lug nuts and differential fluid level.
Data: Bearing Lifespan And Failure Rate
Most wheel bearings last 85,000–100,000 miles under normal use. On older vehicles like the 2004 Jeep Liberty, failure is common after 100,000 miles, especially if the vehicle is used off-road or tows heavy loads.
Here’s a quick data overview:
| Mileage | Chance of Bearing Failure | Recommended Action |
|---|---|---|
| Below 80,000 | Low (under 10%) | Monitor for noise |
| 80,000–120,000 | Medium (20–35%) | Check at every service |
| 120,000+ | High (50%+) | Inspect and consider replacement |
Two Insights Most Beginners Miss
- C-clip removal: The axle shaft in the Jeep Liberty is held by a small C-clip inside the differential. Many first-timers overlook this, trying to force the axle out. Always remove the C-clip first to avoid damage.
- Cleanliness is critical: Even a small amount of dirt in the bearing or axle tube can cause early failure. Take time to clean all parts before assembly.
Practical Tips For Success
- Photograph each step as you go. It helps with reassembly.
- Label bolts and small parts, especially if working on both sides.
- Consider replacing both rear bearings if one has failed—often, the other is close behind.
If you need more technical details, the official Jeep service manual is a great resource. Also, sites like JeepForum offer support from experienced owners.
How Do I Know If My Rear Wheel Bearing Is Bad?
Common signs include humming or grinding noises, looseness in the wheel, uneven tire wear, and sometimes an ABS warning light. You can also check by lifting the wheel and shaking it side-to-side.
Can I Drive With A Bad Rear Wheel Bearing?
It’s risky. A failing bearing can seize or cause the wheel to detach.
Replace it as soon as possible to avoid dangerous breakdowns and expensive damage.
Do I Need Special Tools To Replace The Bearing?
Yes, you’ll need a bearing puller or slide hammer, snap ring pliers, and ideally a bearing press. Many auto parts stores rent these tools.
Should I Replace Both Rear Wheel Bearings At Once?
It’s not required, but it’s smart if your Jeep has high mileage. If one has failed, the other may be close to failing too.
How Long Does A Rear Wheel Bearing Replacement Take?
For a first-timer, expect 2–4 hours per side. Professionals may finish in under 2 hours.
Taking on the challenge of replacing a rear wheel bearing in your 2004 Jeep Liberty can be rewarding and cost-effective.
With the right tools, careful steps, and attention to detail, you can restore your Jeep’s performance and safety, gaining new skills in the process.