Jeep Yj Accessory Lighting: A Complete Guide
Lighting upgrades are one of the most popular modifications for the Jeep YJ. Whether you use your YJ for off-roading, camping, or just want better visibility and style, adding accessory lighting can make a big difference. But wiring and choosing the right lights can feel overwhelming if you’re new to Jeep modifications. This guide explains everything you need to know, from types of accessory lighting to installation steps, safety tips, and common mistakes to avoid.
Why Upgrade Your Jeep Yj Accessory Lighting?
The factory lights on the Jeep YJ are basic and often not enough for modern driving conditions or trails. Upgraded lighting improves safety, makes night driving easier, and helps you see obstacles on the trail. It also gives you a chance to customize your YJ’s look.
Here are some real-world reasons to upgrade:
- Brighter headlights reduce eye strain on long drives.
- Additional spotlights help when off-roading at night.
- Rock lights make it easier to see obstacles under the vehicle.
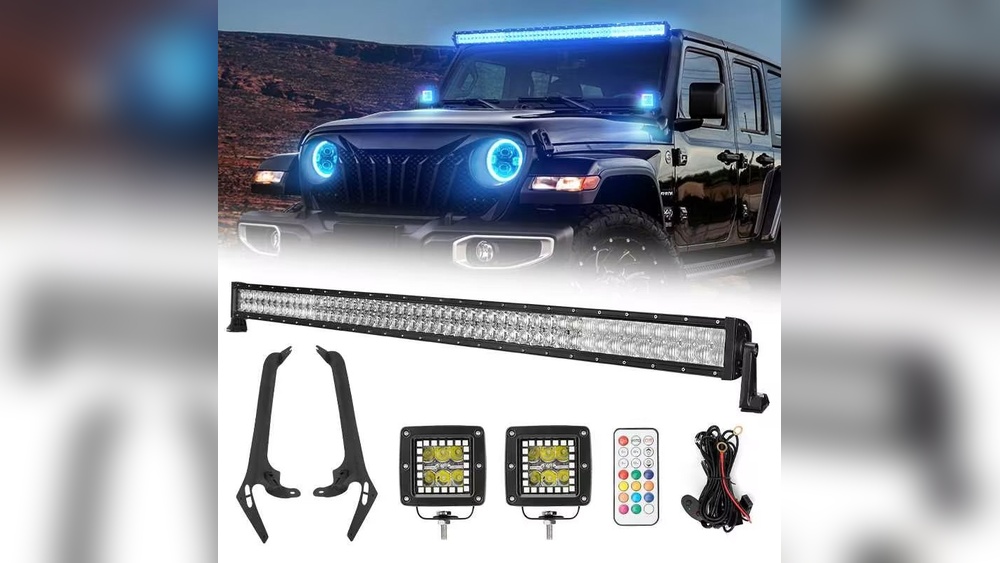
- Light bars can turn night into day during camping or overlanding trips.
- Modern LEDs use less power and last longer than old halogen bulbs.
Types Of Accessory Lighting For Jeep Yj
Understanding your options helps you choose the right setup. Here are the most common types of accessory lighting for the YJ:
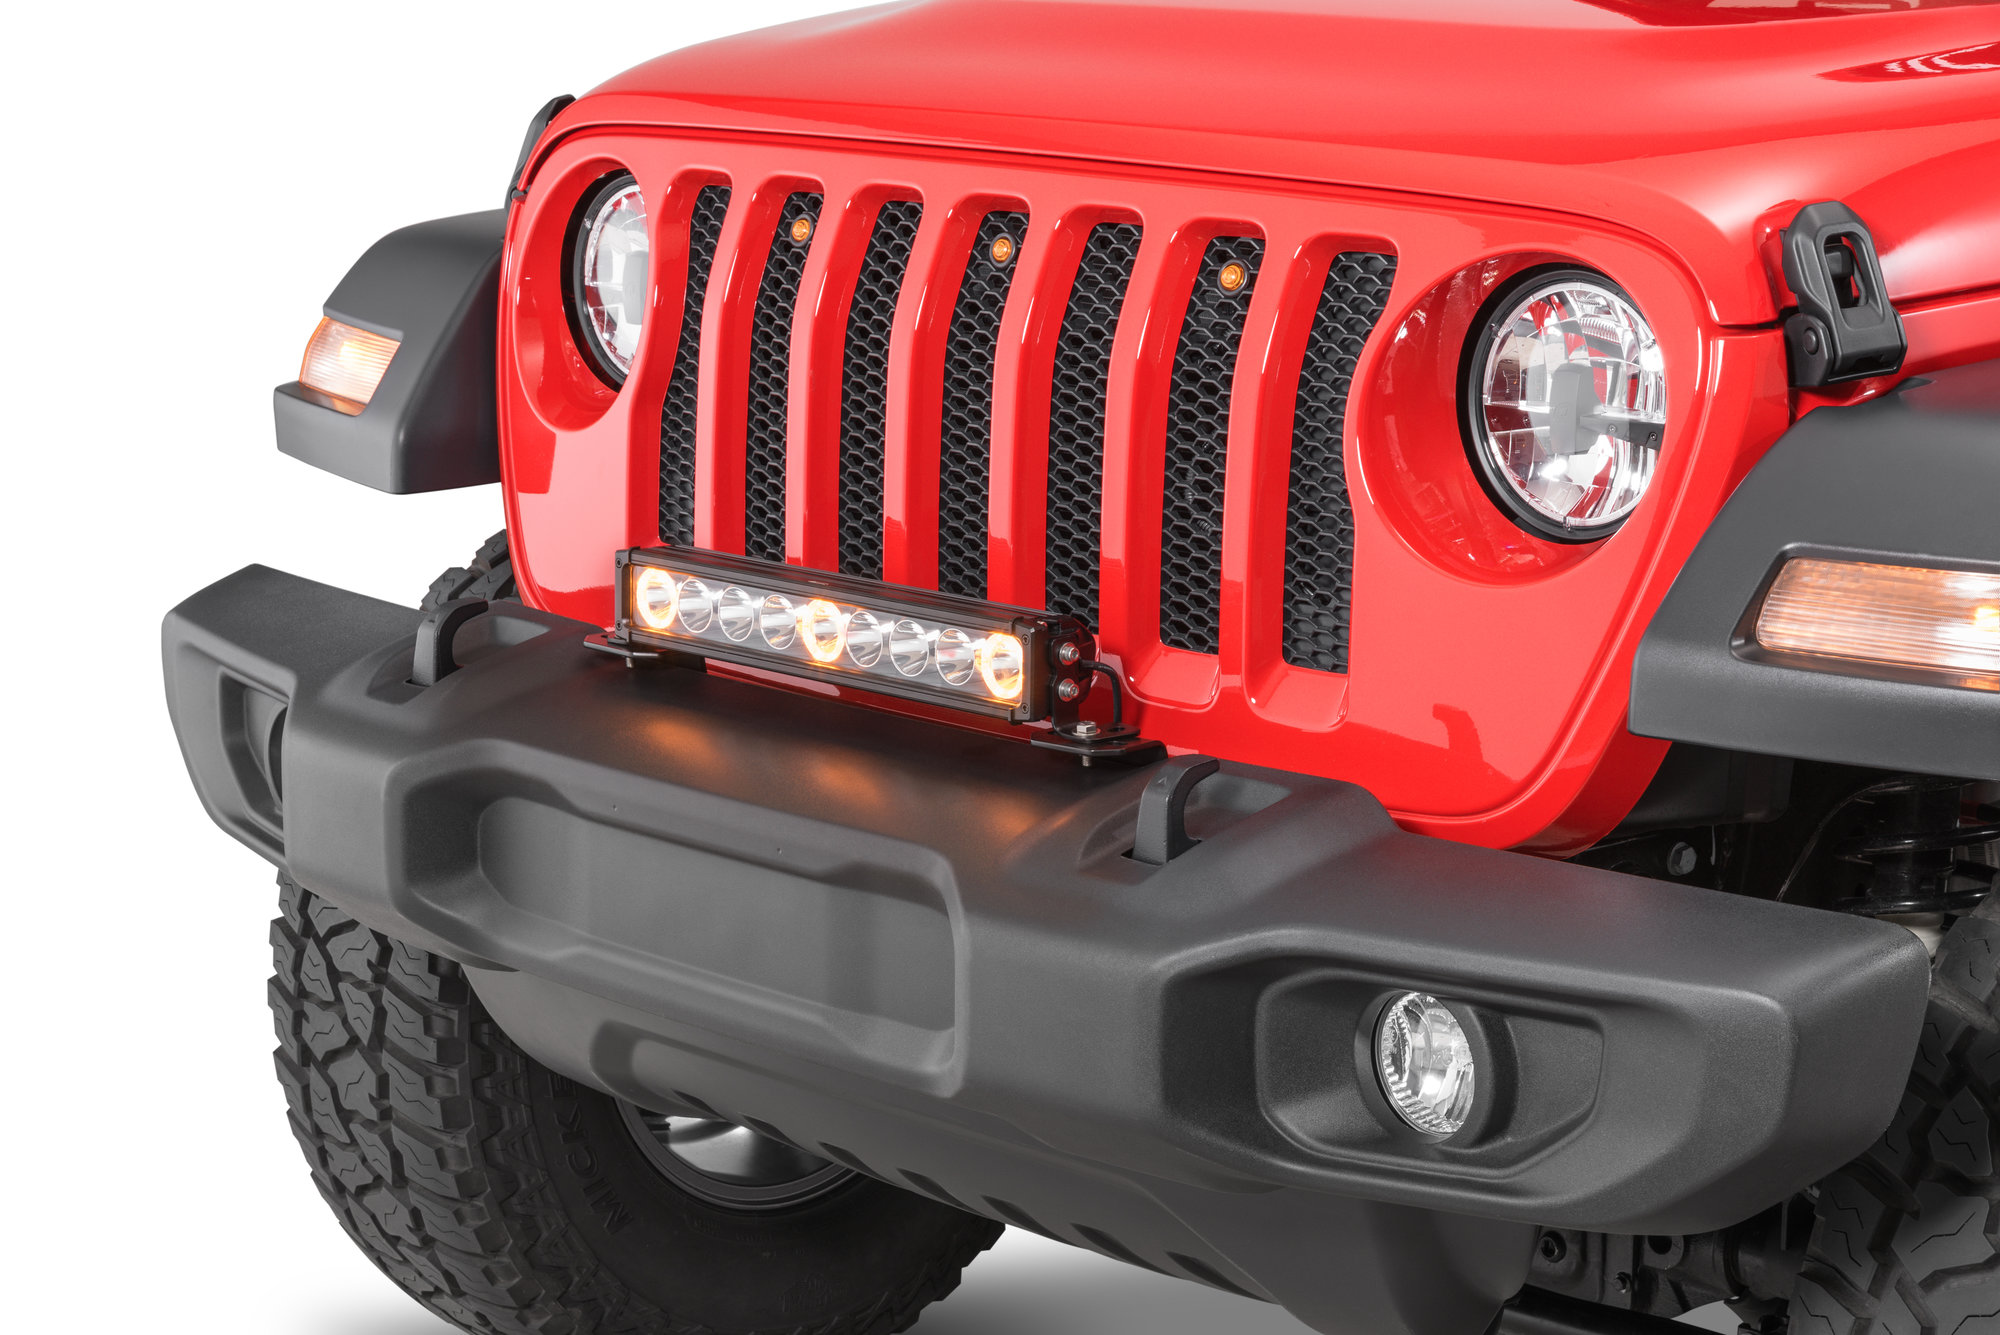
1. Led Light Bars
- Mounted on the bumper, roof, or windshield.
- Provide wide, powerful illumination.
- Great for trails and open areas.
2. Spotlights And Floodlights
- Smaller than light bars.
- Spotlights focus light far ahead; floodlights spread light wide.
- Usually mounted on the bumper or A-pillars.
3. Rock Lights
- Installed under the Jeep.
- Illuminate the ground and tires.
- Useful for crawling over rocks or dark terrain.
4. Fog Lights
- Mounted low on the bumper.
- Cut through fog, rain, and snow with a wide, low beam.
- Improve road visibility in bad weather.
5. Interior And Cargo Lights
- LED strips or pods for inside the cabin or trunk.
- Make it easier to find gear at night.
6. Rear Or Chase Lights
- Mounted at the back.
- Improve safety when reversing or driving in groups.
Key Factors When Choosing Accessory Lighting
Not all lights are created equal. Here’s what matters most when choosing accessory lighting for your Jeep YJ:
| Factor | Why It Matters | What to Look For |
|---|---|---|
| Brightness (Lumens) | Determines how much light is produced. | Look for 3,000-10,000+ lumens for off-road use. |
| Beam Pattern | Controls how the light is projected. | Spot for distance, flood for width, combo for both. |
| Build Quality | Affects durability on rough trails. | IP67/IP68 waterproof rating, sturdy housing. |
| Power Draw | Prevents battery drain or overload. | LEDs use less power than halogen. |
| Legal Compliance | Some lights are not street-legal. | Check local laws for street use. |
Pro tip: Not all cheap lights are a good deal. Poor-quality housings can fill with water, and cheap wiring may fail quickly.
Planning Your Lighting Setup
It’s tempting to buy lights first and figure out wiring later, but planning saves time and headaches.
- Decide how you’ll use your Jeep. Trail rigs may need more exterior lights; daily drivers benefit from fog and interior lighting.
- Map out mounting locations. Check for space, existing holes, and clearances.
- Check your electrical system. The YJ’s alternator and wiring are old. Too many high-wattage lights can overload the system.
- Choose switches and relays. All accessory lights should run through relays and fuses for safety.
What You’ll Need For Installation
Before you start, gather these basic tools and materials:
- Accessory lights (LED bar, pods, rock lights, etc.)
- Mounting brackets and hardware
- Wiring harness with relay and fuse
- Switches (waterproof, lighted if possible)
- Electrical tape, zip ties, connectors
- Basic hand tools (screwdrivers, wrenches, drill)
- Multimeter (for testing voltage)
- Dielectric grease (for waterproofing)
Insight: Many kits include wiring harnesses, but they’re not always long enough for YJ installations. Measure before you buy.
Step-by-step Installation Guide
1. Plan Your Wiring Route
Start by laying out where each light and wire will go. Avoid hot engine parts and moving suspension components. Plan for water crossings and mud.
2. Mount The Lights
- Use factory holes if possible to avoid drilling.
- Tighten brackets securely, but don’t overtighten (can crack plastic).
- Aim lights before final tightening.
3. Run The Wiring Harness
- Route wires along the frame or under trim.
- Use zip ties every 12–18 inches to prevent sagging.
- Protect wires with split loom tubing in high-wear areas.
4. Connect To Power
- Run the positive (red) wire to the battery’s positive terminal.
- Use a relay between the switch and the lights for safety. This prevents high current from going through your dashboard.
- Connect the negative (black) wire to a clean, unpainted ground on the chassis.
5. Install The Switch
- Mount the switch inside the cabin within easy reach.
- Run the switch wire through the firewall using a rubber grommet.
- Connect the switch to the relay, not directly to the lights.
6. Test Everything
- Double-check all connections.
- Turn on the switch and check each light.
- Watch for flickering or overheating wires (sign of a problem).
7. Seal And Secure
- Use dielectric grease on all connectors to prevent corrosion.
- Wrap exposed connections with electrical tape.
- Secure all wiring away from hot or moving parts.
Common mistake: Skipping the relay or fuse. This can cause melted wires or even a fire.

Wiring Diagrams: What You Need To Know
A wiring diagram helps avoid mistakes. Here’s a simple example for wiring a single accessory light with a relay:
| Connection | Goes To | Description |
|---|---|---|
| Relay Pin 30 | Battery (+) | Main power input (fused) |
| Relay Pin 87 | Accessory Light (+) | Powers the light |
| Relay Pin 85 | Switch Output | Trigger from switch |
| Relay Pin 86 | Ground (-) | Chassis ground |
Always add an inline fuse (usually 15–30A, depending on the lights) as close to the battery as possible. This protects the wiring and your Jeep.
Upgrading Your Electrical System
The Jeep YJ was built before powerful LEDs were common. The original alternator puts out 60–90 amps, which may not be enough for multiple big lights, winches, and accessories.
You may need to:
- Upgrade to a higher-output alternator (120 amps or more).
- Use a deep-cycle auxiliary battery for heavy off-road use.
- Install a dual-battery tray and isolator if running lots of gear.
Non-obvious tip: If your headlights dim when you turn on your accessory lights, your alternator is overloaded. Fix this before adding more accessories.
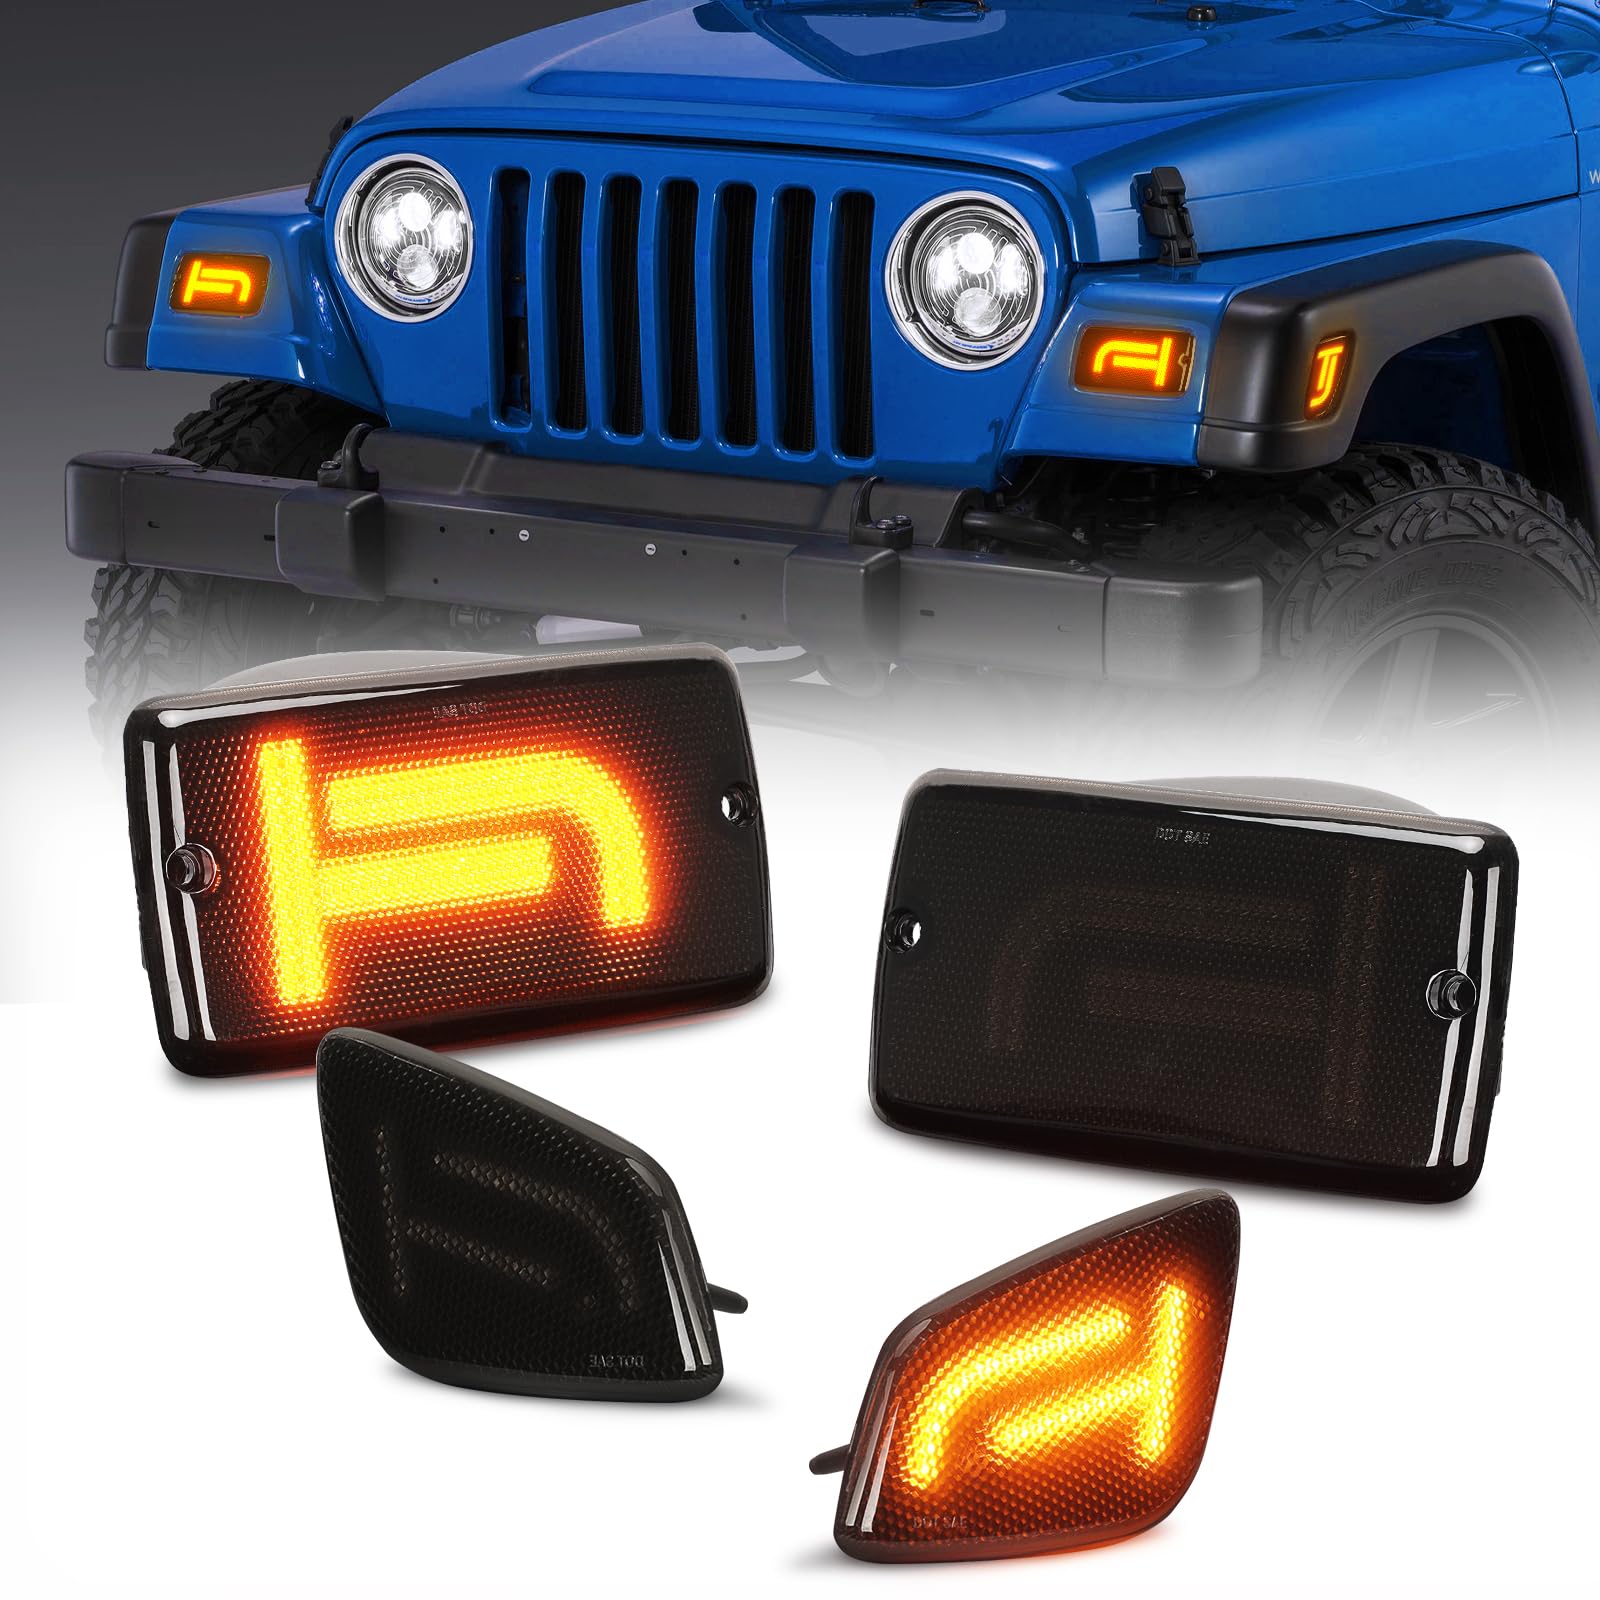
Mounting Locations: Pros And Cons
Choosing where to put your lights affects both performance and legality.
| Mounting Location | Pros | Cons |
|---|---|---|
| Bumper | Easy install, good for fog/spot lights | Vulnerable to damage off-road |
| Windshield/A-pillar | Great side and front lighting | Can reflect glare onto hood |
| Roof/Light bar | Maximum forward illumination | May be illegal on-road, adds wind noise |
| Underbody | Perfect for rock crawling | Exposed to mud, rocks, water |
| Rear bumper | Improves reversing safety | Can blind following drivers if misused |
Practical advice: Always aim your lights before final tightening. Poorly aimed lights can annoy other drivers or reduce your own visibility.
Legal And Safety Considerations
Some states have rules about aftermarket lighting. Here’s what you need to know:
- Most light bars and off-road lights must be covered when driving on public roads.
- Blue or red lights are usually illegal unless you’re emergency personnel.
- Too many forward-facing lights can be a ticket risk.
- Always use a relay and fuse to prevent wiring fires.
Check your state’s rules on the Department of Transportation website or ask your local DMV.
For more on lighting regulations, see the Automotive Lighting Wikipedia page.
Common Mistakes And How To Avoid Them
Even experienced Jeep owners sometimes get accessory lighting wrong. Here are mistakes to watch out for:
- Skipping Relays and Fuses: Direct wiring can melt your harness or cause a fire.
- Overloading the Battery/Alternator: Too many high-wattage lights can leave you stranded.
- Cheap Lights and Wiring: Low-quality gear fails fast, especially in mud and water.
- Bad Grounds: Weak or rusty ground points cause flickering or weak lights.
- Ignoring Legal Issues: Running uncovered light bars on-road can lead to tickets.
Non-obvious insight: Don’t assume all “waterproof” lights actually survive full water crossings. Check for real IP ratings, not just marketing claims.
Maintenance Tips For Long-lasting Lighting
Your new lights need care, especially if you off-road often.
- Wash mud and salt off lights after every trip.
- Check mounts and wiring for loose bolts or chafed wires.
- Reapply dielectric grease to connectors every few months.
- Replace cracked or foggy lenses quickly.
What Is The Best Lighting Setup For A Daily-driven Jeep Yj?
For daily use, LED headlights and a pair of fog lights on the bumper work best. This setup gives you better road visibility without blinding others. Add interior LED strips for convenience. Save big light bars and rock lights for weekend off-roading.
Can I Wire Accessory Lights Without A Relay?
It’s not safe. Relays keep high currents away from your dashboard switch and wiring.
Without a relay, you risk electrical fires or melted wires.
Do I Need To Upgrade My Alternator For Accessory Lighting?
If you run only a few LEDs, your stock alternator may be enough. But if you add a light bar, winch, or fridge, an upgraded alternator (120 amps or more) is a smart investment.
Are All Led Light Bars Waterproof?
Not always. Look for IP67 or IP68 ratings for real waterproofing. Cheap bars may claim “waterproof” but fail in heavy rain or water crossings.
How Do I Aim My Off-road Lights Correctly?
Park on a flat surface 25 feet from a wall. Adjust the beam so the brightest spot is just below hood height.
For roof bars, aim slightly downward to reduce glare and avoid blinding oncoming drivers.
Upgrading your Jeep YJ accessory lighting is one of the best ways to make your rig safer and more fun to drive, on or off the road. With the right planning, wiring, and gear, you’ll have a lighting setup that stands up to adventure and keeps you legal and safe. Always take your time, use quality parts, and double-check your wiring—and your Jeep will light up the night for years to come.