Give Your Power Wheels A Powerful Look: Army Jeep Lettering Ideas
Power Wheels are more than just toys; they are miniature dreams on wheels, sparking imagination and adventure for kids. For many, these ride-on vehicles are a first taste of freedom and exploration.
And what better way to enhance that feeling of adventure than by transforming a Power Wheels into a rugged, authentic-looking Army Jeep? The right Army Jeep lettering can take a standard toy and turn it into a statement piece, ready for any backyard mission.
Adding custom lettering and graphics to a Power Wheels Army Jeep isn't just about aesthetics; it’s about storytelling. It allows children to step into the role of a soldier, a scout, or a commander.
The details matter, from the classic white star emblem to the tactical vehicle markings.
This guide will walk you through everything you need to know to create a convincing and exciting Army Jeep look for your child’s Power Wheels, covering design ideas, materials, application techniques, and essential tips to make it look as real as possible.
The Appeal Of Army Jeep Graphics On Power Wheels
Why are Army Jeep graphics so popular for Power Wheels? It taps into a sense of adventure, heroism, and a timeless aesthetic.
The iconic imagery of military vehicles evokes a feeling of strength and purpose. For children, it’s a way to engage with imaginative play in a more immersive way.
- Imaginative Play: Kids love to pretend. A Power Wheels decked out as an Army Jeep can become a vehicle for countless adventures, from desert patrols to jungle expeditions. The lettering and symbols add to the realism, making the pretend play more engaging.
- Nostalgia and Classic Design: Army Jeeps have a rich history and a distinctive, recognizable look. This classic design appeals to both children and adults, bringing a sense of timeless coolness to the toy.
- Personalization: Custom lettering allows for unique personalization. You can add a name, a rank, or specific unit markings, making the Power Wheels truly one-of-a-kind.
- Educational Opportunity: For parents, this can be a fun way to introduce children to military history or the importance of different roles within a service. It can spark conversations about teamwork and dedication.
The goal is to create a look that is both visually appealing and functional for a toy. This means using durable materials that can withstand the rigors of playtime while looking authentic.

Essential Elements Of Army Jeep Lettering
Authentic Army Jeep lettering involves several key components that contribute to its realistic appearance. Understanding these elements is the first step to creating a convincing design.
The White Star Emblem
Perhaps the most recognizable symbol of US military vehicles, the white star is a must-have for any Army Jeep replica. This emblem was used to identify American vehicles during World War II and continues to be associated with US military ground forces.
- Placement: Traditionally, the star is placed on the hood, doors, or fenders. On a Power Wheels, the hood is a prime spot for a large, central star. Smaller stars can be added to the sides of the vehicle.
- Size and Proportion: The size of the star should be proportionate to the vehicle. A large star on the hood makes a bold statement, while smaller ones on the sides can add detail.
- Color: While the classic is a solid white star, some variations might include a thin black or blue outline for added definition, especially on darker backgrounds.
Tactical Markings And Numbers
Beyond the star, military vehicles often feature various tactical markings, including registration numbers, unit designations, and sometimes even the vehicle’s nickname.
- Registration Numbers: These are typically alphanumeric codes that identify the specific vehicle within the military inventory. For example, you might see numbers like “US 1234567” or “WD 4500678”. The “US” or “WD” prefix indicates the branch or type of vehicle.
- Unit Insignia: While perhaps too detailed for a basic Power Wheels, some enthusiasts might opt for simplified versions of unit patches or symbols. These add a layer of authenticity for those who want to go the extra mile.
- Vehicle Nicknames: During wartime, soldiers often gave their vehicles nicknames. While not strictly official lettering, adding a nickname can add a personal and historical touch, like “Sgt. Rock” or “The Patriot.”
Camouflage And Paint Schemes
While not strictly lettering, the paint and camouflage scheme are integral to the Army Jeep look. Most Power Wheels are solid colors, so adding a camouflage pattern can dramatically transform the vehicle.
- Standard Olive Drab: The classic military color is olive drab, a muted green that blends well with natural environments.
- Camouflage Patterns: WWII-era Jeeps often featured simple two-tone or three-tone camouflage patterns using shades of green, brown, and black. Modern military vehicles use more complex digital or woodland patterns. For a Power Wheels, a simpler pattern is often more effective and easier to apply.
- Weathering Effects: To make the Jeep look battle-tested, you can add subtle weathering effects. This can include dry-brushing with brown or black paint to simulate dirt and grime, or adding a matte clear coat to reduce the toy’s natural shine.
Choosing The Right Materials For Your Power Wheels Lettering
The materials you choose will significantly impact the durability and appearance of your Army Jeep lettering. You want something that looks good, sticks well, and can withstand outdoor play.
Vinyl Decals
Vinyl decals are an excellent choice for Power Wheels customization. They are durable, waterproof, and come in a wide variety of colors and finishes.
- Custom Cut Decals: You can order custom-cut vinyl decals online from various sign shops or online marketplaces. This allows you to get precise shapes and sizes for your stars, numbers, and any other graphics.
- Pre-made Military Decal Sets: Several online retailers offer pre-made sets of military-style decals specifically designed for vehicles, including toy vehicles. These often include stars, numbers, and other common markings.
- Adhesive Quality: Look for decals with strong adhesive that is suitable for plastic surfaces. Most automotive-grade vinyl will adhere well to the plastic of a Power Wheels.
- Application: Vinyl decals are applied similarly to stickers. The surface needs to be clean and dry. For best results, apply them when the temperature is moderate.
Stencils And Paint
For a more integrated look, painting the lettering and graphics directly onto the Power Wheels is an option. This requires a bit more skill but can yield a very professional finish.
- Paint Types: Use acrylic paints or spray paints designed for plastic surfaces. Ensure the paint is durable and weather-resistant. A matte finish is generally preferred for military vehicles to avoid glare.
- Stencils: You can create your own stencils using stencil paper, cardstock, or even vinyl. For the star, you can find templates online or draw one yourself. For numbers and letters, using pre-cut stencils or a stencil cutting machine (like a Cricut) can ensure uniformity.
- Application Process:
- Clean the surface thoroughly.
- Lightly sand the area where you’ll be painting if necessary for better adhesion.
- Apply primer if recommended for the paint type and plastic.
- Position the stencil securely.
- Apply paint in light, even coats. Avoid overspray by using masking tape around the stencil.
- Allow to dry completely between coats and before removing the stencil.
- Seal the paint with a clear matte coat for protection and a non-reflective finish.
Paint Pens
For smaller details or touch-ups, paint pens can be very useful.
- Types: Acrylic paint pens or permanent markers designed for outdoor use can work. Choose a matte white paint pen for stars and lettering.
- Precision: These offer more control for freehand drawing or adding fine details.
- Durability: While convenient, paint pens might not be as durable as vinyl decals or properly applied paint, especially on high-wear areas.
Design And Layout: Making Your Army Jeep Look Authentic
The way you arrange the lettering and graphics is crucial for achieving an authentic Army Jeep look. Consider the proportions and common placement of markings on real military vehicles.
The Hood: A Prime Canvas
The hood of the Jeep is often the most prominent area for identification.
- Large White Star: A large, bold white star centered on the hood is a classic choice. Ensure it’s scaled appropriately for the hood size.
- Registration Numbers: Sometimes, registration numbers are placed above or below the star. For example, “US 1234567” above a star.
- Vehicle Name: If you decide to add a nickname, the hood is also a suitable place.
Side Panels And Doors
The sides of the Power Wheels offer more space for additional markings.
- Smaller Stars: You can add smaller white stars on the sides, often near the front fenders or on the doors.
- Unit Markings: If you’re replicating a specific unit, this is where you might add simplified insignia or markings.
- “US ARMY” Text: Sometimes, “US ARMY” is stenciled onto the sides, particularly on the doors or front fenders. Use a stencil for a blocky, military font.
Fenders And Bumpers
These areas can add subtle details.
- Small Stars: Tiny stars can be placed on fenders.
- Warning Labels: While not strictly “lettering,” adding small, printed “warning” or “hazard” labels can enhance realism. These can be printed on sticker paper and cut out.
Proportions And Scale
A common mistake is making the graphics too large or too small for the vehicle.
- Reference Images: Look at pictures of real Army Jeeps (like the Willys MB or Ford GPW from WWII, or modern Humvees) to get a sense of how markings are typically placed and scaled.
- Visual Balance: Ensure the overall design looks balanced. A massive star might overpower the vehicle if not paired with other appropriate markings.
Step-by-step Application Guide
Applying your chosen lettering and graphics requires care and patience. Here’s a general guide, adaptable for both vinyl decals and painted stencils.
Step 1: Preparation Is Key
This is the most critical step for a lasting finish.
- Clean the Power Wheels: Thoroughly wash the entire vehicle with soap and water to remove dirt, dust, and grease. Use an automotive degreaser if necessary.
- Dry Completely: Ensure the surface is completely dry. Any moisture trapped under decals or paint can cause problems later.
- Surface Preparation (for painting): If you plan to paint, lightly scuff the areas where you’ll apply graphics with fine-grit sandpaper (e.g., 220-grit). This helps the paint adhere better. Wipe away any dust with a tack cloth or a damp cloth.
- Protect the Area: If painting, mask off any areas you don’t want to paint using painter’s tape and paper or plastic sheeting.
Step 2: Applying Vinyl Decals
- Position the Decal: Carefully position the decal on the clean, dry surface. Use masking tape to temporarily hold it in place. Step back and check the alignment.
- Peel the Backing: Slowly peel off the backing paper, keeping the decal adhered to the clear transfer tape.
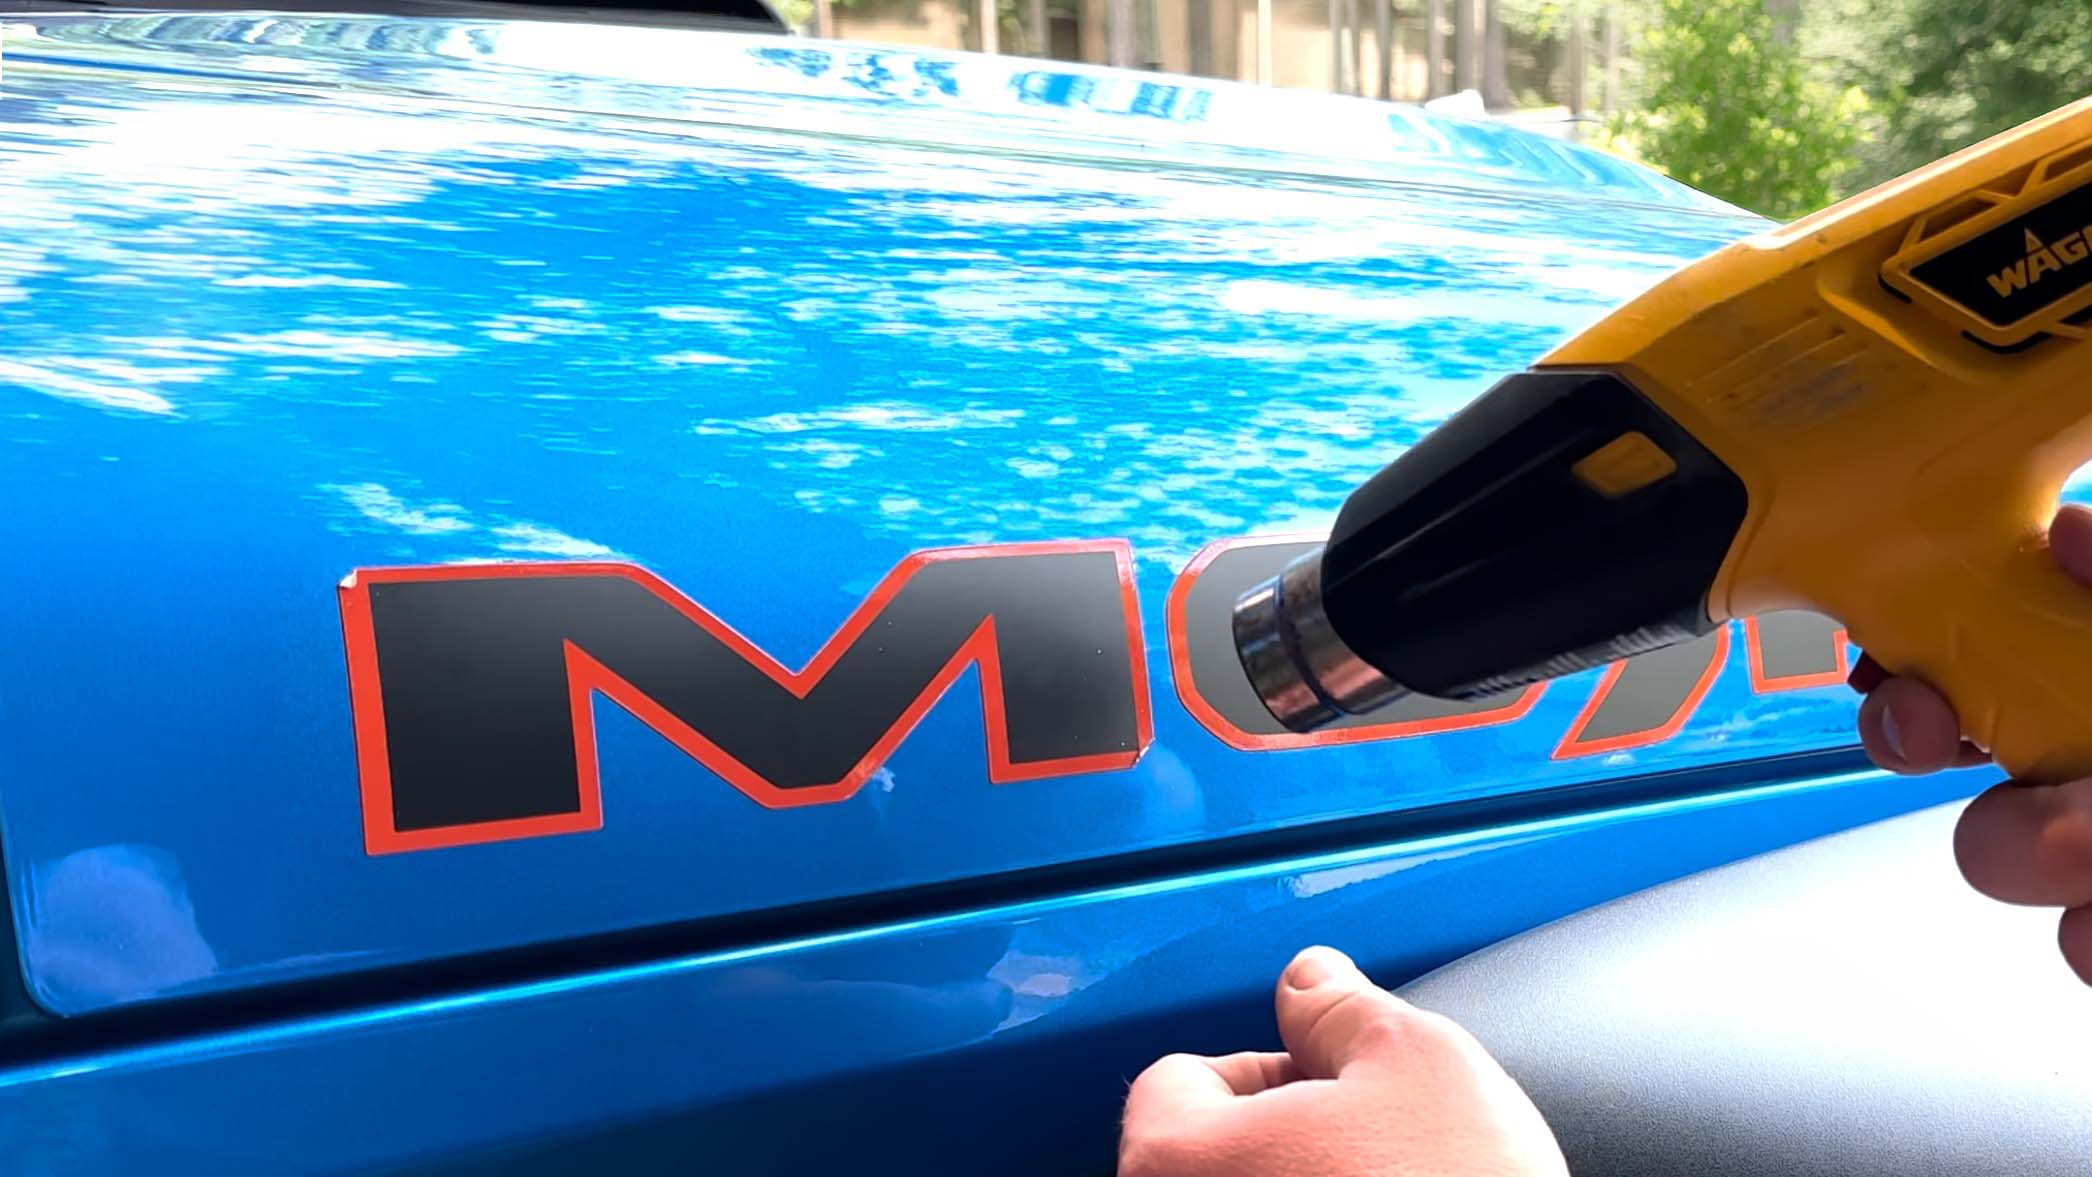
- Apply with Care: Once positioned, start applying the decal from the center outwards. Use a squeegee or a credit card to smooth the decal down, pushing out any air bubbles. Work from the middle to the edges.
- Remove Transfer Tape: Slowly and carefully peel off the clear transfer tape at a 45-degree angle. If the decal starts to lift with the tape, lay the tape back down and rub the decal more firmly with the squeegee before trying to peel again.
- Work Out Bubbles: If small air bubbles remain, you can often prick them with a very fine needle and gently press the air out.
Step 3: Painting With Stencils
- Secure the Stencil: Place the stencil firmly onto the prepared surface. Use low-tack painter’s tape around the edges to ensure it stays in place and prevent paint bleeding underneath.
- Apply Paint:
- Spray Paint: Hold the can about 8-12 inches away and apply light, even coats. Multiple thin coats are better than one thick coat, which can drip and run.
- Brush/Roller: Use a stencil brush or a small foam roller. Dab the paint on rather than brushing heavily to avoid pushing paint under the stencil.
- Drying Time: Allow each coat to dry to the touch before applying the next. Refer to the paint manufacturer’s instructions for drying times.
- Remove Stencil: Once the paint is dry (but not fully cured, as this can sometimes lift the paint), carefully peel off the stencil. If any paint has bled under, you can try to clean it up carefully with a small brush and appropriate thinner or solvent (test in an inconspicuous area first).
- Touch-ups: Use a fine brush to touch up any imperfections.
Step 4: Sealing And Curing
- Clear Coat (Optional but Recommended): Once all paint and decals are applied and dry, consider applying a clear matte sealant over the entire vehicle, or at least the decorated areas. This protects the graphics from scratches and UV damage and gives a uniform, non-glossy finish. Apply in light coats, just like the paint.
- Curing Time: Allow the paint and sealant to cure fully for at least 24-48 hours (or as recommended by the manufacturer) before allowing a child to play with the Power Wheels. This ensures maximum durability.
Customization Ideas And Advanced Techniques
Once you’ve mastered the basics, you can explore more advanced techniques to make your Army Jeep truly stand out.
Weathering Effects For Realism
Real military vehicles are rarely pristine. Adding weathering makes the Power Wheels look more authentic and well-used.
- Dirt and Grime: Mix brown and black acrylic paint with water to create a thin wash. Apply this wash over the vehicle, especially in crevices and around wheels. Wipe off the excess with a damp cloth, leaving the color in the recessed areas to simulate dirt.
- Dry Brushing: Use a stiff brush, dip it lightly into a lighter brown or tan paint, and wipe most of it off on a paper towel. Then, lightly brush over raised edges and details (like bolt heads, panel lines) to simulate wear and tear.