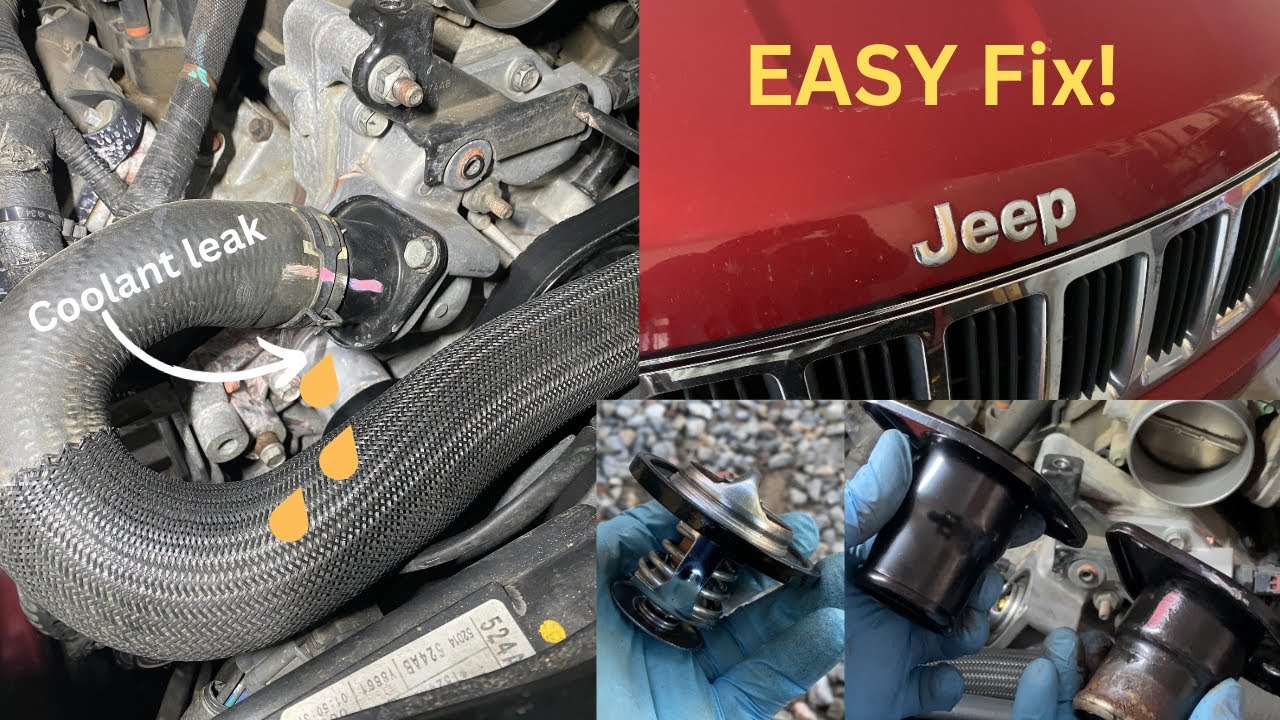
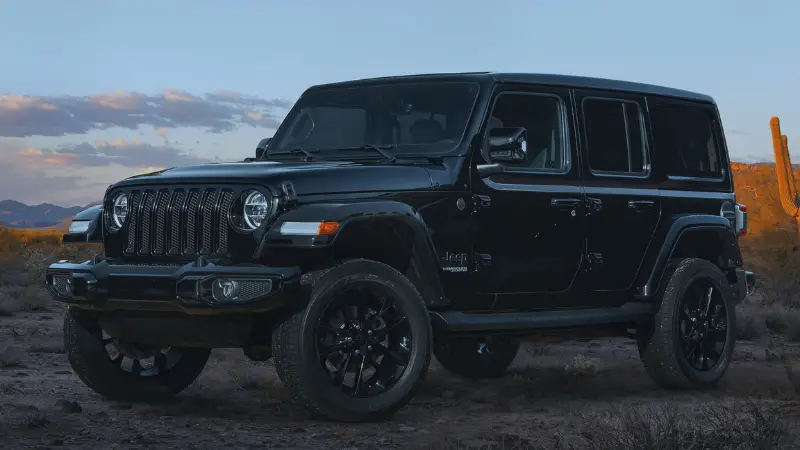
If your Jeep Grand Cherokee 5. 7 is running hotter than usual or you notice coolant leaks under the hood, your radiator may be failing.
A faulty radiator can lead to engine overheating, costly damage, and even a breakdown. Replacing it is a big task, but with the right approach, many DIYers can handle it themselves and save hundreds of dollars on labor.
This guide will walk you through the full process, including what you need, how to prepare, and the exact steps to swap the radiator safely.
Signs Your Radiator Needs Replacement
Before you start buying parts, confirm that your radiator is the problem. Common signs include:
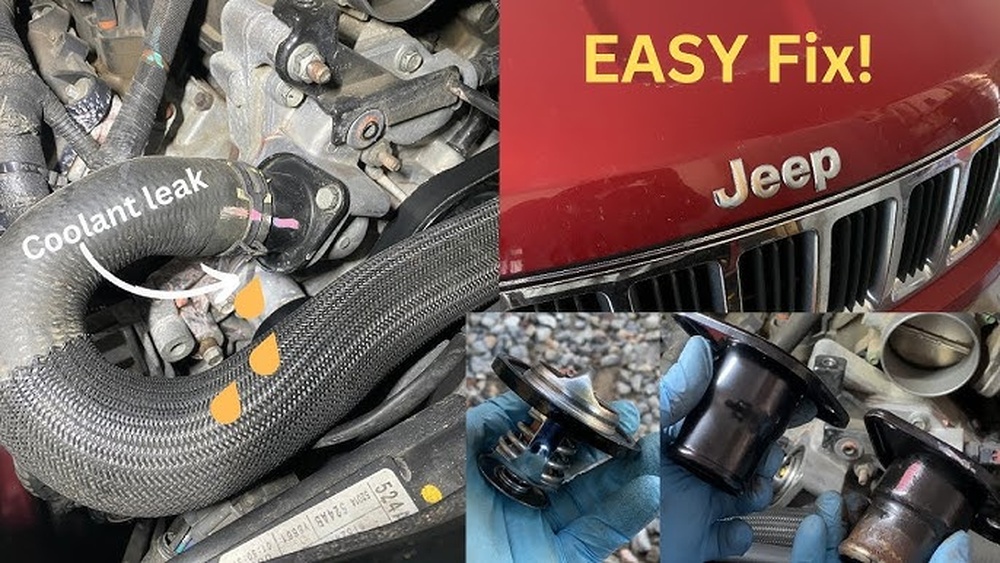
- Coolant puddles under your SUV after parking
- Engine temperature gauge climbing higher than normal
- Steam coming from under the hood
- Noticeable cracks or damage on the radiator itself
If you notice these issues, especially with an older Grand Cherokee, it’s time to plan for a radiator replacement.
What You’ll Need For The Job
Replacing the radiator in a Jeep Grand Cherokee 5.7 requires some basic tools and supplies. Here’s a quick checklist:
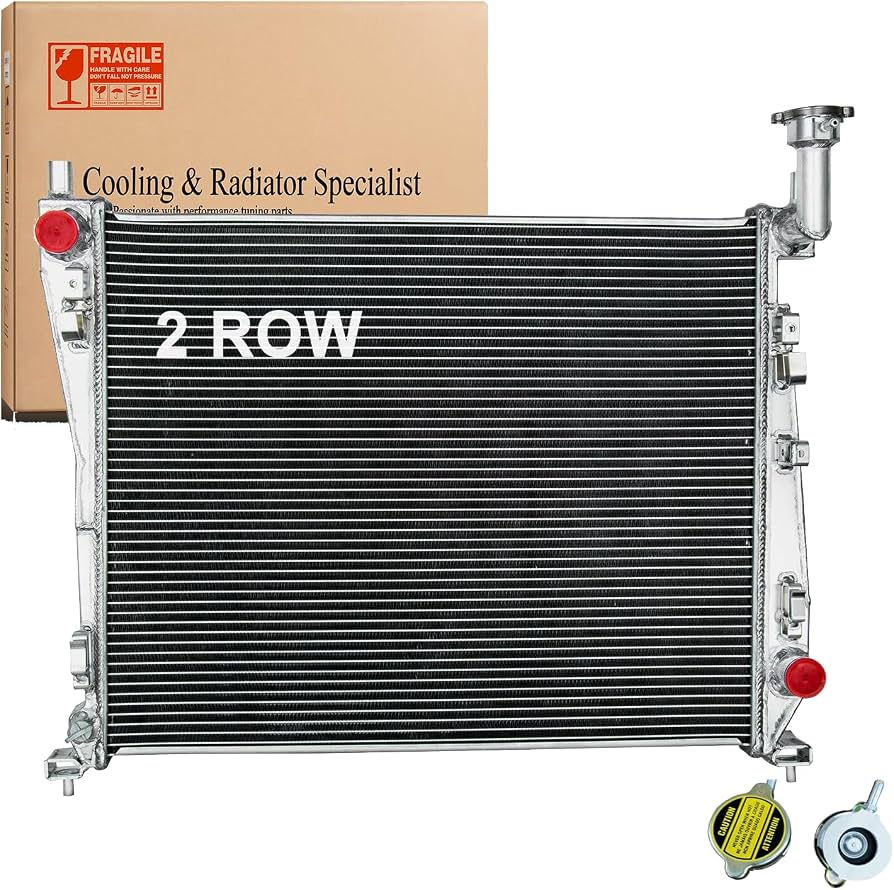
- New radiator (verify fitment for your model year)
- Socket set and wrenches
- Drain pan for old coolant
- Fresh coolant/antifreeze
- Flathead and Phillips screwdrivers
- Pliers (for hose clamps)
- Safety gloves and goggles
Having all items ready before you start will help the process go smoothly.
5 Key Steps To Replacing The Radiator
Each of the following five steps is crucial for a safe and complete radiator replacement. Skipping any can lead to leaks or poor performance.
1. Draining The Old Coolant
First, ensure the engine is completely cool. Open the radiator cap to release any pressure. Place a drain pan under the radiator, then loosen the drain plug at the bottom to let the old coolant flow out. You may also need to detach the lower radiator hose to fully empty the system.
Tip: Used coolant is toxic. Store it safely and dispose of it at a recycling center.
2. Removing Hoses And Connections
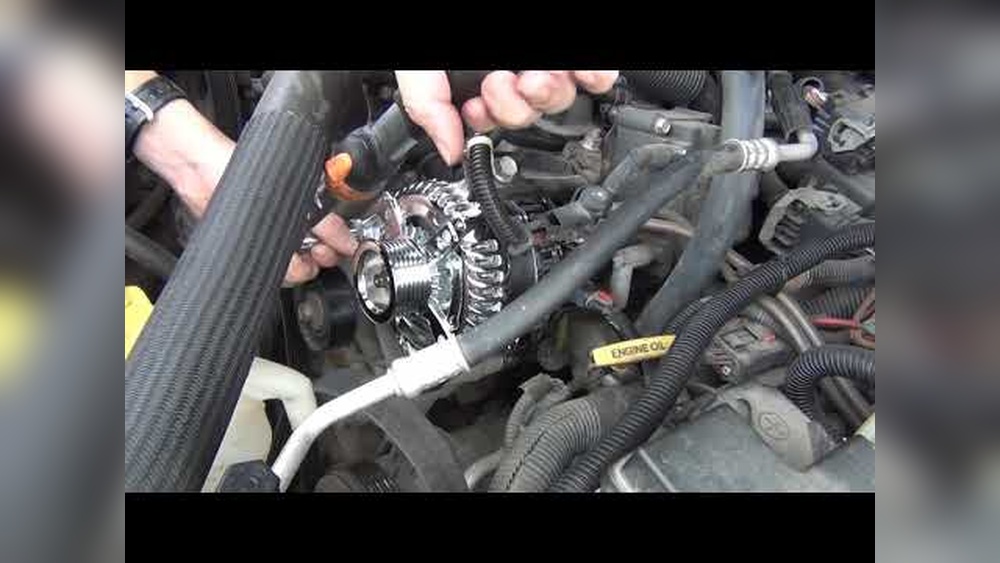
With the coolant drained, detach the upper and lower radiator hoses. Most are secured with hose clamps that can be loosened using pliers or a screwdriver. Next, disconnect any transmission cooler lines (if your model has them) and unplug the radiator fan electrical connections.
Take photos of the connections before removal. This will help you remember where everything goes during reassembly.
3. Unbolting And Removing The Old Radiator
Now, locate the mounting bolts that secure the radiator to the support frame. There are usually two or more at the top. Remove these bolts, then carefully lift the radiator straight up and out of the engine bay.
Be aware that the radiator can be heavier than expected, especially if some coolant remains inside. Ask for help if needed to avoid spills or injuries.
4. Installing The New Radiator
Slide the new radiator into position, making sure the mounting holes line up. Secure it with the bolts you removed earlier.
Reattach the upper and lower hoses, ensuring the clamps are tight. If your model uses transmission cooler lines, connect those as well.
Don’t forget to reconnect the electrical plugs for the radiator fan. Double-check all connections to avoid leaks.
5. Refilling And Bleeding The Cooling System
Pour new coolant into the radiator until it reaches the fill line. Start the engine and let it run with the radiator cap off. This helps bleed air out of the system. Watch for bubbles in the coolant—when they stop, the air is gone.
After the engine reaches normal operating temperature, top off the coolant as needed. Tighten the radiator cap and check for leaks.
Comparison: Oem Vs. Aftermarket Radiators
Choosing between an OEM (Original Equipment Manufacturer) radiator and an aftermarket version is a common question. Here’s a side-by-side look:
| Feature | OEM Radiator | Aftermarket Radiator |
|---|---|---|
| Price | Higher ($200–$350) | Lower ($100–$200) |
| Fit & Compatibility | Guaranteed | May vary |
| Warranty | Usually included | Depends on brand |
| Durability | High | Varies |
OEM radiators are often a safer bet for direct fit, but good aftermarket options can save money. Just check reviews and specs before buying.
Common Mistakes To Avoid
Many DIYers run into avoidable problems. Here are the most frequent:
- Not letting the engine cool before starting—this can lead to burns.
- Forgetting to bleed the system—trapped air causes overheating.
- Using the wrong coolant type—always check your owner’s manual.
- Over-tightening hose clamps—can crack plastic fittings.
Taking your time and double-checking each step prevents these errors.
Cost Breakdown: Diy Vs. Professional
Wondering how much you’ll save by doing it yourself? Here’s a quick comparison:
| Method | Parts Cost | Labor Cost | Total Cost |
|---|---|---|---|
| DIY | $120–$350 | $0 | $120–$350 |
| Professional Shop | $120–$350 | $250–$500 | $370–$850 |
DIY replacement can save you $250–$500 if you’re confident with tools.
Final Checks And Test Drive
After installation, take a short test drive. Watch the temperature gauge and check under the hood for leaks once you return. It’s normal for coolant levels to drop a little as air works out—top off as needed.
If you notice persistent leaks or overheating, stop and inspect your work. Sometimes a hose clamp or connection needs a little extra tightening.
Frequently Asked Questions