Wiring overhead lights on a Jeep Wrangler is one of the most popular upgrades for off-road fans and night drivers. With the right approach, you can add extra visibility and style to your Jeep.
Many owners worry about cutting wires or making mistakes, but with some simple tools and clear steps, this DIY project is within reach for beginners too.
This guide will walk you through the process, cover what you need, and help you avoid common problems.
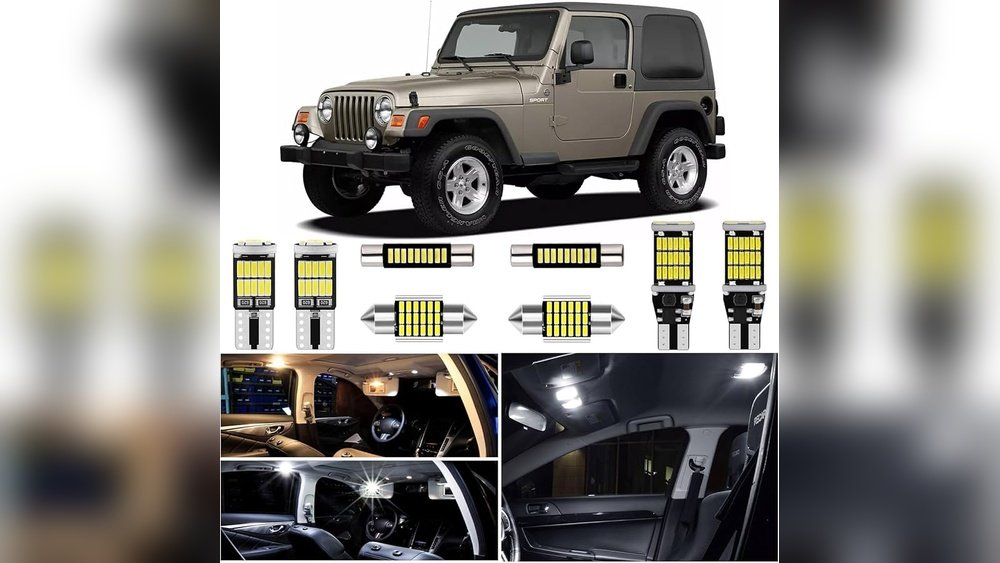
Why Install Overhead Lights On Your Jeep Wrangler?
Adding overhead lights to your Jeep gives you much more than just better looks. These lights make night trails safer, illuminate campsites, and help with repairs in the dark. They also make your Jeep stand out and can increase its resale value. Statistics show that more than 60% of off-road enthusiasts install extra lighting for safety and comfort.
What You Need Before You Start
Preparation makes the wiring process smoother. Here’s a quick list of the main items:
- Overhead light bar or pods
- Wiring harness with relay and fuse
- Switch (toggle or rocker style)
- Mounting brackets
- Wire crimpers and strippers
- Electrical tape or heat shrink tubing
- Socket set and screwdrivers
- Multimeter (to check connections)
Most lighting kits include basic wiring, but not always the best quality. Consider upgrading to a harness with thicker wires for more reliability.
Comparing Wiring Harness Types
Here’s a simple comparison of two popular wiring harness types:
| Type | Wire Gauge | Relay Included | Weatherproof |
|---|---|---|---|
| Basic Kit | 16 AWG | No | No |
| Premium Kit | 12 AWG | Yes | Yes |
Thicker wires (like 12 AWG) can handle more power, reducing the risk of overheating.
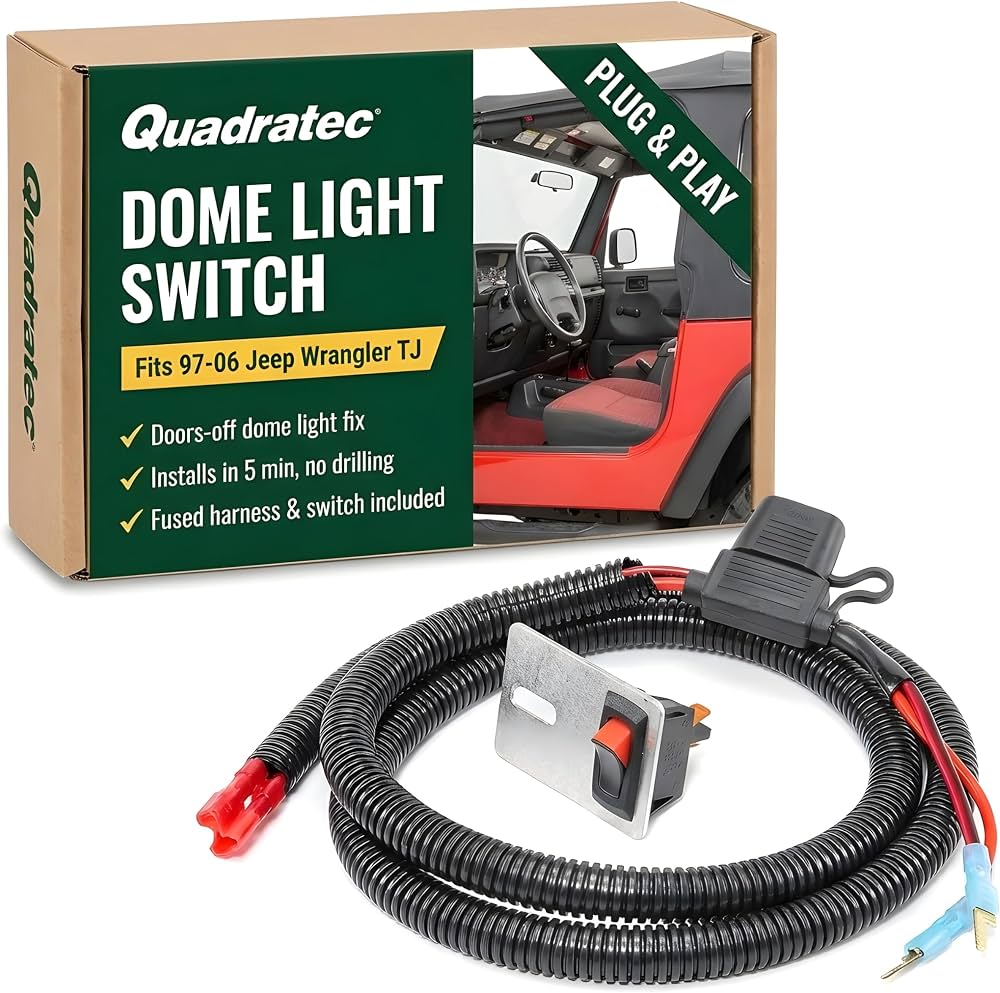
Step-by-step: How To Wire Overhead Lights On Your Jeep Wrangler
1. Plan Light Placement And Route Wires
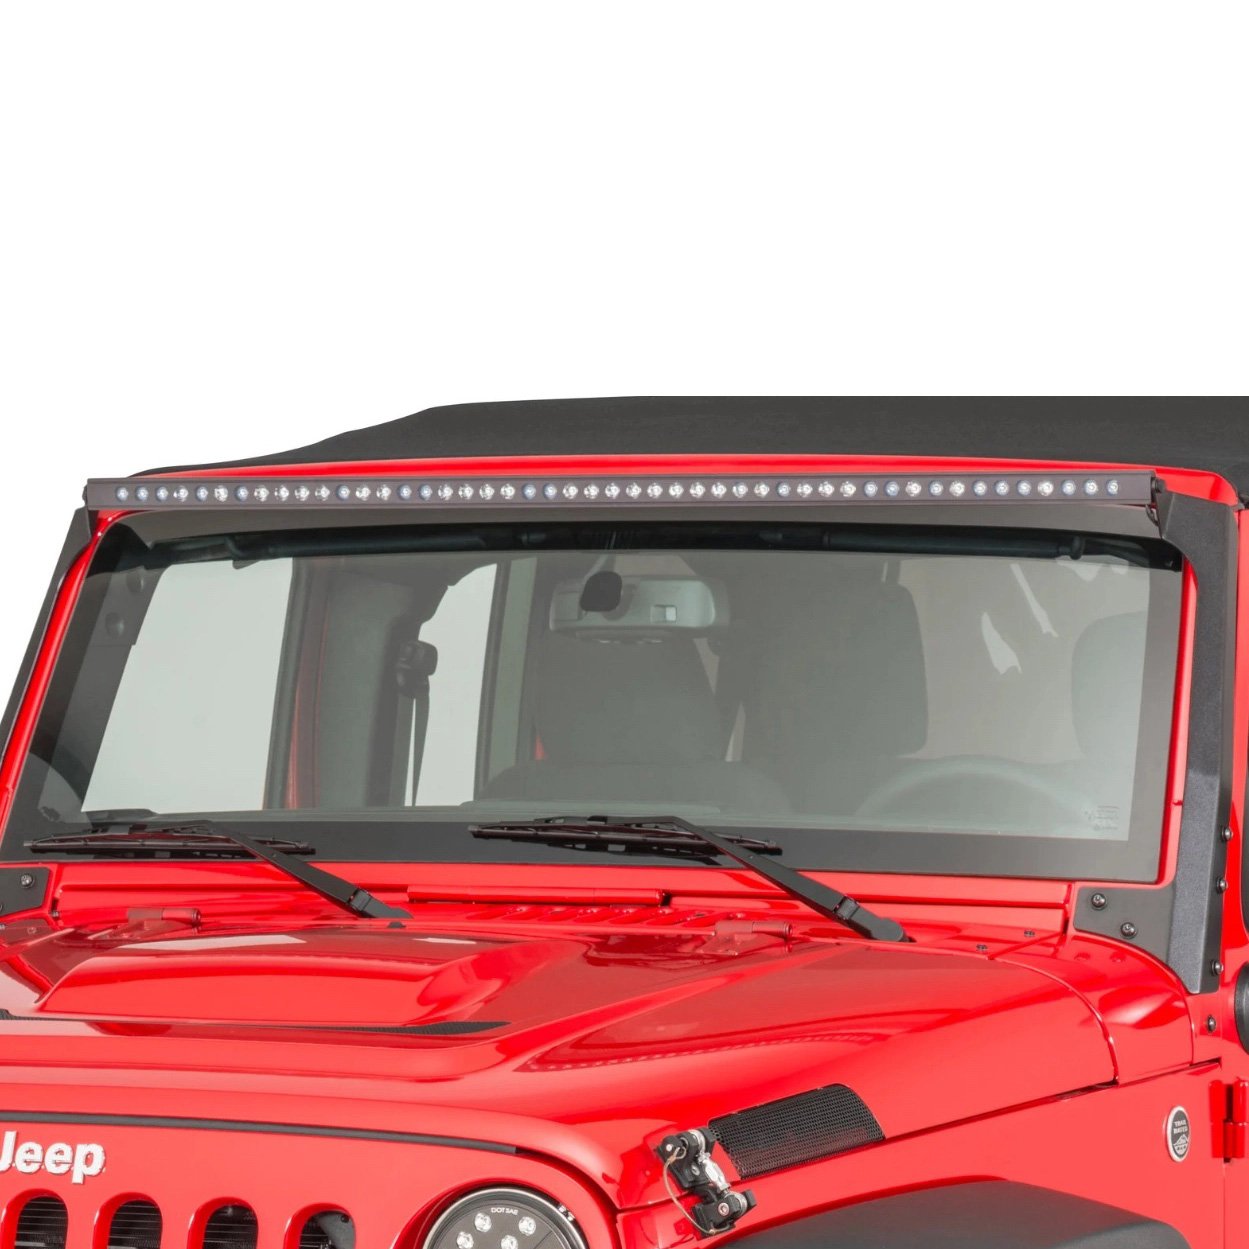
Decide where to mount your overhead lights most choose above the windshield or on the roof rack. Before drilling, check that the brackets fit and wires can pass into the engine bay without pinching.
Pro Tip: Test-fit everything first. This helps spot any issues with wire length or bracket fit.
2. Mount The Lights
Use the included brackets to secure your light bar or pods. Tighten bolts firmly, but avoid over-tightening which can crack mounts.
3. Route The Wires
Carefully run the wiring harness from the lights down the windshield pillar. Use factory holes or grommets if possible to avoid drilling.
Zip ties help secure wires and keep them away from hot engine parts.
4. Connect The Relay And Fuse
Mount the relay close to the battery. Connect the power wire to the positive battery terminal and the ground to a solid metal point on the Jeep’s body. Use a fuse rated for your light’s power draw.
5. Install The Switch
Choose a spot inside the cabin for your switch. Many owners use the blank switch panels near the dashboard.
Run the control wire from the relay through the firewall and connect it to the switch.
6. Final Connections And Testing
Double-check all connections. Use a multimeter to confirm voltage before turning on the system. Wrap exposed wires with electrical tape or heat shrink tubing for weather protection.
Once you’re sure everything is secure, reconnect the battery and test the lights.
Jeep Wrangler Fuse Ratings: Example
Here’s a typical fuse size chart for different overhead light setups:
| Light Type | Wattage | Recommended Fuse |
|---|---|---|
| Single LED Pod | 18W | 10A |
| 20″ Light Bar | 120W | 20A |
| 50″ Light Bar | 288W | 30A |
Always match your fuse to the total wattage to avoid blown fuses or fire risk.
Common Mistakes To Avoid
Many beginners make the same errors, which can damage your Jeep or the lights:
- Skipping the relay: Directly wiring to the switch can overload it.
- Not using weatherproof connectors: Moisture leads to corrosion and shorts.
- Routing wires near hot engine parts: This melts insulation and causes failures.
- Ignoring fuse ratings: Using the wrong fuse can cause electrical fires.
One less-known tip: Always leave a little slack in your wires. This prevents them from pulling loose as the Jeep flexes off-road.
Safety Tips And Legal Considerations
Some states have laws about using extra lights on public roads. Always check local regulations before driving with overhead lights on.
In many places, you must cover off-road lights when on highways.
When working with electrical systems, disconnect the battery before starting. Wear gloves and eye protection to stay safe.
Pro Tips For A Cleaner Install
Want your wiring to last longer and look professional? Here are two extra tips:
- Use split loom tubing to protect wires from abrasion and heat.
- Solder connections instead of just crimping for a stronger, longer-lasting bond.
Many experienced Jeep owners also recommend labeling wires. If you add more accessories later, you’ll know what each wire does.

Frequently Asked Questions
How Long Does It Take To Wire Overhead Lights On A Jeep Wrangler?
For most beginners, it takes about 2-3 hours to complete the installation, including mounting and wiring. Double this time if you’ve never worked with automotive wiring before.
Do I Need To Drill Holes In My Jeep To Install Overhead Lights?
Not always. Many mounting kits use existing bolt holes or brackets.
If you want a custom position or unique look, drilling may be needed. Always treat bare metal with paint or sealant to prevent rust.
Can I Use The Factory Switches To Control My New Lights?
Some Jeep Wranglers come with auxiliary switch panels. If yours does, you can often wire your overhead lights directly to them for a cleaner look. Check your owner’s manual for wiring details.
What Size Wire Should I Use For Overhead Light Bars?
For most light bars (over 100W), use 12 AWG wire to handle the current safely. Thinner wires can overheat or cause voltage drops.
Where Can I Find More Guidance Or Wiring Diagrams?
Many Jeep forums and reputable auto parts sites have detailed guides. For example, ExtremeTerrain offers step-by-step instructions and diagrams to help.
Upgrading your Jeep Wrangler with overhead lights is both practical and rewarding. With careful planning and attention to detail, you’ll enjoy safer adventures and a more personalized ride.
Take your time, follow these steps, and soon your Jeep will be ready to light up the trails.


















