Wiring lights to a rocker switch in your Jeep can make a big difference, especially if you love off-roading or driving in low-visibility areas. Many Jeep owners want extra lights for safety, style, or convenience, but the wiring process can seem complicated.
With the right approach and clear steps, you can wire your lights safely and confidently without needing professional help.
Why Use A Rocker Switch For Jeep Lights?
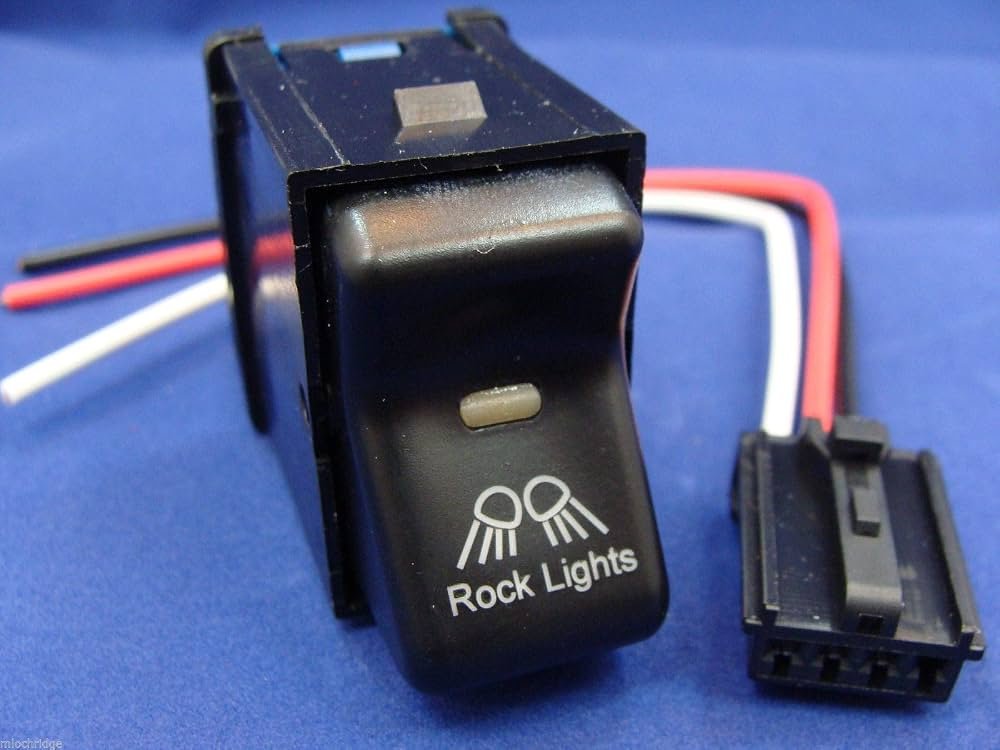
A rocker switch is popular in Jeeps because it’s simple, reliable, and easy to use while driving. It gives you full control over when your auxiliary lights turn on, without interfering with your Jeep’s main electrical system. Rocker switches also have a clean, factory look that blends well with your dashboard.
What You Need Before Starting
Gathering the right tools and materials before you begin makes the job smoother and safer. Here’s what you’ll need:
- Rocker switch (single or dual pole, as needed)
- 12V relay (recommended for high-power lights)
- Inline fuse (usually 10A–30A, matching your light’s specs)
- Wire harness (includes wires, connectors, terminals)
- Crimping tool and wire strippers
- Drill (for mounting switch)
- Screwdriver set
- Multimeter (for testing voltage and connections)
- Zip ties or cable clips
- Electrical tape or heat shrink tubing
If you’re wiring multiple lights, consider using a relay panel or switch pod for neatness.
How To Wire Lights To A Rocker Switch: Step-by-step
Wiring Jeep lights to a rocker switch involves connecting the lights, relay, power, and switch in a safe loop. Here’s how to do it:
1. Plan Your Wiring Route
Decide where you’ll mount the rocker switch on your dashboard. Choose a spot that’s easy to reach but won’t get bumped accidentally. Plan your wire path from the battery to the relay, from the relay to the lights, and from the switch to the relay.
Tip: Keep wires away from sharp edges or hot engine parts. Use zip ties to secure them neatly.
2. Install The Rocker Switch
- Drill a hole in the dash or switch panel to fit the rocker switch.
- Insert the switch and secure it tightly.
- Most rocker switches have three terminals: Power (input), accessory (output), and ground.
- Label your wires to avoid confusion later.
3. Connect The Relay
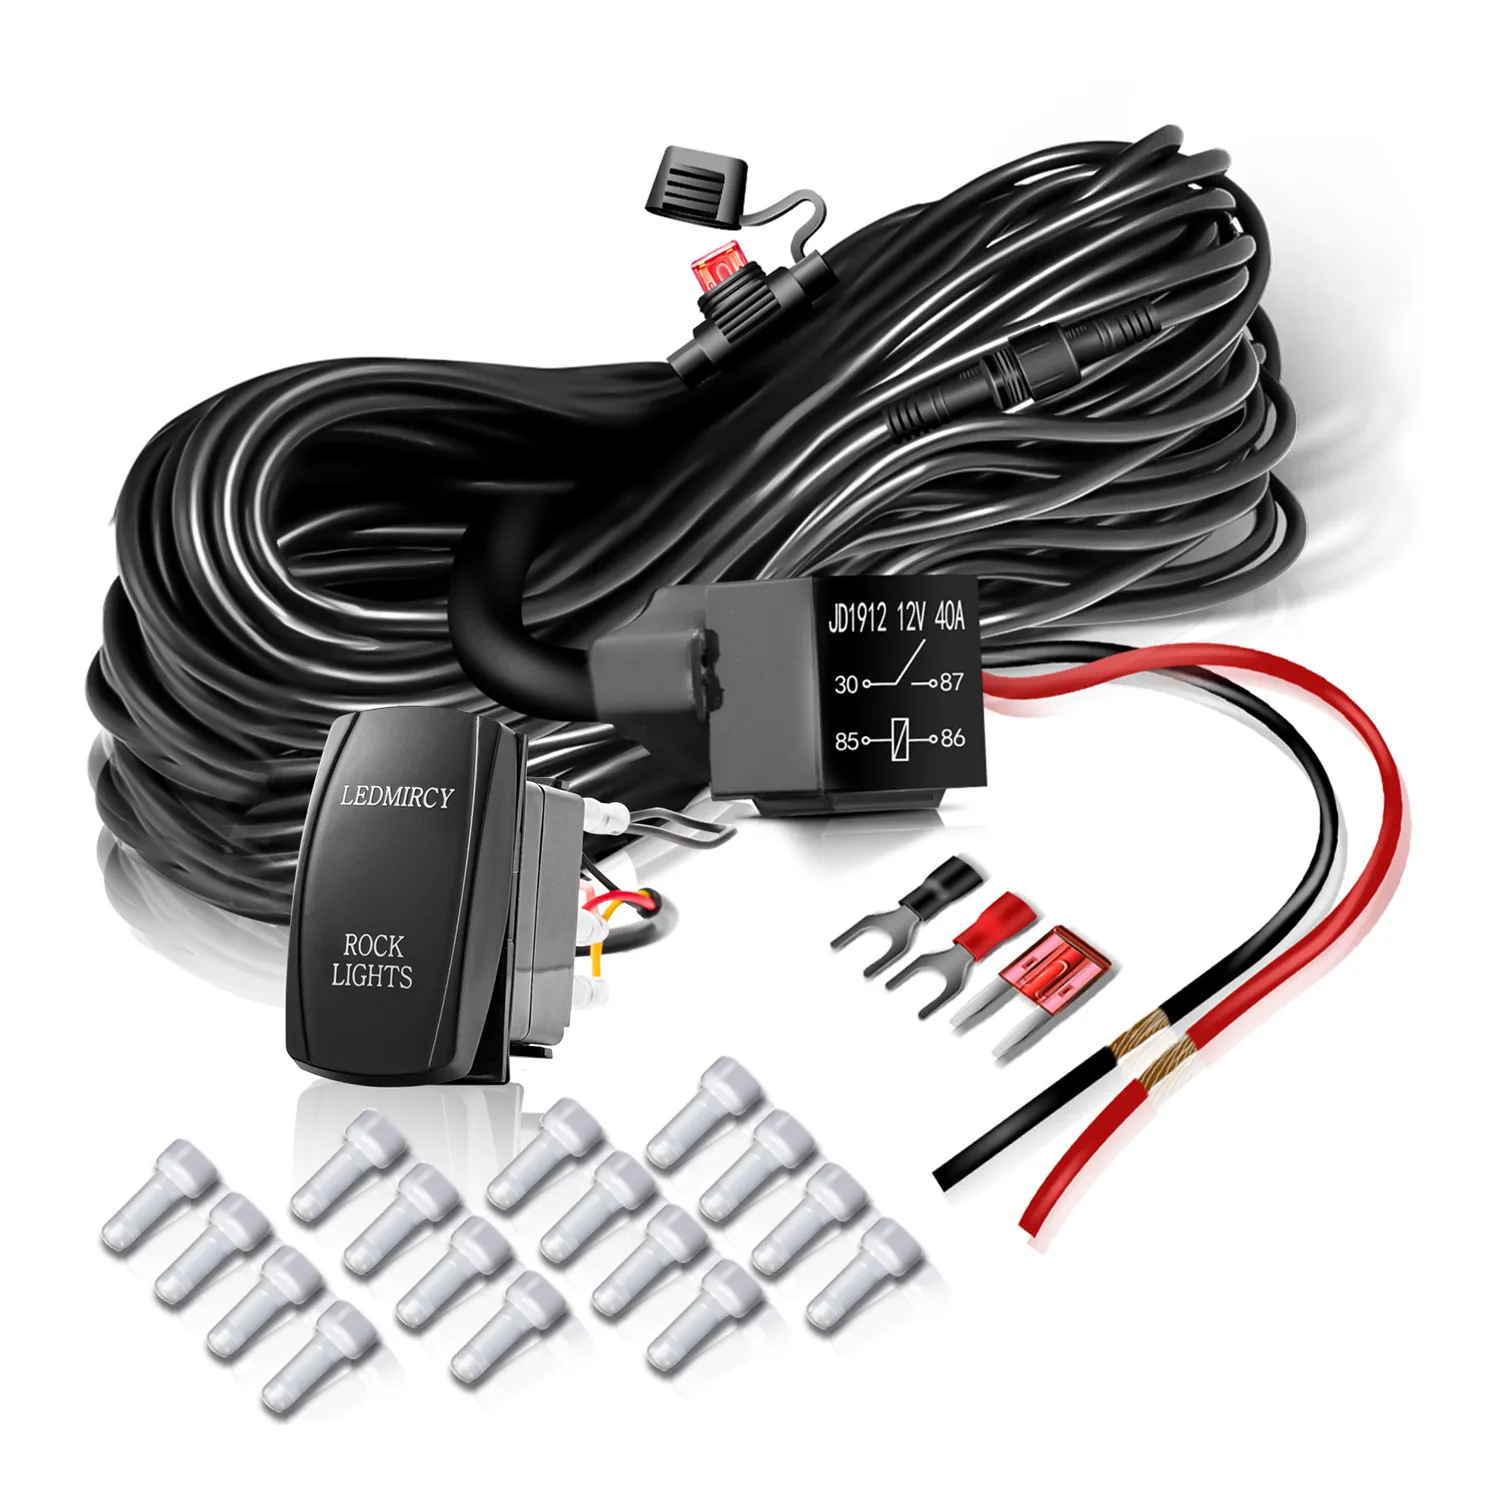
A relay protects your Jeep’s electrical system and lets you control high-power lights with a small switch. Here’s a quick wiring example:
| Relay Pin | Connection |
|---|---|
| 30 | Battery (+) through fuse |
| 85 | Ground (-) |
| 86 | Switch output |
| 87 | Lights (+) |
Connect a fused wire from the battery to relay pin 30. Pin 85 goes to ground.
Pin 86 connects to the rocker switch output, and pin 87 goes to the positive wire of your lights.
4. Wire The Rocker Switch
- Connect a wire from the battery’s positive terminal to the switch’s input (often marked as “power” or “+”).
- Connect the switch’s output to relay pin 86.
- Run a ground wire from the switch’s ground terminal to a solid metal part of the Jeep (unpainted bolt or chassis).
Tip: If your switch has a built-in LED, make sure to wire it properly. Some switches need a separate ground for the indicator light.
5. Connect The Lights
- Run a wire from relay pin 87 to the positive terminal on your lights.
- Connect the negative terminal of the lights to the Jeep chassis or battery ground.
- Double-check all connections with a multimeter before turning on the system.
6. Test The System
Turn the key to accessory mode. Flip the rocker switch.
The relay should click and the lights should turn on. If not, re-check your wiring and fuses.
If everything works, tidy up the wires with zip ties and cover exposed connections with electrical tape or heat shrink.
Common Wiring Setups
Depending on your Jeep and light setup, wiring might look a bit different. Here’s a quick comparison of single vs. multiple light wiring:
| Setup | Wiring Complexity | Best For |
|---|---|---|
| Single Light | Simple | Fog or work light |
| Multiple Lights (in series) | Moderate | Paired lights (e.g., two spots) |
| Multiple Lights (with relay panel) | Advanced | Light bars, pods, complex setups |
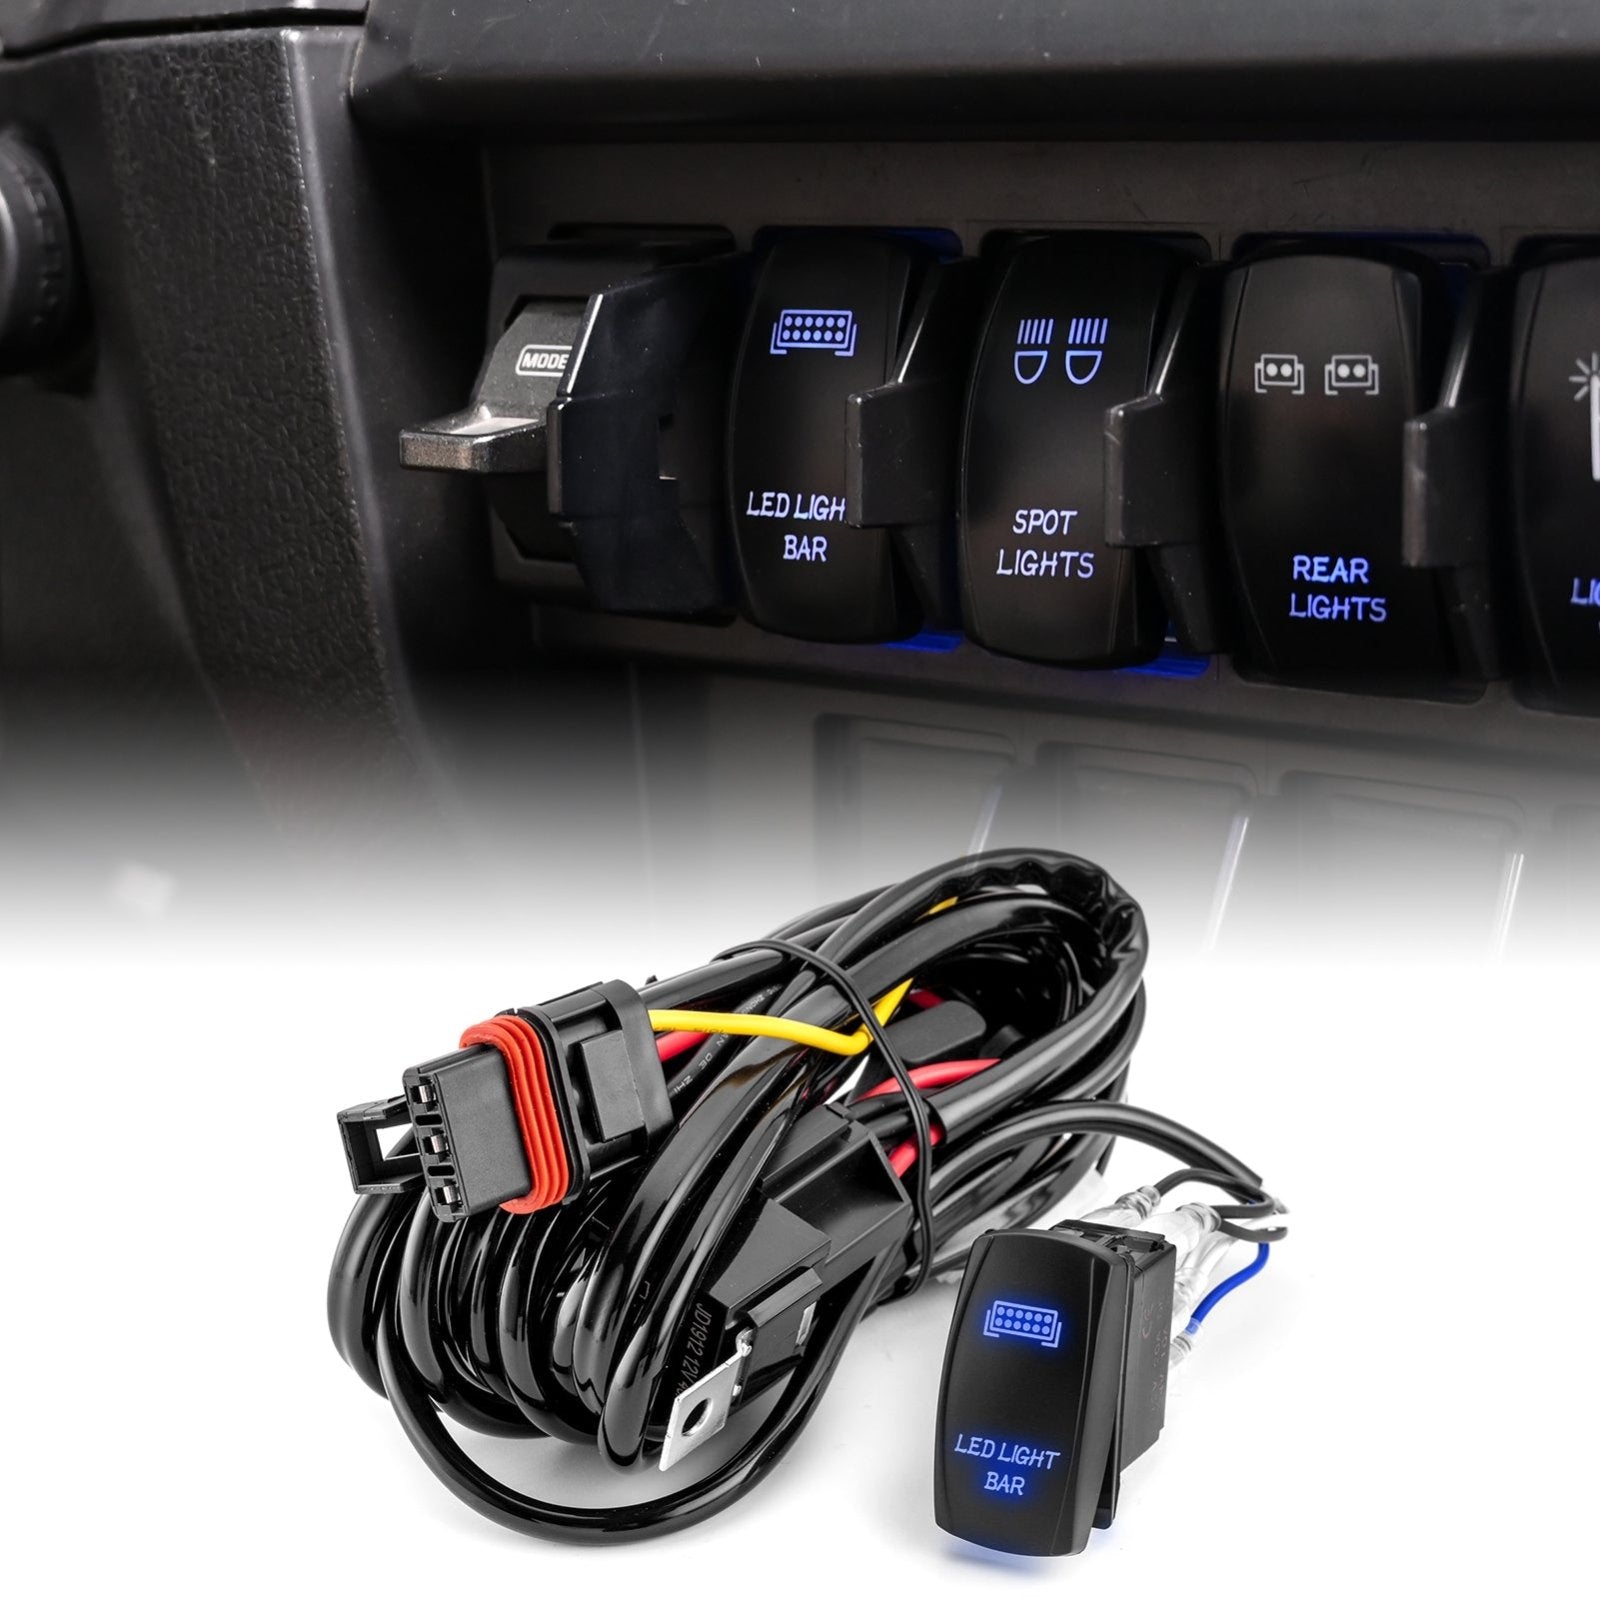
For most Jeep owners, a single relay and switch are enough. If you have more than two sets of lights, consider a switch pod or relay box.
Safety Tips And Mistakes To Avoid
- Always use an inline fuse as close to the battery as possible.
- Don’t use too thin wires; use at least 14-gauge for most off-road lights.
- Never connect lights directly to the battery without a relay and switch.
- Test each connection with a multimeter before finalizing.
- Avoid grounding wires to painted or rusty surfaces.
- If you’re unsure about any step, consult a wiring diagram or a certified mechanic.
A common beginner mistake is skipping the relay to “keep it simple. ” This risks overheating wires or damaging the switch, especially with high-power LED or halogen lights.
Example: Wiring A 2-pod Led Light Kit
Let’s say you install a pair of 18W LED pods. Here’s how the wiring flow might look:
- Battery positive → inline fuse (20A) → relay pin 30
- Relay pin 87 → split to both light pods’ positive wires
- Both pod negatives → chassis ground
- Relay pin 85 → ground
- Relay pin 86 → rocker switch output
- Rocker switch power input → battery (with low amp fuse)
- Rocker switch ground → chassis
This setup is reliable and keeps your Jeep’s main wiring safe.
Cost And Time Estimates
Wiring a basic light setup usually costs $30–$60 for parts (switch, relay, fuse, wire). Most DIYers finish in 1–2 hours. If you want a cleaner look or many lights, expect to spend more on switch pods and wire harness kits.
Frequently Asked Questions
How Do I Know What Gauge Wire To Use?
Check the amp rating of your lights. Use 14-gauge wire for up to 15A. For higher loads, use thicker wire. Too thin wires can overheat and fail.
Can I Wire Lights Without A Relay?
It’s possible for low-power lights (under 10A), but it’s not recommended. Relays protect your switch and wiring from overheating.
Where Should I Place The Inline Fuse?
Install the inline fuse as close to the battery as possible. This protects the entire circuit if a short happens.
Why Doesn’t My Rocker Switch Light Up?
Some rocker switches need a separate ground for the built-in LED. Check the wiring diagram and make sure the ground is connected properly.
What’s The Safest Way To Test My Wiring?
Use a multimeter to check voltage at each connection before switching the lights on. This helps catch mistakes without risking a short circuit.
For more wiring diagrams and relay details, you can visit the The12Volt website.
Wiring your Jeep’s lights to a rocker switch is a practical upgrade. With careful planning and attention to detail, you’ll have a safer, more functional lighting setup and the confidence to tackle your next adventure.


















