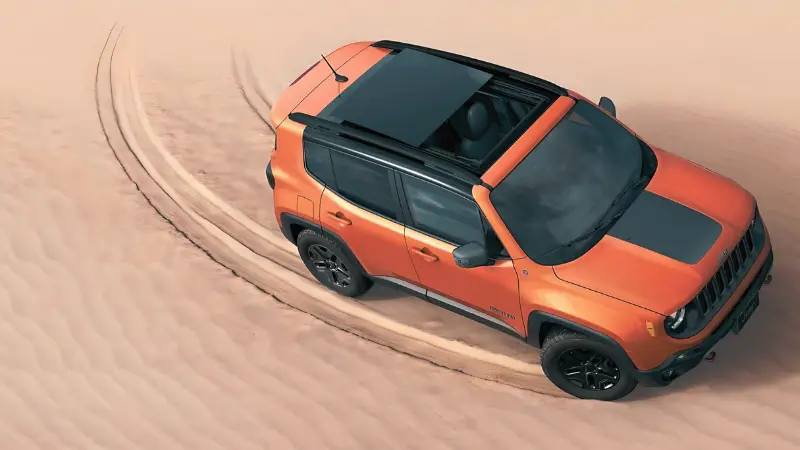
If you own a Jeep JK and want to install extra lights, you’re not alone. Many drivers add LED light bars, spotlights, or fog lights for better visibility and style. But wiring lights can seem confusing, especially if you’re new to car electrical work. This guide will help you understand each step, avoid common mistakes, and wire your lights safely.
Planning Your Jeep Jk Light Wiring
Before you start, it’s important to know what you need and where you want your lights. Many Jeep JK owners install:
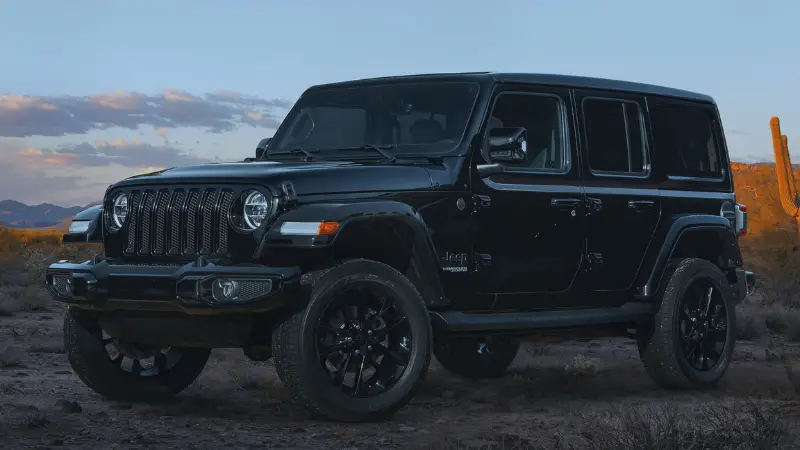
- LED light bars on the roof or bumper
- Spotlights on the windshield pillars
- Fog lights in the front bumper
Think about the purpose: Is it for off-road driving, night visibility, or just appearance? Knowing this helps you choose the right lights and wiring method.
Gathering Tools And Materials
You’ll need some basic tools and parts:
- Lights (LED bar, spotlights, fog lights)
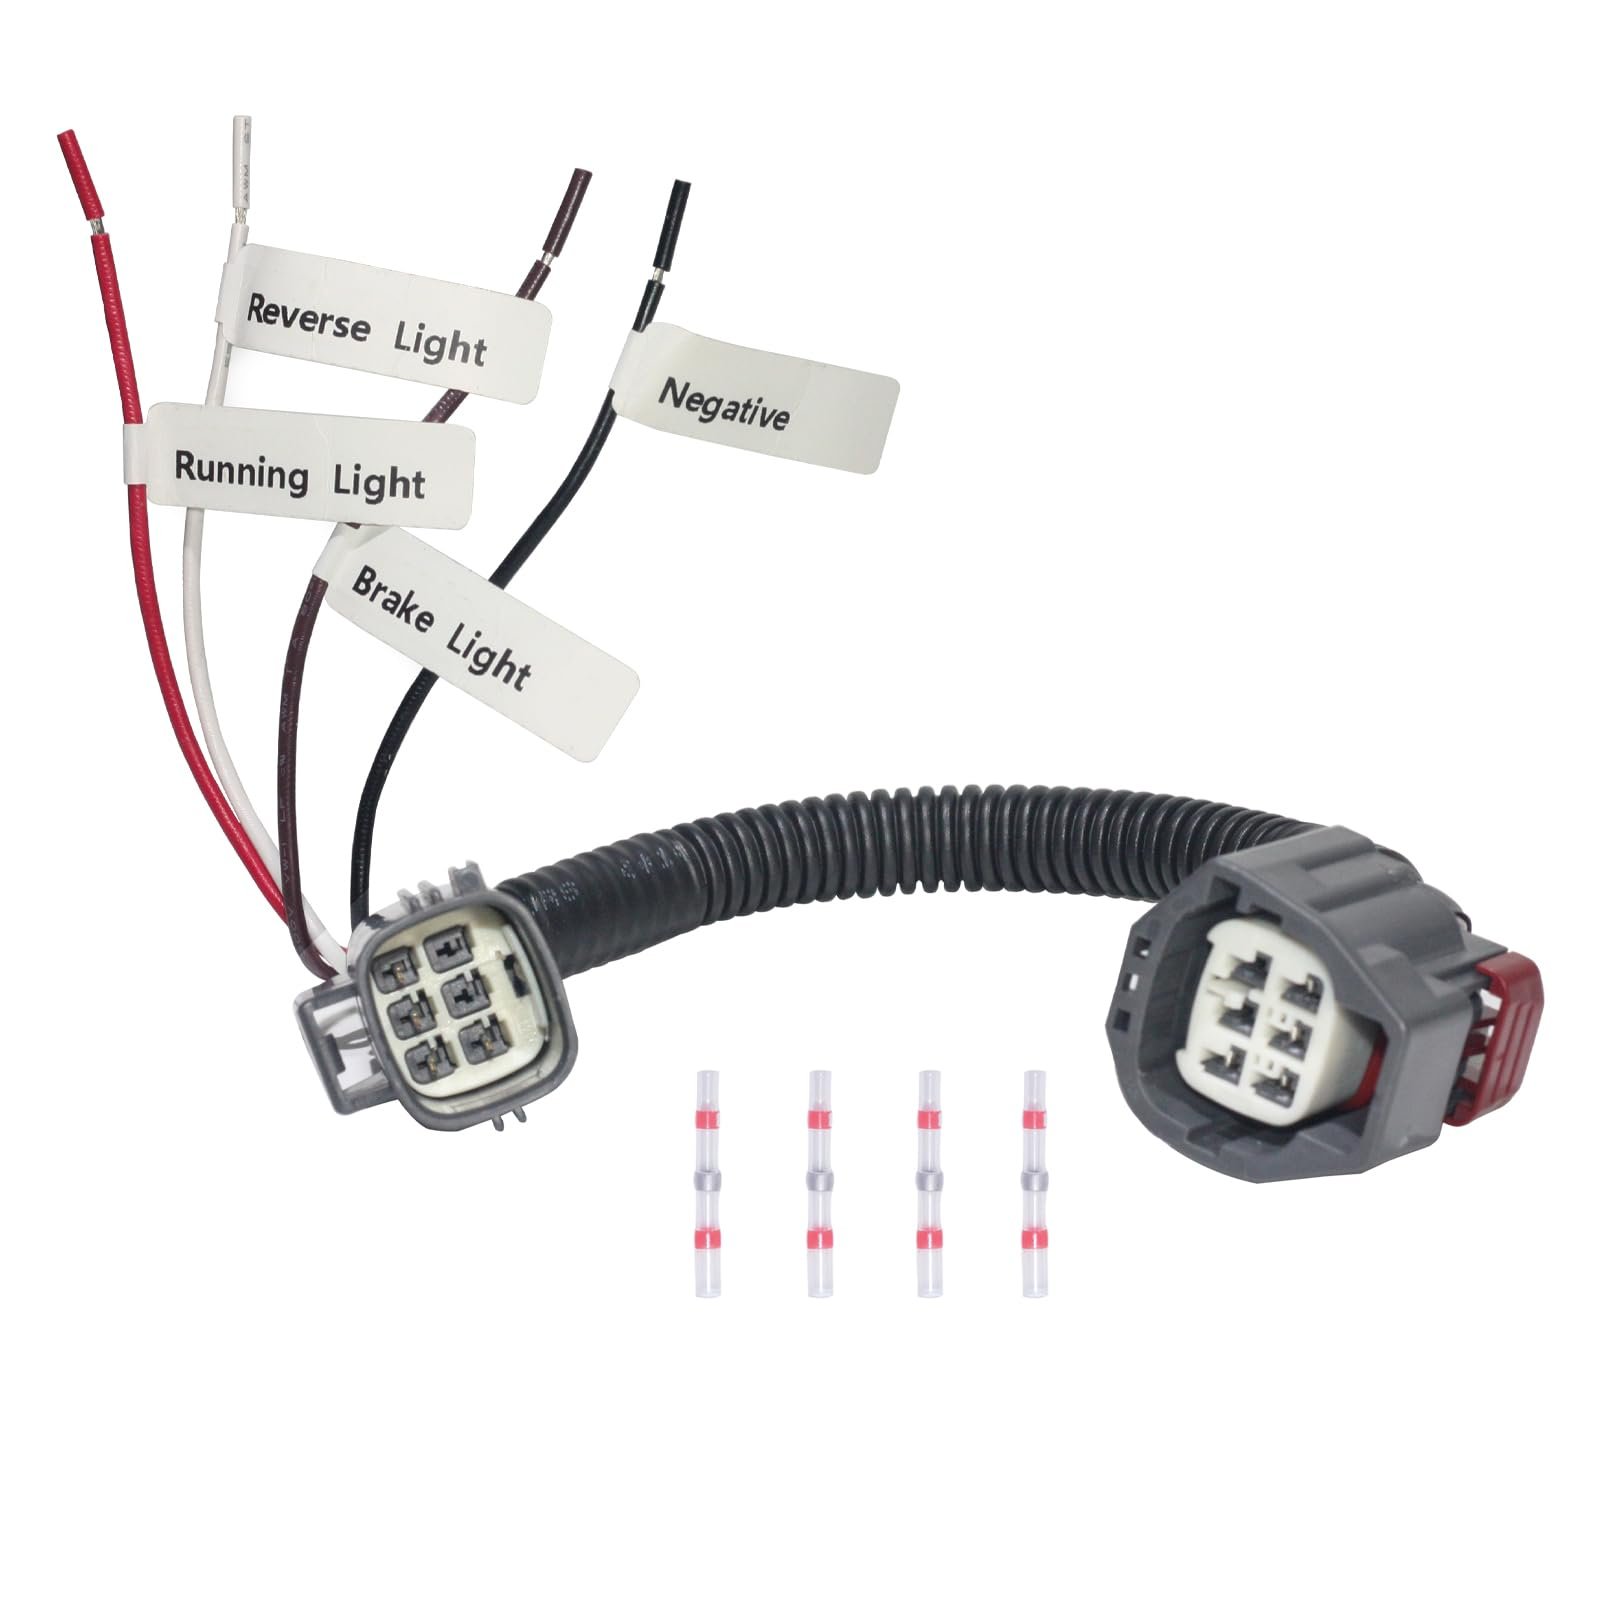
- Wiring harness (includes wires, relay, fuse, and switch)
- Wire connectors
- Electrical tape
- Drill and bits (if mounting lights)
- Screwdrivers
- Multimeter (for checking voltage)
- Zip ties (for neat wiring)
A wiring harness is the safest and easiest way to connect lights. It protects your Jeep’s electrical system and avoids overload.
Step-by-step Wiring Process
Follow these steps to wire lights on your Jeep JK. Each step builds on the last, so don’t skip any.
1. Mount The Lights
First, decide where you want the lights. Clean the surface, mark the holes, and use a drill to mount brackets.
Attach the lights firmly. For roof lights, use waterproof grommets where wires pass through metal.
2. Connect The Wiring Harness
Most harnesses come with instructions, but here’s a simple explanation:
- Find the relay and fuse in the harness; these protect your Jeep.
- Connect the red wire (power) to the battery’s positive terminal.
- Connect the black wire (ground) to the battery’s negative terminal or a metal part of the frame.
- Plug the harness into the lights using connectors.
3. Install The Switch
The switch lets you turn lights on and off from inside the Jeep. Mount it on the dashboard or center console.
Run the switch wire through the firewall (the metal wall between the engine and the cabin). Use a rubber grommet to protect the wire.
4. Route And Secure Wires
Route wires along existing paths (like under the hood or along the frame). Avoid hot parts and moving parts. Use zip ties to secure wires and keep them neat. This prevents wires from rubbing or breaking.
5. Test The Lights
Before finishing, check everything with a multimeter. Make sure the lights turn on and off with the switch. If the lights don’t work, check the fuse, relay, and connections.
Common Mistakes And How To Avoid Them
Many beginners make mistakes that can cause problems or damage their Jeep. Here are two mistakes you might not expect:
- Skipping the relay and fuse: This can overload your Jeep’s wiring. Always use a relay and fuse to protect the system.
- Poor grounding: If the ground wire isn’t connected to bare metal, the lights may flicker or not work at all. Scrape paint off the grounding spot for a solid connection.
Also, avoid running wires over sharp edges or hot engine parts. These can damage the insulation and cause shorts.
Jeep Jk Lighting Wiring: Data And Comparisons
To help you choose the best lights and wiring approach, here’s a comparison of common light types:
| Light Type | Wattage | Mounting Location | Typical Use |
|---|---|---|---|
| LED Light Bar | 120W–300W | Roof/Bumper | Off-road, broad illumination |
| Spotlight | 30W–60W | Pillar/Grille | Focused beam, distance |
| Fog Light | 15W–40W | Bumper | Low visibility, fog |
Different lights need different wiring harnesses and power sources. Always check the wattage to match the harness and fuse rating.
Here’s a quick overview of wiring harness parts:
| Part | Function | Importance |
|---|---|---|
| Relay | Controls high-current circuit | Prevents switch overload |
| Fuse | Protects from short circuit | Essential for safety |
| Switch | User control | Easy operation |
| Wires | Connects system | Must match current |
If you want to learn more about wiring safety, the Autoelectric Reference offers detailed info.
Tips For Long-lasting Jeep Jk Light Wiring
Wiring lights is not just about making them work. You want the setup to last and stay safe. Here are three practical tips:
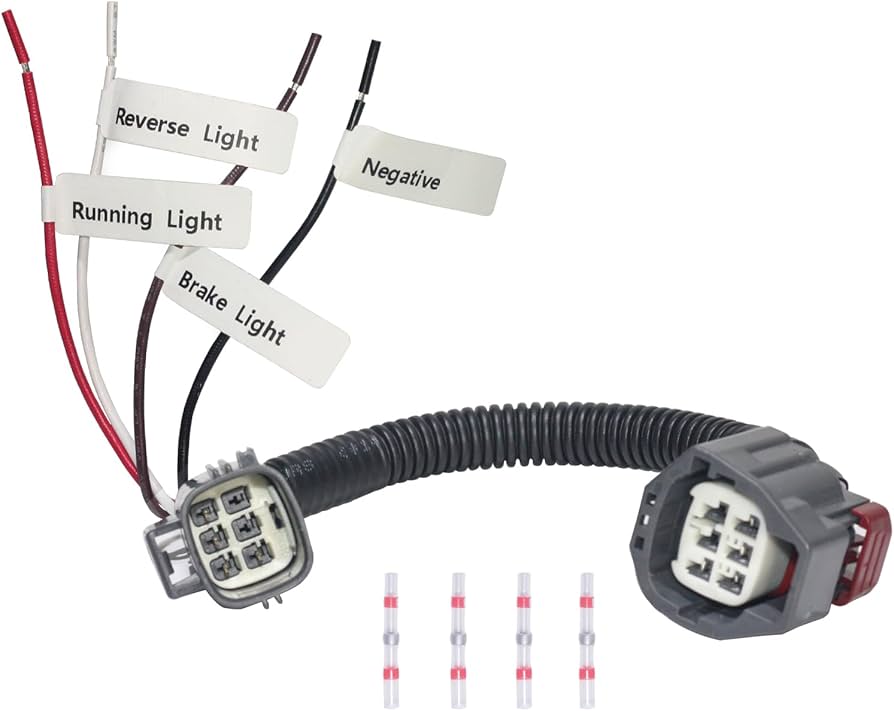
- Use heat-shrink tubing on connectors to keep out water and dirt.
- Check your wires after a few weeks for signs of wear or loose connections.
- Don’t use cheap wires—quality wires resist heat and vibration better.
One insight many beginners miss: Always leave some slack in wires. Too tight wires can break as the Jeep moves.
Wiring Jeep Jk Lights: Real-world Example
Let’s say you install a 180W LED bar. You use a 12 AWG wire harness with a 30A fuse.
You mount the bar on the roof, run wires under the windshield seal, and connect the switch to the dashboard.
Testing shows the voltage is steady, and the relay clicks when you flip the switch. With this setup, you avoid overload and keep the wiring neat.
Frequently Asked Questions
How Do I Know Which Fuse Size To Use?
Check your light’s wattage and divide by battery voltage (usually 12V). For example, a 120W light needs a 10A fuse (120/12 = 10).
Always round up and use a fuse rated slightly higher.
Can I Wire Lights Without A Relay?
It’s not recommended. The relay protects your switch and wiring from high current.
Without a relay, the switch could melt or wires could burn.
What Is The Best Place To Ground My Lights?
The best spot is bare metal on the Jeep’s frame or battery negative terminal. Clean paint and rust off before attaching the ground wire.
How Can I Keep Wires Safe From Water?
Use heat-shrink tubing and route wires through grommets. Avoid areas where water collects, like under the hood edges.
Will Adding Lights Drain My Jeep Jk’s Battery?
If you use proper wiring and only run lights when the engine is on, battery drain is minimal. High-power lights used for long periods with the engine off can drain the battery.
Wiring lights on your Jeep JK is easier when you plan carefully, use the right tools, and follow safety steps. With these tips, your lights will work reliably and look great on every adventure.