Owning a Jeep Wrangler means enjoying adventures on rough roads, but it also means your vehicle faces more wear and tear. One of the most common repairs is replacing a tail light. Whether it’s cracked from off-roading or simply stopped working, fixing it yourself is easy and saves money. In this guide, you’ll learn exactly how to replace the tail light on your Jeep Wrangler—no special skills needed. If you’re new to car repairs, don’t worry; each step is simple and explained clearly.
Understanding Your Jeep Wrangler Tail Light
The tail light is more than just a red lens. It includes brake lights, reverse lights, and turn signals. If any of these stop working, you risk getting pulled over or causing an accident. On most Jeep Wranglers, especially models from 2007 onward (JK, JL, and newer), tail light design is straightforward. Each tail light is mounted with two screws and has a plug connecting it to the vehicle’s wiring.
Here’s a quick look at common Jeep Wrangler tail light types:

| Model Year | Tail Light Style | Bulb Type |
|---|---|---|
| 2007-2017 (JK) | Rectangular | Halogen |
| 2018-2023 (JL) | Square/LED Optional | LED/Halogen |
| 2024+ | Slim/Sculpted | LED Standard |
Not all tail lights are the same. Always check your Jeep’s year and tail light type before buying a replacement.
Tools And Materials You’ll Need
Getting prepared saves time and makes the job easier. Here’s what you’ll need:
- Replacement tail light (match your Jeep’s year/model)
- Screwdriver (usually Phillips or Torx T15)
- Work gloves (optional for protection)
- Clean cloth (to wipe the area)
- Socket wrench (some models)
- Electrical contact cleaner (for dirty connections)
For most Jeep Wranglers, only a screwdriver is needed. However, JL models may use a Torx bit. Always double-check before starting.
Step-by-step: How To Replace A Tail Light
Replacing a tail light on a Jeep Wrangler usually takes 10–15 minutes per side. Here’s how:
- Turn off your Jeep and remove the keys. For safety, disconnect the battery if you’re worried about electrical shock.
- Open the rear door (tailgate) for easy access to the tail light.
- Remove the screws holding the tail light in place. Usually, you’ll find two screws on the outside edge.
- Gently pull the tail light away from the body. Don’t yank—it’s connected by a wiring plug.
- Unplug the wiring harness. Press the release tab and pull the connector straight out.
- Inspect the connector for dirt or corrosion. Clean if needed.
- Plug in the new tail light. Make sure the connector clicks into place.
- Position the new tail light and secure it with the original screws. Do not overtighten.
- Test all lights (brake, reverse, turn signals) before finishing.
If everything works, you’re done! If not, double-check the wiring connection.
Common Mistakes To Avoid
Even simple jobs have pitfalls. Watch out for these:
- Forcing the connector: This can break the plastic tab. Always press the tab before pulling.
- Mixing up screws: Some models use different screws for each side. Keep them organized.
- Skipping the test: Always check the lights before reassembling.
A good tip: Take a photo of the old setup before removing anything. This makes it easier to remember how everything fits together.
Choosing The Right Replacement Tail Light
Buying the correct tail light is important for safety and appearance. Here’s a quick comparison:
| Feature | OEM Tail Light | Aftermarket Tail Light |
|---|---|---|
| Price | Higher | Lower/Varies |
| Fit | Perfect | May Vary |
| Style Options | Limited | Many |
| Warranty | Yes | Sometimes |
OEM (original equipment manufacturer) lights guarantee a perfect fit but cost more. Aftermarket options offer unique styles and lower prices, but quality can differ. Always check reviews and make sure the light is DOT-approved for road use.

Why Tail Light Replacement Matters
Driving with a broken tail light is risky. Statistics from the National Highway Traffic Safety Administration (NHTSA) show that poor vehicle lighting is a factor in about 10% of rear-end collisions. A working tail light keeps you and others safe, especially in low visibility.
Another point: In many states, you can get ticketed for a broken tail light, with fines ranging from $50 to $200.
Cost And Time Comparison
Here’s how DIY compares to having a shop do it:
| Option | Time Needed | Estimated Cost |
|---|---|---|
| DIY Replacement | 15–30 minutes | $40–$180 (per light) |
| Mechanic/Shop | 1–2 hours (including wait) | $120–$300 (per light) |
Most Jeep owners find DIY is faster, cheaper, and satisfying.

Extra Tips For A Smooth Replacement
- Check both tail lights: If one is broken, the other may fail soon.
- Upgrade to LED: LEDs last longer and are brighter.
- Keep extra bulbs: Some tail lights use replaceable bulbs—handy to have spares.
- Clean the area: Dirt can cause poor connections.
One insight many beginners miss: If your Jeep has a trailer wiring harness, check that too. Sometimes a faulty trailer plug causes tail light problems, not the light itself.
Another tip: If replacing the light doesn’t fix the issue, you may have a blown fuse or wiring problem. Check your owner’s manual for fuse locations.
Replacing a tail light on your Jeep Wrangler is a simple job with big benefits. You’ll improve safety, avoid fines, and keep your Jeep looking sharp. For more detailed model info, check the official Jeep Wrangler page.
Frequently Asked Questions
How Do I Know If My Jeep Wrangler Tail Light Needs Replacing?
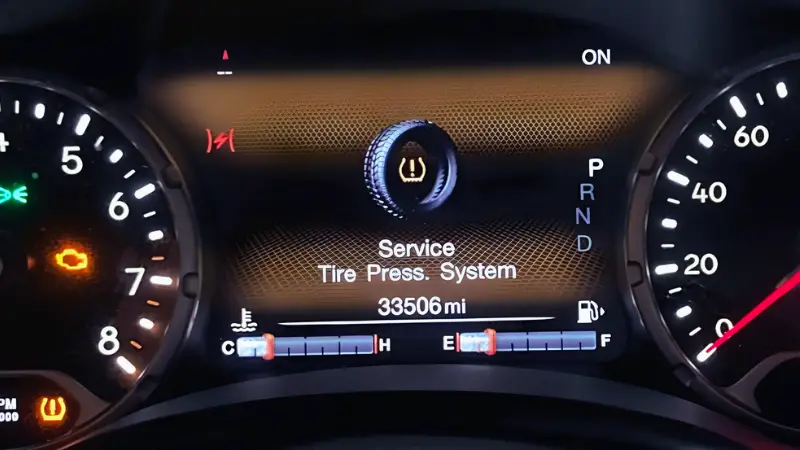
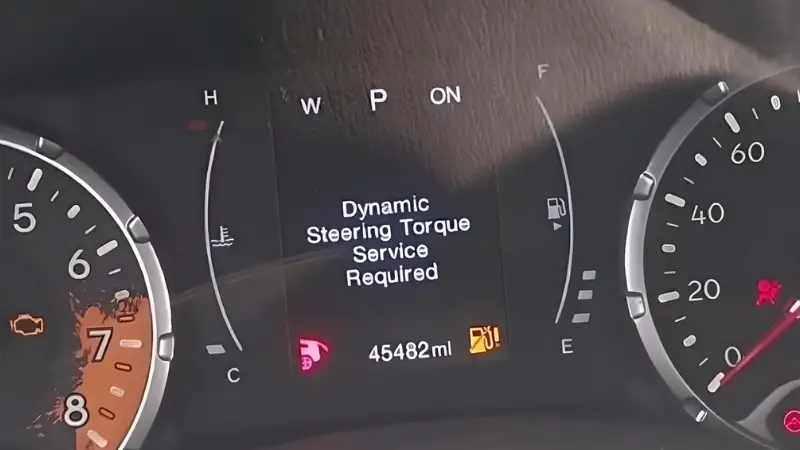
If the tail light is cracked, foggy, or not lighting up, it needs replacement. You may also notice a warning light on your dashboard or get pulled over by police.
Can I Use Aftermarket Tail Lights On My Jeep Wrangler?
Yes, as long as they fit your model and are DOT-approved. Aftermarket lights offer more style choices but always check for compatibility.
What Tools Do I Need To Replace My Jeep Wrangler Tail Light?
Most Wranglers need only a screwdriver (Phillips or Torx). Some may require a socket wrench.
Always check your Jeep’s manual to be sure.
Do I Need To Disconnect The Battery Before Changing The Tail Light?
It’s not required but is a good safety step, especially if you’re worried about short circuits. For most people, turning off the Jeep is enough.
Why Did My New Tail Light Not Work After Installation?
Check the wiring connector for loose pins or dirt. Make sure the bulb or LED is good.
Also, check the fuse related to tail lights in your Jeep’s fuse box.