Replacing dashboard lights on a 2009 Jeep Grand Cherokee is a task many car owners eventually face. Dimming or dead dash lights make it hard to read your gauges at night, affecting both comfort and safety. Fortunately, with some patience and simple tools, you can restore your dash’s glow and enjoy a clearer view of your vehicle’s information.
Many people believe dashboard light replacement is only for experts, but that's not true. You can do it at home with basic knowledge and care.
This guide explains each step, shares tips to avoid common mistakes, and helps you choose the right bulbs for long-term results.
Understanding Dashboard Lights In Your 2009 Jeep Grand Cherokee
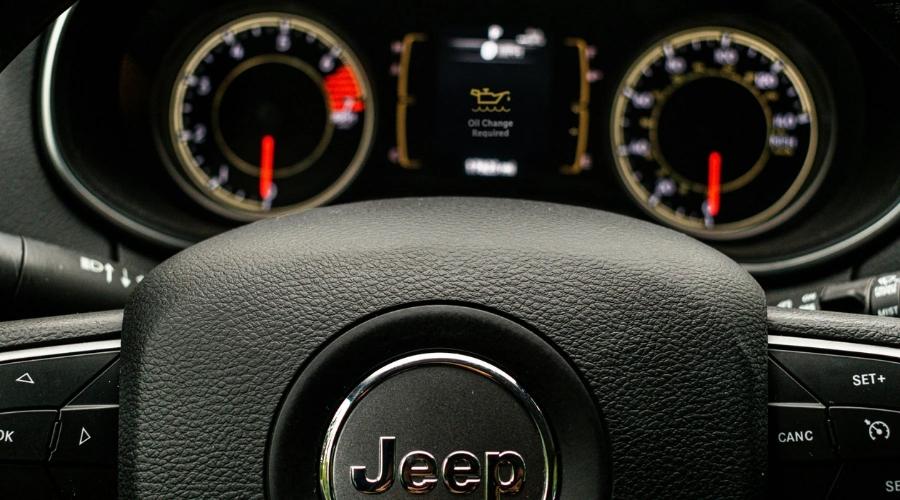
The dashboard in your 2009 Grand Cherokee uses multiple miniature bulbs to illuminate the speedometer, fuel gauge, and other displays. Over time, these bulbs can wear out. Some signs include flickering lights, uneven brightness, or sections going completely dark.
There are two main types of dash lights:
- Backlighting bulbs: These light up the main gauges.
- Indicator bulbs: For warning lights like check engine, seatbelt, and turn signals.
For most owners, it’s the backlighting bulbs that need replacing.
Tools And Materials Needed
Before you begin, gather these essential items:
- Phillips screwdriver and flathead screwdriver
- Trim removal tool (plastic preferred)
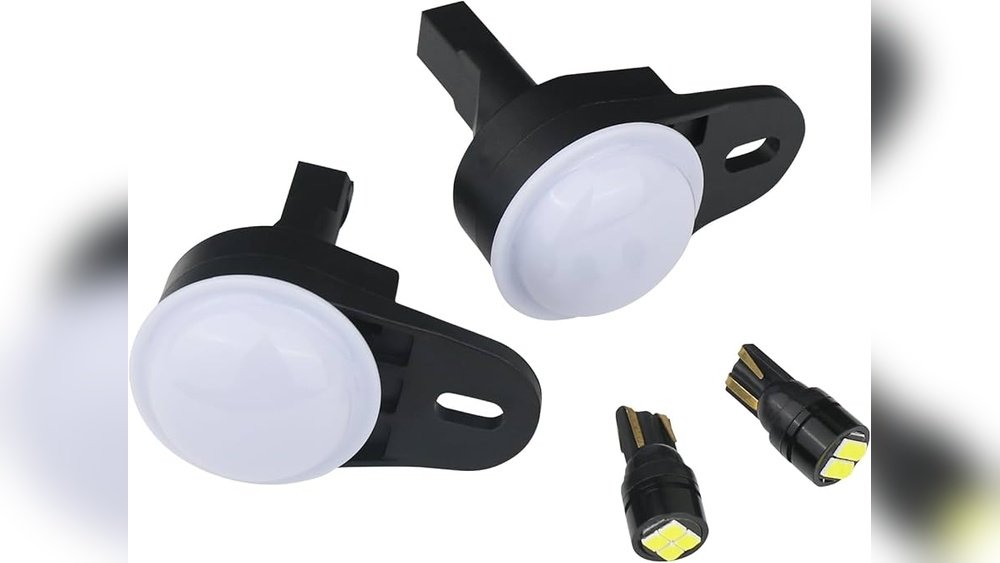
- Replacement bulbs (size #194 or equivalent for most dash applications)
- Clean gloves (prevents oil from your fingers shortening bulb life)
- Flashlight or headlamp
Check your owner’s manual or a trusted parts site to confirm the correct bulb type for your exact trim.
Step-by-step Replacement Guide
1. Disconnect The Car Battery
Start by disconnecting the negative battery terminal. This prevents accidental short circuits and protects the electronics.
2. Remove Dashboard Trim
Use the trim tool to gently pry off the dashboard bezel around the gauge cluster. Work slowly to avoid cracking the plastic.
3. Unbolt The Gauge Cluster
Locate the mounting screws around the cluster. Usually, there are 2-4 Phillips screws. Remove them and keep them safe.
4. Pull Out The Gauge Cluster
Carefully tilt the gauge cluster forward. You’ll see wiring harnesses connected at the back.
Disconnect these gently by pressing the tabs and pulling straight out.
5. Access And Replace Bulbs
Turn the cluster around. Look for small bulb sockets (usually black or gray). Twist these counterclockwise to remove. Pull out the old bulbs and push in the new ones, making sure they’re secure. Avoid touching the glass with bare hands.
6. Reassemble Everything
Reverse the process: reconnect the wiring, seat the cluster, reinstall screws, and snap the dash trim back in place. Finally, reconnect the battery.
7. Test The New Lights
Turn on your headlights to check the new dash bulbs before you finish. If any don’t work, double-check the installation.
Choosing The Right Replacement Bulbs
Picking the wrong bulbs is a common mistake. The #194 bulb fits most 2009 Grand Cherokee dashboards, but check your manual to be sure. You can choose between:
- Standard incandescent: Original look, lower cost, shorter life
- LED upgrades: Brighter, longer-lasting, but sometimes cause dimming issues or need resistors
Here’s a quick comparison of bulb types:
| Type | Brightness | Lifespan | Cost |
|---|---|---|---|
| Incandescent | Standard | ~2 years | Low |
| LED | High | ~5-10 years | Medium |
Common Mistakes To Avoid
Many DIYers run into trouble with these issues:
- Forgetting to disconnect the battery: This can short electronics or cause warning lights.
- Using the wrong bulb type: Wrong wattage or size can cause overheating or poor fit.
- Breaking plastic trim: Always use proper tools and gentle force.
- Touching bulbs with bare hands: Skin oil can cause hot spots and early failure.
Practical Tips For A Smooth Job
- Take a photo of the dash before removal to remember screw and clip locations.
- Label screws and small parts to avoid confusion.
- Work in a well-lit area to spot hidden fasteners.
A simple job can become frustrating if you rush. Taking time saves headaches.
Cost And Time Estimate
Replacing the dashboard lights yourself usually takes 1 to 2 hours. The cost is low:
| Item | Estimated Cost (USD) |
|---|---|
| Bulbs (set of 5-10) | $5 – $25 |
| Tools (if needed) | $10 – $20 |
| Labor (if done at shop) | $70 – $120 |
Doing it yourself can save you over $100 compared to a shop.
When To Seek Professional Help
If you notice flickering even after replacing bulbs, or if gauges don’t work, the issue could be wiring or the cluster’s circuit board. In these cases, visit a qualified mechanic or an official Jeep service center.

Where To Find More Information
Always check your owner’s manual for your exact bulb type and removal instructions. For further help or visual guides, sites like Jeep Official Site offer diagrams and user forums.
Frequently Asked Questions
Can I Upgrade To Led Bulbs In My 2009 Grand Cherokee Dashboard?
Yes, you can use LED bulbs for brighter light and longer life. However, some LED types may cause dimming issues or uneven lighting. Make sure to pick LEDs designed for automotive dash use.
How Many Bulbs Are In The Dash Cluster?
Most 2009 Grand Cherokees use 5 to 7 backlighting bulbs for the main cluster, plus several small bulbs for indicators. Check your cluster to count them before buying replacements.
What If My New Bulbs Don’t Light Up?
First, check for loose connections or bulbs inserted backward (for LEDs). Make sure the battery is reconnected and all wires are seated. If the issue remains, there could be a blown fuse or wiring problem.
Will Replacing Dash Lights Reset My Odometer?
No, replacing dashboard bulbs does not affect the odometer or stored vehicle data. The memory is held in a separate module.
Can I Drive With Dashboard Lights Out?
It’s not recommended. Driving without dash lights at night is unsafe because you can’t see speed or warning indicators. Fix the problem as soon as possible.
Changing the dashboard lights in your 2009 Jeep Grand Cherokee is a practical DIY project that saves money and keeps your ride safe. With careful steps and the right bulbs, you’ll restore clear, even lighting to your dash.
Take your time, follow these tips, and enjoy the results for years to come.


















