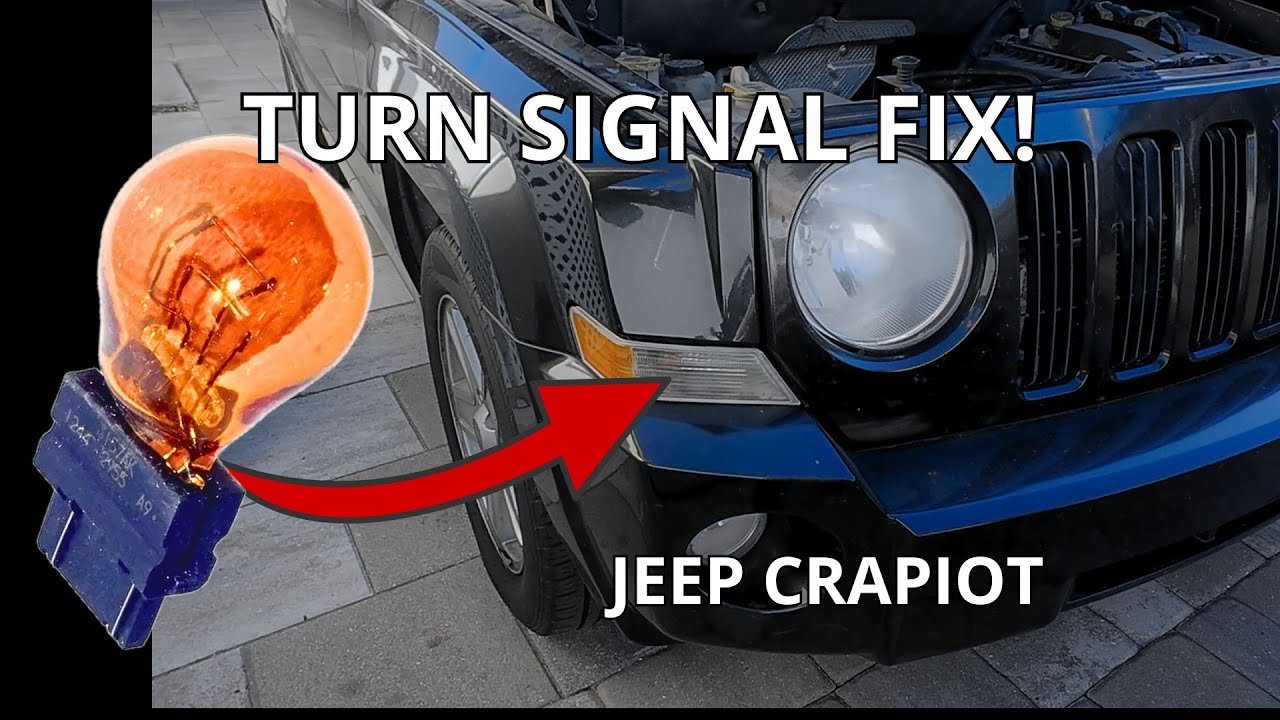
A failed signal lamp on a Patriot deserves a position-specific repair. Front park and turn lamps, rear turn lamps and side markers are separate parts.
Identify the dark corner first, then open the matching manual before twisting a socket or ordering a bulb.
Quick Answer
The 2014 Patriot user guide lists 7444NA for the front park and turn-signal lamp and 7440NA for the rear turn lamp. Verify the Patriot year and lamp position because another year or market may use a different bulb.
Identify the failed lamp
Switch on the hazards and walk around the Patriot. Note whether the dark lamp sits at the front, rear or side.
A fast dashboard flash often accompanies a failed turn-signal circuit, but a visual check still matters.
Inspect more than the bulb
A new lamp will not repair a burned socket, corroded contact or cracked lens. Look for water marks, loose terminals and heat-darkened plastic before the housing is closed.
Buy by code and position
Take the old bulb or a clear photo to the parts counter. Similar-looking bulbs can use different bases, colors or electrical ratings.
Test all signal modes
After installation, test left turn, right turn and hazards. Watch the dashboard indicator and inspect every exterior corner again.
Keep a repeat-failure record
When the same corner fails twice, record the dates and inspect the seal. Repeat failure points toward moisture, socket tension or wiring rather than normal wear.
Key Details to Check
| Item | What to verify | Why it matters |
|---|---|---|
| Lamp position | Front, rear or side marker | Determines the correct bulb |
| Bulb code | Manual and removed lamp marking | Prevents a wrong purchase |
| Socket | Clean contacts and no heat damage | Avoids repeat failure |
| Lens | No cracks or standing moisture | Protects the replacement |
| Function test | Signals and hazards | Confirms the complete repair |
Step-by-Step Review
- Park the Patriot and apply the parking brake.
- Use the hazards briefly to identify the failed lamp.
- Open the model-year guide and confirm the bulb code.
- Remove the access panel or housing carefully.
- Inspect the socket before fitting the new bulb.
- Reassemble the lamp and test both directions plus hazards.
- Record the bulb code and replacement date.
Common Mistakes to Avoid
- Buying a front bulb for a rear socket.
- Closing the housing while moisture remains.
- Forcing brittle trim clips.
- Ignoring a burned contact.
- Driving before completing a walk-around.
Practical Follow-Up
A bulb that fails again soon deserves a socket inspection. Reopen the housing, look for moisture, compare contact tension and check whether the lens seal sits evenly.
A stable repair needs a dry housing and a reliable electrical connection, not a growing collection of spare bulbs.
What to Save With the Vehicle
For Patriot turn-signal bulb replacement, keep the model year, VIN, mileage, inspection date and one clear photo or receipt in the vehicle file.
A written Patriot turn-signal bulb replacement result makes the next repair, parts order or workshop conversation easier to compare with this exact Jeep.
Deeper Review for Patriot Turn-Signal Bulb Replacement
A useful Patriot turn-signal bulb replacement check begins with lamp position and bulb code. Confirm front, rear or side marker, then review manual and removed lamp marking.
These details matter because determines the correct bulb and prevents a wrong purchase. Keep one photo, receipt or dashboard note before anything changes.
That Patriot turn-signal bulb replacement evidence gives the next workshop visit a starting point and prevents advice for another Jeep from replacing the condition of this vehicle.
Use One Controlled Follow-Up
Complete the next controlled action only after the first observation is written down: Remove the access panel or housing carefully. Then compare the result with socket and lens.
Avoid buying a front bulb for a rear socket. A smaller, documented Patriot turn-signal bulb replacement follow-up makes the repair or buying decision easier to explain and reduces the risk of creating a second issue while chasing the first one.
Final Inspection Checklist
- Confirm lamp position: Front, rear or side marker.
- Review bulb code: Manual and removed lamp marking.
- Check lens: No cracks or standing moisture.
- Complete this step: Record the bulb code and replacement date.
- Avoid this mistake: Driving before completing a walk-around.
Front and Rear Lamp Differences
The Patriot uses different bulb positions around the vehicle, and the access route changes with the failed corner. A front lamp repair may involve a different housing path from a rear turn lamp.
Before ordering a part, compare the old lamp marking with the manual and photograph the socket. If the plastic around the contact looks dark or distorted, replacing the bulb alone may leave the real problem behind.
After-Rain Inspection
Moisture problems are easiest to catch after rain or a wash. Look for fogging inside the lens, droplets near the socket and water tracks around the seal.
Dry the housing and inspect the gasket before closing it. When water returns, correct the housing or seal issue instead of feeding new bulbs into a damp socket.
Keep a Spare Without Creating Confusion
A spare bulb is useful only when the package clearly shows the correct code. Keep it sealed and label the intended lamp position.
Do not mix loose bulbs in the glove box, because a visually similar lamp may have the wrong base or rating. A small labeled spare kit saves time during the next walk-around.
Final Turn-Signal Verification
Complete one final walk-around with the parking lamps, hazards and both turn directions. Watch the dashboard indicator while another person checks the lamp outside.
If the flash rate changes again after closing the housing, reopen the socket and inspect the contact. A Patriot lighting repair is complete only when the lamp works consistently after reassembly and the lens remains dry.
Frequently Asked Questions
Why does the signal still flash quickly?
A bulb may remain out, the new lamp may be wrong, or the socket may not make reliable contact.
Can water cause another failure?
Yes. A cracked lens or poor seal may corrode the socket and shorten lamp life.
Should both sides be replaced together?
It is optional, but inspect the other side and carry a spare when the lamps are the same age.
- How To Replace A Turn Signal Light Jeep Patriot 2
- How To Replace Jeep Patriot Turn Signal Bulb
- How To Change Turn Signal Bulb Jeep Patriot
Final Takeaway
Replace the Patriot bulb only after confirming the lamp position and code. Inspect the socket and lens while access is open, then test every signal mode before driving.