Replacing a steering wheel on a 2010 Jeep Liberty is a task that can make your driving experience safer and more comfortable. Some drivers want to upgrade to a new look, others need to replace a damaged or worn-out wheel. While it may sound technical, you can do this job yourself with patience and the right tools. This guide will walk you through every step, so you avoid common mistakes and get the best results.
Tools And Parts You Will Need
Before starting, it’s important to gather all necessary items. Missing tools halfway can slow you down or cause mistakes.
- Socket set (especially 10mm and 13mm sockets)
- Torx screwdriver (T20 and T30 bits)
- Flathead screwdriver
- Steering wheel puller (recommended)
- New steering wheel (compatible with 2010 Jeep Liberty)
- Torque wrench
- Electrical tape
- Gloves
- Shop rag
Using the right tools prevents stripping bolts or damaging parts, which is a common mistake for beginners.
Safety First: Disconnecting The Battery
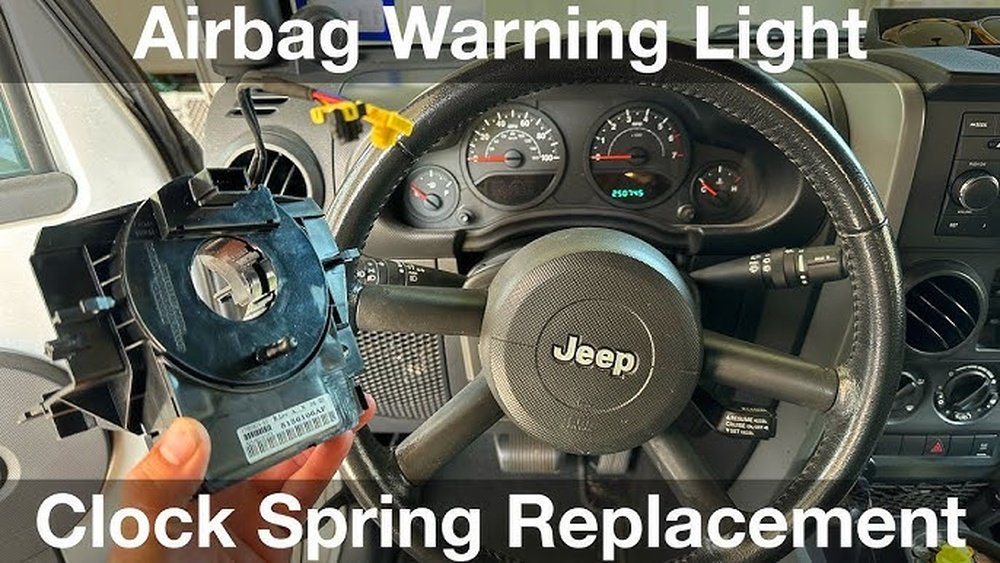
Your Jeep’s steering wheel contains the airbag system, which can be dangerous if not handled correctly. First, turn off the ignition and remove the key. Then, disconnect the negative terminal of the battery using a 10mm socket. Wait at least 10 minutes before touching the airbag to ensure the system is fully discharged. This step is essential—never skip it, as accidental airbag deployment can cause injury.
Removing The Airbag Module
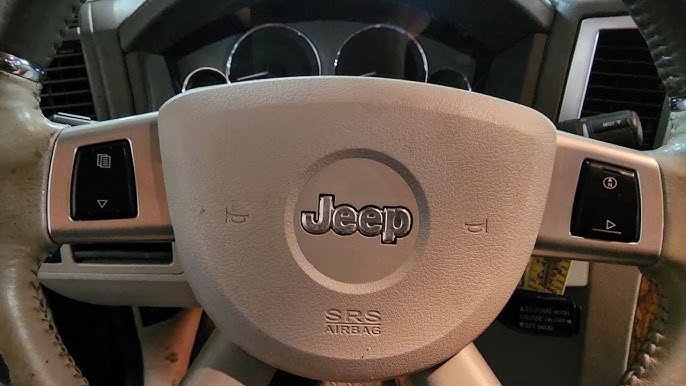
Airbags are attached to the wheel with Torx screws on the back of the steering wheel. Insert your T30 Torx bit into the holes behind the wheel to loosen the screws. Place the screws in a safe spot so you don’t lose them.
Gently pull the airbag module toward you. You’ll see two connectors yellow for the airbag, another for the horn.
Carefully press the tabs on the connectors and pull them off. Never yank the wires; gentle pressure is enough.
Place the airbag face-up on a soft surface away from your work area.
Steering Wheel Removal
Next, locate the center nut holding the steering wheel to the column. Use your 13mm socket to loosen and remove the nut, but keep it threaded a few turns. This prevents the wheel from hitting you when it pops free.
Attach the steering wheel puller to the factory holes. Tighten the puller’s center bolt slowly until the wheel loosens.
Remove the center nut and then the wheel itself. If you don’t use a puller, rocking the wheel back and forth can work, but there’s a risk of damage.
Comparison: Puller Vs. No Puller
| Method | Pros | Cons |
|---|---|---|
| With Puller | Safe, reduces damage risk | Extra tool needed |
| Without Puller | Less cost | Harder, can damage threads |
Installing The New Steering Wheel
Align the new wheel with the alignment marks on the column. Slide it on carefully. Thread the center nut by hand, then tighten with a torque wrench to the Jeep’s specification (usually 37 ft-lbs for this model). Over-tightening can damage the column.
Reconnect the horn and airbag connectors. Make sure the yellow airbag wire clicks in place. Double-check all connections before mounting the airbag.
Carefully position the airbag back on the wheel. Insert and tighten the Torx screws.
Never force the airbag, as it can damage the module.
Reconnecting The Battery And Testing
Now, reconnect the negative battery terminal. Sit in the passenger seat and turn the ignition to “ON.
” The airbag light should turn on and then off. If it stays on, recheck all connections.
Test the horn, radio controls, and steering wheel adjustments.
Common Mistakes And How To Avoid Them
- Not disconnecting the battery: This risks injury from the airbag.
- Losing screws: Use a small container to keep all hardware organized.
- Forgetting alignment marks: Mark the original wheel’s position on the shaft before removal.
- Over-tightening the nut: Use a torque wrench for safety.
- Forcing connectors: Always press tabs gently.
Cost And Time Comparison
Here’s what you can expect when comparing doing it yourself vs. a mechanic:
| Option | Cost | Time | Warranty |
|---|---|---|---|
| DIY | $50–$150 (parts) | 1–2 hours | No |
| Mechanic | $150–$300 (parts + labor) | 1 hour | Yes |
Doing the job yourself saves money and is a valuable learning experience, but a mechanic can offer a guarantee if you’re unsure.
Extra Tips For A Smooth Replacement
- Take photos during each step, so you know how things look before and after.
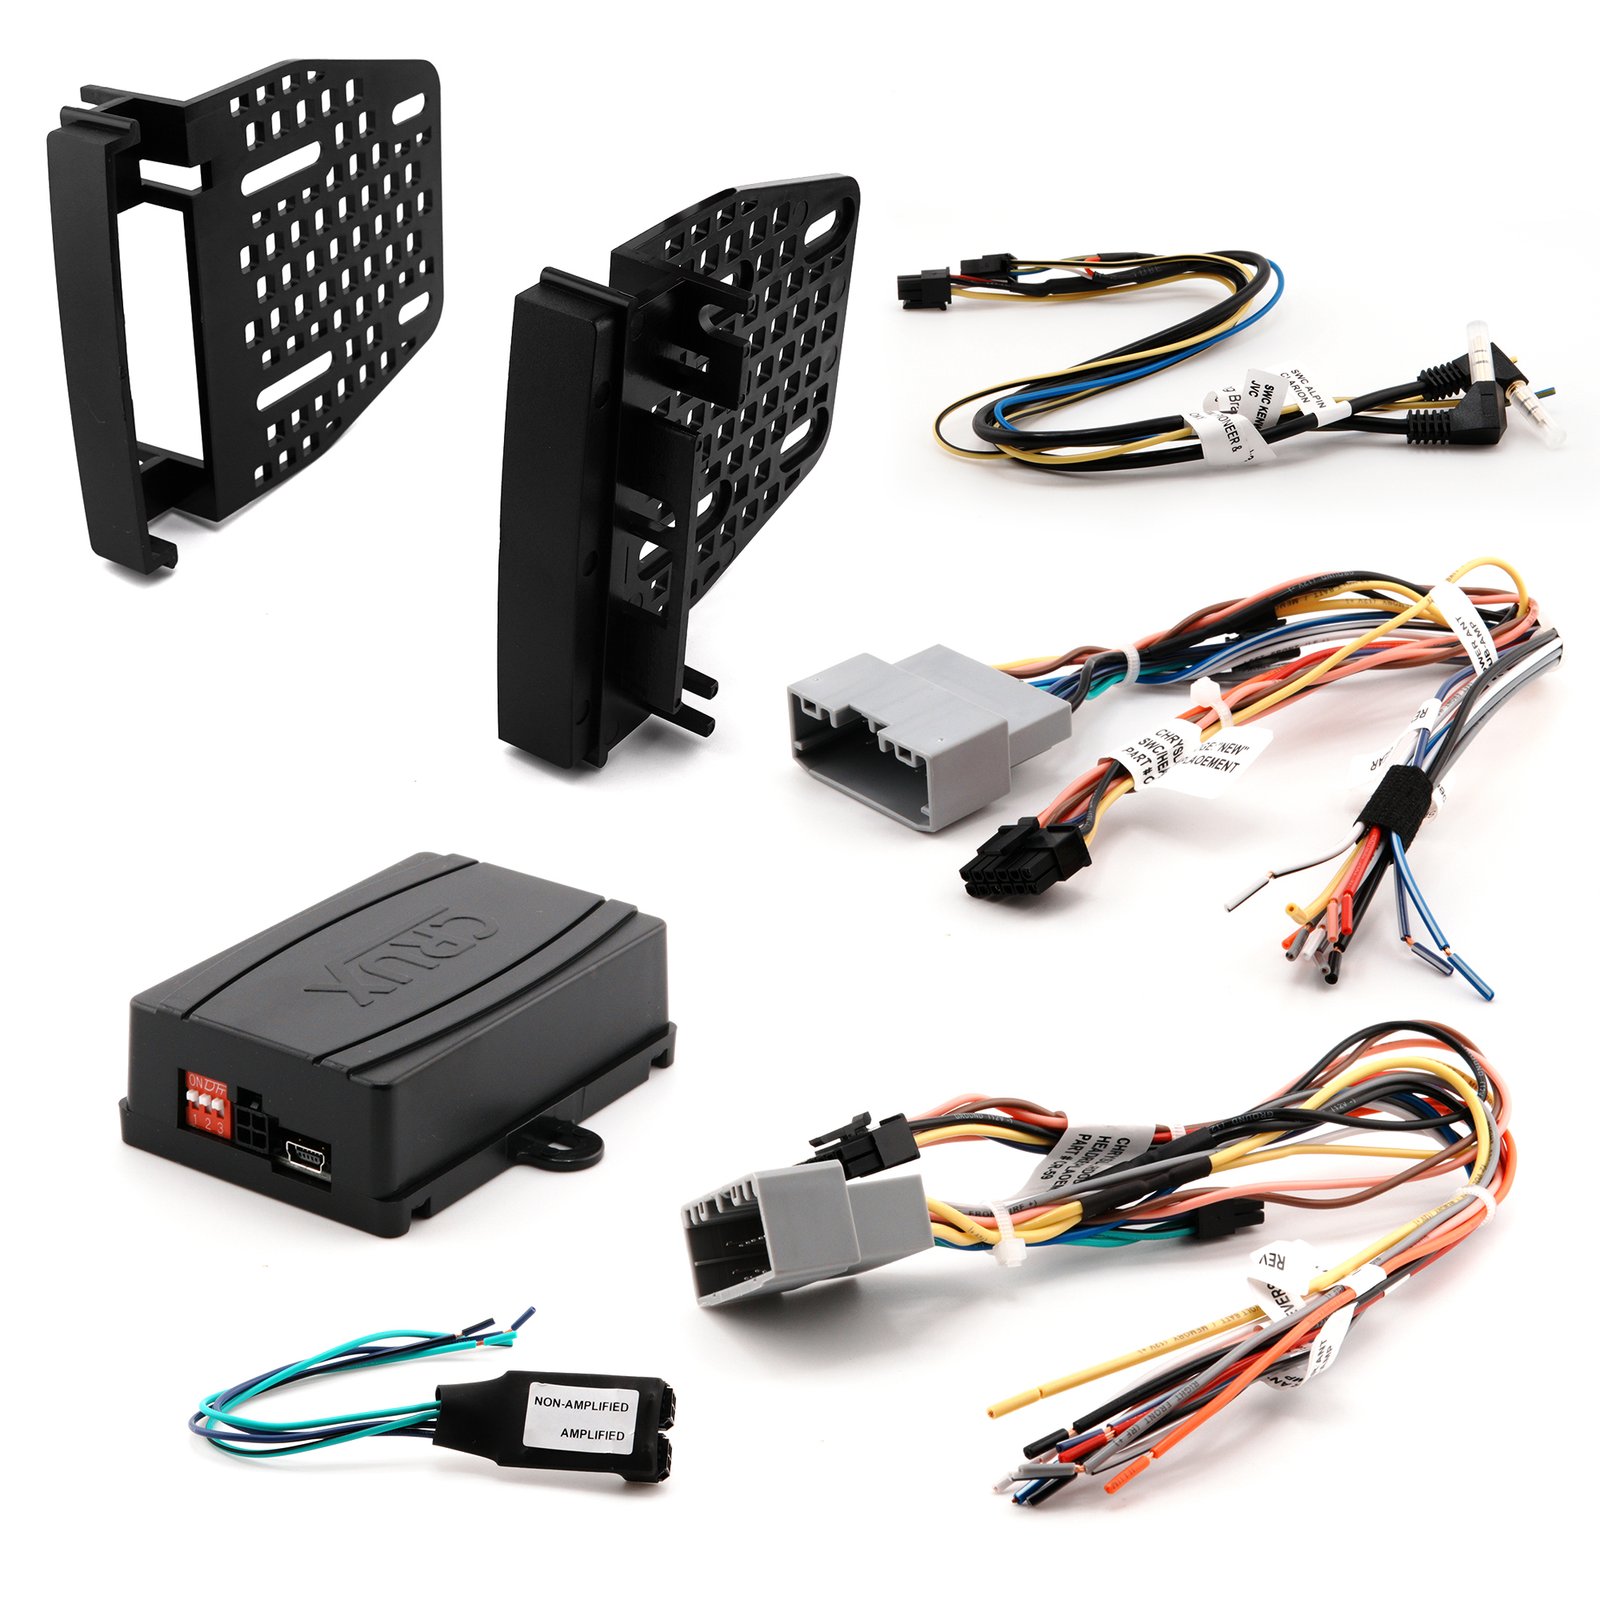
- If your new wheel has controls (radio, cruise), make sure they’re compatible with your Jeep.
- Never attempt this repair in wet or humid conditions; moisture can affect the airbag circuit.
- Use electrical tape to secure any loose wires.
- Check the local laws on steering wheel modifications. Some states have rules about airbag changes.
Frequently Asked Questions
What Size Steering Wheel Fits A 2010 Jeep Liberty?
The factory wheel is about 15 inches in diameter. Make sure your replacement matches the size and bolt pattern.
Can I Drive Without Reconnecting The Airbag?
No, driving without an airbag is unsafe and may be illegal. Always reconnect the airbag for full safety protection.
Will I Lose My Radio Or Cruise Controls?
If your new wheel supports these functions and you connect the correct wiring, you’ll keep them. Check compatibility before buying.
Do I Need To Reset The Airbag Light After Replacement?
Usually, if everything is connected correctly, the light will reset itself. If not, you may need a scan tool to clear the code.
Where Can I Find More Details On Airbag Safety?
Visit the National Highway Traffic Safety Administration for official guidance on airbag systems.
Replacing your 2010 Jeep Liberty steering wheel can be done with the right preparation and attention to safety. Take your time, follow each step, and you’ll have a safer and more enjoyable drive. With these tips and the right tools, you can handle this project like a pro.


















