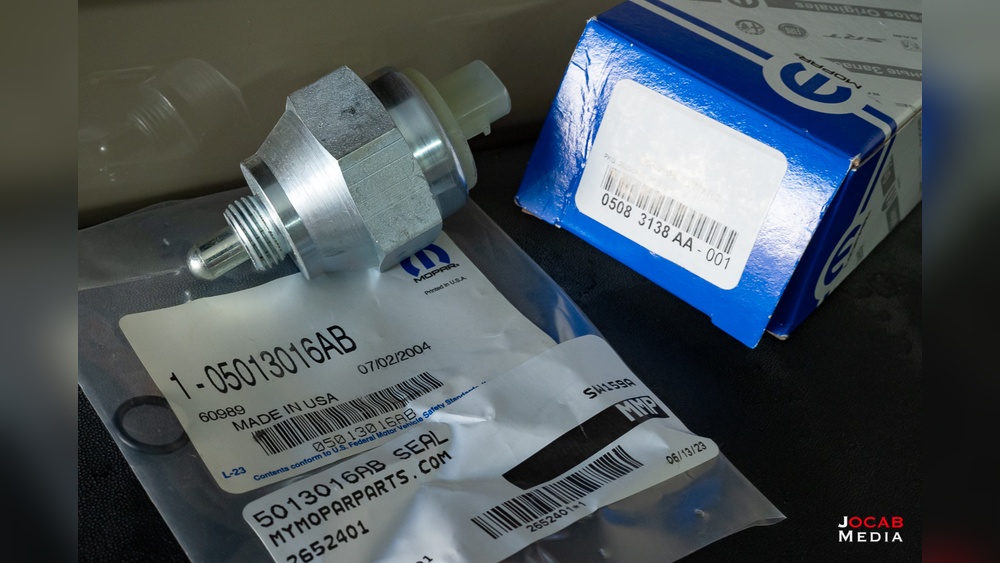
Replacing the brake light on your 2011 Jeep Liberty is a simple task that can save you time and money. Many drivers worry about doing it themselves, but with the right steps, you can handle this in less than 30 minutes. A working brake light is vital for safety and to avoid tickets. This guide will show you exactly how to replace your brake light, explain what tools you need, highlight common mistakes, and provide practical advice to make the job easier.
Why Brake Lights Matter
Brake lights alert other drivers when you are slowing down or stopping. If your brake light is out, you risk accidents and legal problems. According to the National Highway Traffic Safety Administration (NHTSA), faulty brake lights are a leading cause of rear-end crashes. For your 2011 Jeep Liberty, regular checks help keep you safe and legal.
Tools And Materials Needed
Before starting, gather these items:

- Replacement brake light bulb (usually 3157 type for the 2011 Jeep Liberty)
- Screwdriver (Phillips head)
- Gloves (optional to protect your hands)
- Clean cloth (for cleaning the socket)
These tools are affordable and easy to find. Using gloves prevents oils from your skin getting on the bulb, which can shorten its life.

Step-by-step Brake Light Replacement
Follow these steps carefully:
- Turn off your Jeep Liberty and open the rear hatch. Make sure the vehicle is parked safely.
- Locate the brake light assembly on the tailgate. You’ll find it on both sides of the vehicle.
- Remove the screws holding the light assembly. Use your screwdriver and set the screws aside.
- Pull the assembly gently away from the vehicle. Don’t force it; it should come out with mild pressure.
- Find the brake light bulb socket. It is usually the middle socket in the assembly.
- Twist the socket counterclockwise to remove it from the assembly.
- Pull out the old bulb from the socket. Sometimes it needs a gentle wiggle.
- Insert the new bulb. Make sure it fits snugly.
- Clean the socket using a cloth if there is any dirt or corrosion. This helps the new bulb work better.
- Reinstall the socket by twisting clockwise.
- Put the light assembly back and secure it with the screws.
- Test the new brake light. Have someone press the brake pedal while you check if it lights up.
If the light doesn’t work, double-check the bulb installation and ensure the socket is clean.
Common Mistakes To Avoid
Many beginners make these errors:
- Using the wrong bulb type: Always check your owner’s manual for the correct bulb number.
- Touching the bulb glass: Oils can cause the bulb to fail early.
- Not testing the light after installation: Always check before finishing.
- Forgetting to clean the socket: Dirt can cause poor contact.

Data Table: Popular Brake Light Bulbs For Jeep Liberty
Below is a comparison of common bulbs:
| Bulb Type | Lifespan (hours) | Average Price (USD) |
|---|---|---|
| 3157 Standard | 1,200 | 4 |
| 3157 LED | 25,000 | 12 |
| 3157 Long Life | 2,500 | 7 |
LED bulbs cost more but last longer. Standard bulbs are cheaper and easy to find.
Table: Brake Light Assembly Screw Locations
Knowing where screws are placed helps avoid damage.
| Location | Number of Screws | Tool Needed |
|---|---|---|
| Top | 1 | Phillips screwdriver |
| Bottom | 1 | Phillips screwdriver |
Some models may have extra screws. Always check before pulling the assembly.
Practical Tips For A Smooth Replacement
- Buy bulbs in pairs: If one fails, the other may soon follow. Replacing both saves time.
- Check the fuse: If the new bulb doesn’t work, the brake light fuse may be blown.
- Keep spare bulbs in your glove box. This helps during emergencies.
- Inspect other lights: While you’re at it, check turn signals and reverse lights.
- Watch for moisture: Water inside the assembly can cause electrical issues. Dry it before installing the bulb.
A common insight: Many drivers don’t realize that a dirty socket can cause a new bulb to fail. Always clean it before putting in a new bulb. Also, some bulbs may look similar but have different wattages—using the wrong wattage can damage the system.
How To Check Your Brake Light After Replacement
To confirm your brake light works:
- Ask a friend to press the brake pedal while you stand behind the car.
- If you’re alone, use a reflective surface or a wall to see the light.
- Look for brightness and even light distribution.
If the bulb is dim, check the socket and wiring. Dim light means poor contact or electrical issues.
Table: Brake Light Failure Causes
This table shows possible reasons for brake light issues:
| Problem | Possible Cause | Solution |
|---|---|---|
| No light | Bulb blown | Replace bulb |
| Dim light | Dirty socket | Clean socket |
| Still not working | Blown fuse | Replace fuse |
| Intermittent | Loose wiring | Secure wires |
Knowing these causes saves troubleshooting time.
Frequently Asked Questions
How Often Should I Replace My Brake Light Bulb?
Most bulbs last 1,000–2,500 hours. Replace them as soon as they burn out. It’s smart to check them every few months.
Which Bulb Type Is Best For The 2011 Jeep Liberty?
The 3157 bulb is standard, but LED bulbs offer longer life and brighter light. Check compatibility before buying.
Can I Replace The Brake Light Myself Or Should I Visit A Mechanic?
You can do it yourself. It’s a simple job.
If you face wiring issues, consult a mechanic.
Why Does My New Brake Light Still Not Work?
Possible reasons include a blown fuse, dirty socket, or incorrect bulb. Check each part carefully.
Are There Any Official Resources For Jeep Liberty Repairs?
Yes. The Jeep owner’s manual and NHTSA offer safety and repair advice.
Replacing the brake light on your 2011 Jeep Liberty is easy if you follow these steps. Doing it yourself saves money and keeps your vehicle safe.
With the right bulb, tools, and careful attention, you’ll get back on the road quickly and confidently.