A cracked cylinder head is a serious problem for any vehicle. It can cause engine overheating, loss of power, and even complete engine failure. Many car owners worry about repair costs, but understanding the process can help you make better decisions and possibly save money.
This guide explains how to repair a cracked head, including the steps, tools needed, and important factors to consider.
Signs Of A Cracked Cylinder Head
A cracked head often shows clear symptoms. Recognizing these signs early can prevent further damage:
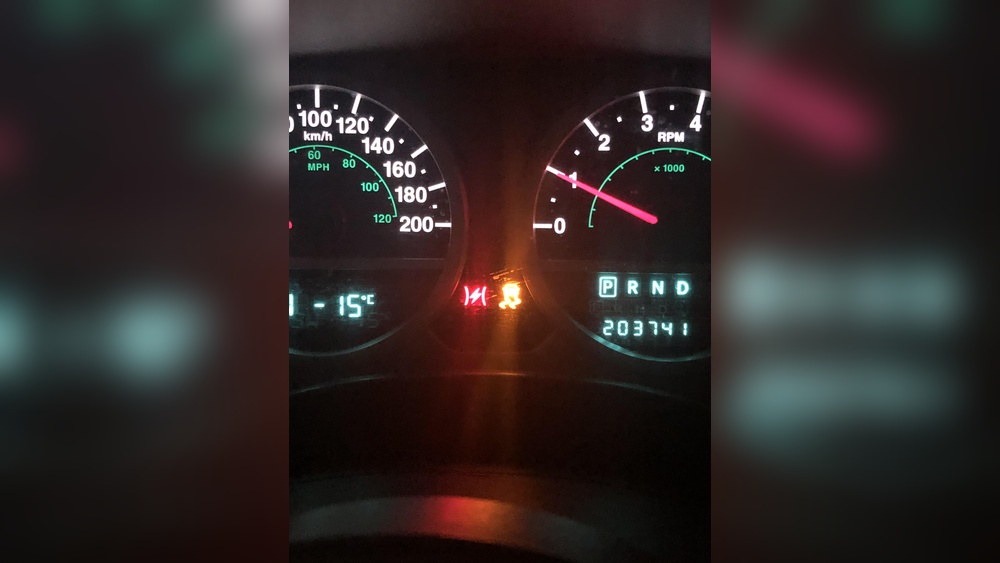
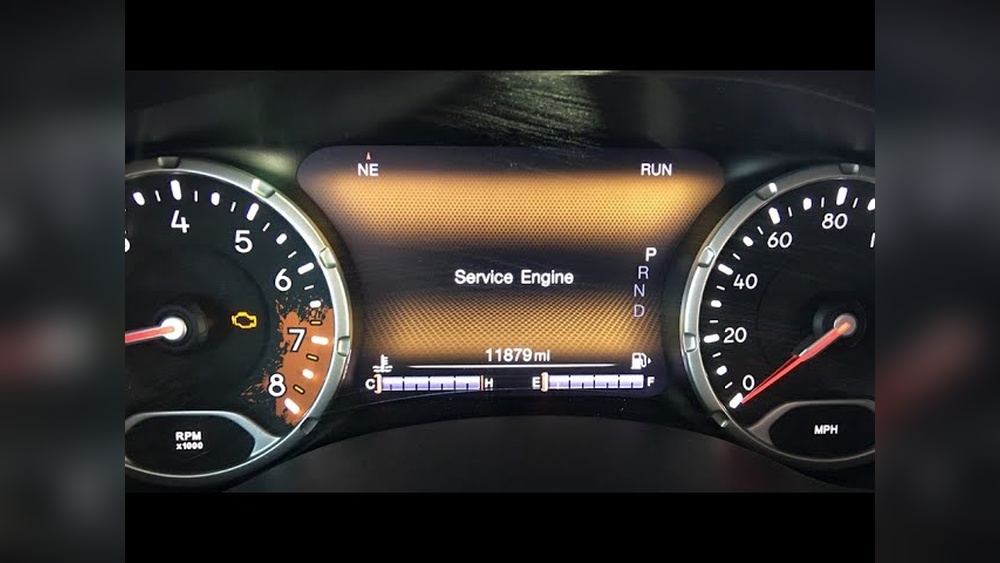
- Engine overheating: The cooling system can’t function properly.
- White smoke from exhaust: Indicates coolant entering the combustion chamber.
- Loss of power: The engine runs rough or misfires.
- Coolant in oil: Oil looks milky due to mixing.
If you notice any of these symptoms, stop driving and inspect the engine. Delaying repairs can worsen the crack and increase costs.
What Causes Cylinder Head Cracks?
Cylinder heads crack for several reasons. Knowing the causes can help you avoid future problems:
- Overheating: The most common cause. If the engine gets too hot, metal expands and cracks.
- Poor maintenance: Old coolant or failed water pumps lead to hot spots.
- Physical damage: Dropping or improper handling during repairs.
- Manufacturing defects: Rare but possible, especially in older vehicles.
A study by the Society of Automotive Engineers found that overheating causes over 60% of cylinder head failures. This shows the importance of routine maintenance.
Repair Vs. Replacement: Which Is Better?
You need to decide whether to repair or replace the cracked head. Here’s a quick comparison:
| Factor | Repair | Replacement |
|---|---|---|
| Cost | Lower ($300–$700) | Higher ($800–$2,000+) |
| Time | 1–3 days | 2–5 days |
| Quality | Depends on skill | Guaranteed new/used part |
| Longevity | Can last years | Long-lasting |
If the crack is small and in a non-critical area, repair is often a good option. For large or multiple cracks, replacement is safer.
Steps To Repair A Cracked Cylinder Head
Repairing a cracked head needs skill, the right tools, and careful attention. Here’s a step-by-step guide:
- Remove the Cylinder Head
- Disconnect battery.
- Drain coolant and oil.
- Remove intake/exhaust manifolds and head bolts.
- Lift off the head carefully.
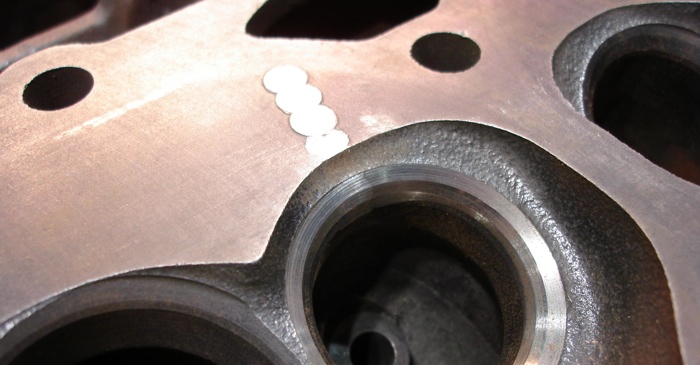
- Clean and Inspect
- Wash the head with degreaser.
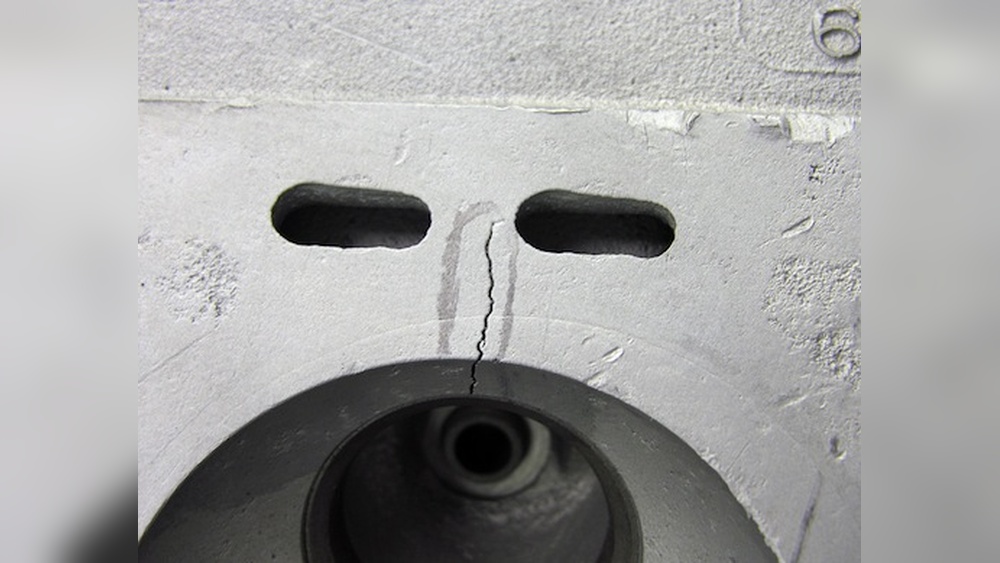
- Inspect for cracks using dye penetrant or magnetic particle methods.
- Mark all cracks for repair.
- Choose Repair Method
- Welding: Used for aluminum heads. Professional welders must perform this.
- Epoxy repair: Suitable for small cracks. Special high-temp epoxy is applied and cured.
- Stitching pins: For cast iron heads. Metal pins are inserted along the crack.
- Perform Repair
- Follow the method chosen. For welding, preheat the head and use correct filler material.
- For epoxy, clean area, apply epoxy, let cure.
- For stitching, drill and tap holes, insert pins, seal with compound.
- Pressure Test
- After repair, test the head to ensure no leaks. Use a pressure tester and check for bubbles.
- Reassemble Engine
- Replace head gasket.
- Reinstall head, torque bolts to spec.
- Reconnect all parts and refill fluids.
Here’s a comparison of three common repair methods:
| Method | Material | Success Rate | Cost |
|---|---|---|---|
| Welding | Aluminum | 85% | $400–$800 |
| Epoxy | Aluminum/Cast Iron | 60% | $50–$150 |
| Stitching Pins | Cast Iron | 90% | $200–$500 |

Tools And Materials Needed
You will need:
- Torque wrench
- Socket set
- Head gasket
- Dye penetrant kit
- Epoxy or welding kit
- Pressure tester
- Engine manual (for torque specs)
Having the correct tools ensures a successful repair. Many beginners underestimate the need for a proper pressure test. Skipping this step can lead to repeated failures.
Practical Tips For Successful Repair
- Work in a clean area. Dirt can ruin the repair.
- Follow torque specs exactly. Over-tightening can cause new cracks.
- Check for warping. Use a straight edge to ensure the head is not warped.
- Replace the head gasket every time. Reusing can cause leaks.
- Use quality materials. Cheap epoxy or pins may fail quickly.
A common mistake is not checking for additional cracks. Always inspect the entire head, not just the obvious spot. Another error is skipping the pressure test after repair—this step confirms the repair is solid.

When To Seek Professional Help
If the crack is near a valve seat or combustion chamber, professional repair is recommended. These areas affect engine performance and safety. Many shops use advanced equipment and techniques, such as laser welding and digital crack detection.
You can find reputable repair shops by checking reviews or visiting the National Institute for Automotive Service Excellence.
Frequently Asked Questions
How Do I Know If My Cylinder Head Is Cracked?
Look for overheating, white exhaust smoke, loss of power, or milky oil. A mechanic can confirm using dye penetrant or magnetic particle tests.
Can I Drive With A Cracked Cylinder Head?
No. Driving with a cracked head can cause engine failure, costly damage, and safety risks.
Is Welding Always The Best Repair Method?
Not always. Welding works well for aluminum heads, but for cast iron, stitching pins often give better results.
How Long Does A Repaired Head Last?
With proper repair and maintenance, a repaired head can last several years. Quality of work and materials matter.
What’s The Most Common Mistake During Repair?
Skipping the pressure test is the biggest mistake. Always test for leaks before reassembly.
Repairing a cracked cylinder head is challenging, but possible with careful work and the right tools. Understanding the process helps you avoid mistakes and decide whether to repair or replace. If you are unsure or the crack is severe, seek professional help to ensure reliable results.
With the right approach, your engine can run smoothly for many miles ahead.