Removing the wheel hub bearing assembly from a 2005 Jeep Liberty can seem challenging if you’ve never done it before. But with the right tools, clear instructions, and some patience, it’s a repair you can tackle at home. Changing a worn wheel bearing is important for safety and driving comfort—strange noises, wobbly wheels, or ABS warning lights are all signs you may need to do this job. This guide gives you a step-by-step approach, highlights common mistakes, and adds practical tips for a smoother experience.
Tools And Parts You’ll Need
Before you start, make sure you have these tools and parts ready:
- Jack and jack stands
- Lug wrench
- Socket set (including 13mm, 18mm, and 36mm)
- Breaker bar
- Torque wrench
- Pry bar
- Hammer
- Needle nose pliers
- Replacement wheel hub bearing assembly
- Penetrating oil
- Gloves and eye protection
Having all the tools nearby saves time and reduces frustration. Many first-timers forget a breaker bar or penetrating oil these are especially helpful for stubborn bolts.
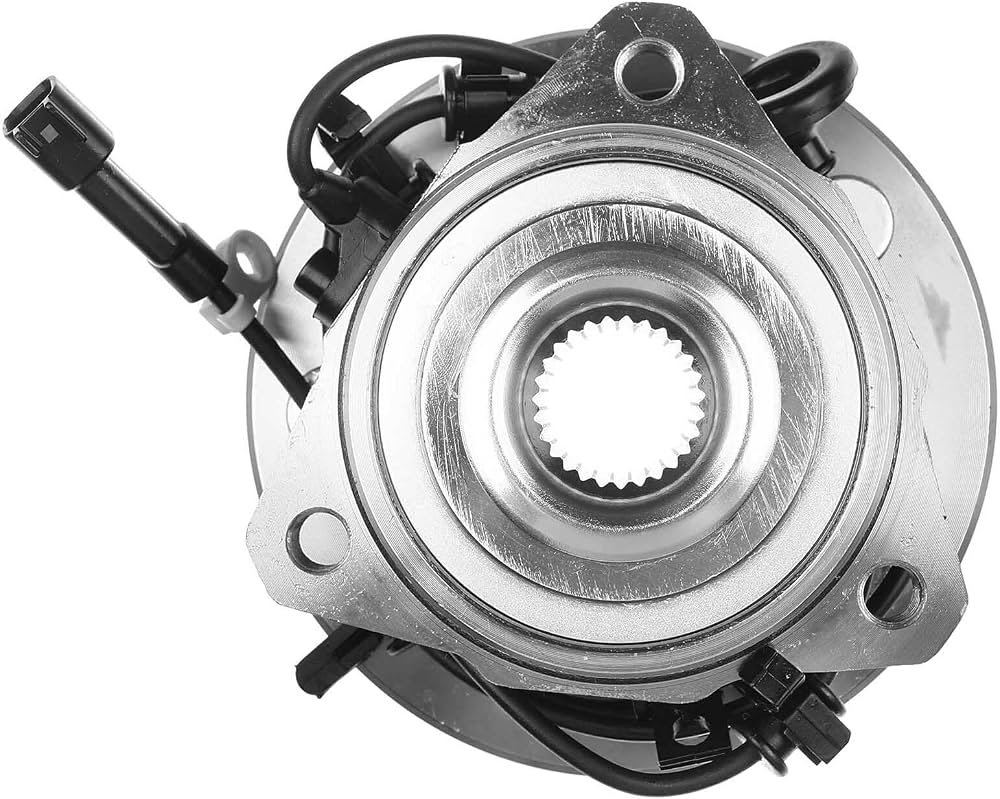
Preparing The Jeep Liberty
- Park on a level surface and engage the parking brake.
- Loosen the lug nuts on the wheel you’ll be working on. Do this before lifting the vehicle.
- Lift the vehicle using the jack and secure it with jack stands under the frame. Never rely only on the jack.
- Remove the wheel completely.
Tip: Wear gloves and use eye protection. Rust and debris are common under older vehicles.
Removing The Brake Assembly
Next, you need to access the hub bearing by taking off the brake components.
- Remove the brake caliper bolts (usually 13mm or 18mm). Slide the caliper off and hang it safely with a bungee or wire—don’t let it hang by the hose.
- Take off the brake pads and set them aside.
- Remove the caliper bracket (usually two larger bolts).
- Slide off the brake rotor. If it’s stuck, tap it gently with a hammer.
A common mistake is letting the caliper dangle, which can damage the hose. Always support it securely.
Disconnecting The Wheel Hub Bearing Assembly
Now you’re ready to remove the hub.
- Unplug the ABS sensor if equipped. The connector is usually on the back of the hub.
- Remove the axle nut (36mm socket). You might need a breaker bar for this step.
- Remove the three hub mounting bolts from behind the knuckle (usually 18mm). These bolts can be very tight and may need penetrating oil. Let it soak for several minutes if they’re rusty.
- Tap the hub assembly from the knuckle using a hammer or pry bar. Be patient—rust often fuses the hub to the knuckle.
Pro tip: If the hub is stuck, alternate between tapping and applying more oil. Forcing it can crack the knuckle, leading to expensive repairs.
Comparing Oem Vs. Aftermarket Hub Assemblies
Choosing the right replacement part makes a difference in durability and fit. Here’s a quick comparison:
| Feature | OEM | Aftermarket |
|---|---|---|
| Fit | Exact | May vary |
| Warranty | 12-24 months | 6-12 months |
| Price | Higher | Lower |
| Availability | Dealer only | Most auto stores |
Insight: Many beginners choose the cheapest part, but a poor-quality hub can fail quickly. Spending more on a reputable brand often saves money in the long run.
Installing The New Hub Bearing Assembly
- Clean the knuckle surface with a wire brush. Remove all rust and debris for a flush fit.
- Align the new hub assembly and slide it into place.
- Install the three mounting bolts. Tighten them evenly and torque to the manufacturer’s specs (often around 75 ft-lbs).
- Reconnect the ABS sensor if present.
- Install the axle nut and torque it (often 175 ft-lbs for the Liberty).
- Reinstall the brake rotor, caliper bracket, pads, and caliper.
- Mount the wheel and hand-tighten the lug nuts.
- Lower the vehicle and torque the lug nuts in a star pattern.
Common mistake: Skipping the cleaning step can lead to vibration or uneven fit. Don’t rush here.
Torque Specifications Overview
Proper torque keeps your Jeep safe. Here are the key specs:
| Bolt/Nut | Torque (ft-lbs) |
|---|---|
| Axle nut | 175 |
| Hub bolts | 75 |
| Caliper bracket | 100 |
| Lug nuts | 100 |
Always check your owner’s manual for your specific trim, as these numbers can vary slightly.
Test Drive And Final Checks
After you finish, take a slow test drive. Listen for any odd noises or vibrations.
Check for a steady brake pedal and normal steering. If anything feels wrong, double-check your work.
A smart move is to re-torque all bolts after 50 miles. This ensures everything remains tight after the parts settle.
Frequently Asked Questions
How Long Does It Take To Replace A Wheel Hub Bearing On A 2005 Jeep Liberty?
An experienced DIYer can finish in about 2 hours. If it’s your first time, plan for 3 4 hours, especially if bolts are rusty.
Do I Need Special Tools For This Job?
You’ll need a 36mm socket for the axle nut and a breaker bar. Most other tools are common, but a torque wrench is critical for safety.
What Are The Signs Of A Bad Wheel Hub Bearing?
Listen for a growling noise while driving, feel for steering wheel vibration, or check for looseness in the wheel when raised.
Can I Drive With A Bad Wheel Bearing?
It’s not safe. A worn bearing can fail suddenly, leading to wheel detachment or brake problems. Replace it as soon as possible.
Where Can I Find More Detailed Specs Or Diagrams?
You can visit the Jeep Liberty Wikipedia page for vehicle history and technical details.
Replacing the wheel hub bearing assembly on your 2005 Jeep Liberty is a hands-on task, but with the right preparation and care, you can restore your ride’s safety and smoothness. Attention to detail and proper tools make all the difference. If you’re ever unsure, don’t hesitate to consult a professional mechanic.


















