Removing the tail lights from a 1999 Jeep Cherokee is a task many owners face, especially if you need to replace a broken lens, upgrade to LED lights, or fix electrical issues. If you have never done this before, it can seem a bit confusing. The good news is that with a few basic tools and careful steps, you can do it yourself and save on repair costs. This guide will walk you through the entire process, highlight common mistakes, and share tips to make the job easier.
What You’ll Need
Before starting, gather these tools and supplies:
- Phillips head screwdriver
- Flat-head screwdriver (optional)
- Socket wrench set (if screws are rusted or stuck)
- Clean cloth or gloves
- Replacement bulbs or tail light assembly (if needed)
Using the correct tools is important. For example, a Phillips screwdriver fits most of the tail light screws on the 1999 Cherokee, but some models may have bolts. Check your vehicle to avoid surprises.
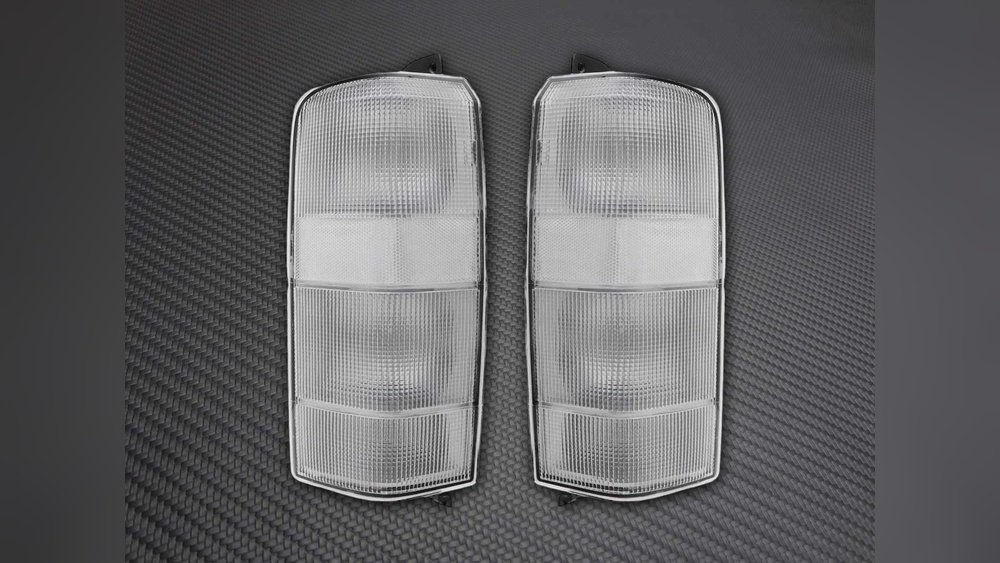
Step-by-step: Removing Tail Lights
1. Open The Rear Hatch Or Tailgate
Stand behind your Jeep and open the tailgate. This exposes the tail light assembly and the screws holding it in place.
2. Locate And Remove Screws
You’ll find two or three screws on the inner edge of the tail light. Use your Phillips screwdriver to remove them.
Place the screws in a small container so you don’t lose them.
3. Gently Pry Off The Tail Light Assembly
Hold the assembly and pull it straight back. If it doesn’t come out easily, insert a flat-head screwdriver at the edge and gently wiggle.
Don’t use too much force plastic parts can crack.
4. Disconnect The Bulb Sockets
Turn the bulb sockets counterclockwise to release them from the assembly. If you only want to change bulbs, you can stop here. If you’re replacing the whole assembly, continue.
5. Inspect And Replace
Check the connectors for any corrosion or damage. Replace bulbs if they look blackened or worn.
Install the new tail light assembly by reversing the steps above.
Data Table: Typical Tools Needed
| Tool | Purpose |
|---|---|
| Phillips Screwdriver | Removes mounting screws |
| Socket Wrench | Loosens stuck bolts |
| Flat-head Screwdriver | Helps pry assembly |
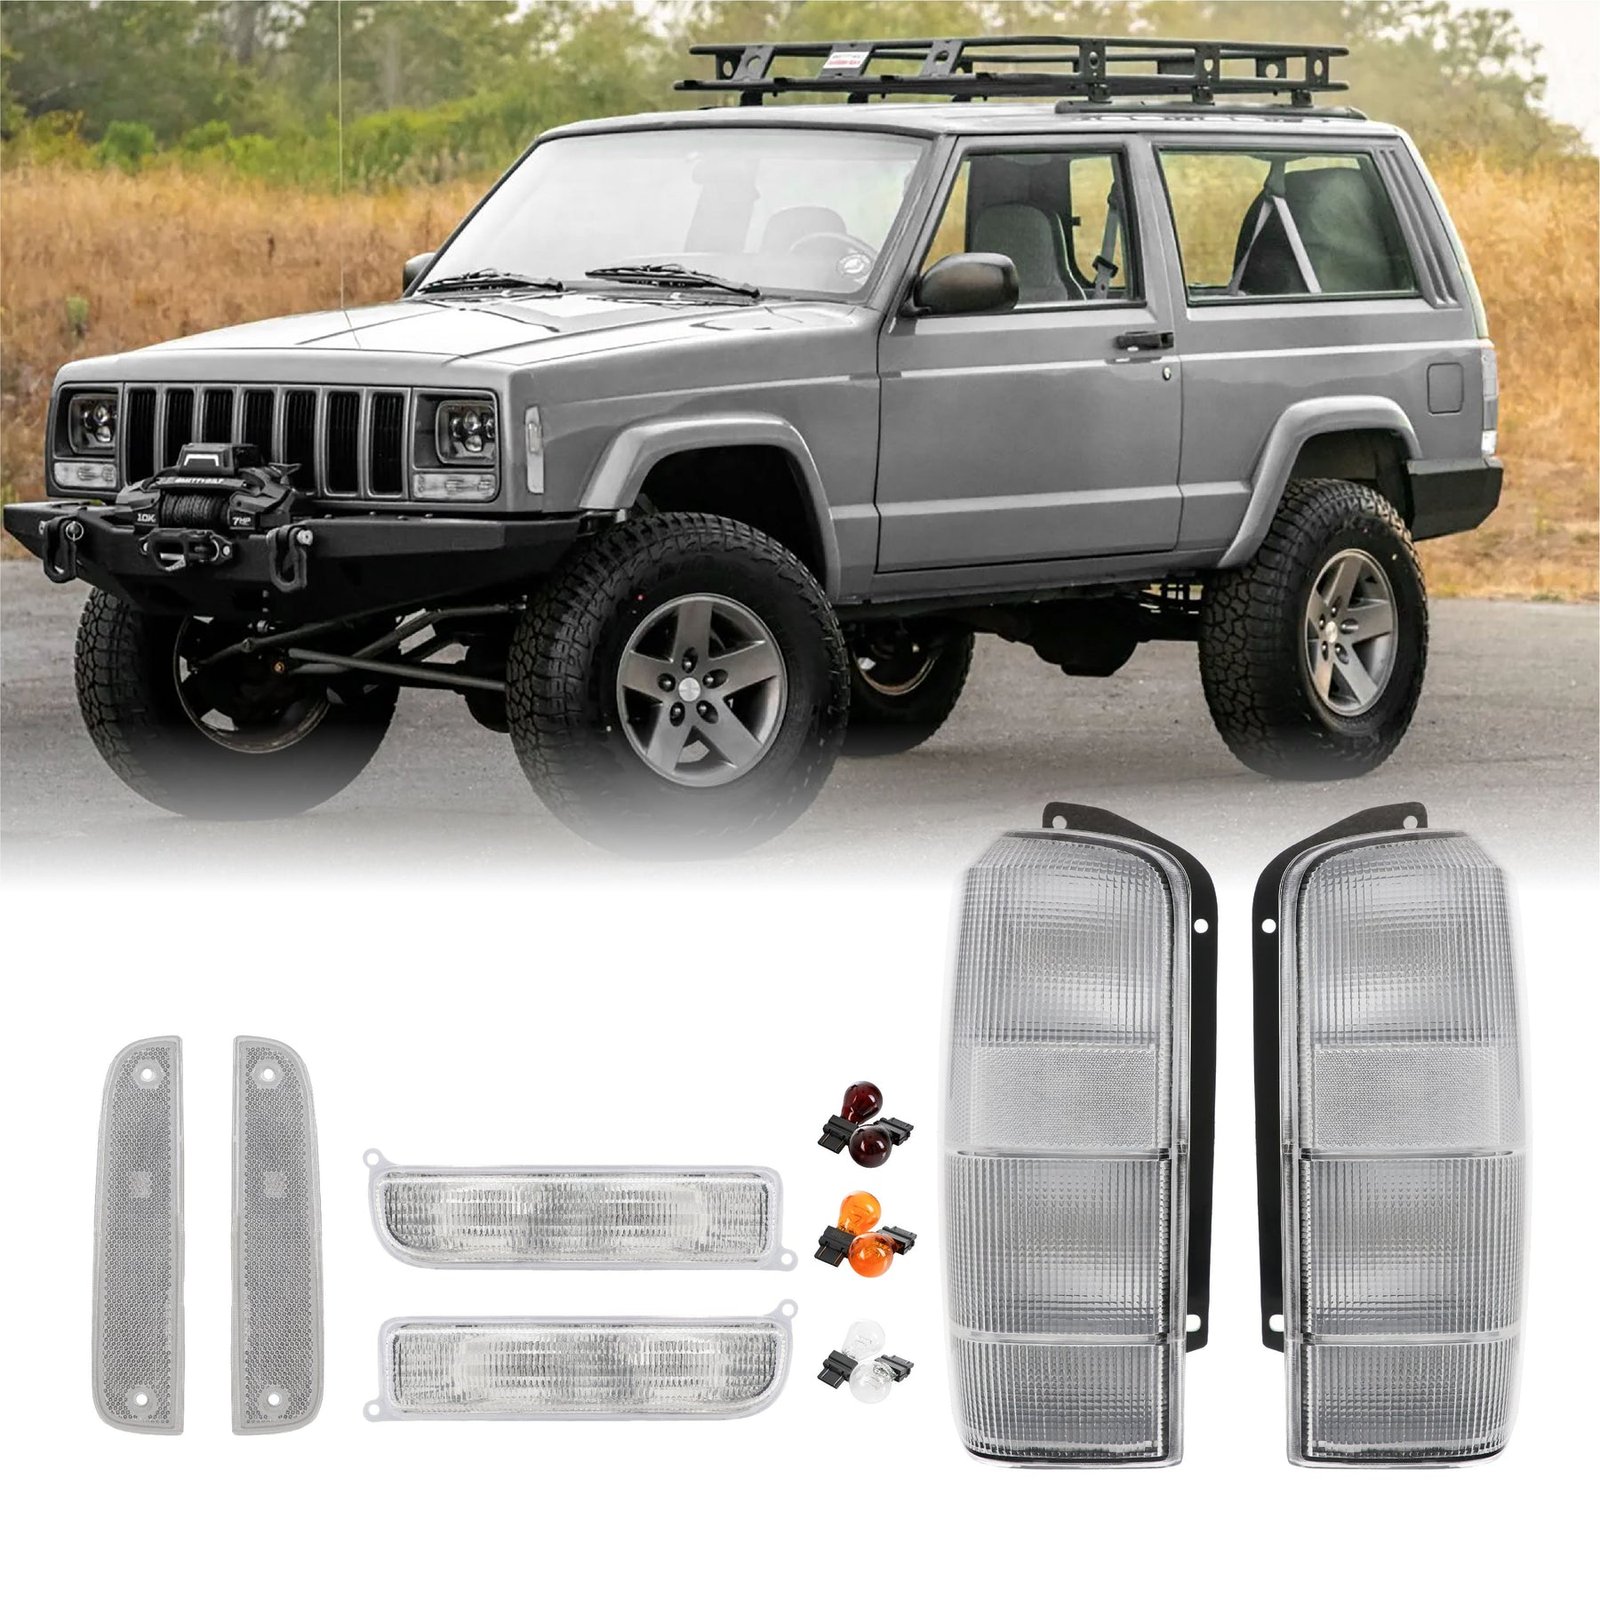
Common Mistakes And How To Avoid Them
Many DIYers make small errors when removing Cherokee tail lights:
- Forcing the assembly out. Always check if you missed a screw before using force.
- Dropping screws inside the body panel. Use a magnetic tray or lay a towel to catch dropped parts.
- Touching bulbs with bare fingers. Oils from your skin can shorten bulb life. Use gloves or a cloth.
Extra Tips For A Smoother Process
- If screws are rusty, spray a little WD-40 and let it sit for 5 minutes before unscrewing.
- Take a photo of the wiring setup before disconnecting. This helps when reassembling.
- If the light won’t budge, gently tap around the edge with a rubber mallet.
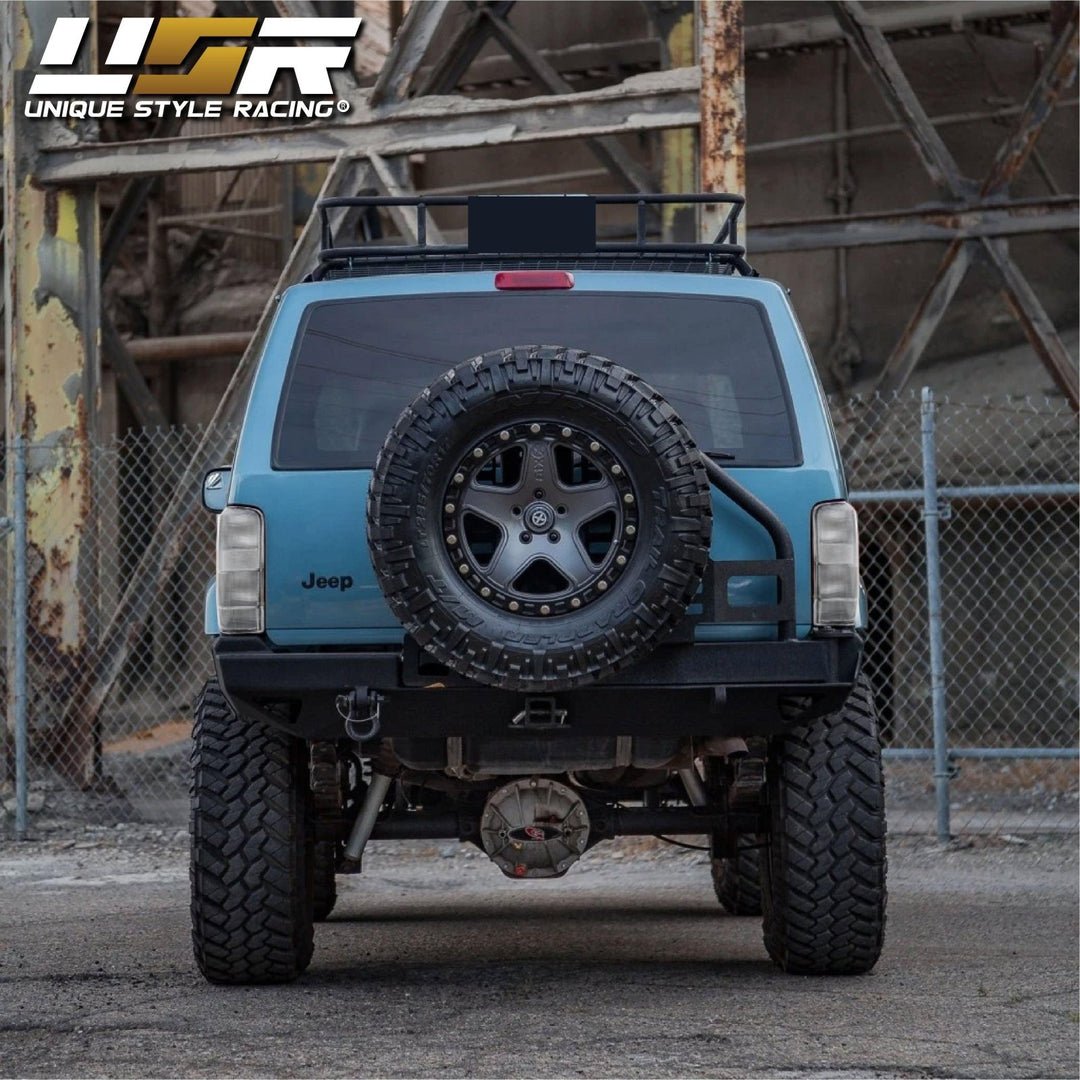
Comparing Oem Vs Aftermarket Tail Lights
If you’re replacing your tail lights, you may wonder whether to buy OEM (Original Equipment Manufacturer) or aftermarket parts. Here’s a quick comparison:
| Type | Cost | Fit & Finish | Warranty |
|---|---|---|---|
| OEM | Higher | Exact match | Usually included |
| Aftermarket | Lower | May vary | Check seller |
OEM parts guarantee a perfect fit, but aftermarket options can be more affordable and offer custom looks. Choose based on your budget and preferences.
Troubleshooting: If The Tail Light Still Doesn’t Work
Sometimes, replacing the tail light does not solve the problem. If your 1999 Cherokee tail light still fails:
- Check the fuse box (usually under the dashboard or in the engine bay).
- Inspect wiring for fraying or corrosion.
- Test the brake light switch if brake lights are also out.
- Make sure the bulb is installed correctly.
Electrical issues can be tricky. If you’re stuck, consider checking the Jeep Cherokee service manual or a reputable online forum.
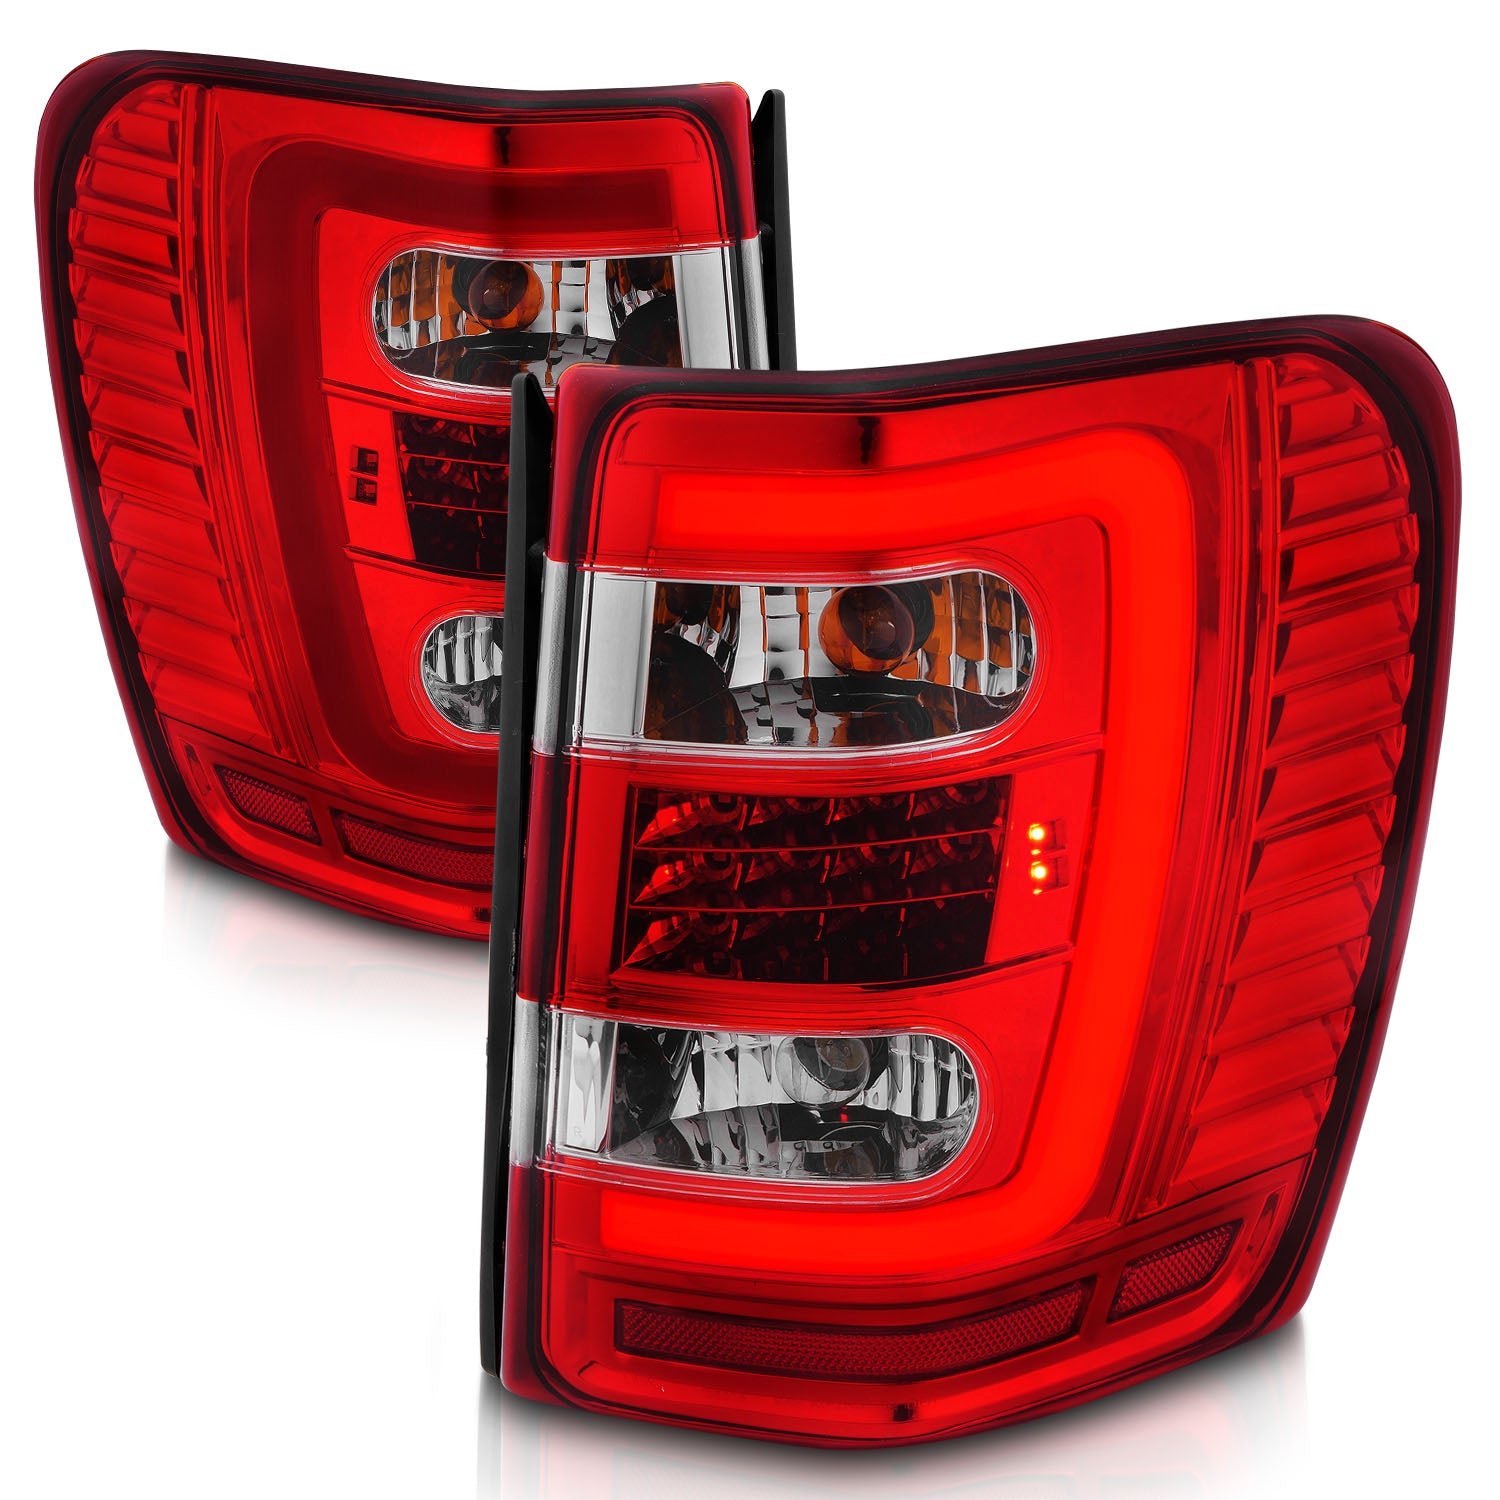
Data Table: Common Tail Light Issues And Solutions
| Problem | Possible Cause | Quick Fix |
|---|---|---|
| Light won’t turn on | Blown bulb, bad fuse | Replace bulb/fuse |
| Flickering | Loose connector | Secure connection |
| Foggy lens | Moisture inside | Dry and reseal |
Final Thoughts
Removing the tail lights from a 1999 Jeep Cherokee is a practical DIY project. With patience and the right tools, most people can finish it in less than 30 minutes. Remember to handle the plastic carefully, keep track of all screws, and double-check your wiring before reassembling. Taking photos before you start will help if you get confused during reinstallation.
If you want to learn more about your Jeep’s lighting system, the Jeep Cherokee (XJ) Wikipedia page offers extra details.
Frequently Asked Questions
How Long Does It Take To Remove The Tail Lights From A 1999 Jeep Cherokee?
Most people can complete the job in 15–30 minutes if they have the right tools and follow the steps carefully.
Do I Need To Disconnect The Battery Before Removing The Tail Light?
It’s not required, but it’s a good safety practice if you’re working with the wiring for an extended time.
Can I Replace Just The Bulbs, Or Do I Need To Remove The Whole Assembly?
You can replace just the bulbs by removing the bulb sockets from the back of the assembly. Full removal is only necessary if replacing the lens or housing.
Will Aftermarket Tail Lights Fit My 1999 Cherokee?
Most aftermarket tail lights fit well, but always check reviews and seller guarantees, as some may need slight adjustments.
What Should I Do If A Screw Is Stuck Or Rusted?
Spray a little penetrating oil (like WD-40) and wait a few minutes. If it’s still stuck, use a socket wrench for better grip.


















