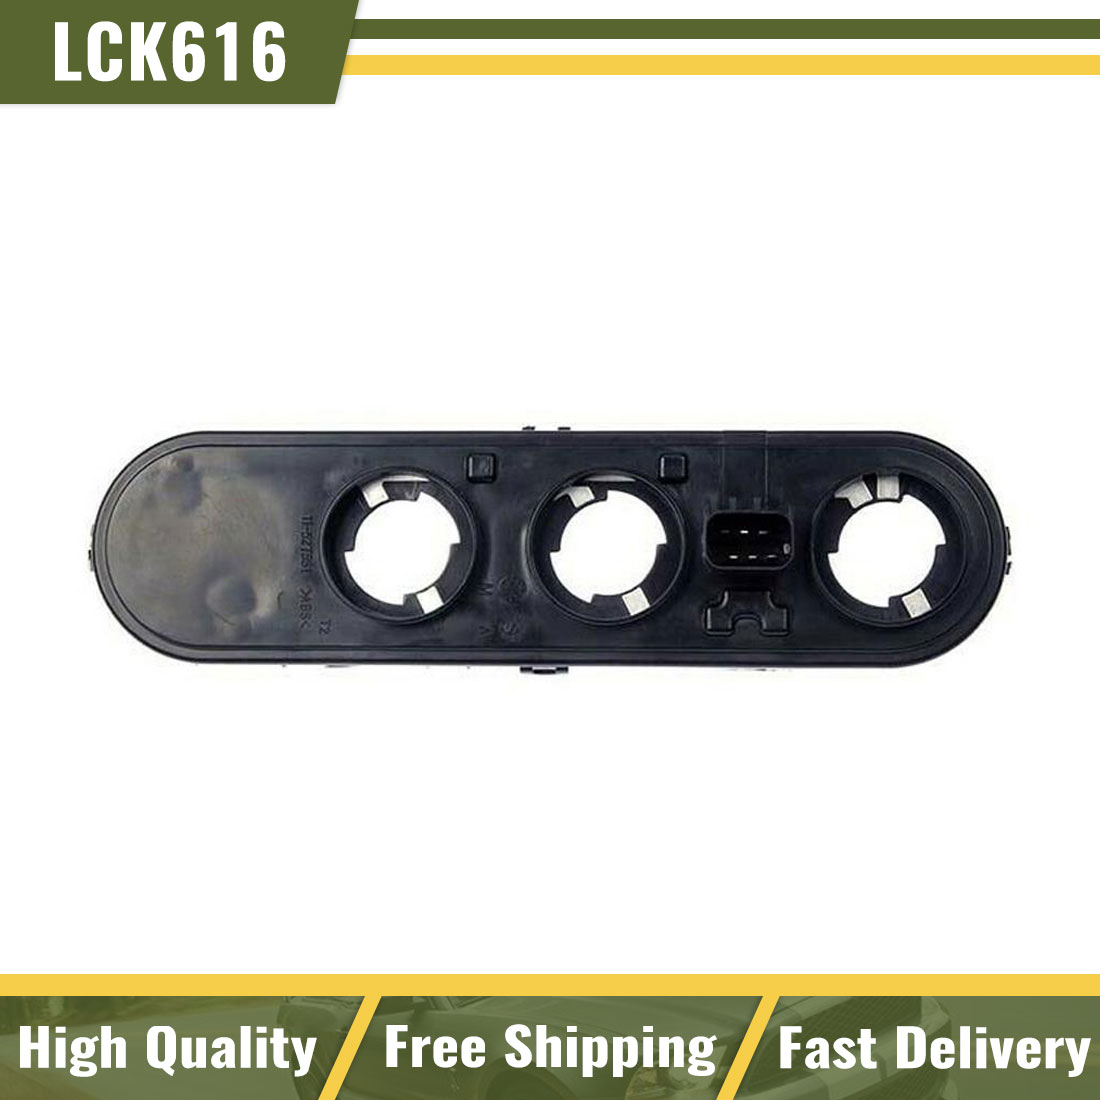
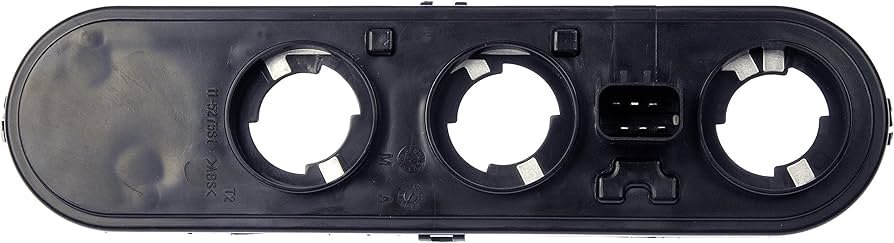
If your Jeep Grand Cherokee’s tail lights are acting up, it could be a problem with the tail light socket board. This small but important part holds the bulbs and connects them to your vehicle’s electrical system. Over time, moisture, corrosion, or simple wear and tear can cause the socket board to fail, leading to flickering or non-working tail lights. Knowing how to remove and replace this part yourself can save you time and repair costs.
This guide will walk you through the process, step by step. You’ll learn what tools you need, what mistakes to avoid, and how to handle the job safely no special skills required.
Even if you’re new to car repairs, you can do this with some patience and the right information.
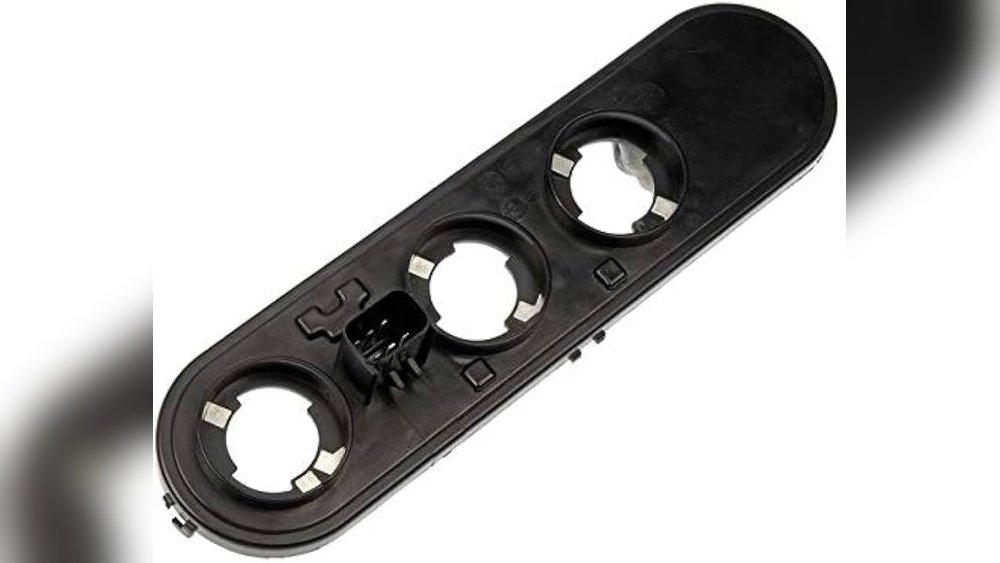
Why Remove The Tail Light Socket Board?
The tail light socket board is crucial for safe driving. If it fails, your brake lights or turn signals may not work, which can lead to accidents or traffic tickets. Common signs that your Jeep Grand Cherokee’s socket board needs attention include:
- Tail lights not working even after changing bulbs
- Flickering or dim lights
- Melted or corroded connectors
- Error messages on your dashboard
Replacing the socket board often solves these problems quickly.
What You Need For The Job
Before starting, gather these basic tools and materials:
- Flathead screwdriver
- Phillips screwdriver
- 10mm socket and ratchet
- Needle-nose pliers
- Replacement tail light socket board (specific to your Grand Cherokee’s year)
- Gloves and safety glasses (recommended)
Having the right tools makes the job faster and prevents damage to the light assembly.
Step-by-step Removal Guide
Follow these steps to remove the tail light socket board from your Jeep Grand Cherokee:
1. Access The Tail Light Assembly
Open your Jeep’s liftgate or trunk. Locate the rear panel near the tail light.
On most Grand Cherokees (2011 2021), you’ll see small plastic covers or screws securing the light assembly from the inside.
2. Remove Fasteners
Use your flathead screwdriver to gently pry off any plastic covers. Then, use the 10mm socket to remove the bolts holding the tail light assembly.
Keep these bolts safe they’re easy to lose.
3. Detach The Tail Light Assembly
With the bolts removed, hold the tail light firmly and pull it straight back. There might be some resistance because of alignment pegs or clips.
Avoid twisting or forcing the assembly, which can crack the housing.
4. Disconnect The Wiring Harness
Behind the tail light, you’ll see a wiring connector. Press the tab and gently pull it out.
This disconnects the power to the tail lights.
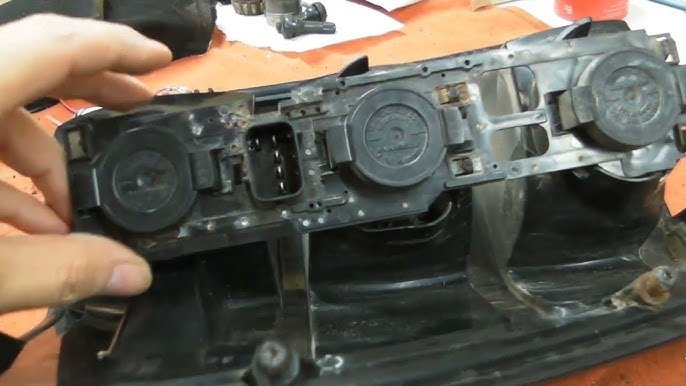
5. Remove The Socket Board
On the back of the assembly, you’ll find the socket board secured by small screws or twist-lock tabs. Use your Phillips screwdriver or pliers to remove these fasteners.
Once loose, carefully pull the socket board out.
6. Inspect The Socket Board
Before installing a new one, inspect the old socket board. Look for burn marks, corrosion, or melted plastic. These are signs of electrical problems that could affect your new part. If you see heavy damage, check the wiring harness and light housing for further issues.
Data: Typical Causes For Socket Board Failure
Most Jeep Grand Cherokee owners face socket board problems for a few common reasons. Here’s a quick look:
| Cause | Likelihood (%) | Prevention Tip |
|---|---|---|
| Water intrusion | 35% | Seal light housing properly |
| Corrosion | 30% | Use dielectric grease on connectors |
| Worn contacts | 25% | Avoid forcing bulbs into sockets |
| Electrical overload | 10% | Use correct bulb wattage |
How To Install The New Socket Board
After removing the old socket board, installing the new one is straightforward:
- Align the new socket board with the slots on the assembly.
- Secure it with screws or twist-lock tabs.
- Reconnect the wiring harness until you hear a click.
- Test the lights before reassembling everything. Have someone press the brake pedal or use the turn signal.
- Reattach the tail light assembly by aligning the pegs and pressing it into place.
- Secure with bolts and replace any plastic covers.
If your lights still don’t work, check the fuse box or wiring for deeper issues.
Quick Comparison: Oem Vs Aftermarket Socket Boards
Choosing the right replacement matters. Here’s a brief comparison:
| Feature | OEM (Original) | Aftermarket |
|---|---|---|
| Fit & Compatibility | Guaranteed | May vary |
| Price | Higher | Lower |
| Warranty | 1 Year+ | 6 months–1 year |
| Availability | Dealers only | Auto parts stores, online |
Non-obvious tip: If you buy aftermarket, bring your old board to match the connectors and mounting points exactly. Not all aftermarket parts fit every trim or year.
Common Mistakes And How To Avoid Them
- Forgetting to disconnect the battery: While not always required, disconnecting the negative battery cable adds safety, especially if you’re new to electrical work.
- Over-tightening screws: This can crack plastic parts or strip threads.
- Mixing up bulbs: Some boards have different sockets for brake, reverse, and turn signals—note their positions.
- Ignoring water seals: Always check for worn or missing seals around the tail light. Water leaks are a leading cause of repeat failures.
Real-world Example
A 2014 Jeep Grand Cherokee owner noticed one tail light was dim. After replacing the bulb with no luck, he removed the socket board and found corroded contacts.
Installing a new board fixed the issue instantly. He also applied dielectric grease to prevent future corrosion.
This simple extra step can extend the life of your new socket board.
Useful Maintenance Tips
- Check tail lights regularly, especially after heavy rain.
- Clean connectors with electrical contact cleaner if you see any green or white corrosion.
- Replace bulbs in pairs to keep brightness even.
- Store removed screws in a small container to avoid losing them.
Frequently Asked Questions
How Do I Know If The Tail Light Socket Board Is Bad?
If your tail lights don’t work after replacing bulbs, or if you see melted plastic or corrosion on the board, it’s likely bad. Dashboard warnings and flickering lights are also clues.
Do I Need To Disconnect The Battery Before Starting?
It’s safer to disconnect the battery, especially if you’re new to electrical repairs. This prevents short circuits or accidental shocks.
Can I Drive With A Faulty Tail Light Socket Board?
Driving with a bad socket board is risky and may be illegal. Other drivers can’t see your brake or turn signals clearly, increasing accident risk.
How Much Does A Replacement Tail Light Socket Board Cost?
Prices range from $25 to $80, depending on whether you choose OEM or aftermarket. Labor at a shop can add $50–$100.
Where Can I Find More Information About Jeep Grand Cherokee Repairs?
For detailed guides and specs, visit the official Jeep Grand Cherokee Wikipedia page.
Taking care of your Jeep Grand Cherokee’s tail lights is essential for safety and peace of mind. By following these steps and tips, you can confidently remove and replace the socket board yourself saving money and keeping your vehicle roadworthy.