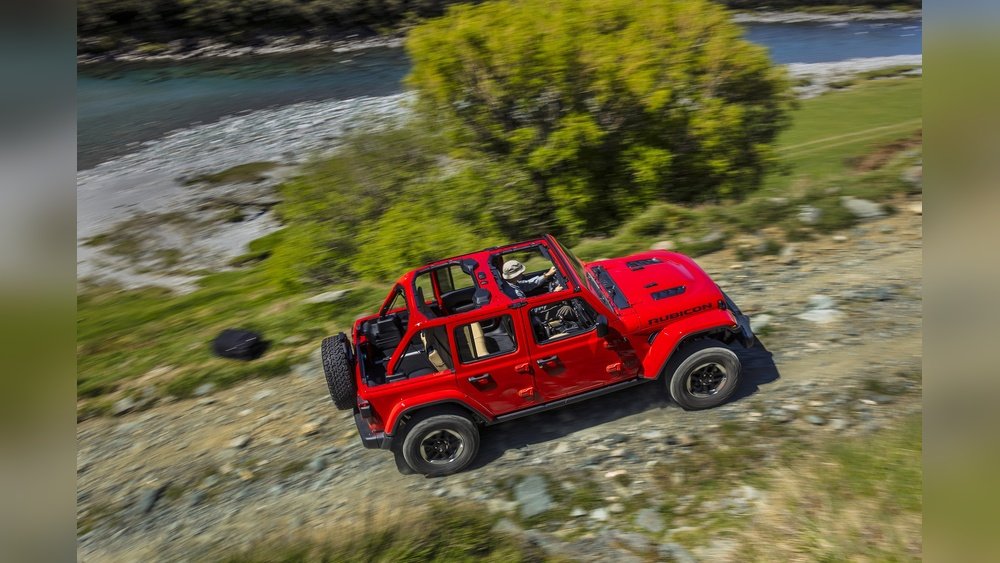
Removing the roof from your Jeep Wrangler can transform your driving experience, letting you enjoy open air and sunshine. Many owners love this feature, but removing the roof isn’t as simple as popping off a lid. If you’re new to this, you might worry about damaging parts or losing bolts. Here, you’ll learn exactly how to take off the roof safely, what tools you need, and some smart tips to avoid common mistakes. Whether you’re prepping for a road trip or just want a new perspective, this guide will help you get started.
Understanding Jeep Wrangler Roof Types
Not all Jeep Wrangler roofs are the same. It’s important to know which type you have, as the removal process varies.
| Roof Type | Material | Typical Removal Difficulty |
|---|---|---|
| Soft Top | Fabric/Plastic | Easy |
| Hard Top | Fiberglass | Moderate |
| Freedom Top | Modular Panels | Medium |
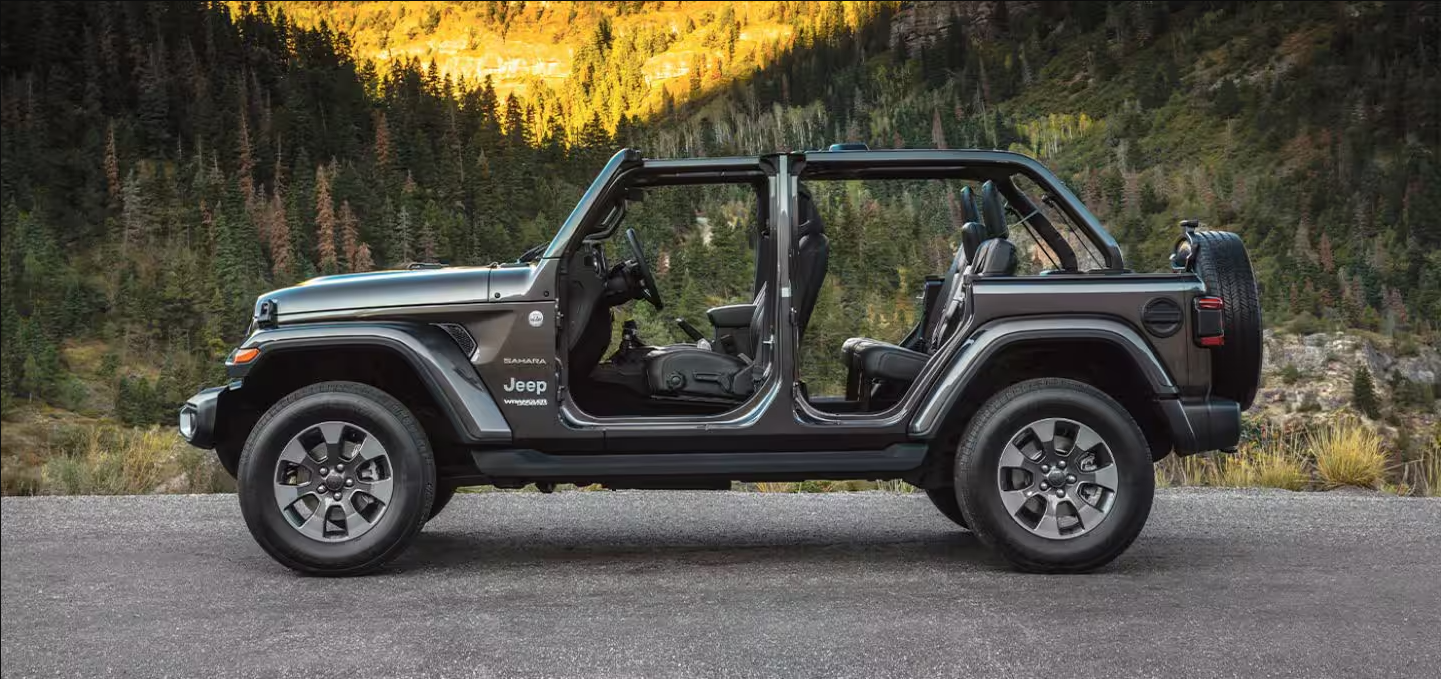
Most newer Wranglers use the Freedom Top, which is a modular hard top with removable panels. Older models may have a full hard top or a soft top. Before starting, check your owner’s manual to confirm your roof type.
Tools And Preparation
Having the right tools makes removal much easier and prevents damage. Here’s what you’ll need:
- Torx wrench set (usually included with your Jeep)
- Soft cloth or blanket (to protect panels)
- Storage bags (for bolts and small parts)
- Second person (helpful for lifting heavy panels)
- Step stool (if you’re not tall enough)
Make sure your Jeep is parked on a flat surface. Clean the roof to avoid scratches during removal. Lay out your tools and storage bags nearby.
Step-by-step Guide: Removing The Hard Top
For most hard tops and Freedom Tops, the process is similar. Follow these steps for a safe removal.
1. Remove Interior Panels
Start with the front Freedom panels. Flip the latches above the driver and passenger seats. Turn the knobs and pull down the panels. Set them aside on a soft cloth.
2. Unfasten Bolts
Locate the Torx bolts along the inside edge of the roof. There are usually six to eight bolts. Use the correct Torx size to unscrew them. Put the bolts in storage bags.
3. Disconnect Electrical Connections
Some hard tops have a rear wiper or defroster. Find the wire harness and unplug it gently. Don’t force it—wiggle it loose if needed.
4. Lift Off The Roof
With all bolts removed, ask a friend to help you lift the roof. Hold it firmly, walk it back, and set it down on a blanket to prevent scratches.
5. Store The Roof Properly
Don’t leave the roof on bare ground. Place it upright against a wall or use a roof storage cart. This prevents warping or damage.
Quick Comparison: Soft Top Vs Hard Top Removal
Here’s a simple table to see how the process differs for soft tops and hard tops.
| Step | Soft Top | Hard Top |
|---|---|---|
| Unlatch | Quick latches | Torx bolts |
| Panels | Fold back | Lift off |
| Storage | Roll or fold | Store upright |
Soft tops are easier—just unlatch, fold back, and roll up. Hard tops need more tools and often a second person.
Tips To Avoid Common Mistakes
Many beginners make the same errors. Here’s how to avoid them:
- Don’t rush. Removing bolts too quickly can strip the threads.
- Label your bolts. Use bags or tape to mark where each bolt came from.
- Lift carefully. Hard tops are heavy—dropping them can crack the roof.
- Check weather forecast. Don’t remove your roof if rain is expected.
- Protect your roof. Use a padded cart or wall for storage, never bare concrete.
One non-obvious trick: Take photos during each step. This helps you remember where each part goes when reattaching.

What To Do After Removing The Roof
Driving without a roof is exciting, but it comes with new responsibilities.
- Check local laws. Some states require roll bars or seat belts for roofless vehicles.
- Store panels securely. Wind can blow away loose panels or bolts.
- Install covers. If you plan to drive roofless for weeks, buy weatherproof seat covers.
- Monitor weather. Unexpected rain can damage your interior.
For safety, always keep an emergency cover in your trunk. Some owners use a quick-fit vinyl cover for sudden storms.
Reinstalling The Roof: Key Points
Putting the roof back is just as important as removing it. Reverse the removal steps, but pay extra attention to alignment.
- Check seals. Make sure rubber seals are clean and intact.
- Tighten bolts evenly. Don’t overtighten—this can crack fiberglass.
- Reconnect wires. Double-check the harness for rear wiper or defroster.
- Test for leaks. After reinstalling, hose down the roof and check for water inside.
Many leaks happen because bolts are not tightened in the right order. Follow your Jeep’s manual for the recommended sequence.

Frequently Asked Questions
How Long Does It Take To Remove A Jeep Wrangler Roof?
Usually, it takes 30–45 minutes for beginners. With practice, you can finish in under 20 minutes. Soft tops are quicker, while hard tops need more time and help.
Can One Person Remove The Hard Top Alone?
It’s possible, but not recommended. Hard tops weigh up to 140 lbs, so lifting alone can cause injury or roof damage. Always ask a friend to help.
Will Removing The Roof Void My Warranty?
No, Jeep designed roofs to be removable. But if you break parts or damage wiring during removal, repairs might not be covered. Always follow the instructions carefully.
How Should I Store The Roof Panels Safely?
Store panels upright, padded with blankets, and away from direct sunlight. Many owners use special storage carts or wall mounts for the hard top. This prevents warping and scratches.
Where Can I Find Official Instructions Or Videos?
For step-by-step instructions and videos, visit the official Jeep website or check this helpful resource: Jeep Owners.
Removing the roof from your Jeep Wrangler is simple with the right tools and careful steps. Plan ahead, work safely, and soon you’ll enjoy the freedom of open-air driving. With practice, you’ll find the process quick and easy, and your Jeep ready for adventure whenever you want.


