Removing the rear wiper arm from a Jeep Wrangler is a simple but important task. Many Jeep owners need to do this when the wiper arm is damaged, worn out, or simply not working well.
Changing the rear wiper arm can improve visibility and keep your vehicle safe. You don’t need special skills, but you do need patience and the right tools.
In this article, you’ll learn a clear, step-by-step way to remove the rear wiper arm, understand common mistakes, and see some helpful data for Jeep owners.
Why Remove The Rear Wiper Arm?
The rear wiper arm on your Jeep Wrangler helps clear rain, snow, and dirt from your back window. Over time, the arm can bend, break, or lose its grip. This makes your wiper less effective. Some owners also remove the arm for off-road trips, to avoid damage, or for style reasons.
Here are the main reasons Jeep owners remove the rear wiper arm:
- Wiper malfunction: When the wiper skips or makes noise, it may be bent or worn.
- Replacement: Newer wiper arms and blades last longer and work better.
- Upgrades: Some owners choose stronger, more stylish arms.
- Off-roading: Removing the arm avoids damage from branches and rocks.
Tools And Supplies Needed
Before you start, gather these tools:
- Flathead screwdriver
- 10mm socket wrench
- Pliers (optional)
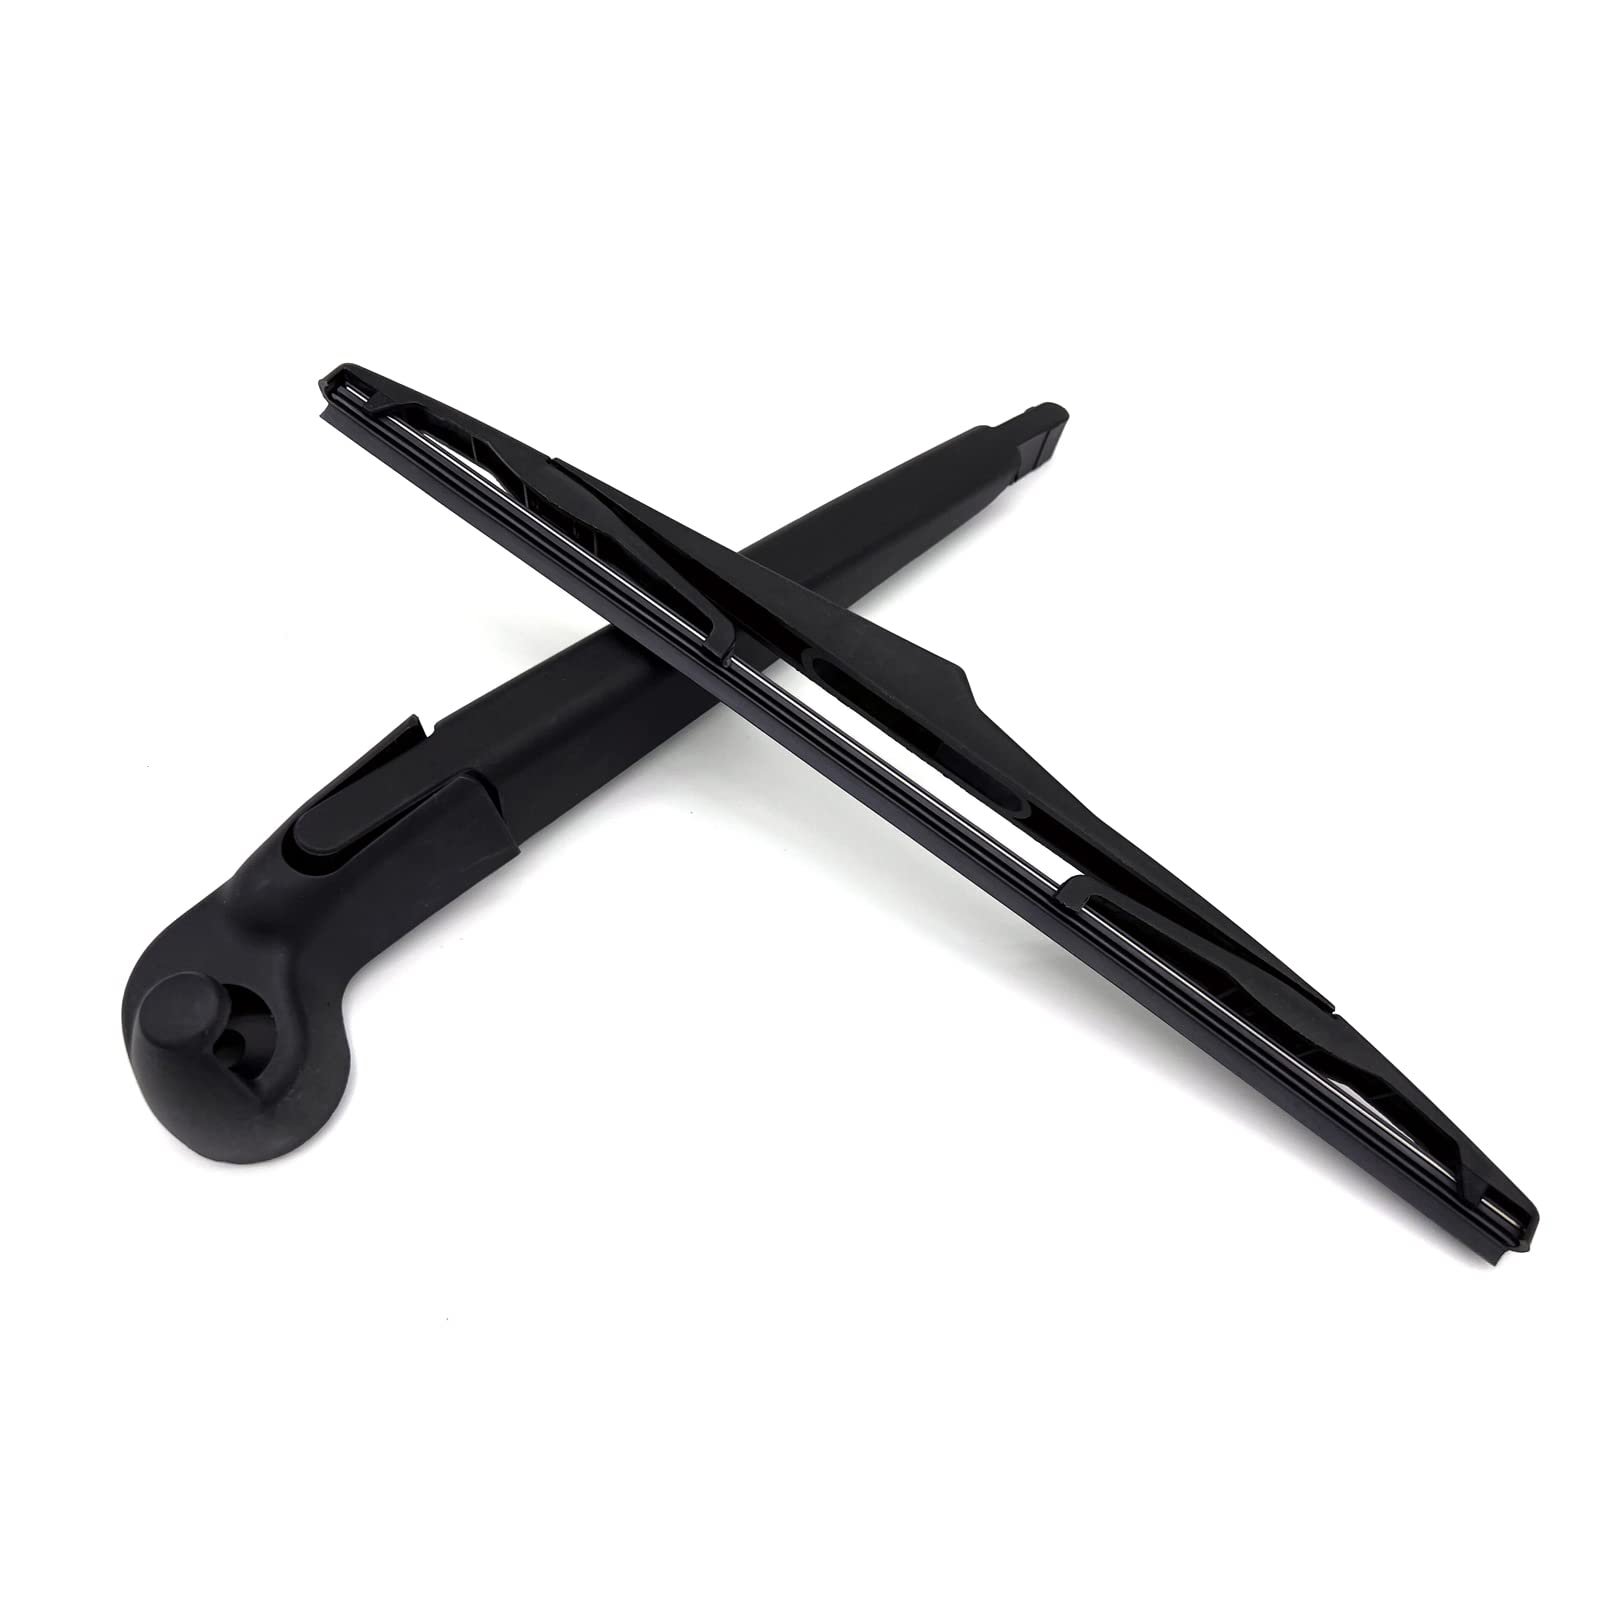
- Replacement wiper arm (if installing new)
- Gloves (for safety)
Some Jeep Wrangler models may need a slightly different socket size. Always check your vehicle manual to be sure.
| Tool | Purpose | Estimated Cost |
|---|---|---|
| Socket wrench (10mm) | Remove nut | $10-$20 |
| Flathead screwdriver | Lift cover cap | $5-$10 |
| Pliers | Grip stubborn arms | $8-$15 |
| Gloves | Protect hands | $5-$10 |
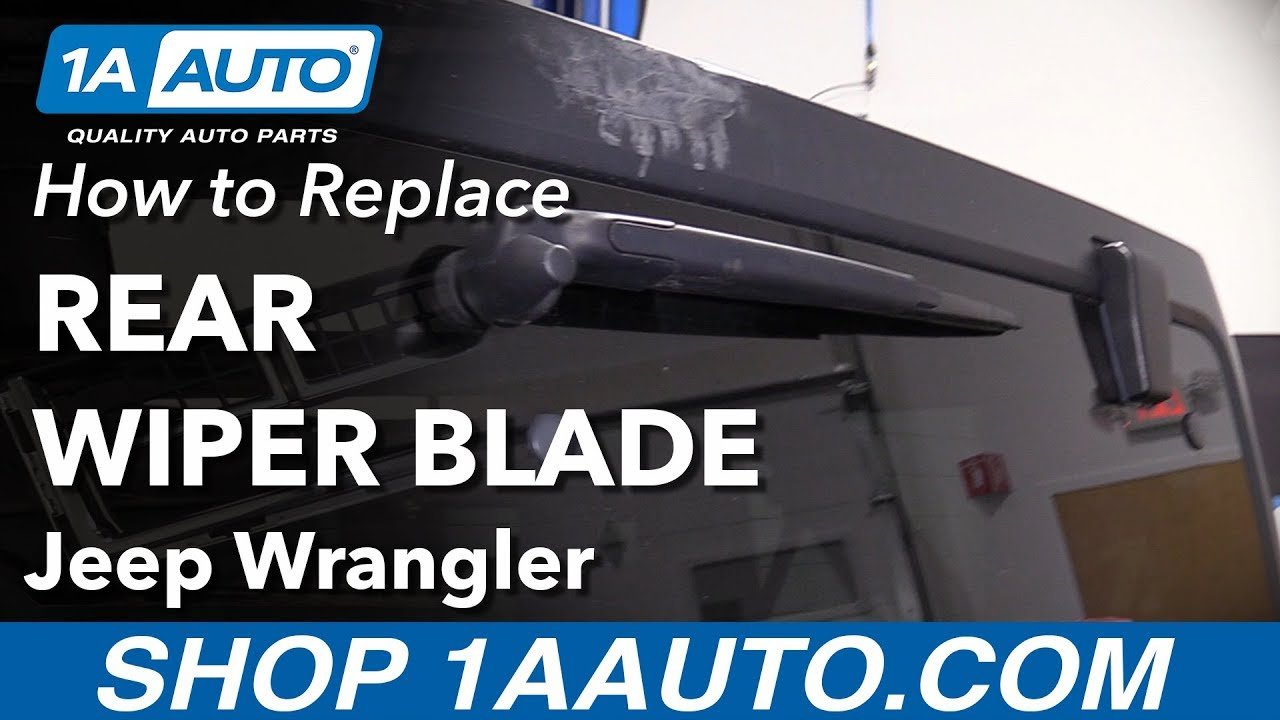
Step-by-step Guide To Removing The Rear Wiper Arm
Follow these steps carefully to avoid damage:
- Turn off the ignition. Make sure the wiper is in its resting position.
- Lift the wiper arm. Pull it gently away from the window, but don’t force it.
- Remove the cover cap. Use a flathead screwdriver to lift the small plastic cap at the base of the arm.
- Unscrew the nut. Use a 10mm socket wrench to loosen and remove the nut holding the arm to the motor shaft.
- Wiggle the arm off. Gently move the arm back and forth to loosen it. If it’s stuck, use pliers but be careful not to scratch the glass.
- Inspect the shaft. Check for rust or debris. Clean if necessary before installing a new arm.
- Store or replace. If you’re putting in a new wiper arm, line it up and tighten the nut. If not, store the old arm in a safe place.
Tips For Easy Removal
- Spray a bit of WD-40 on the base if the arm is stuck.
- Pull evenly to avoid bending the shaft.
- Avoid using too much force. The shaft can break if you pull too hard.
| Step | Common Mistake | How to Avoid |
|---|---|---|
| Lift wiper arm | Pulling too hard | Use gentle force |
| Remove nut | Stripping threads | Use correct socket size |
| Wiggle arm off | Scratching glass | Use a cloth or gloves |
Jeep Wrangler Models And Rear Wiper Differences
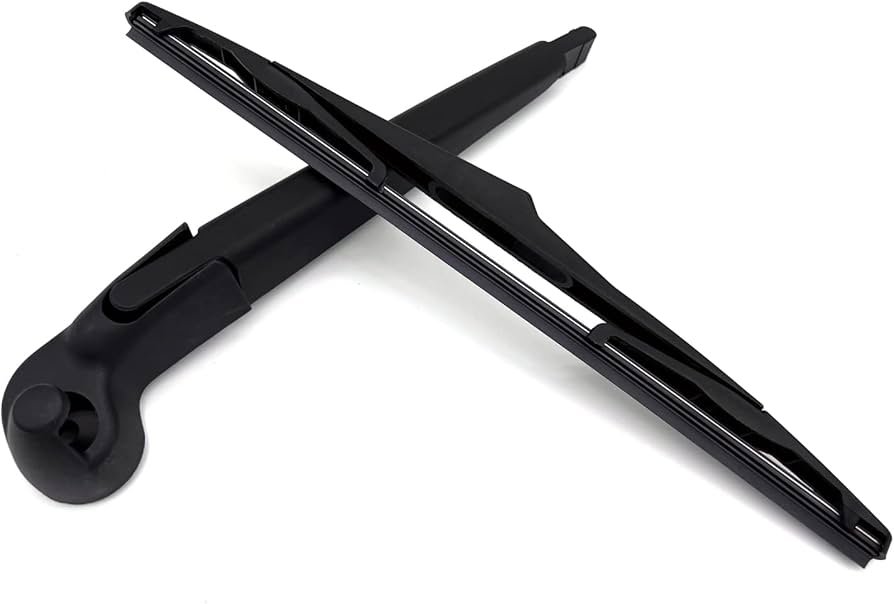
Not all Jeep Wranglers use the same rear wiper arm. Older models may use different nuts or have a unique shape. Before buying a new arm, check your Jeep’s year and model. Here’s a quick comparison:
| Model Year | Wiper Arm Type | Nut Size | Replacement Cost |
|---|---|---|---|
| 2007-2017 (JK) | Standard hook | 10mm | $25-$35 |
| 2018-2024 (JL) | Modern blade | 10mm | $30-$40 |
| 1997-2006 (TJ) | Old-style arm | 8mm | $20-$30 |
Non-obvious tip: Some Jeep Wranglers have a locking washer under the nut. If you remove the nut and the arm still won’t come off, look for this washer and remove it gently.
Common Problems And Solutions
Many beginners run into problems when removing the rear wiper arm:
- Arm won’t budge: Use penetrating oil and wait 10 minutes, then try again.
- Nut is stripped: Replace with a new nut from a hardware store.
- Wiper won’t move after reinstallation: Make sure you tightened the nut enough, but don’t over-tighten.
Another mistake is forgetting to test the wiper after installation. Always check the new arm before driving.
Safety And Maintenance Advice
Wear gloves to protect your hands. When working near glass, move slowly to avoid scratches.
If you’re not sure about the right arm or nut size, check your manual or visit your local Jeep dealer.
Insight: Many Jeep owners forget to clean the shaft before installing a new arm. Dirt and rust can affect how the new arm works.
To keep your rear wiper arm in good shape:
- Change the blade every 6-12 months.
- Check for rust or wear each season.
- Avoid using the wiper on dry glass.
For more official details, visit Jeep’s official site.
Frequently Asked Questions
How Often Should I Replace The Rear Wiper Arm?
Most Jeep owners change the rear wiper arm every 2-3 years. If you notice poor wiping or noise, replace it sooner.
Can I Remove The Rear Wiper Arm Without Any Tools?
No. You need at least a socket wrench and a flathead screwdriver. Trying to remove the arm without tools can cause damage.
What If The Nut Is Rusted And Won’t Come Off?
Spray penetrating oil like WD-40, wait 10-15 minutes, and try again. If it still won’t move, use pliers carefully or ask a mechanic.
Is It Safe To Drive Without A Rear Wiper Arm?
You can drive without it, but your rear visibility will be lower, especially in rain or snow. For safety, keep the wiper arm installed.
Are All Jeep Wrangler Rear Wiper Arms The Same?
No. Different Jeep models use different wiper arms and nut sizes. Always check your vehicle’s year and model before buying a replacement.
Removing your Jeep Wrangler’s rear wiper arm is a simple process, but it requires the right tools and careful steps. By following this guide, you can avoid common mistakes and keep your Jeep ready for all weather.
Taking a few minutes to check your parts and clean the area can make a big difference.
Whether you’re replacing the arm for maintenance or upgrading for style, these steps will help you finish the job safely and confidently.