Removing the Trail Rated badge from your Jeep is a task many owners consider when customizing their vehicle. Maybe you want a cleaner look, or you’re planning to upgrade with new emblems.
Whatever your reason, the process can be simple if you follow the right steps. This guide will show you how to remove your Jeep Trail Rated badge safely, avoid damage, and share tips that most beginners miss.
Understanding The Trail Rated Badge
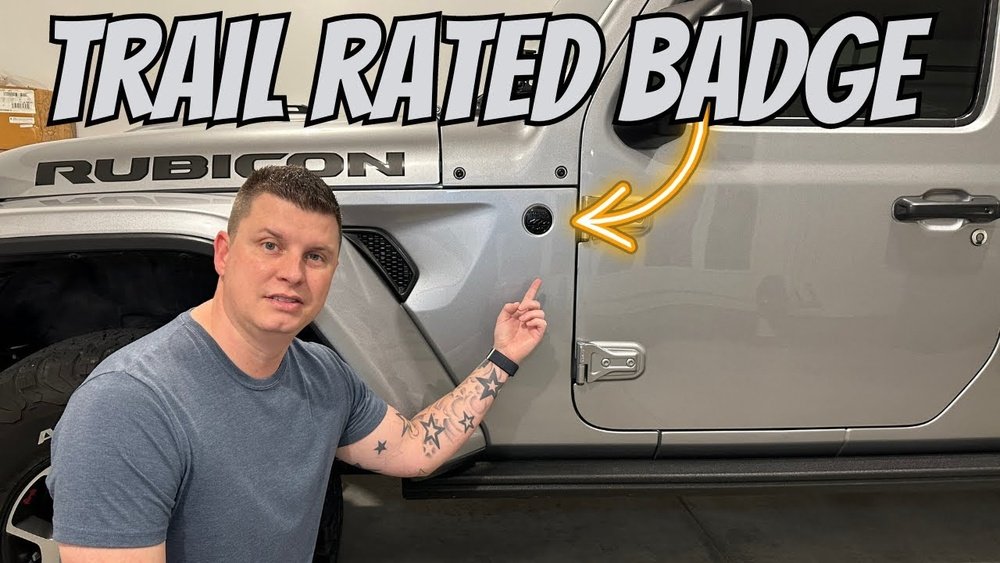
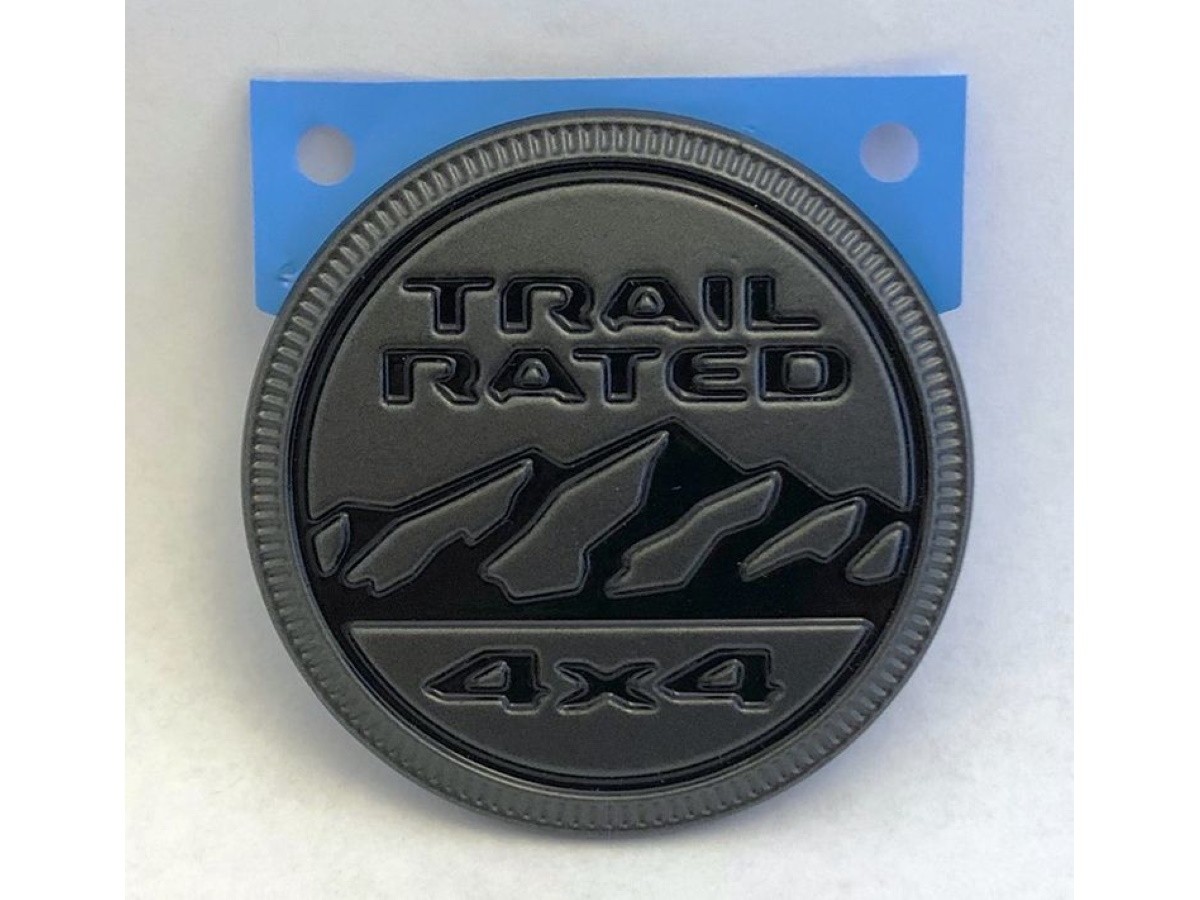
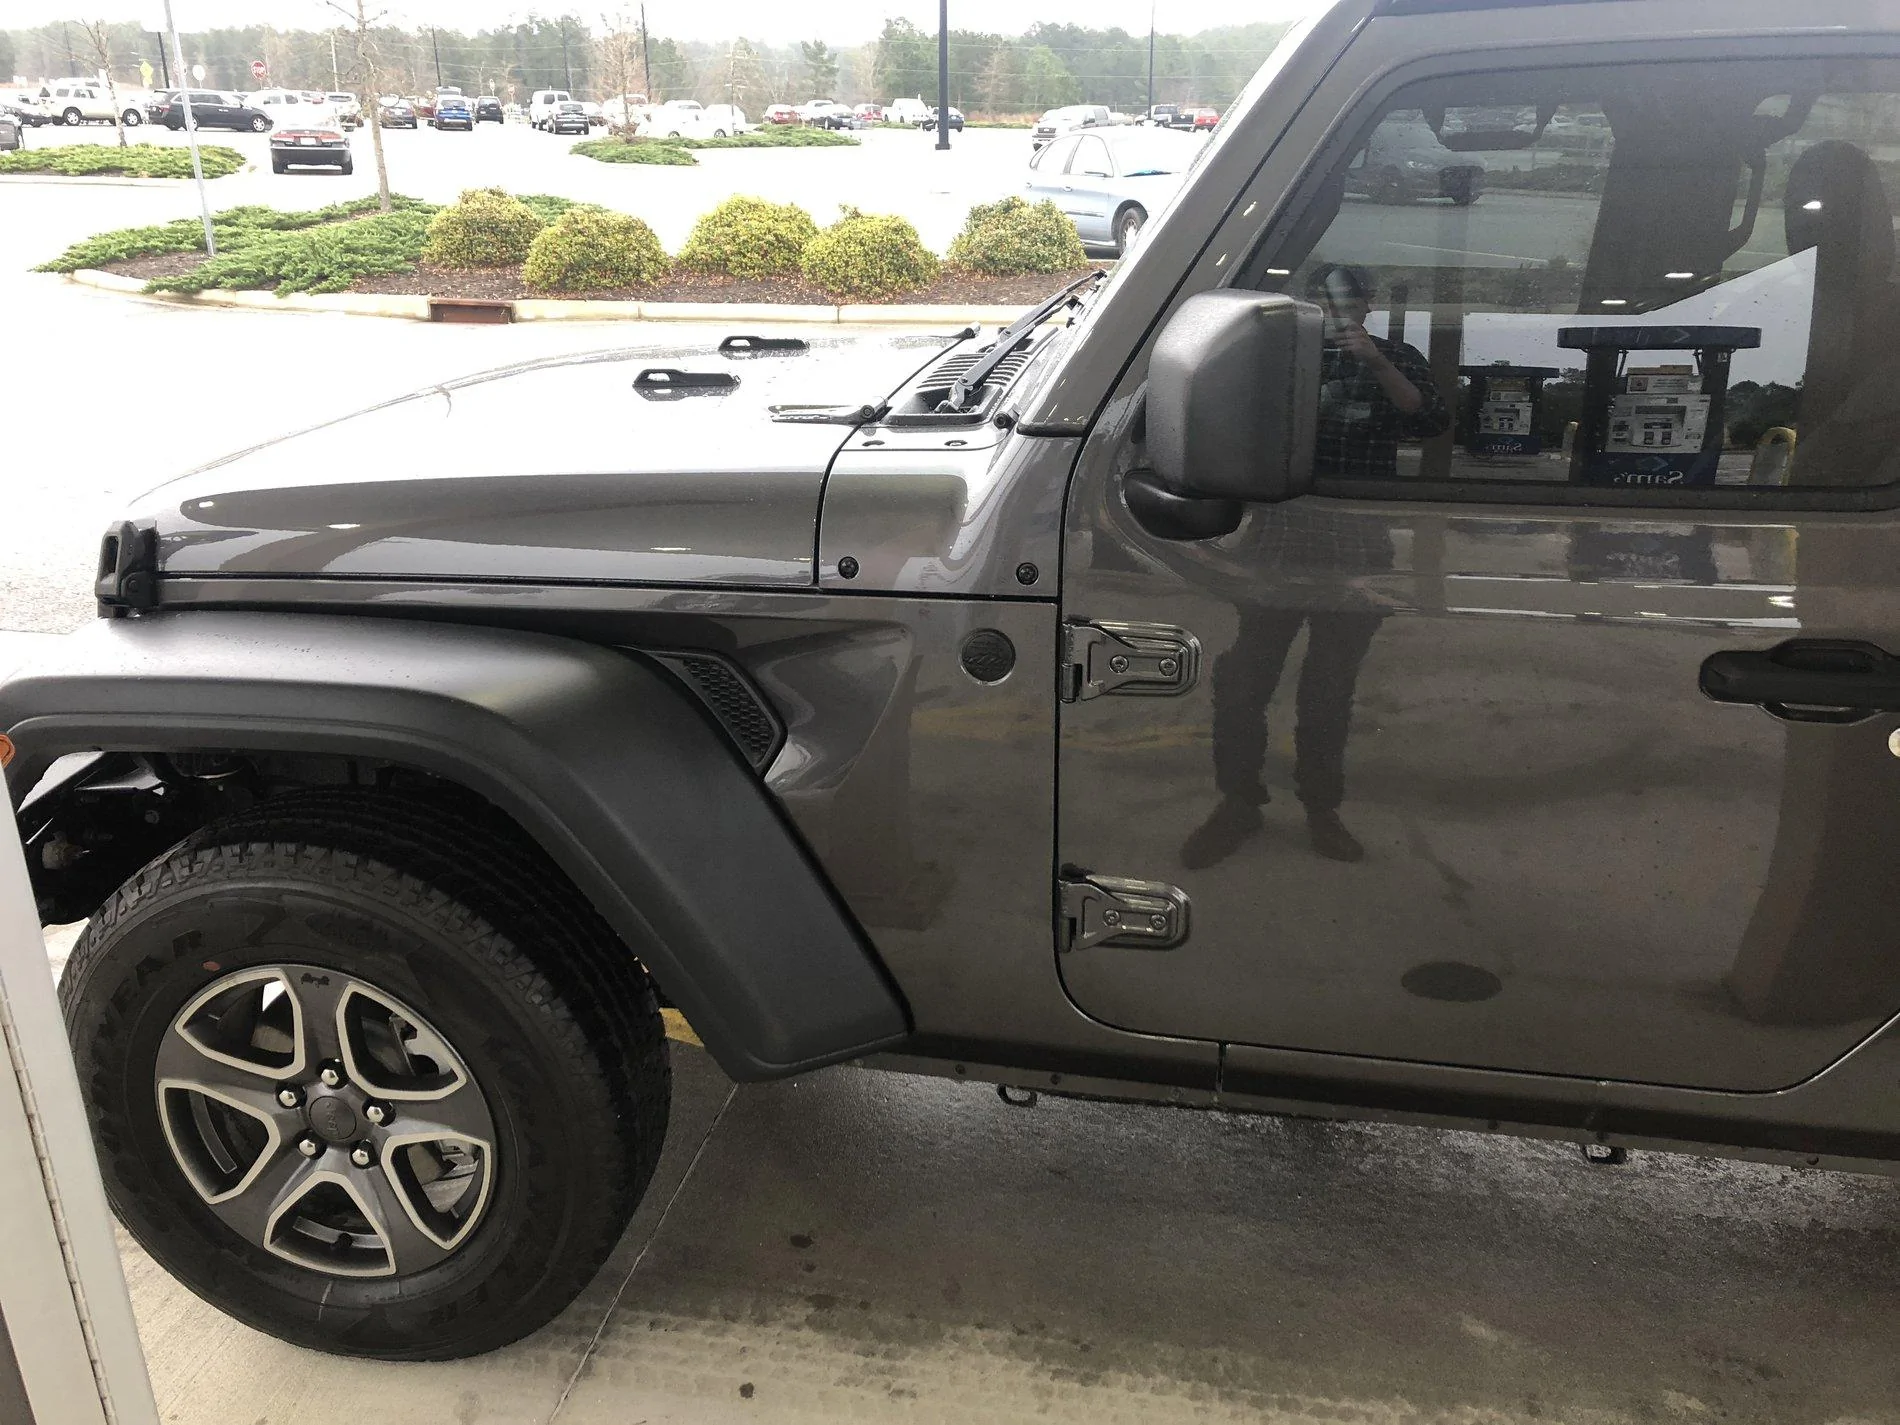
The Trail Rated badge is a round metal emblem found on the front fenders of most Jeep models, such as the Wrangler, Cherokee, and Grand Cherokee. Jeep uses this badge to show that the vehicle has passed tough off-road tests. For some, it’s a symbol of pride; for others, it’s just another detail.
Badge Placement And Materials
Most badges are glued with automotive adhesive. Some older Jeeps may have badges with small pins that go into holes in the fender. Knowing the type of badge helps you plan the removal method.
| Jeep Model | Badge Type | Mounting Method |
|---|---|---|
| Wrangler (JK, JL) | Trail Rated | Adhesive |
| Cherokee | Trail Rated | Adhesive |
| Grand Cherokee (pre-2012) | Trail Rated | Pins + Adhesive |
| Grand Cherokee (2012+) | Trail Rated | Adhesive |
Tools And Preparation
Before starting, gather a few basic tools and supplies. This will make the process easier and help protect your paint.
- Hair dryer or heat gun – To soften adhesive.
- Plastic trim removal tool – Prevents scratches.
- Dental floss or fishing line – Cuts through adhesive.
- Adhesive remover – Removes leftover glue.
- Microfiber cloth – For cleaning.
- Masking tape – Marks the badge area.
- Rubbing alcohol – Cleans surface.
Safety Precautions
Work in a shaded area to avoid overheating the paint. Always use plastic tools, not metal, to avoid scratching your Jeep. Don’t rush; patience prevents mistakes.

Step-by-step Badge Removal
Follow these steps to remove your Jeep Trail Rated badge without damaging your vehicle.
1. Mark The Badge Area
Use masking tape around the badge. This protects the paint and shows you where to clean later.
2. Apply Heat
Use a hair dryer or heat gun to warm the badge for 2–3 minutes. Move the heat in circles. This softens the adhesive and makes removal easier.
3. Use Floss Or Fishing Line
Slide dental floss or fishing line behind the badge. Move it side-to-side in a sawing motion. If you feel resistance, reapply heat.
4. Lift The Badge
Once the badge loosens, gently lift it using a plastic trim tool. Work slowly. If your Jeep has a badge with pins, you may hear a small pop as the badge releases.
5. Remove Adhesive Residue
Apply adhesive remover to the area. Let it sit for 1–2 minutes, then wipe with a microfiber cloth. Repeat if needed. Finish by cleaning with rubbing alcohol.
6. Inspect For Paint Damage
Check for scratches or glue marks. If you see any, polish the area gently with a soft cloth.
| Step | Time Needed | Risk of Damage |
|---|---|---|
| Heat Application | 2–3 min | Low |
| Floss Removal | 2–5 min | Medium |
| Adhesive Cleanup | 5–10 min | Low |
Common Mistakes And How To Avoid Them
Many Jeep owners make small errors when removing badges. Here are practical tips:
- Not enough heat: If you don’t warm the badge enough, the adhesive will be tough and may damage the paint.
- Using metal tools: Metal can scratch or chip the paint. Stick to plastic tools.
- Rushing the process: Trying to pull the badge quickly can bend it or leave deep glue marks.
- Skipping adhesive remover: Soap and water alone won’t remove all glue. Use a proper remover.
- Leaving tape glue: Masking tape can leave sticky marks if left too long.
Aftercare And Paint Protection
Once the badge is gone, you might notice a slight color difference or outline. This is common, especially if your Jeep is older or has been exposed to sun.
Tips For A Perfect Finish
- Use a light polishing compound to blend the paint.
- Apply a wax or sealant to protect the area.
- If you see small holes (rare), fill them with touch-up paint.
For a factory-like finish, consider professional detailing. Many shops offer badge removal and paint correction.
| Finish Quality | DIY Method | Professional Method |
|---|---|---|
| Good | Polish + Wax | Paint Correction |
| Excellent | Touch-up Paint | Full Detailing |
Non-obvious Insights
Most guides skip these practical points:
- Badge outline: Even after removal, a faint outline may remain. UV exposure changes paint over years, so polish helps but may not erase it fully.
- Resale value: Some buyers prefer original badges. Save your badge in case you want to reinstall it or sell your Jeep.
Frequently Asked Questions
How Long Does Badge Removal Take?
Usually, the whole process takes 15–30 minutes if you have the right tools and supplies.
Will Removing The Badge Void My Warranty?
No, removing the badge won’t affect your Jeep’s factory warranty. The badge is cosmetic, not mechanical.
What If My Jeep Has Badge Pins?
If your badge has pins, gently lift after flossing. You may need touch-up paint to cover small holes.
Can I Reuse The Badge?
You can reuse the badge if you don’t bend it. Clean off old adhesive and reapply with new automotive glue.
Where Can I Buy Replacement Badges?
You can find replacement badges from official Jeep dealers, online stores, and trusted sites like Jeep Official Accessories.
Customizing your Jeep is a fun way to show your style. Removing the Trail Rated badge is a simple project if you follow these steps and use the right tools.
Take your time, protect your paint, and enjoy your Jeep’s new look.