Removing the door nets from your Jeep can seem tricky at first. Many Jeep owners want to swap their door nets for solid panels or simply remove them for a cleaner look. If you’re unsure where to start, you’re not alone. This guide will walk you through each step, share helpful tips, and address common mistakes. You’ll learn exactly how to remove Jeep door nets safely, without damaging your doors. Whether you drive a Jeep Wrangler, Gladiator, or another model with door nets, these instructions apply.
Why Remove Jeep Door Nets?
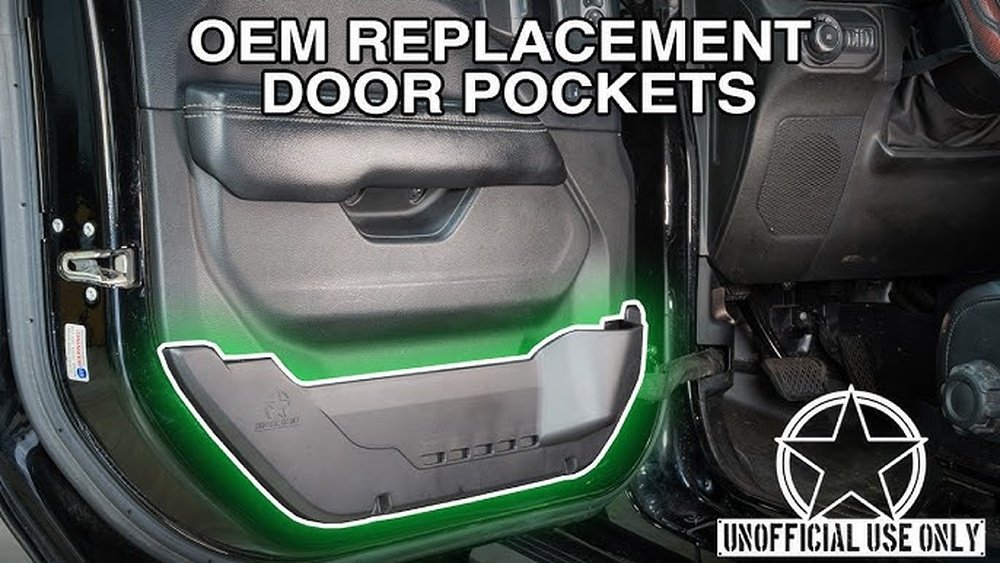
Jeep door nets are designed for safety and a rugged appearance. However, many drivers prefer more durable panels or want a sleeker style. Removing the nets can:
- Improve visibility
- Reduce rattling noises
- Make cleaning easier
- Allow for customization (adding aluminum or steel doors)
Some owners also report that solid doors protect better from weather and road debris. According to a survey from JeepForum, around 35% of Jeep owners have changed their door nets at least once for comfort or style.
Tools You’ll Need
Before starting, gather these tools for a smooth process:
- T-20 Torx driver
- Flathead screwdriver
- Trim removal tool (plastic is best to avoid scratches)
- Needle nose pliers
- Gloves (optional for grip and safety)
Having the right tools prevents damage and speeds up the job.
| Tool | Use | Estimated Cost |
|---|---|---|
| T-20 Torx driver | Remove screws | $5-$15 |
| Flathead screwdriver | Pop clips | $3-$10 |
| Trim removal tool | Remove plastic panels | $7-$20 |
| Needle nose pliers | Pull net fasteners | $8-$18 |
Step-by-step: Removing Jeep Door Nets
Follow these steps for safe removal:
1. Open The Door Fully
Make sure your Jeep is parked on a flat surface. Open the door completely for easy access.
2. Locate Net Fasteners
Most Jeep door nets use plastic clips or screws along the edges. Check inside the door frame and corners.
3. Remove Screws Or Clips
Use the T-20 Torx driver to unscrew any visible fasteners. For plastic clips, gently pry them out with a trim removal tool or flathead screwdriver. Pull slowly to avoid breaking the clips.
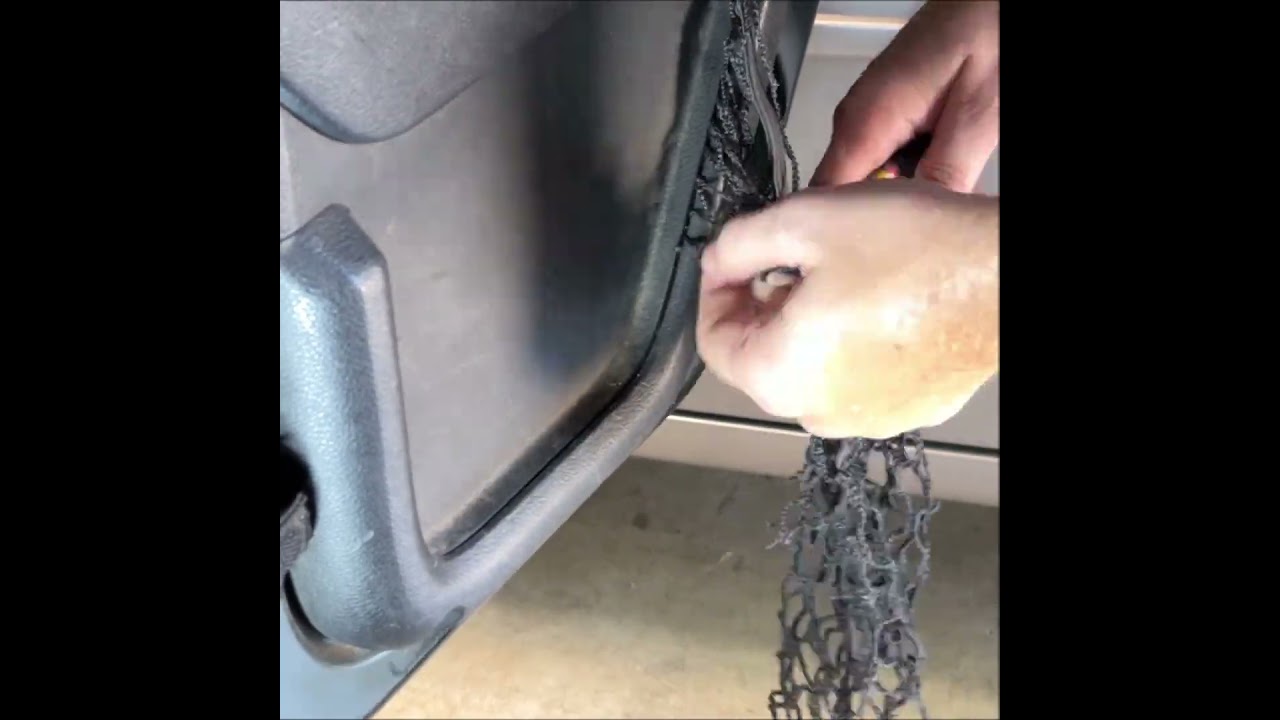
4. Detach The Net Material
Once fasteners are removed, grab the net at the top and gently pull down. If the net feels stuck, check for hidden clips or screws.
Use needle nose pliers to grip and twist stubborn fasteners.
Some Jeep doors have extra fasteners behind rubber trim. Carefully lift the trim with your tool and check for more clips.
6. Clean The Door Frame
After the net is off, clean any dirt or glue residue with a mild cleaner. This keeps the door ready for new panels or a fresh look.
7. Install Replacement Panels (optional)
If you plan to add solid doors, align them with the factory holes and secure with screws. Always follow the panel manufacturer’s instructions.
| Step | Estimated Time | Skill Level |
|---|---|---|
| Open door & locate fasteners | 5 minutes | Beginner |
| Remove screws/clips | 15 minutes | Intermediate |
| Detach net & clean | 10 minutes | Beginner |
| Install panels | 20 minutes | Advanced |
Common Mistakes And How To Avoid Them
Removing Jeep door nets is simple, but there are some pitfalls:
- Breaking clips: Pulling too hard can snap plastic clips. Always use gentle force and the correct tool.
- Scratching paint: Metal tools can scratch door paint. Use plastic trim tools and work slowly.
- Missing fasteners: Some fasteners are hidden under trim. Always double-check before removing the net.
- Reusing damaged parts: If a clip breaks, replace it instead of reusing. Damaged clips can cause rattling or loose panels.
One insight most beginners miss: Jeep door nets are sometimes attached with zip ties behind the trim. If you can’t remove the net easily, check for these ties and snip them carefully.
Should You Replace Or Leave Doors Open?
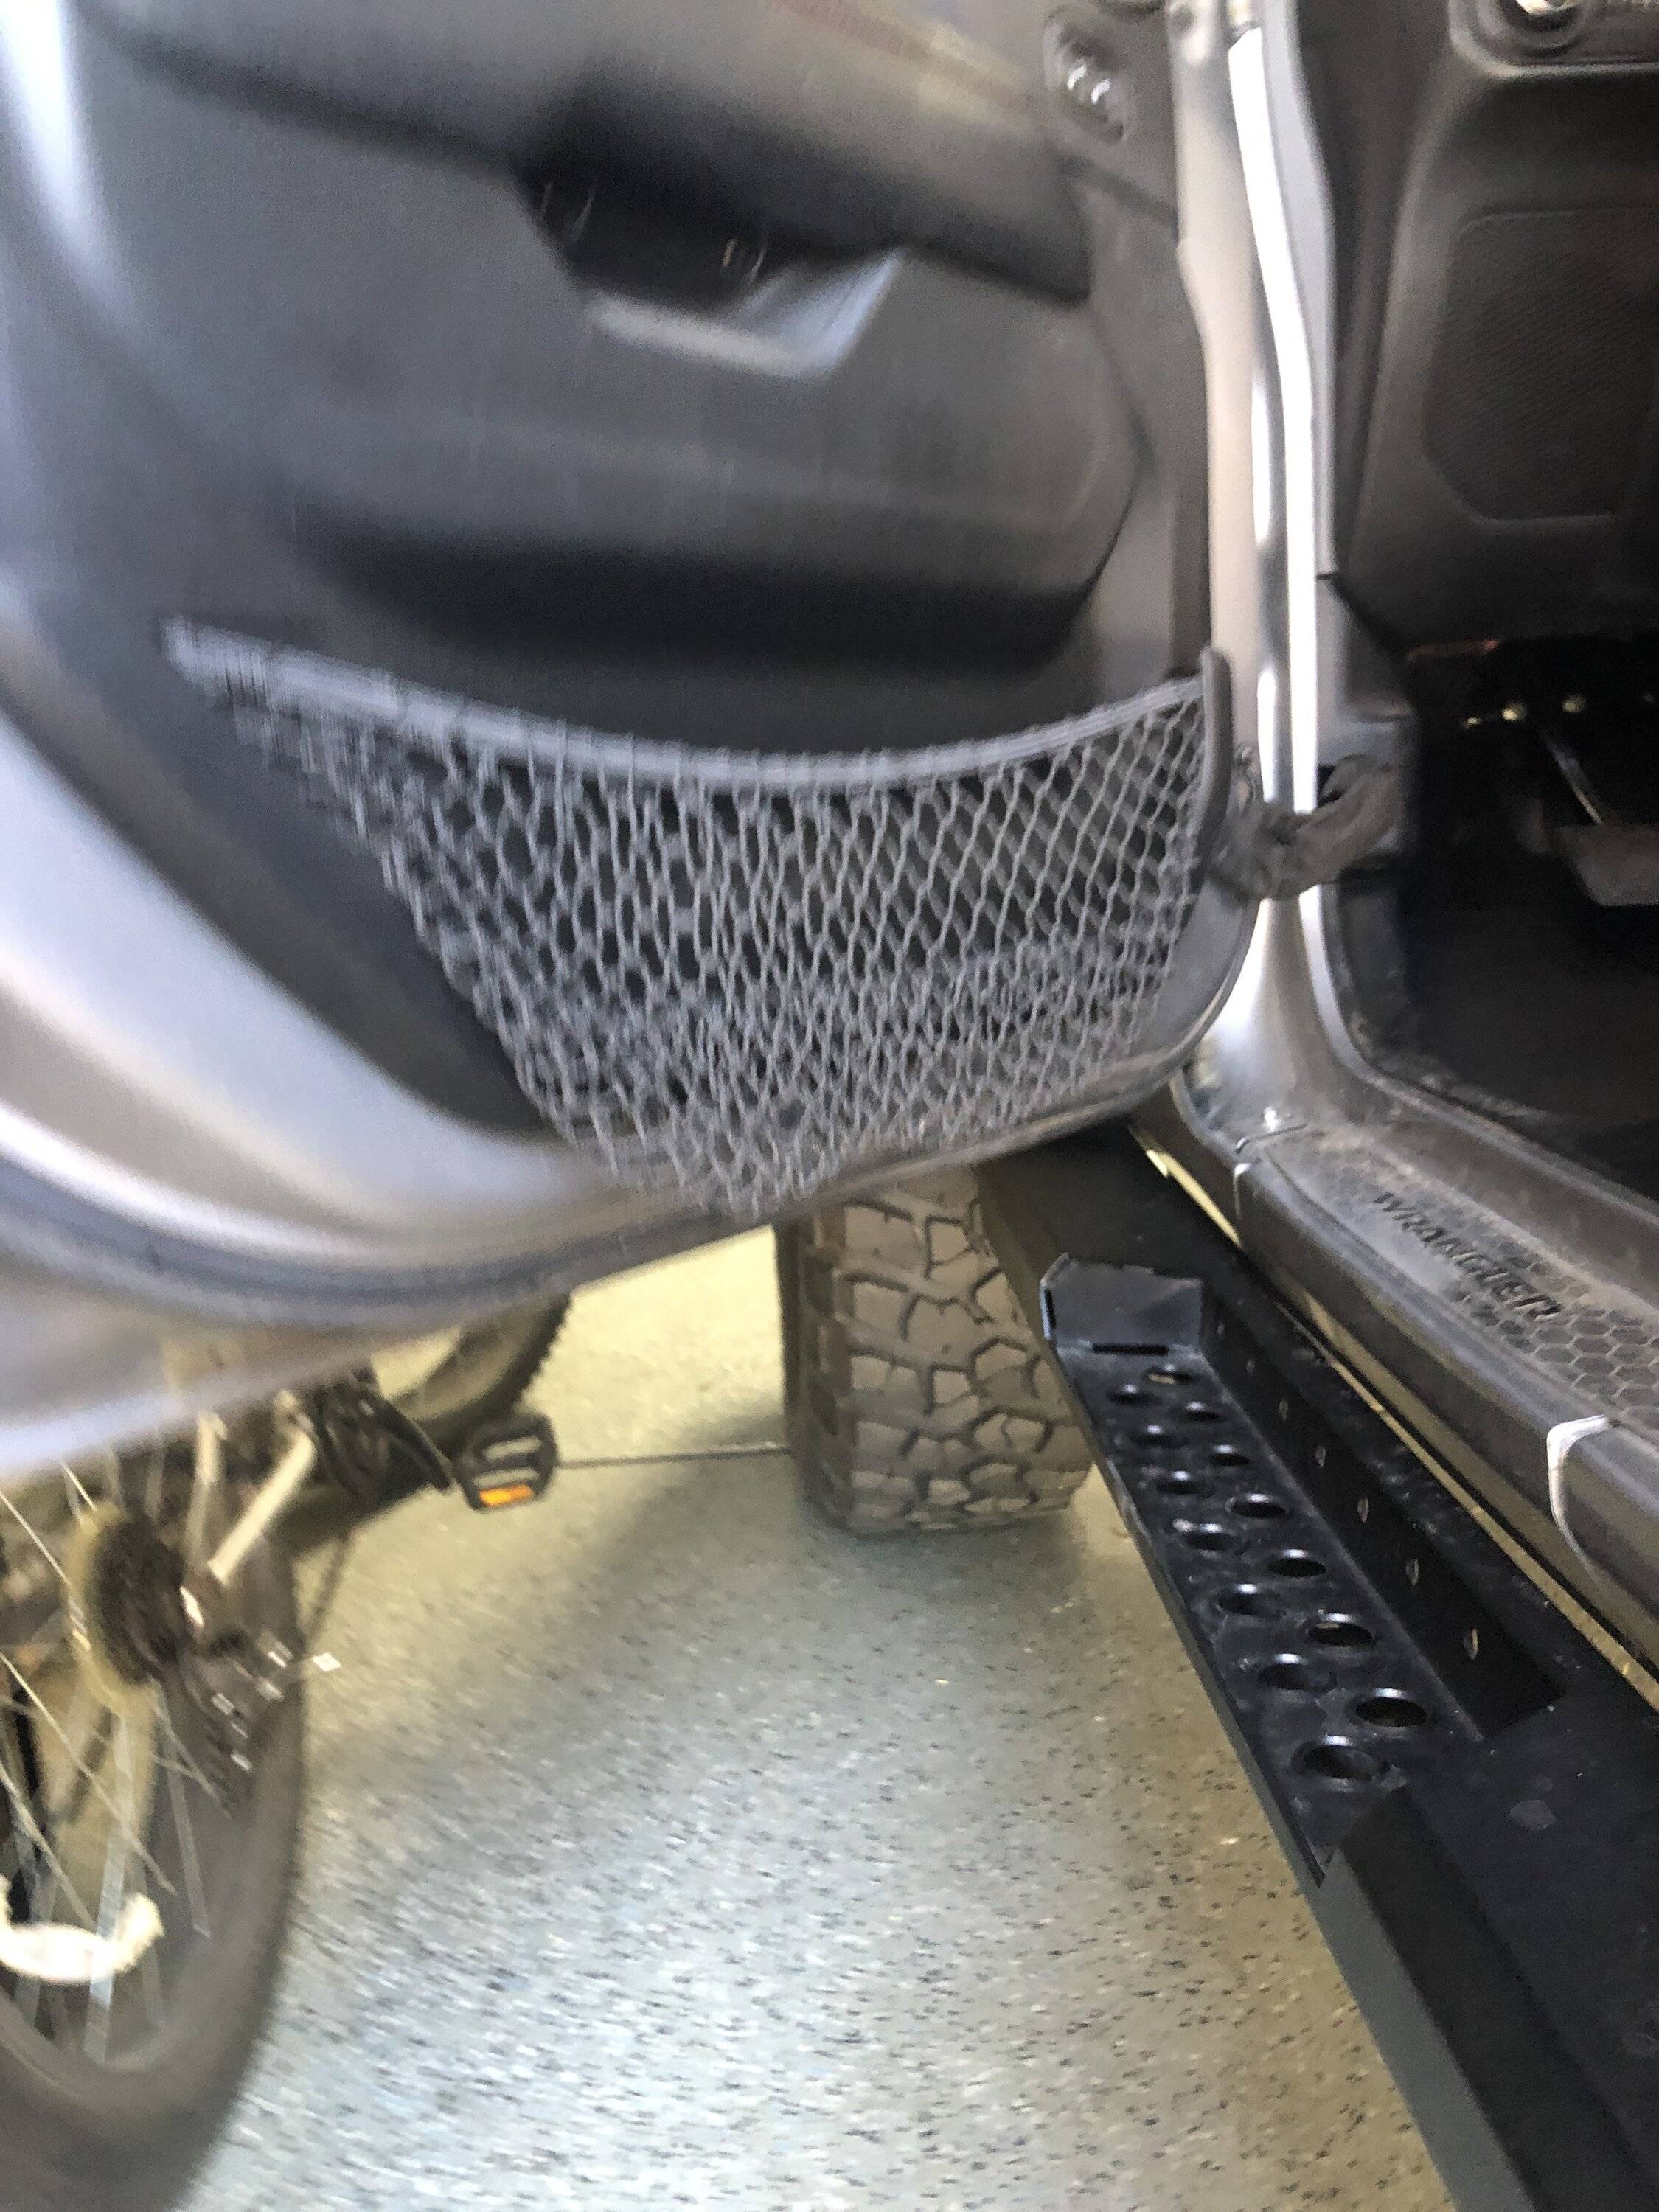
After removing your door nets, you have options:
- Install solid metal or plastic panels for improved safety.
- Leave doors open for a classic Jeep look (legal in most states, but always check local laws).
- Use mesh inserts for airflow.
Solid panels are best for off-roading or rainy climates, while mesh is ideal for summer drives.
| Option | Benefits | Drawbacks |
|---|---|---|
| Solid panels | Weather protection, security | Less airflow |
| Mesh inserts | Airflow, easy to clean | Less protection |
| No doors | Classic look, fun | Safety concerns |
Practical Tips For Jeep Owners
- Wear gloves to avoid cuts and improve grip.
- Keep all screws and clips in a labeled bag for future use.
- Take photos before removing nets to help with reinstallation.
- If you’re unsure, watch a video tutorial or ask a mechanic.
Many Jeep owners underestimate the importance of cleaning the door frame after removal. Dirt left behind can cause rust or interfere with new panels.
For more details on Jeep door customization, visit the official Jeep site.

Frequently Asked Questions
Can I Remove Jeep Door Nets Without Special Tools?
Yes, but using a Torx driver and trim tools makes the job easier and safer. Improvised tools may damage clips or paint.
Will Removing The Door Nets Affect My Jeep’s Warranty?
In most cases, removing nets does not void the warranty. However, if you damage wiring or structural parts, it could. Always check your warranty terms.
How Long Does It Take To Remove Jeep Door Nets?
It usually takes 30–45 minutes for beginners. If you plan to install new panels, allow extra time.
Are Door Nets Required By Law?
No, but some states require doors or safety barriers. Always check your local regulations before driving without door nets or doors.
Can I Reinstall The Door Nets Later?
Yes, if you keep all fasteners and avoid breaking clips. Take care during removal to make reinstallation easier.
Removing Jeep door nets opens up a world of customization and comfort for your vehicle. By following these steps and tips, you’ll avoid damage and get the look you want.
Always work carefully, and your Jeep will be ready for any adventure.


















