If your 2004 Jeep Grand Cherokee’s headlights are cloudy, broken, or simply need replacing, you don’t need to rush to a mechanic. Removing the headlight assembly yourself is a straightforward process with the right guidance.
This article will walk you through each step, highlight common mistakes, and provide helpful tips so you can complete the job confidently even if you’re new to car maintenance.
Tools And Materials You’ll Need
Having the right tools ready makes the job smoother and faster. Gather these items before starting:
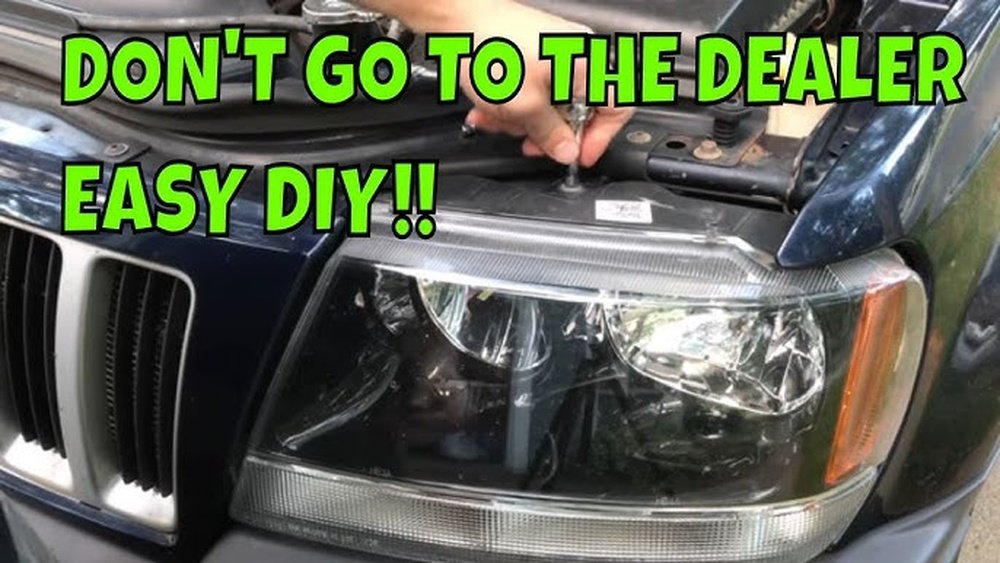
- Socket set (preferably metric)
- Flathead screwdriver
- Phillips screwdriver
- Pliers (optional, for stubborn clips)
- Gloves (protect your hands from sharp edges)
- Replacement bulbs or headlight assembly (if you’re upgrading or repairing)
Preparing Your Jeep For Headlight Removal
Start with safety. Make sure your Jeep is parked on a flat surface.
Turn off the engine and remove the keys. If you’ve been driving, let the car cool down.
Open the hood and secure it with the prop rod.
For better lighting, perform this job during daylight or use a portable work light. Disconnecting the negative battery terminal is a good idea to prevent electrical shorts, especially if you’ll be handling wires.
Step-by-step Headlight Removal
Follow these steps to take out the headlight on your 2004 Jeep Grand Cherokee:
1. Remove The Front Grille
The front grille sits just above your headlights and blocks access to mounting bolts. Here’s how to remove it:
- Locate and remove the six plastic push pins along the top of the grille using a flathead screwdriver.
- Gently pull the grille forward. It may snap out with a bit of force—don’t rush it, or you could break the clips.
Tip: Store all screws and clips in a cup so you don’t lose them.
2. Access And Remove Headlight Mounting Bolts
With the grille out, you’ll see the headlight mounting bolts.
- There are usually three 10mm bolts securing the headlight assembly. Use your socket set to remove them.
- Keep these bolts safe, as you’ll need them for reinstallation.
3. Disconnect The Headlight Wiring Harness
Carefully pull the headlight assembly forward until you see the wiring harness at the back. Press the tab on the connector and gently pull to disconnect it from the assembly.
Non-obvious insight: If the connector feels stuck, wiggle it slightly. Forcing it can break the clip.
4. Remove The Headlight Assembly
Now that everything is disconnected, pull the assembly straight out from the front of the vehicle. Be careful not to scratch the paint or bumper.
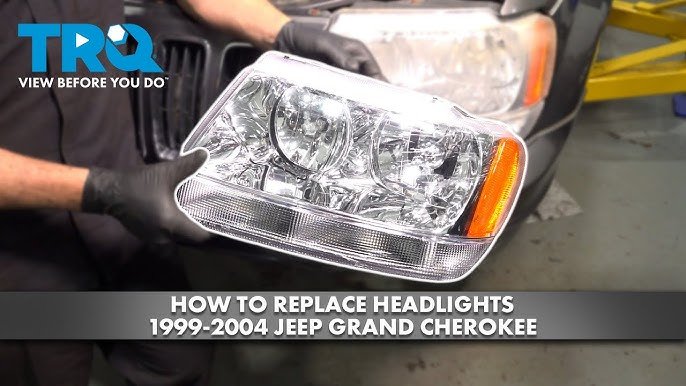
If you need to replace just the bulb and not the whole assembly, you can twist the bulb socket counterclockwise to remove it from the back of the headlight.
Common Mistakes To Avoid
- Forgetting to disconnect the battery. This is a safety risk.
- Losing clips or bolts. Always keep small parts organized.
- Forcing connectors. They’re often brittle and can break if handled roughly.
- Touching the new headlight bulb with your fingers. Oils from your skin can cause the bulb to burn out faster.

Installing The Headlight Assembly
Reinstalling is basically the removal steps in reverse:
- Connect the wiring harness to the new (or cleaned) headlight assembly.
- Slide the assembly into place and align it with the mounting holes.
- Reinstall the three bolts and tighten them evenly.
- Snap the grille back into position and secure with the push pins.
- Reconnect the battery terminal if you had disconnected it.
Pro tip: Test your headlights before finishing. Turn them on to check both low and high beams. This saves time if you need to fix something before reassembling everything.
Comparing Headlight Bulb Types
If you’re considering upgrading your bulbs, here’s a quick comparison:
| Bulb Type | Brightness (Lumens) | Lifespan (Hours) | Cost (Approx.) |
|---|---|---|---|
| Halogen | 700-1,200 | 400-1,000 | $10-$20 |
| HID | 3,000-5,000 | 2,000-3,000 | $40-$80 |
| LED | 4,000-6,000 | 20,000+ | $50-$100 |
Cost And Time Estimates
Wondering how much time and money you’ll spend? This overview can help you plan:
| Task | Estimated Time | Estimated Cost |
|---|---|---|
| Remove and reinstall headlight | 30-45 minutes | $0 (DIY tools) |
| Replace headlight bulb | 10-15 minutes | $10-$100 (depending on bulb type) |
| Replace headlight assembly | 45-60 minutes | $80-$200 (aftermarket assembly) |
Troubleshooting After Installation
Sometimes, things don’t go as planned. Here are quick solutions to common problems:
- Headlight won’t turn on: Recheck the wiring harness connection.
- Headlight is dim: Make sure the bulb is seated properly and the lens is clean.
- Headlight is aimed incorrectly: Adjust the aim using the screw on top or side of the assembly.
If you need more information about headlight regulations or replacement guidelines, the National Highway Traffic Safety Administration offers reliable details.

Frequently Asked Questions
How Do I Know If My Headlight Assembly Needs Replacing?
If your headlight is cracked, fogged, or water gets inside, replacement is a good idea. Dim light after bulb changes can also mean the assembly is worn.
Can I Change The Bulb Without Removing The Whole Headlight?
Yes, you can access the bulb from the back of the assembly. However, removing the assembly gives more space and can prevent accidental damage.
What Size Socket Do I Need For The Mounting Bolts?
A 10mm socket usually fits the mounting bolts on a 2004 Jeep Grand Cherokee headlight.
Do I Need To Align My Headlights After Reinstallation?
Yes, it’s wise to check the aim. Misaligned headlights can reduce visibility or blind other drivers.
Is It Safe To Drive With One Headlight Out?
It’s not recommended. It reduces your visibility and can result in a traffic ticket.
Removing the headlight from your 2004 Jeep Grand Cherokee is a manageable DIY task. With a few tools, careful steps, and attention to detail, you’ll restore full lighting and improve your night driving safety.


















