Removing the antenna from a Jeep Cherokee can seem like a simple task, but there are important steps and precautions that many owners overlook. Whether you want to replace a broken antenna, upgrade to a short stubby version, or prepare for a car wash, doing the job right matters.
This guide explains every part of the process, with tips that will help even if you’re not a car expert.
Why Remove The Antenna?
Many Jeep Cherokee owners choose to remove their antennas for practical reasons. A common reason is antenna damage from low-hanging branches or automatic car washes. Others swap out the factory antenna for a shorter style to avoid snags or just for a sleeker look. In rare cases, antennas can become loose, causing poor radio reception or irritating rattling noises.

If you plan to install a roof rack or off-road accessories, removing the antenna may be required. Some owners even remove the antenna temporarily to reduce the risk of theft.
Regardless of your reason, understanding the process helps prevent accidental damage.
Tools And Preparation
You don’t need advanced tools, but having the right gear makes a big difference.
Recommended tools:
- Adjustable wrench or open-ended wrench (size 10mm or 13mm depending on model)
- Needle-nose pliers (for older, rusted antennas)
- Soft cloth (to avoid scratches)
- Replacement antenna (if swapping)
- Dielectric grease (for long-term weather protection)
Preparation tips:
- Park the vehicle on a flat surface and turn off the ignition.
- Disconnect the negative battery terminal if you plan to work with any wiring.
- Clean the antenna base to prevent debris from falling into the fender.
Skipping these steps is a common mistake. Many people begin unscrewing the antenna without cleaning the area, which can allow dirt to scratch the paint.
Step-by-step Guide To Removing The Antenna
The removal process varies slightly between different Jeep Cherokee models (XJ, KL, WK2, etc.), but the core steps are similar. Here’s how to do it safely:
1. Locate The Antenna Base
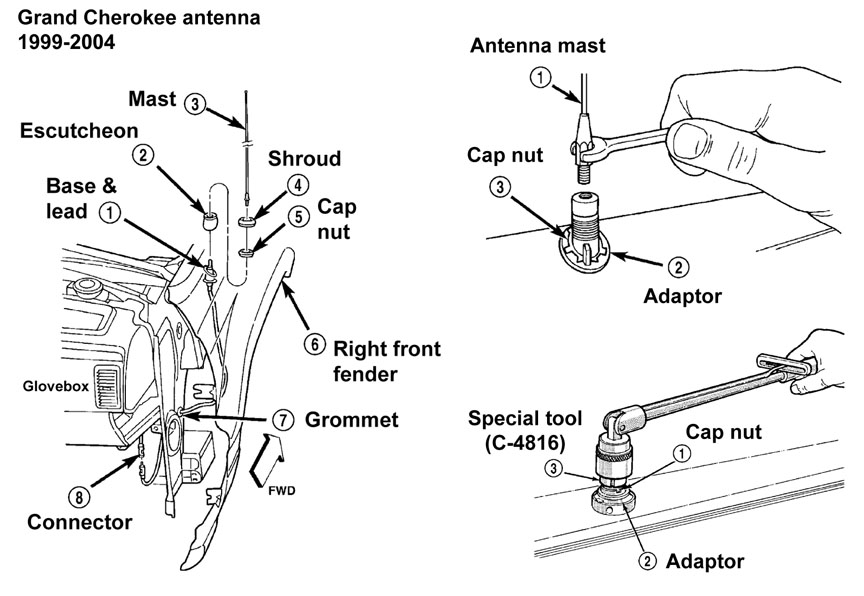
The antenna is usually on the passenger side front fender. On newer models, it may be closer to the windshield or roof.
2. Protect The Surrounding Area
Place a soft cloth around the antenna base. This prevents scratches from your tools.
3. Unscrew The Antenna Mast
Most factory antennas are threaded. Hold the base steady with one hand and turn the mast counterclockwise with the other.
- If it’s tight, use an adjustable wrench with light pressure.
- Do not force; excessive torque can snap the mast or strip the threads.
- Remove the Antenna Base (If Needed)
If you’re replacing the entire assembly, open the front passenger door and remove the inner fender liner.
- Locate the mounting nut on the inside fender.
- Use the wrench to loosen and remove the nut.
- Gently pull the antenna base out.
- Disconnect the Antenna Cable
Follow the cable under the dashboard. Disconnect the plug from the radio if you’re removing the entire unit.
6. Clean The Area And Inspect For Damage
Check the threads and cable for corrosion. Clean with dielectric grease to prevent future rust.
Example: Jeep Cherokee Kl Vs. Xj
Here’s a quick comparison of antenna removal steps for two popular Jeep Cherokee generations:
| Model | Main Antenna Location | Removal Difficulty | Special Notes |
|---|---|---|---|
| Jeep Cherokee XJ (1984-2001) | Front right fender | Easy | Usually threaded mast, accessible base |
| Jeep Cherokee KL (2014+) | Roof or near windshield | Moderate | Shorter mast, may require trim removal |
Many owners miss that newer models often have hidden fasteners or plastic trim. Rushing can break these clips, leading to extra repair costs.
Common Mistakes And How To Avoid Them
If you’re new to DIY car repairs, it’s easy to overlook small details. Here are mistakes to avoid:
- Using the wrong tool: Adjustable wrenches can slip and scratch paint. Choose a snug-fitting wrench.
- Forcing a stuck antenna: If the mast is seized, apply a little penetrating oil and wait 10 minutes before trying again.
- Skipping cable inspection: Old antennas may have frayed or corroded cables. Check before installing a new one.
- Losing small parts: Place nuts and washers in a cup to avoid losing them during reinstallation.
Here’s a quick reference for common problems and solutions:
| Problem | Likely Cause | Solution |
|---|---|---|
| Antenna won’t unscrew | Corrosion or cross-threading | Use penetrating oil; avoid excess force |
| Poor radio reception after reinstall | Loose cable or damaged connection | Check cable and tighten base |
| Scratched paint around base | No protection during removal | Use a soft cloth under tools |
Installing A Replacement Antenna
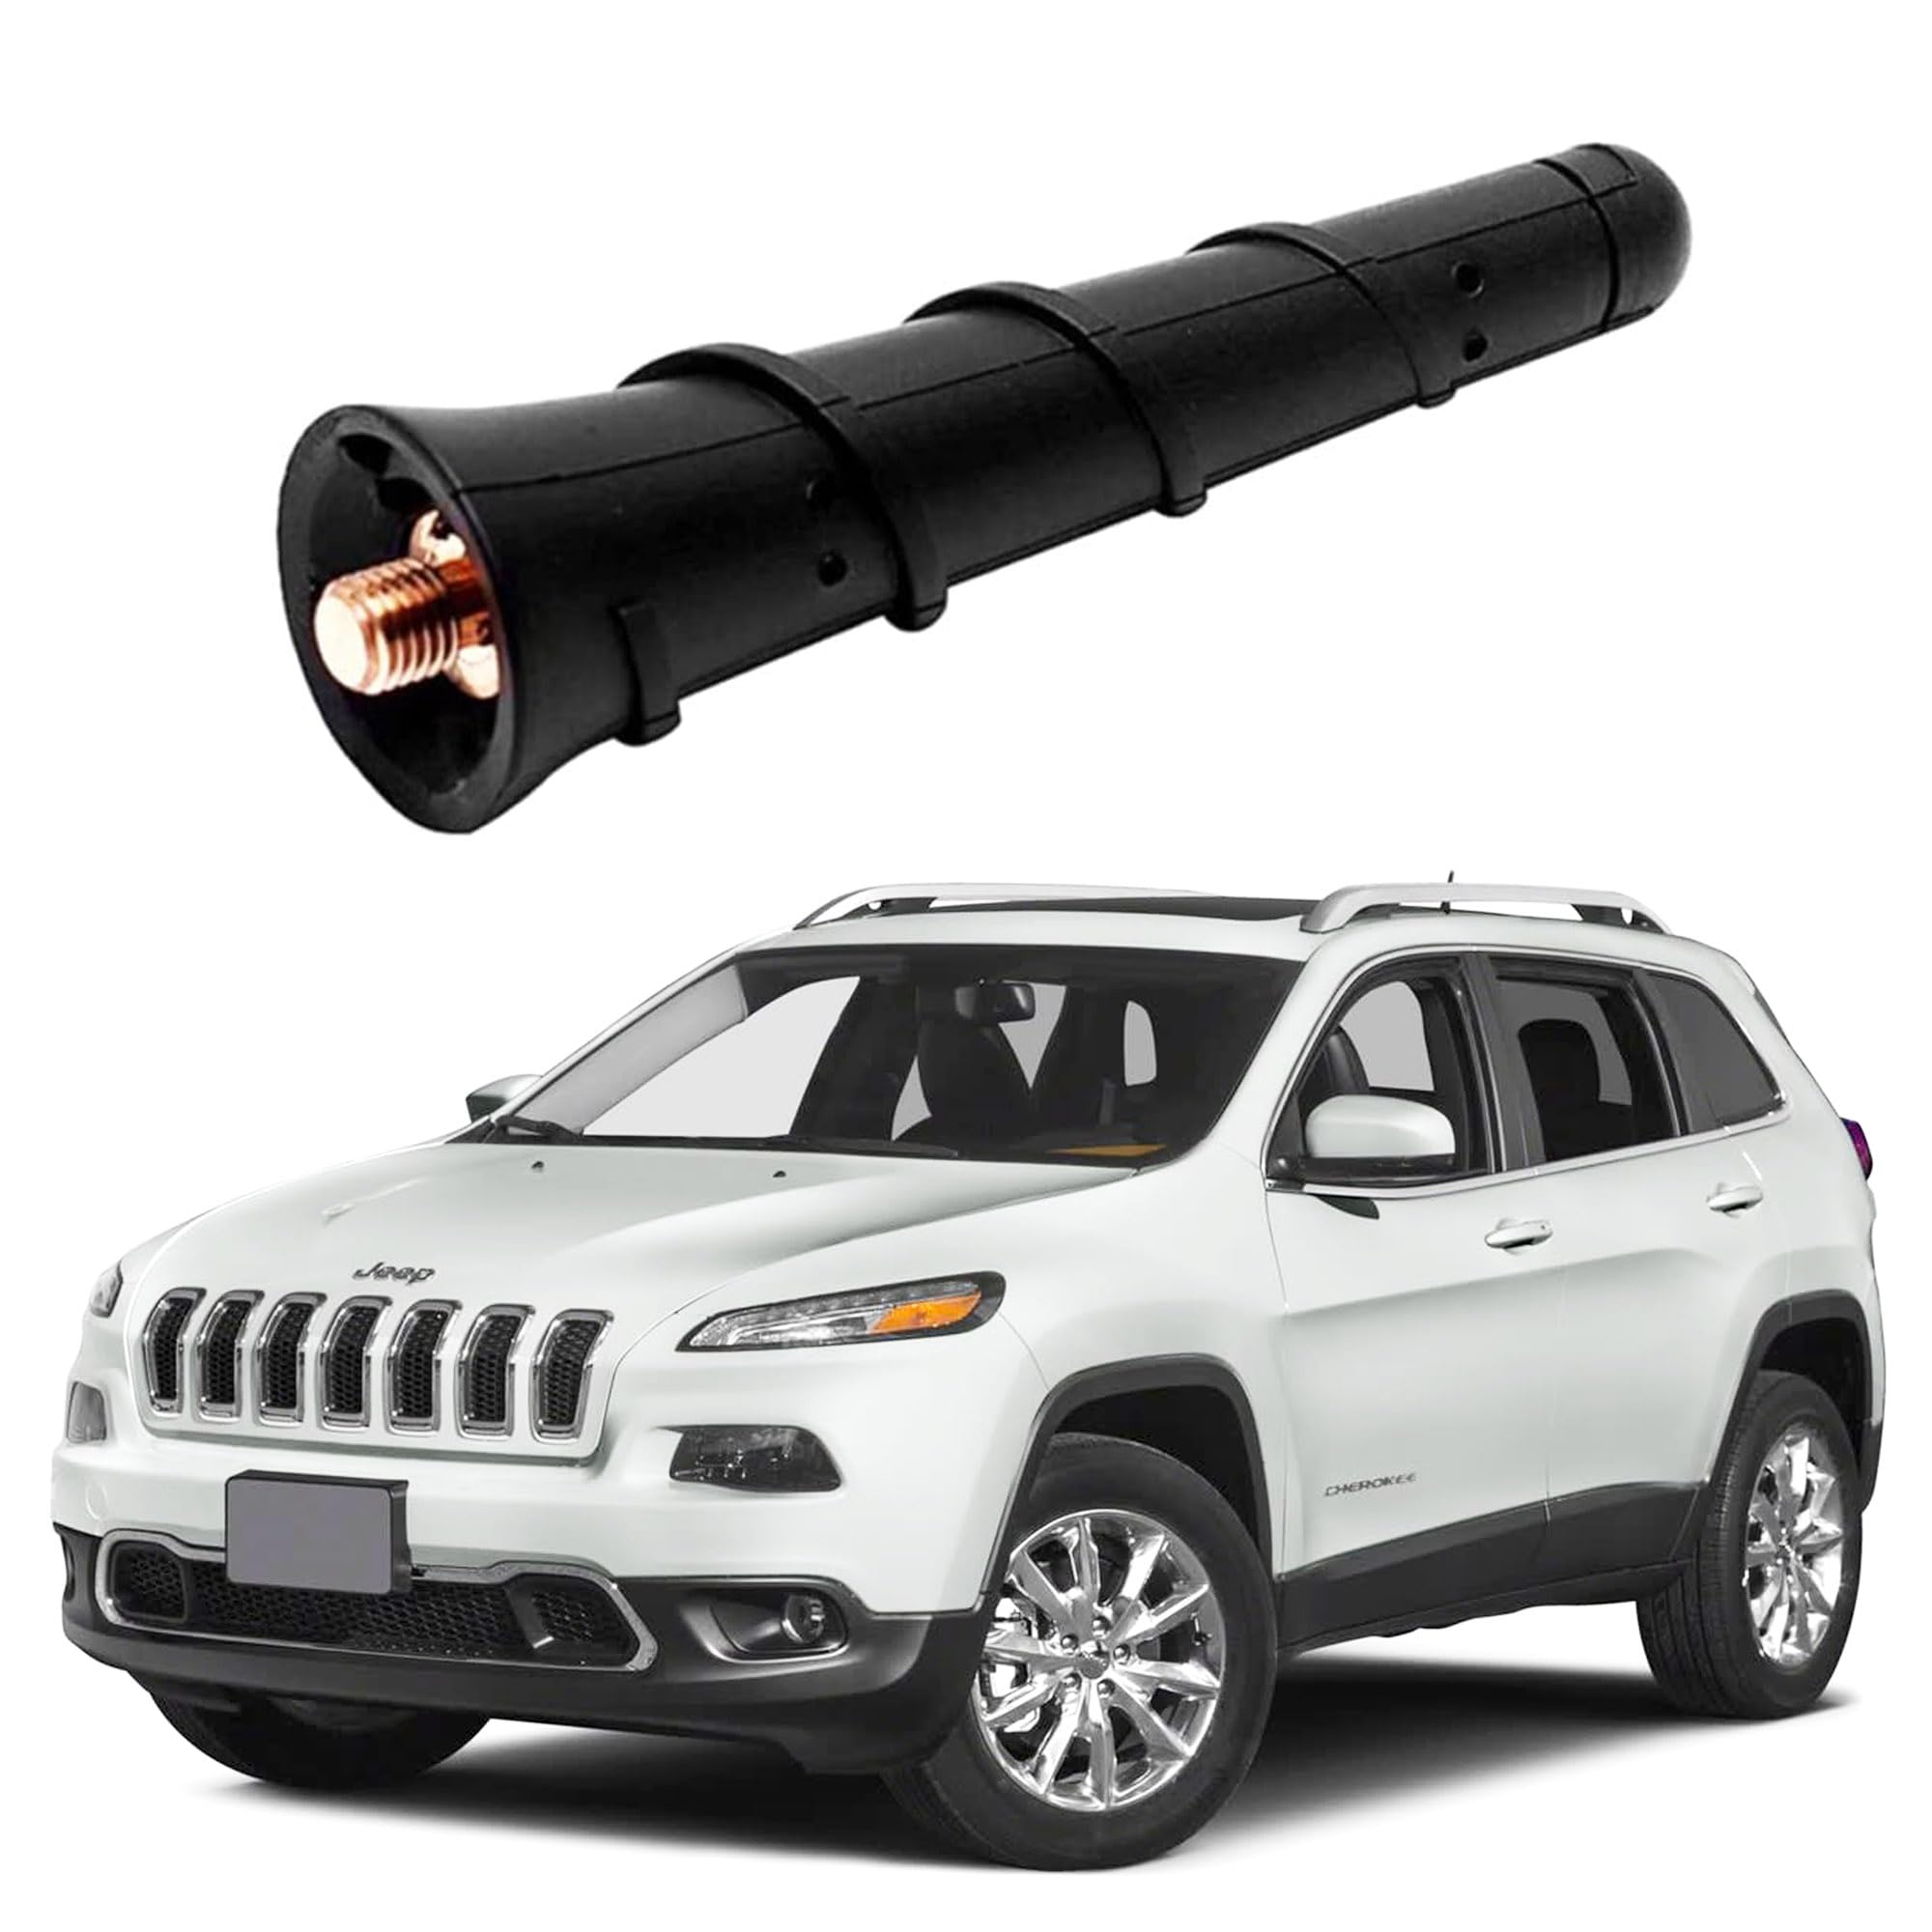
After removing the old antenna, you may want to install a new one. The process is usually the reverse of removal.
- Attach the new antenna base (if needed), making sure the gasket seals tightly against the fender.
- Reconnect the antenna cable to the radio.
- Screw the new mast onto the base by hand until snug.
- Test radio reception before fully tightening everything.
- Apply dielectric grease to threads if you live in a wet or snowy climate.
One insight many beginners miss: not all aftermarket antennas are compatible with factory bases. Always check thread size and connection type before buying a replacement.
When To Seek Professional Help
Some antenna issues go beyond a simple DIY fix. If your antenna is bent into the fender, or if you notice water leaks after removal, professional help is wise. Body shops can repair damage and reseal the area to prevent rust.
Another good reason to seek help: on some recent Jeep Cherokee models with satellite or shark-fin antennas, removal may affect navigation or Bluetooth systems. In these cases, dealer service is safest.
For more technical details on antenna systems, check the Vehicle Antenna Wikipedia page.

Frequently Asked Questions
How Do I Know If My Jeep Cherokee Antenna Is Threaded Or Fixed?
Most Cherokee antennas are threaded and unscrew by hand, but some newer models have fixed or integrated antennas. Check your owner’s manual or look closely at the base for visible threads.
Can I Remove My Antenna Before Going Through A Car Wash?
Yes, and it’s often a good idea. Removing a long antenna helps avoid damage from automatic brushes. Just remember to reinstall it securely afterward.
What Size Wrench Do I Need To Remove The Antenna?
Most Jeep Cherokee antennas use a 10mm or 13mm nut. Always check your model year to be sure. A snug, properly sized wrench prevents damage.
Will Removing The Antenna Affect My Radio Or Gps?
If you only remove the mast, FM/AM radio reception will stop, but GPS and satellite radio (on models with separate antennas) are usually unaffected. If you disconnect the base or cable, those features may stop working.
Are Stubby Antennas Better Than Factory Ones?
Stubby antennas are more durable and less likely to break, but they may offer slightly weaker FM reception, especially in rural areas. Choose what fits your needs and location.
Removing the antenna from your Jeep Cherokee is a simple project with the right preparation and tools. Taking care at each step protects your vehicle and ensures you get the results you want. If you ever feel unsure, don’t hesitate to consult a professional.